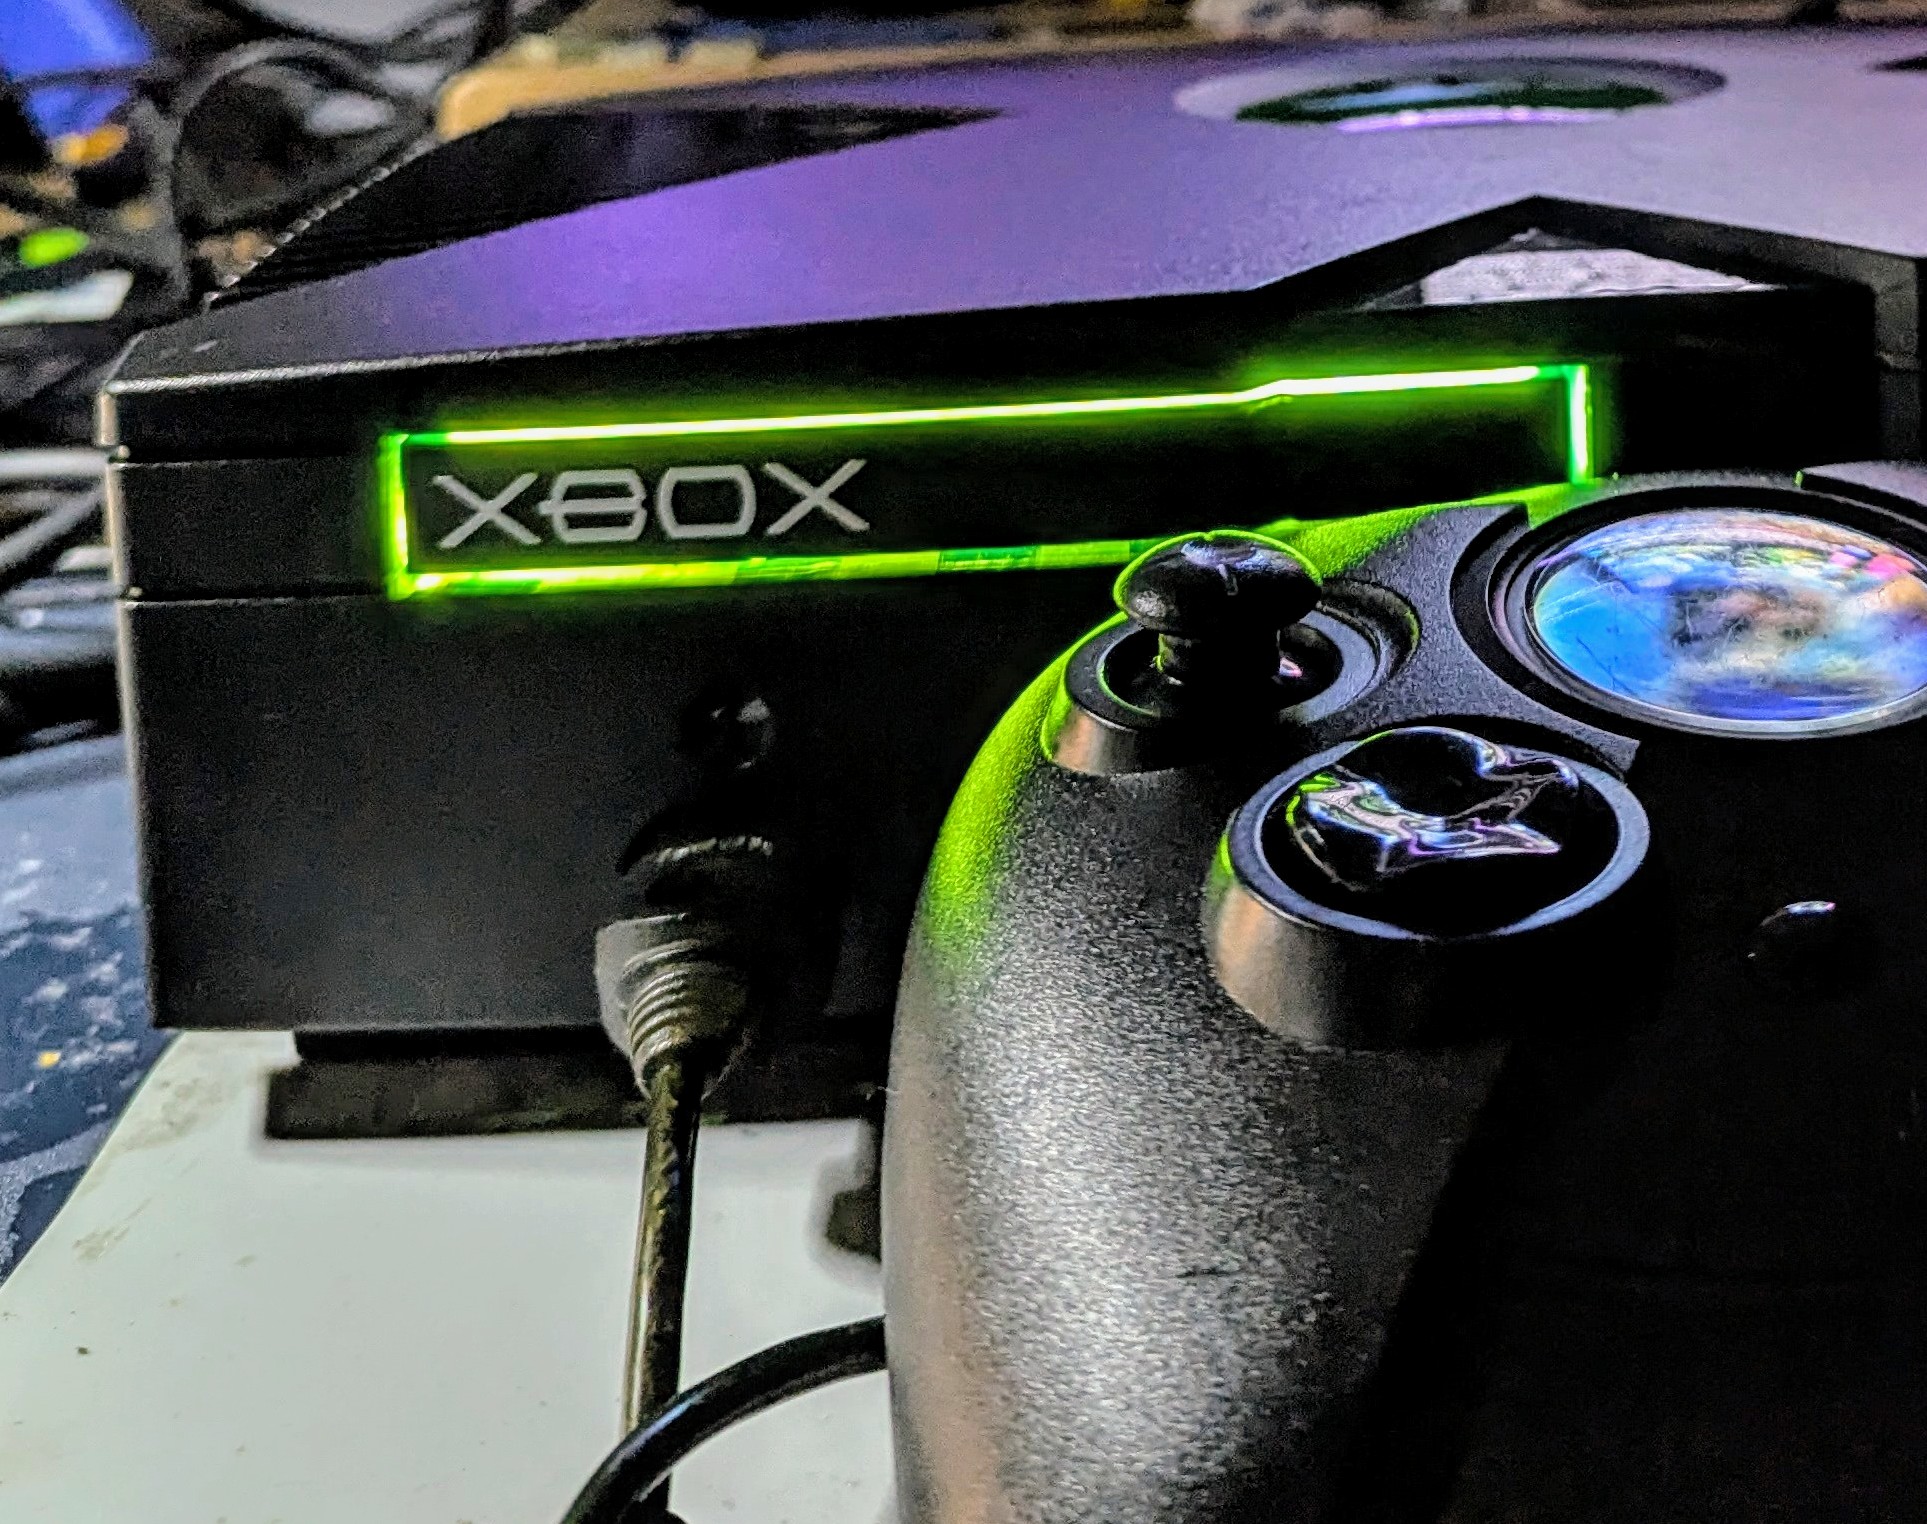
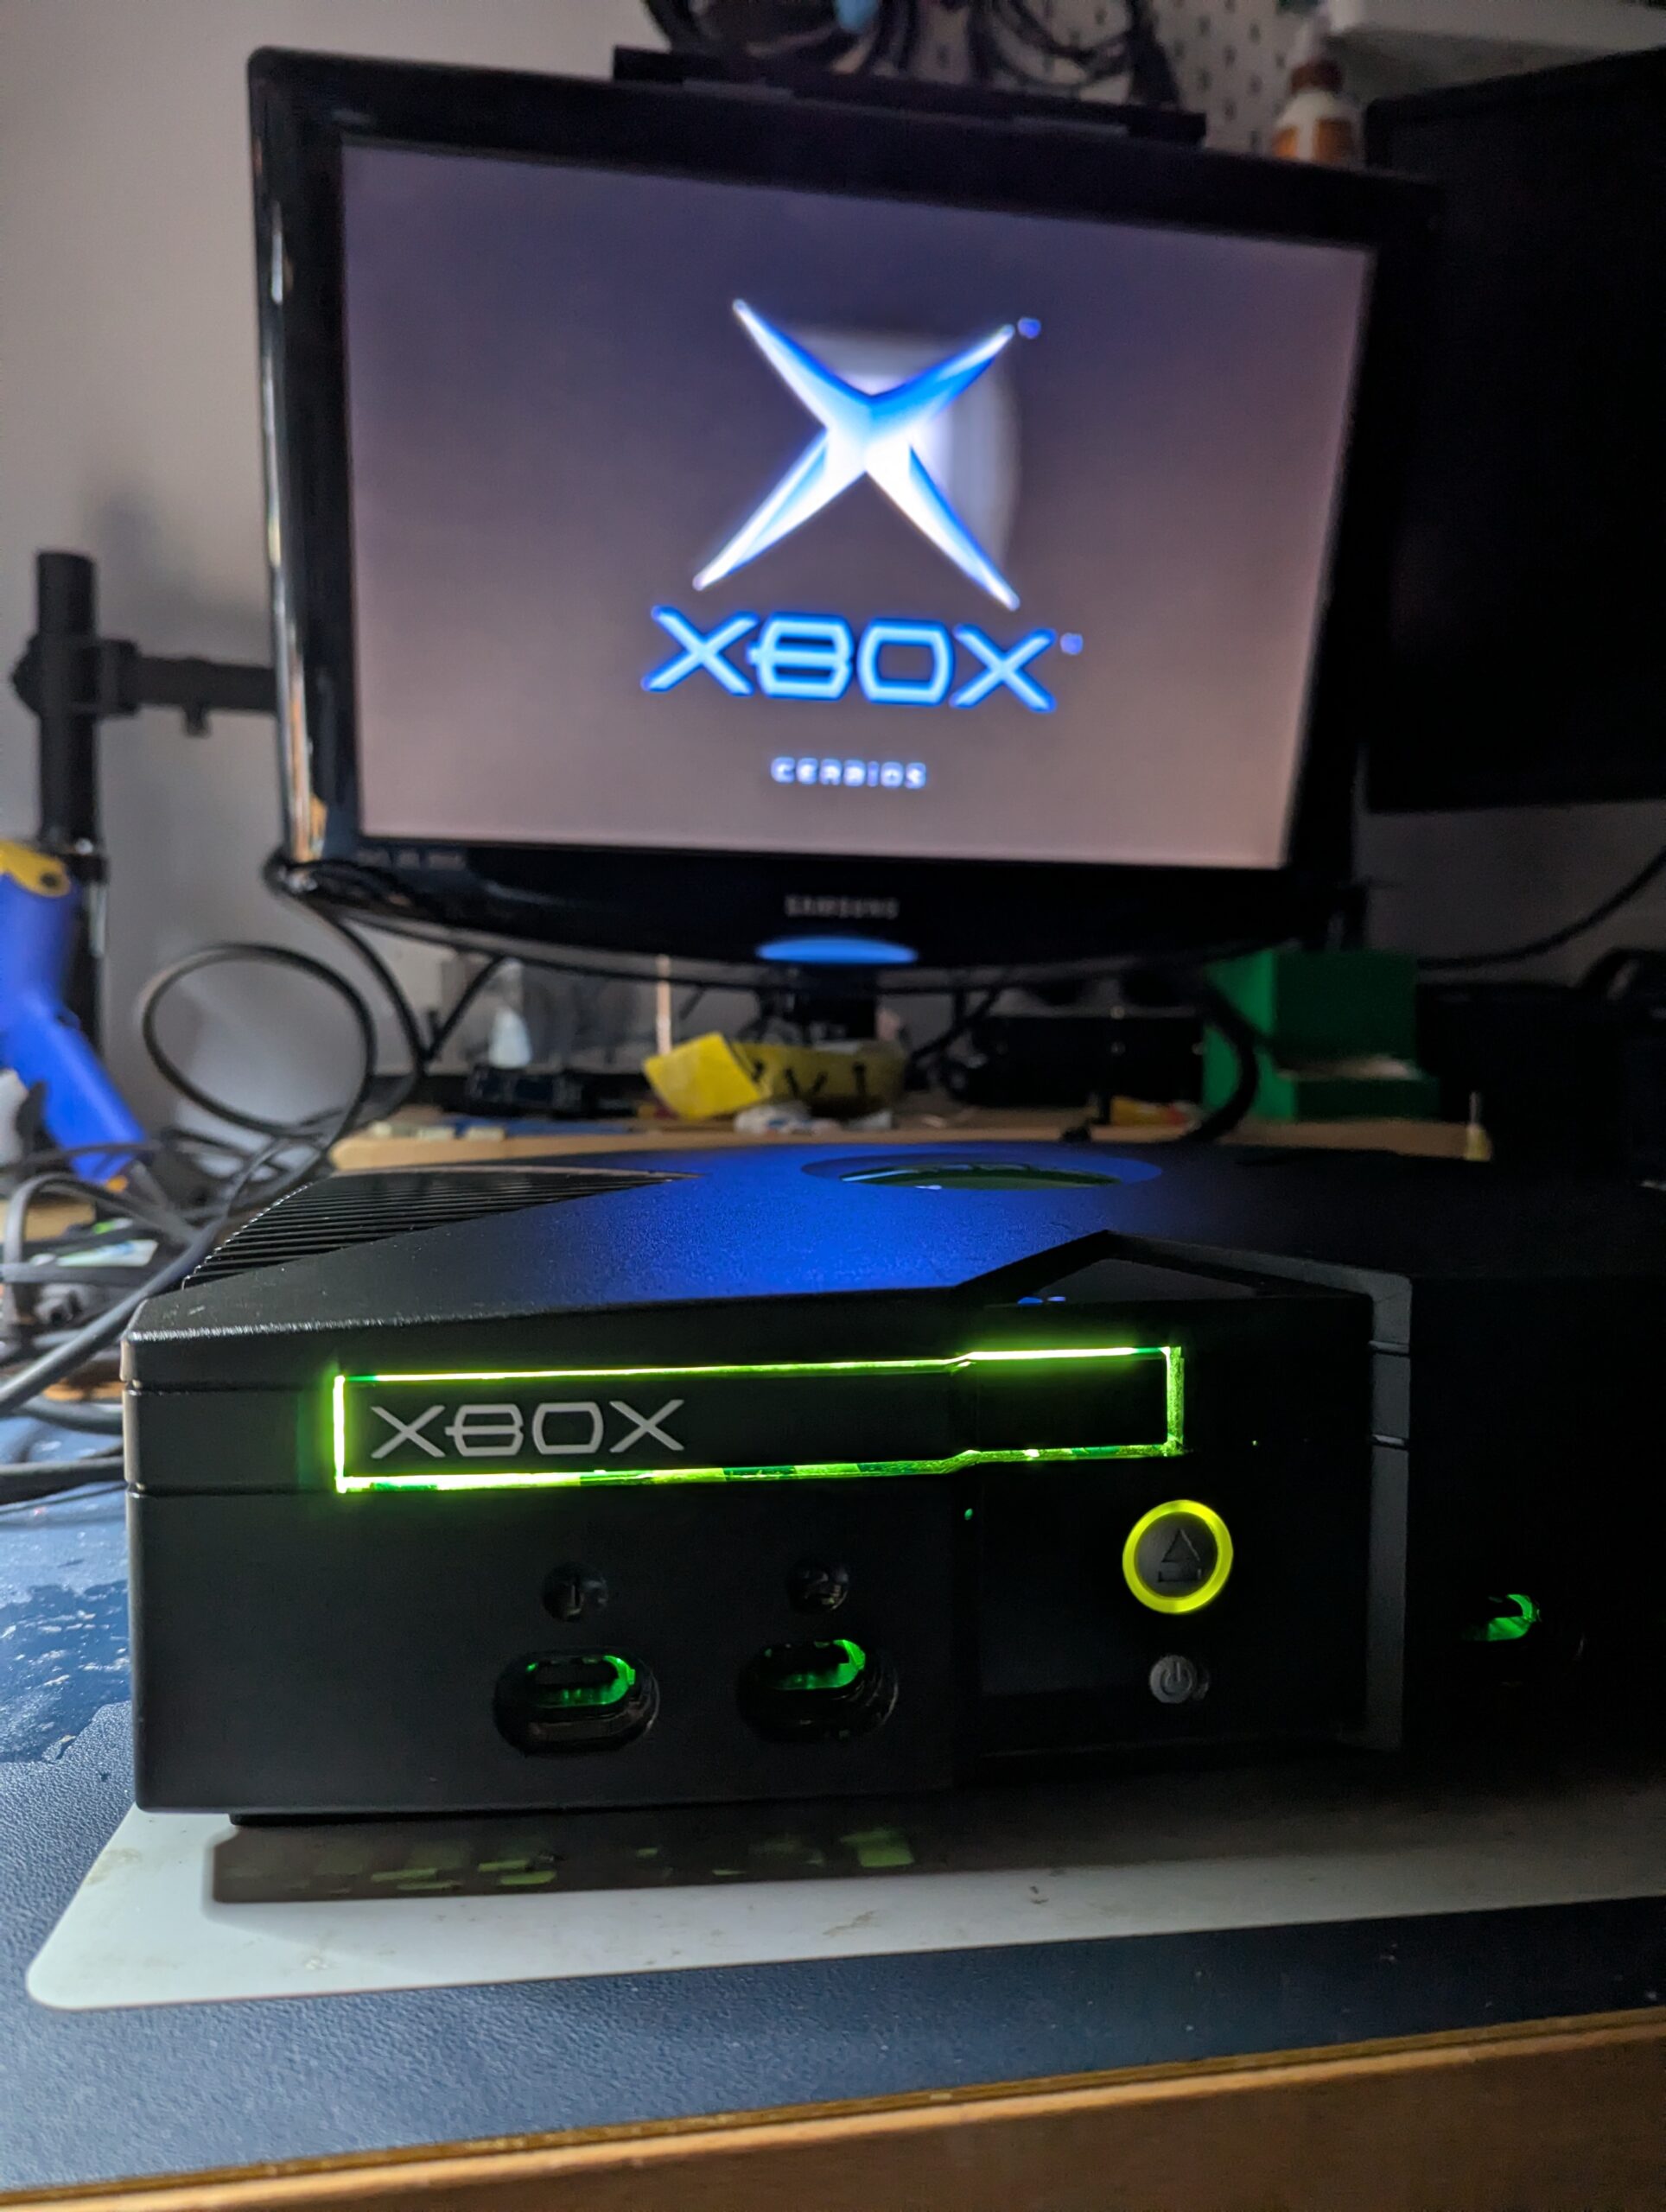
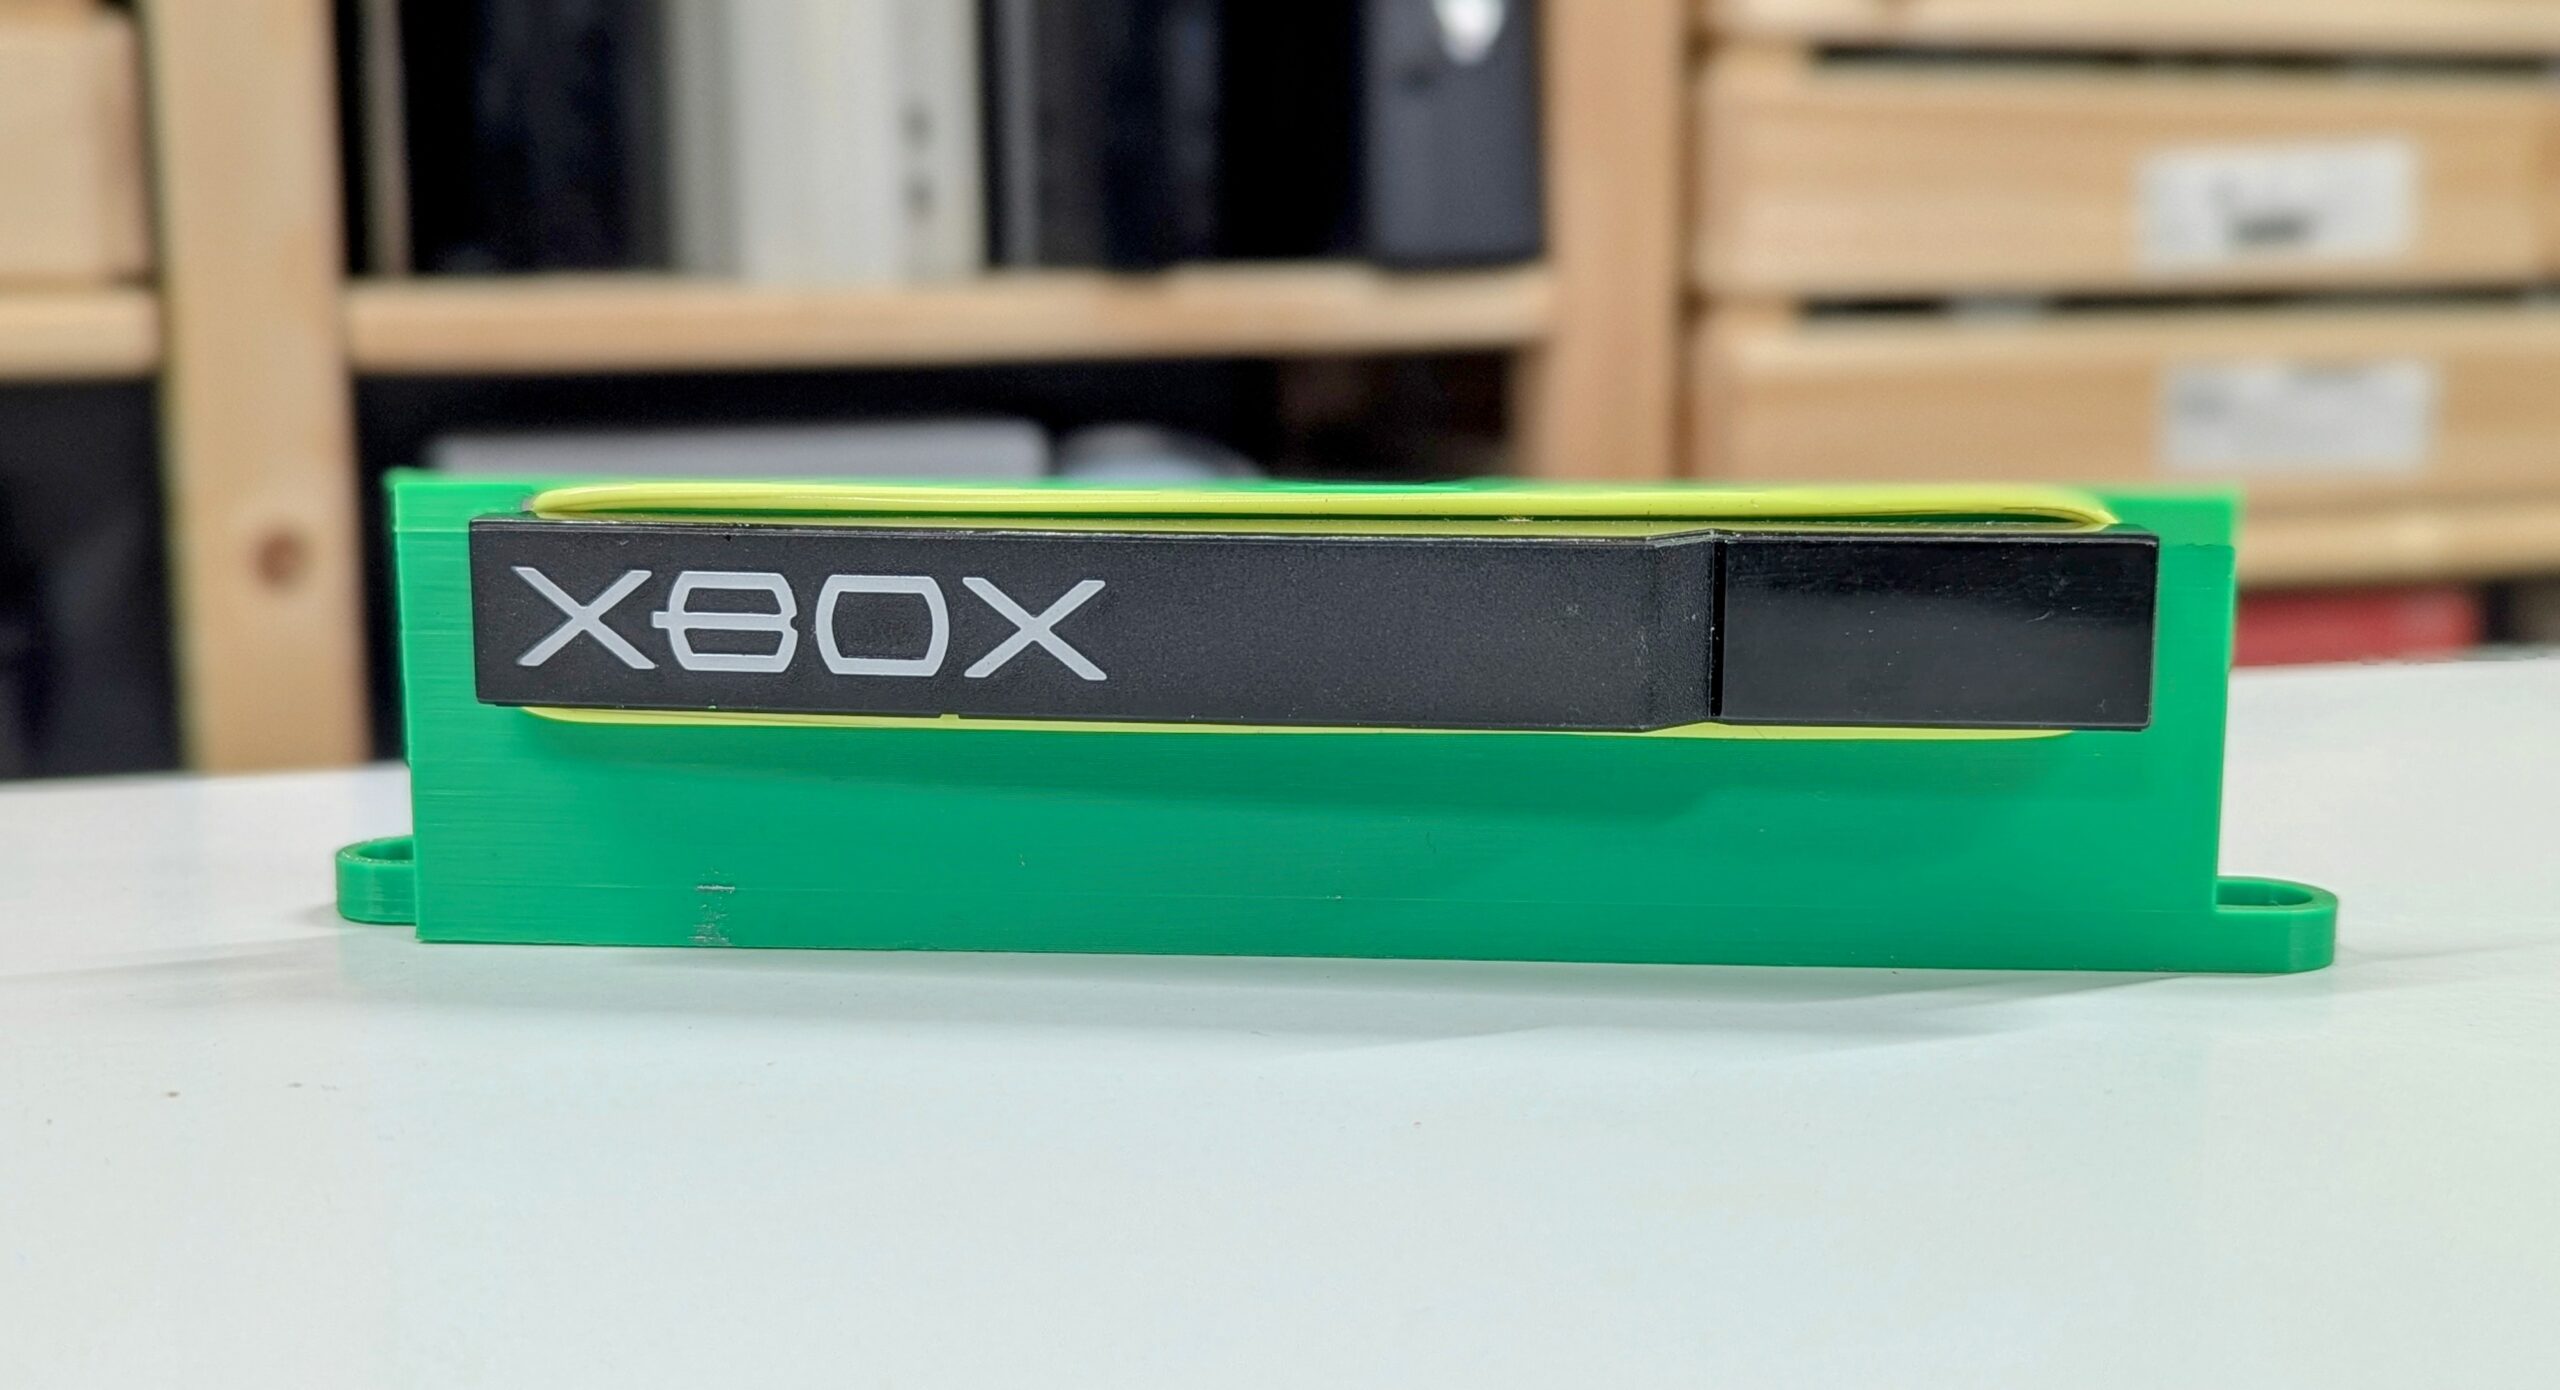
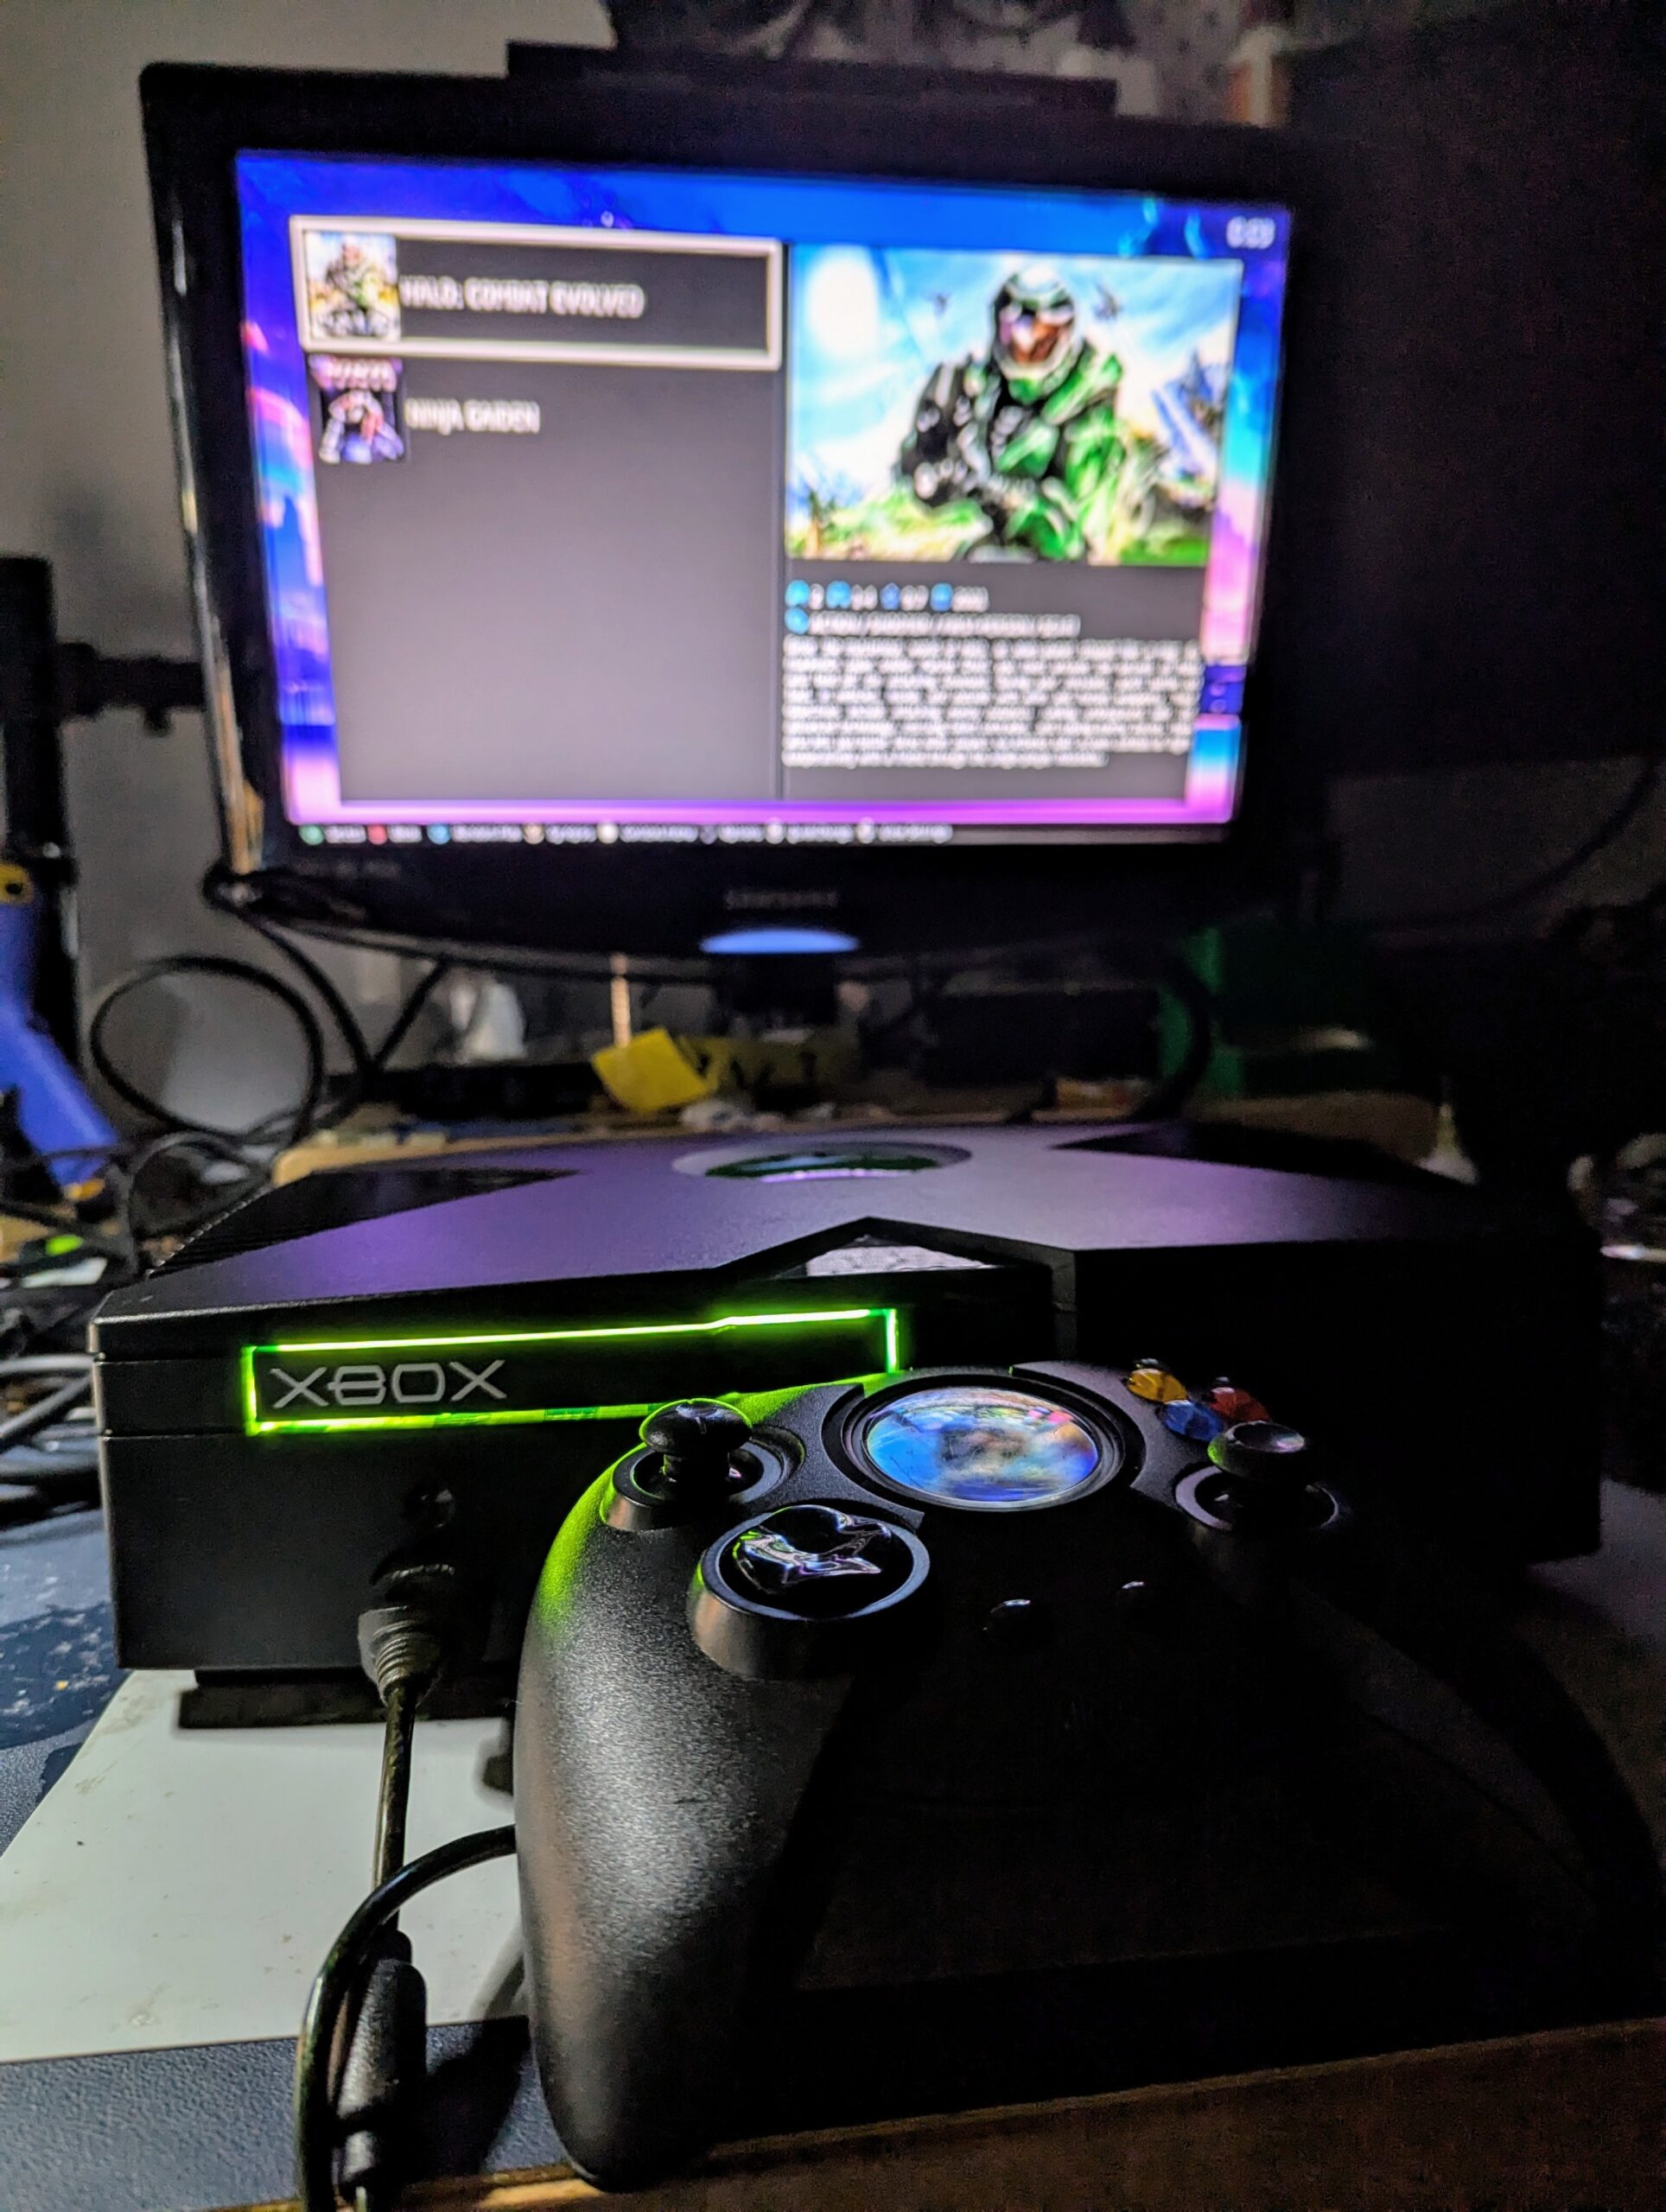
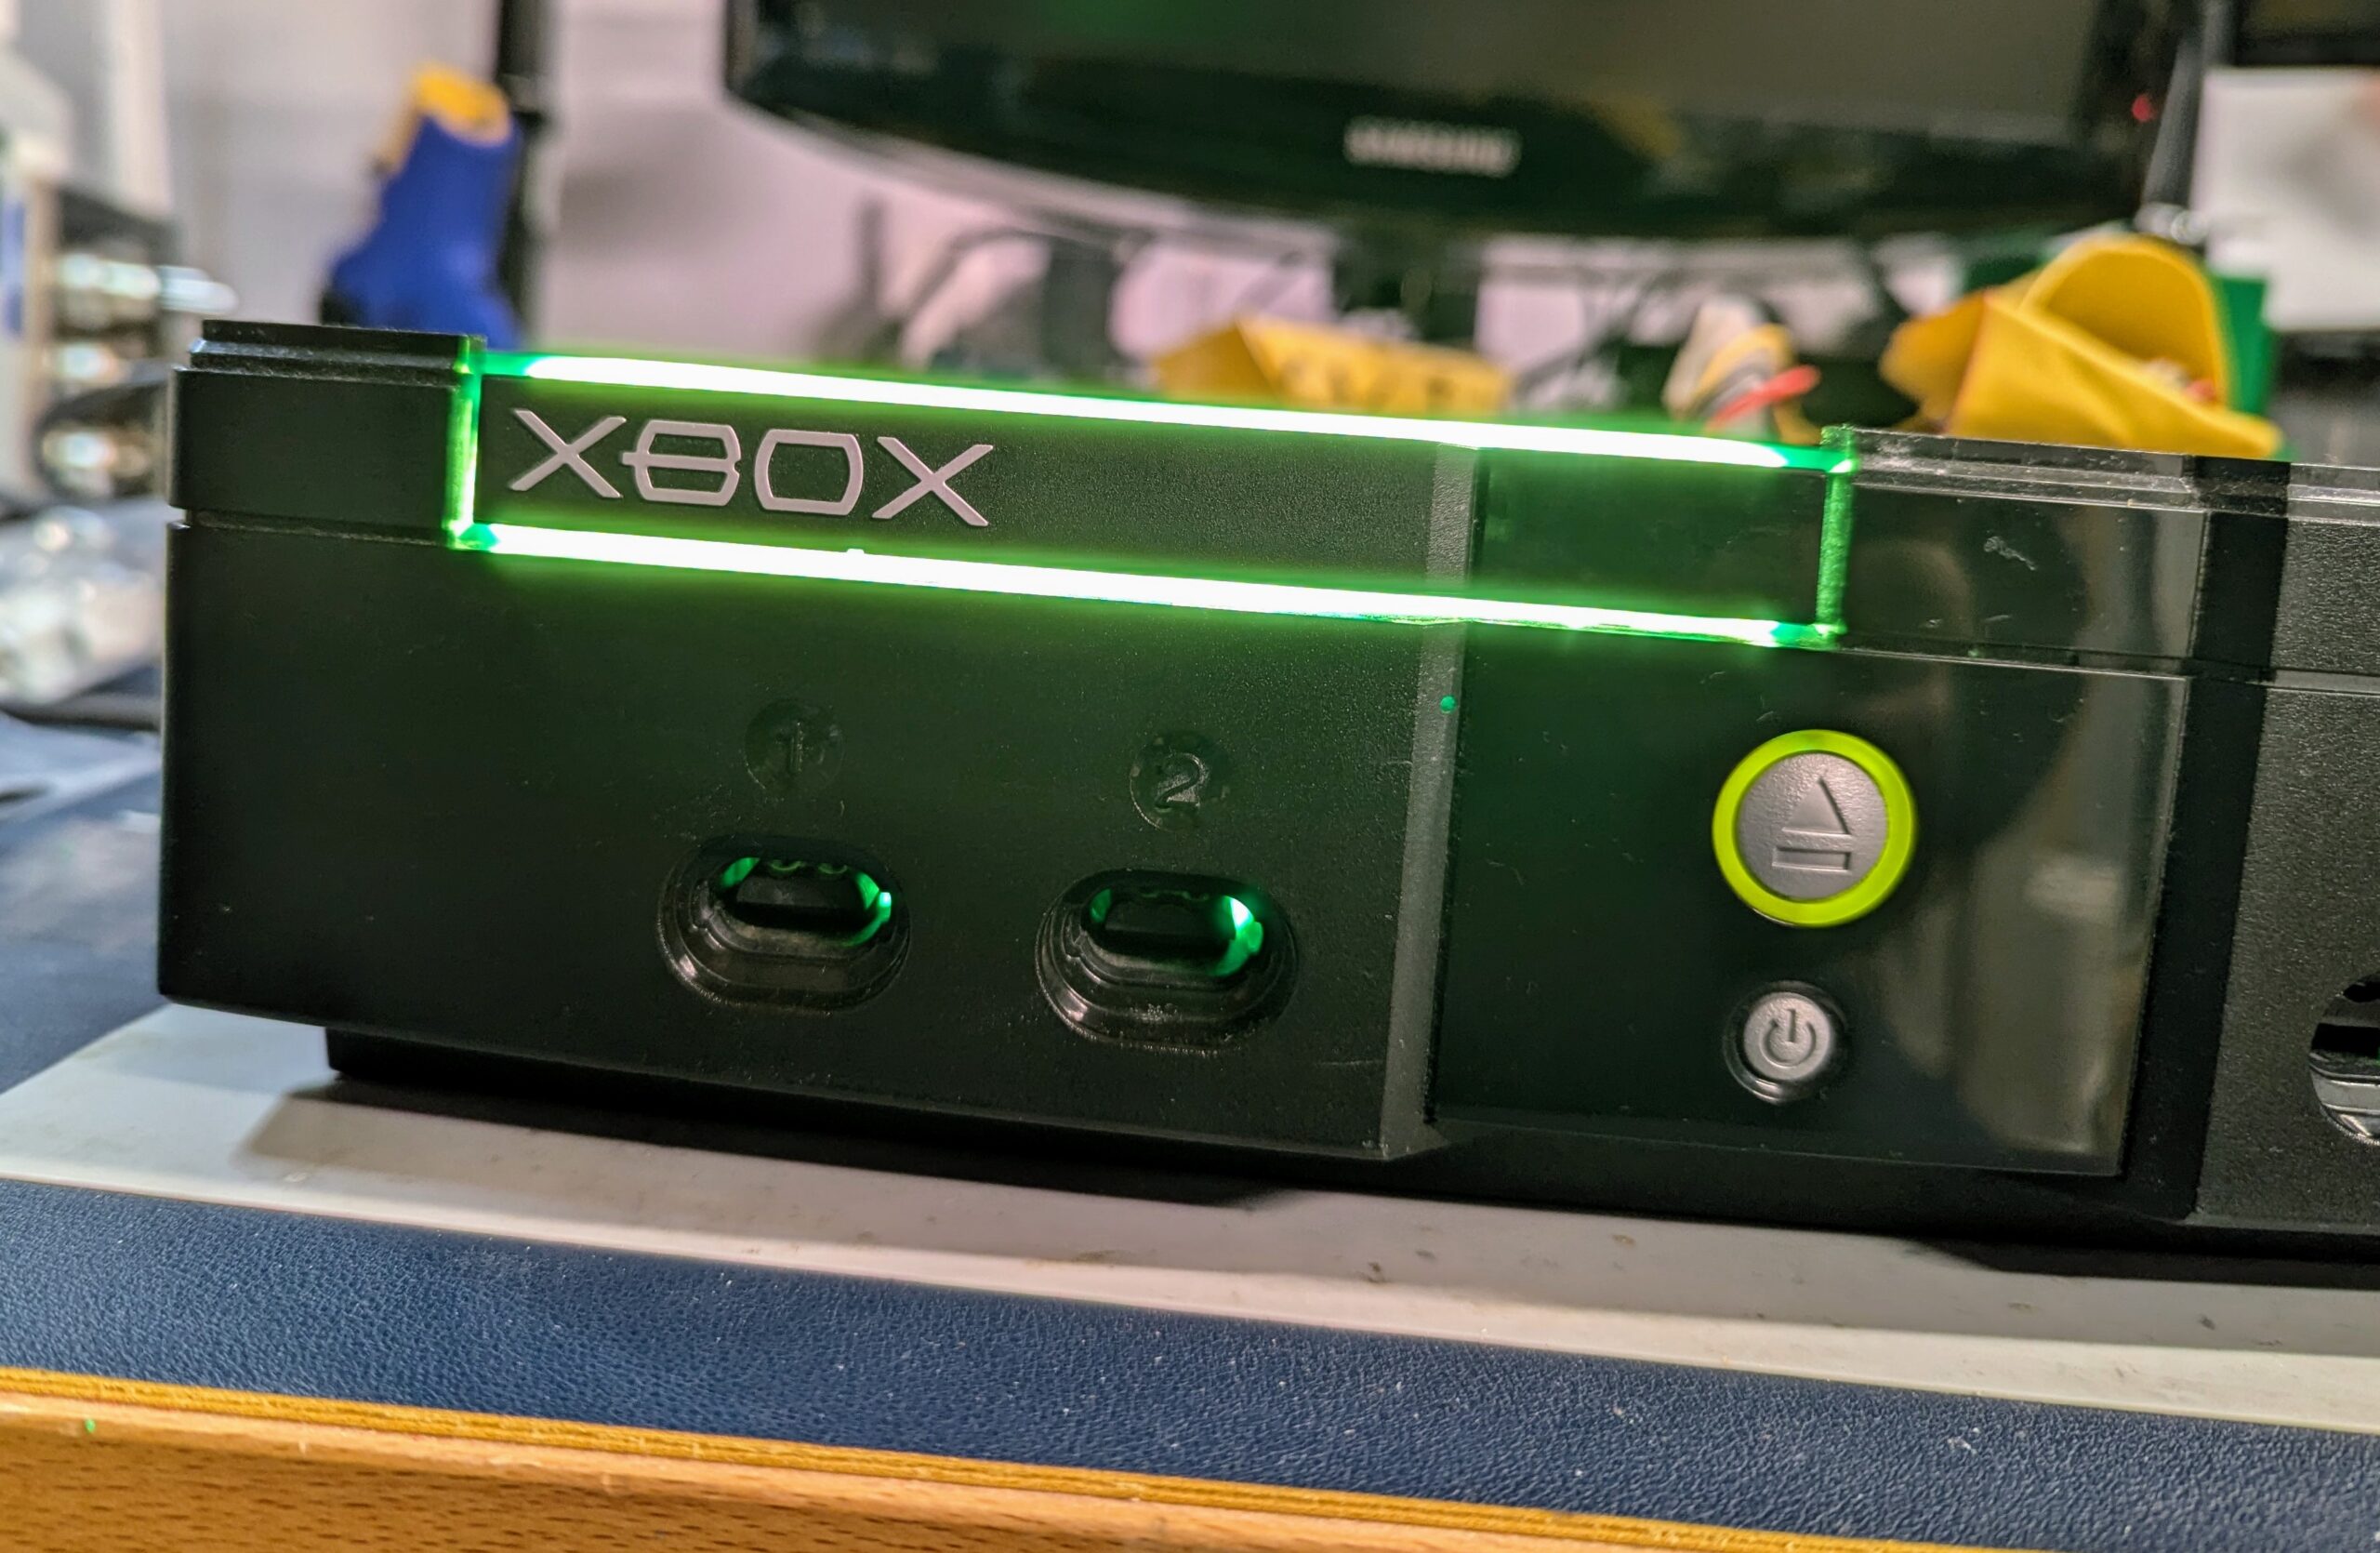
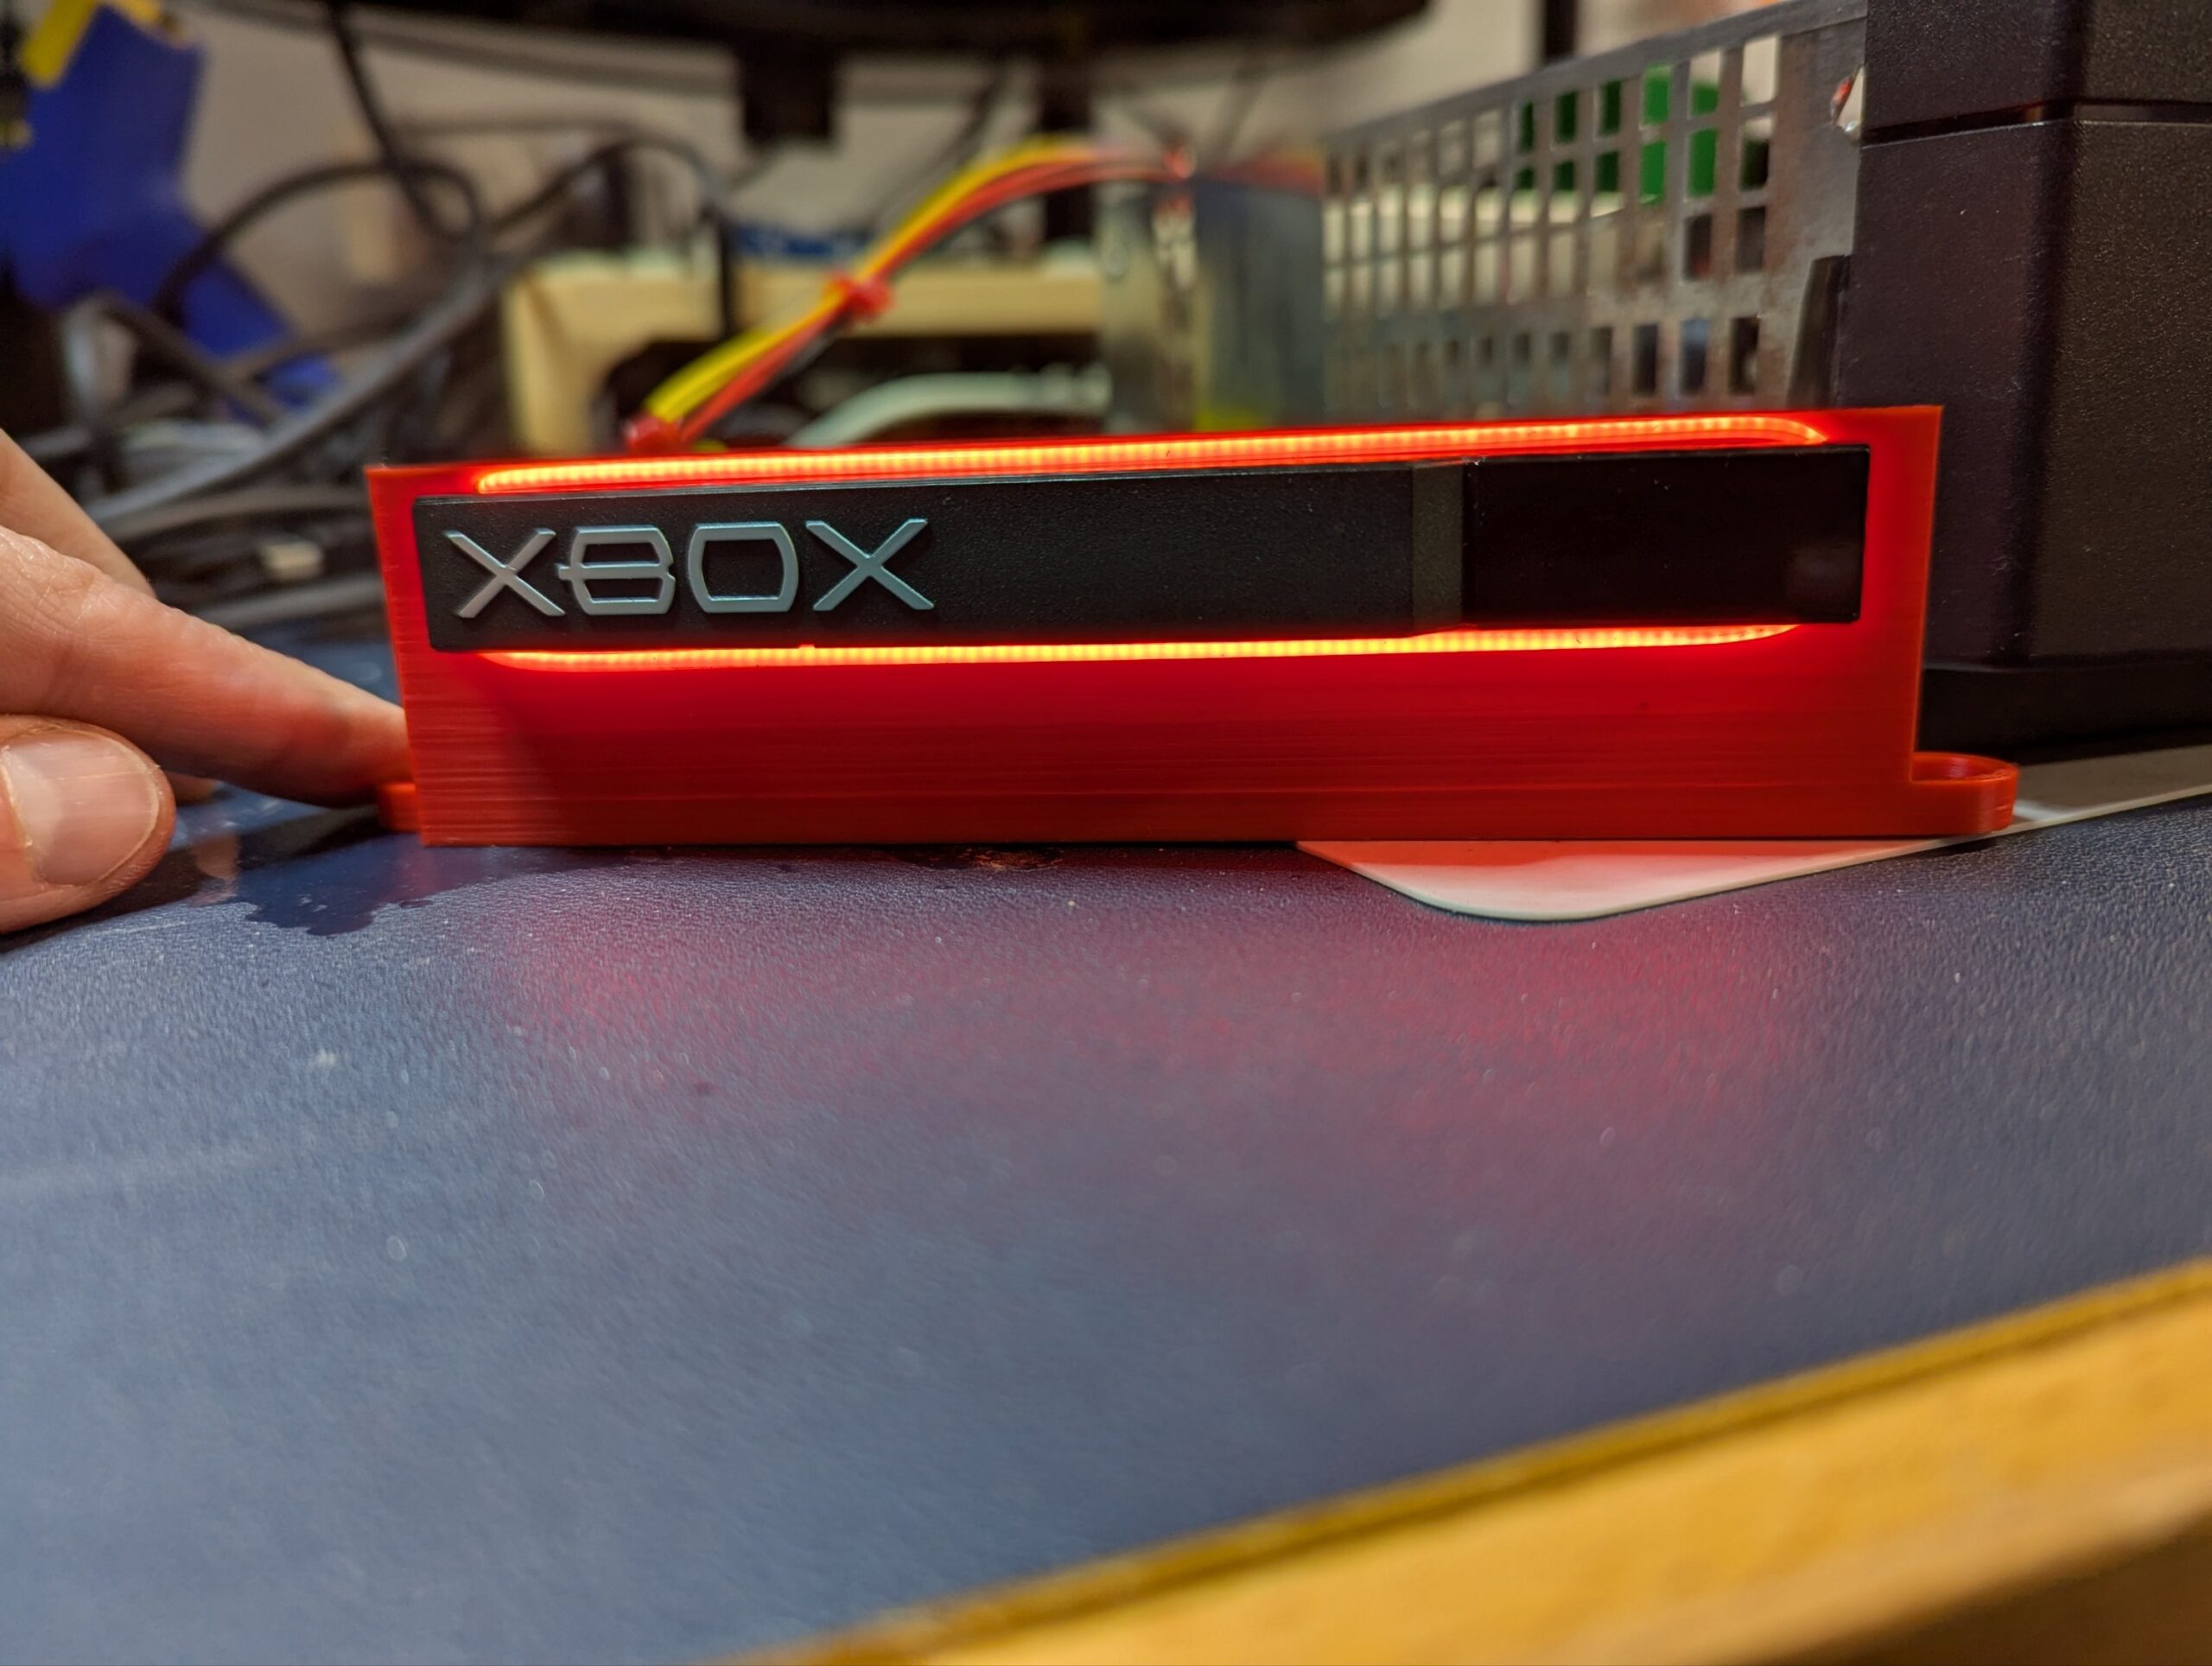
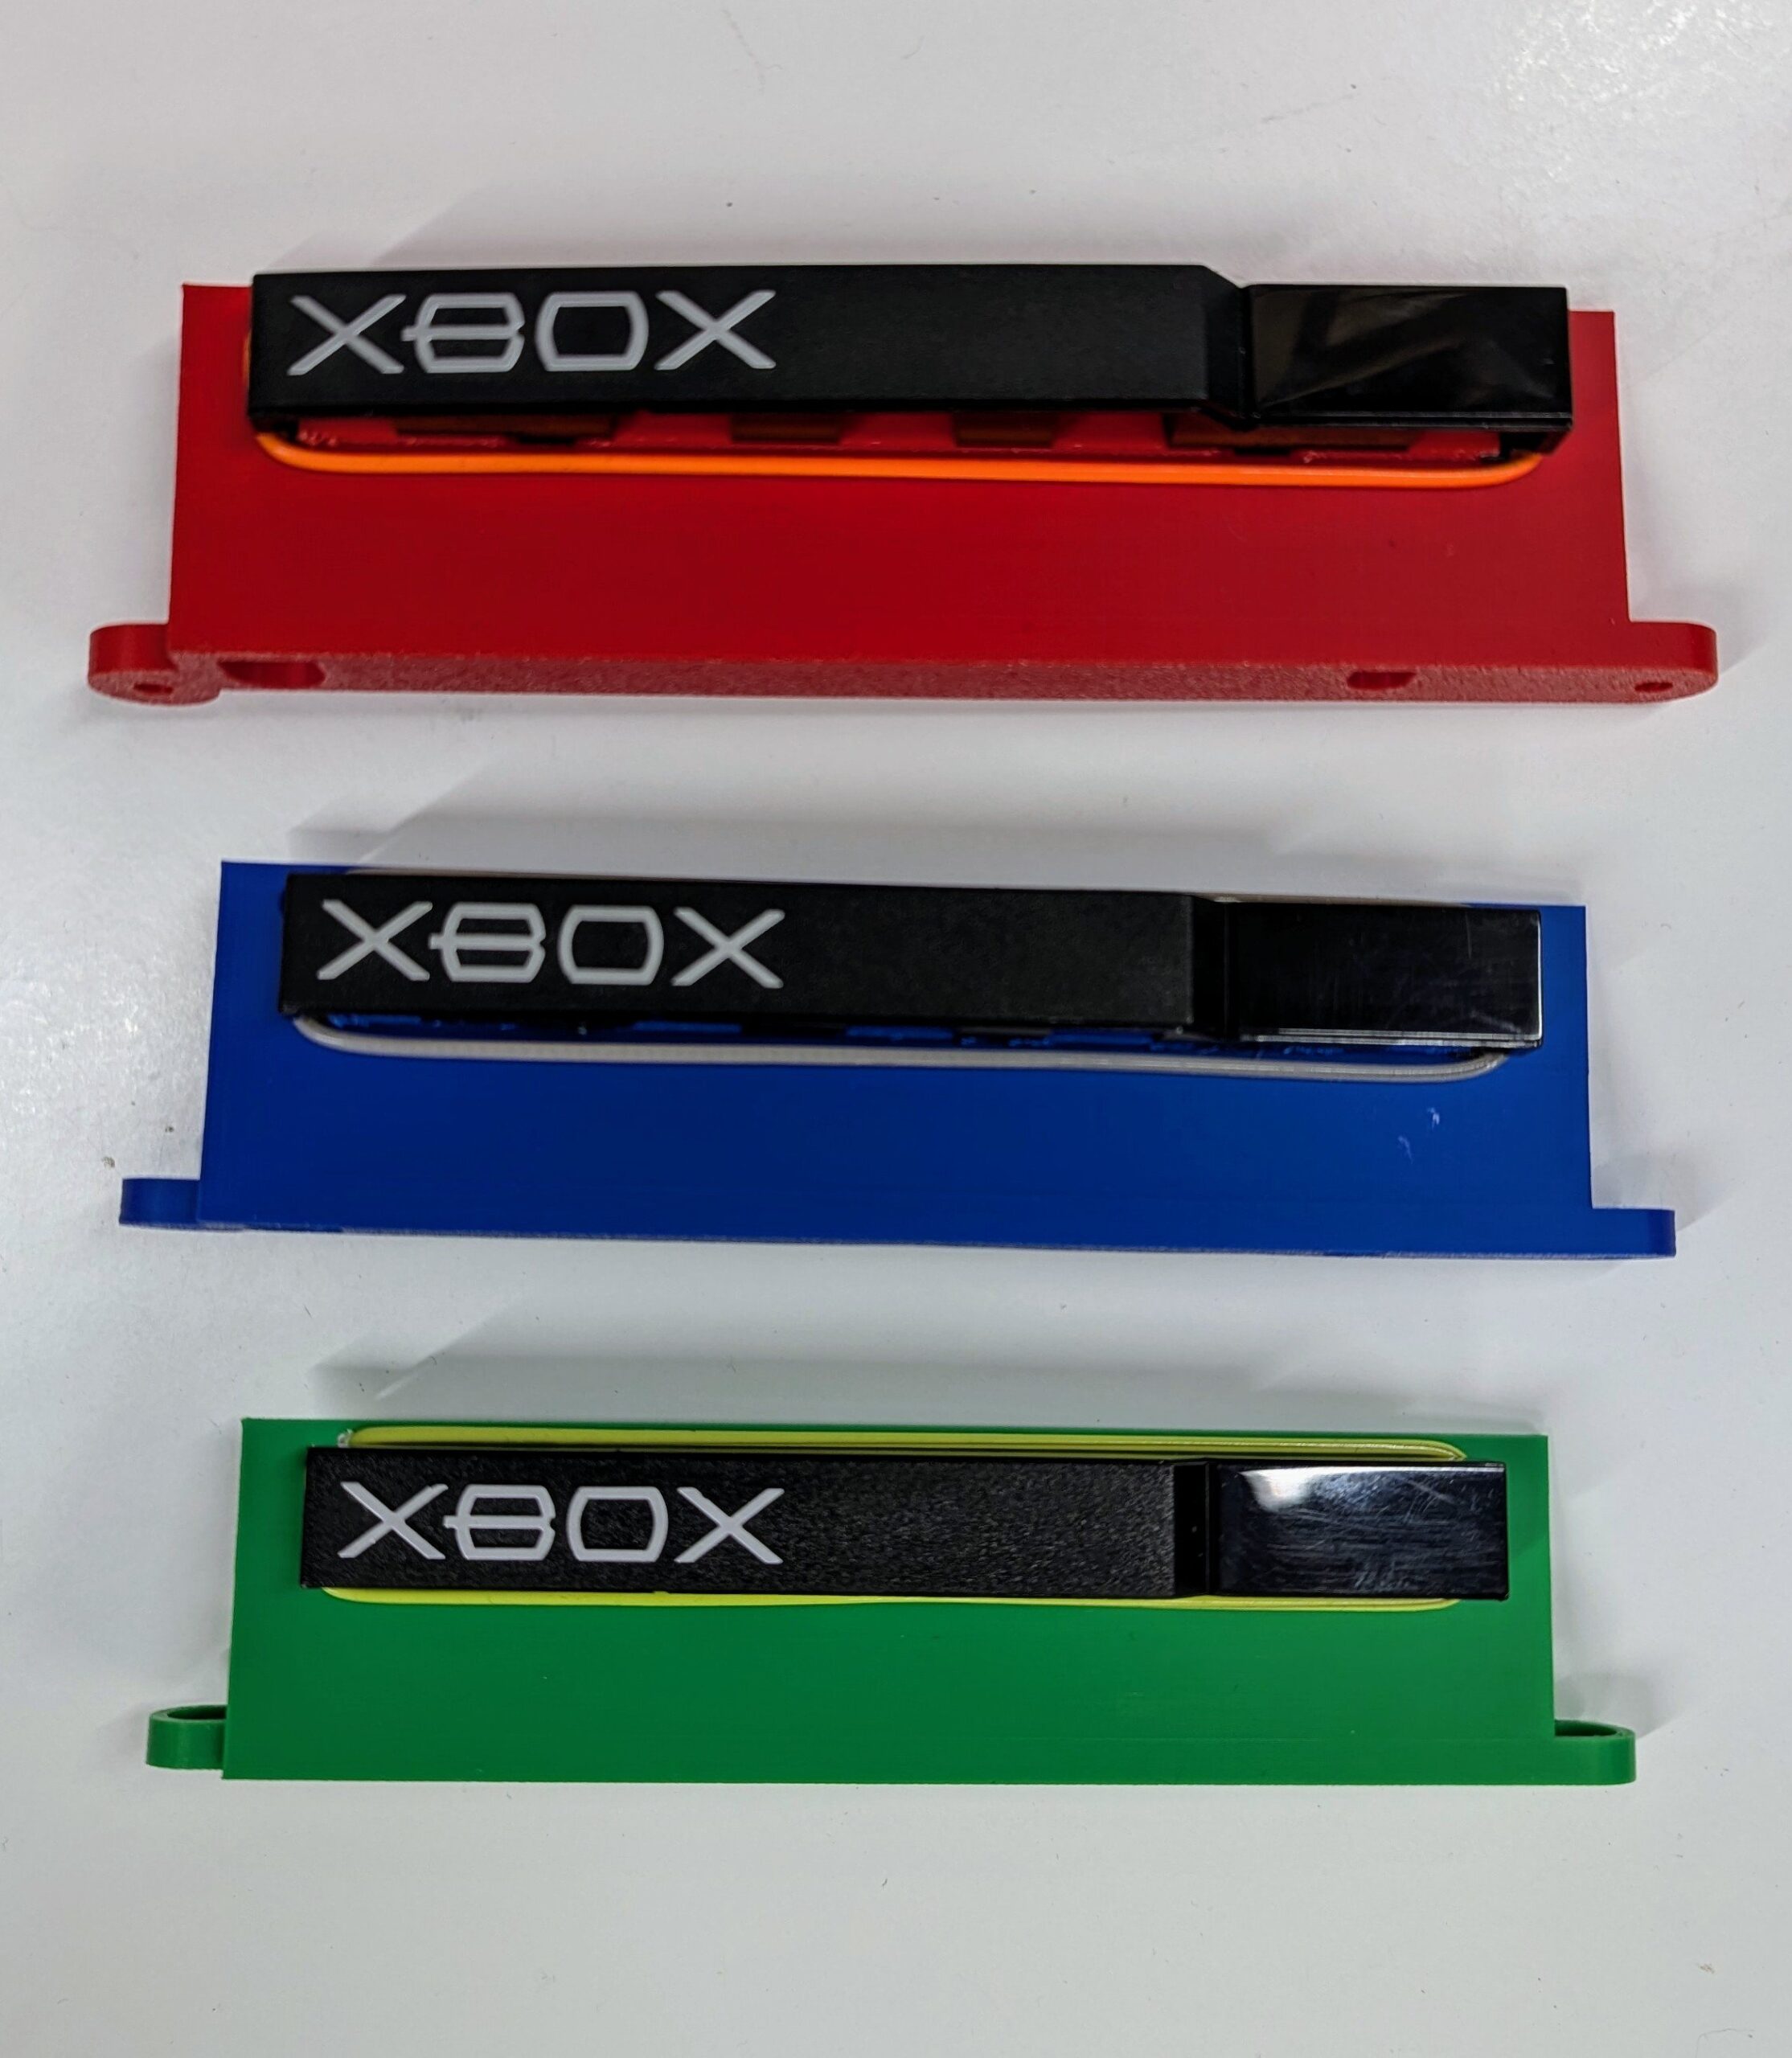
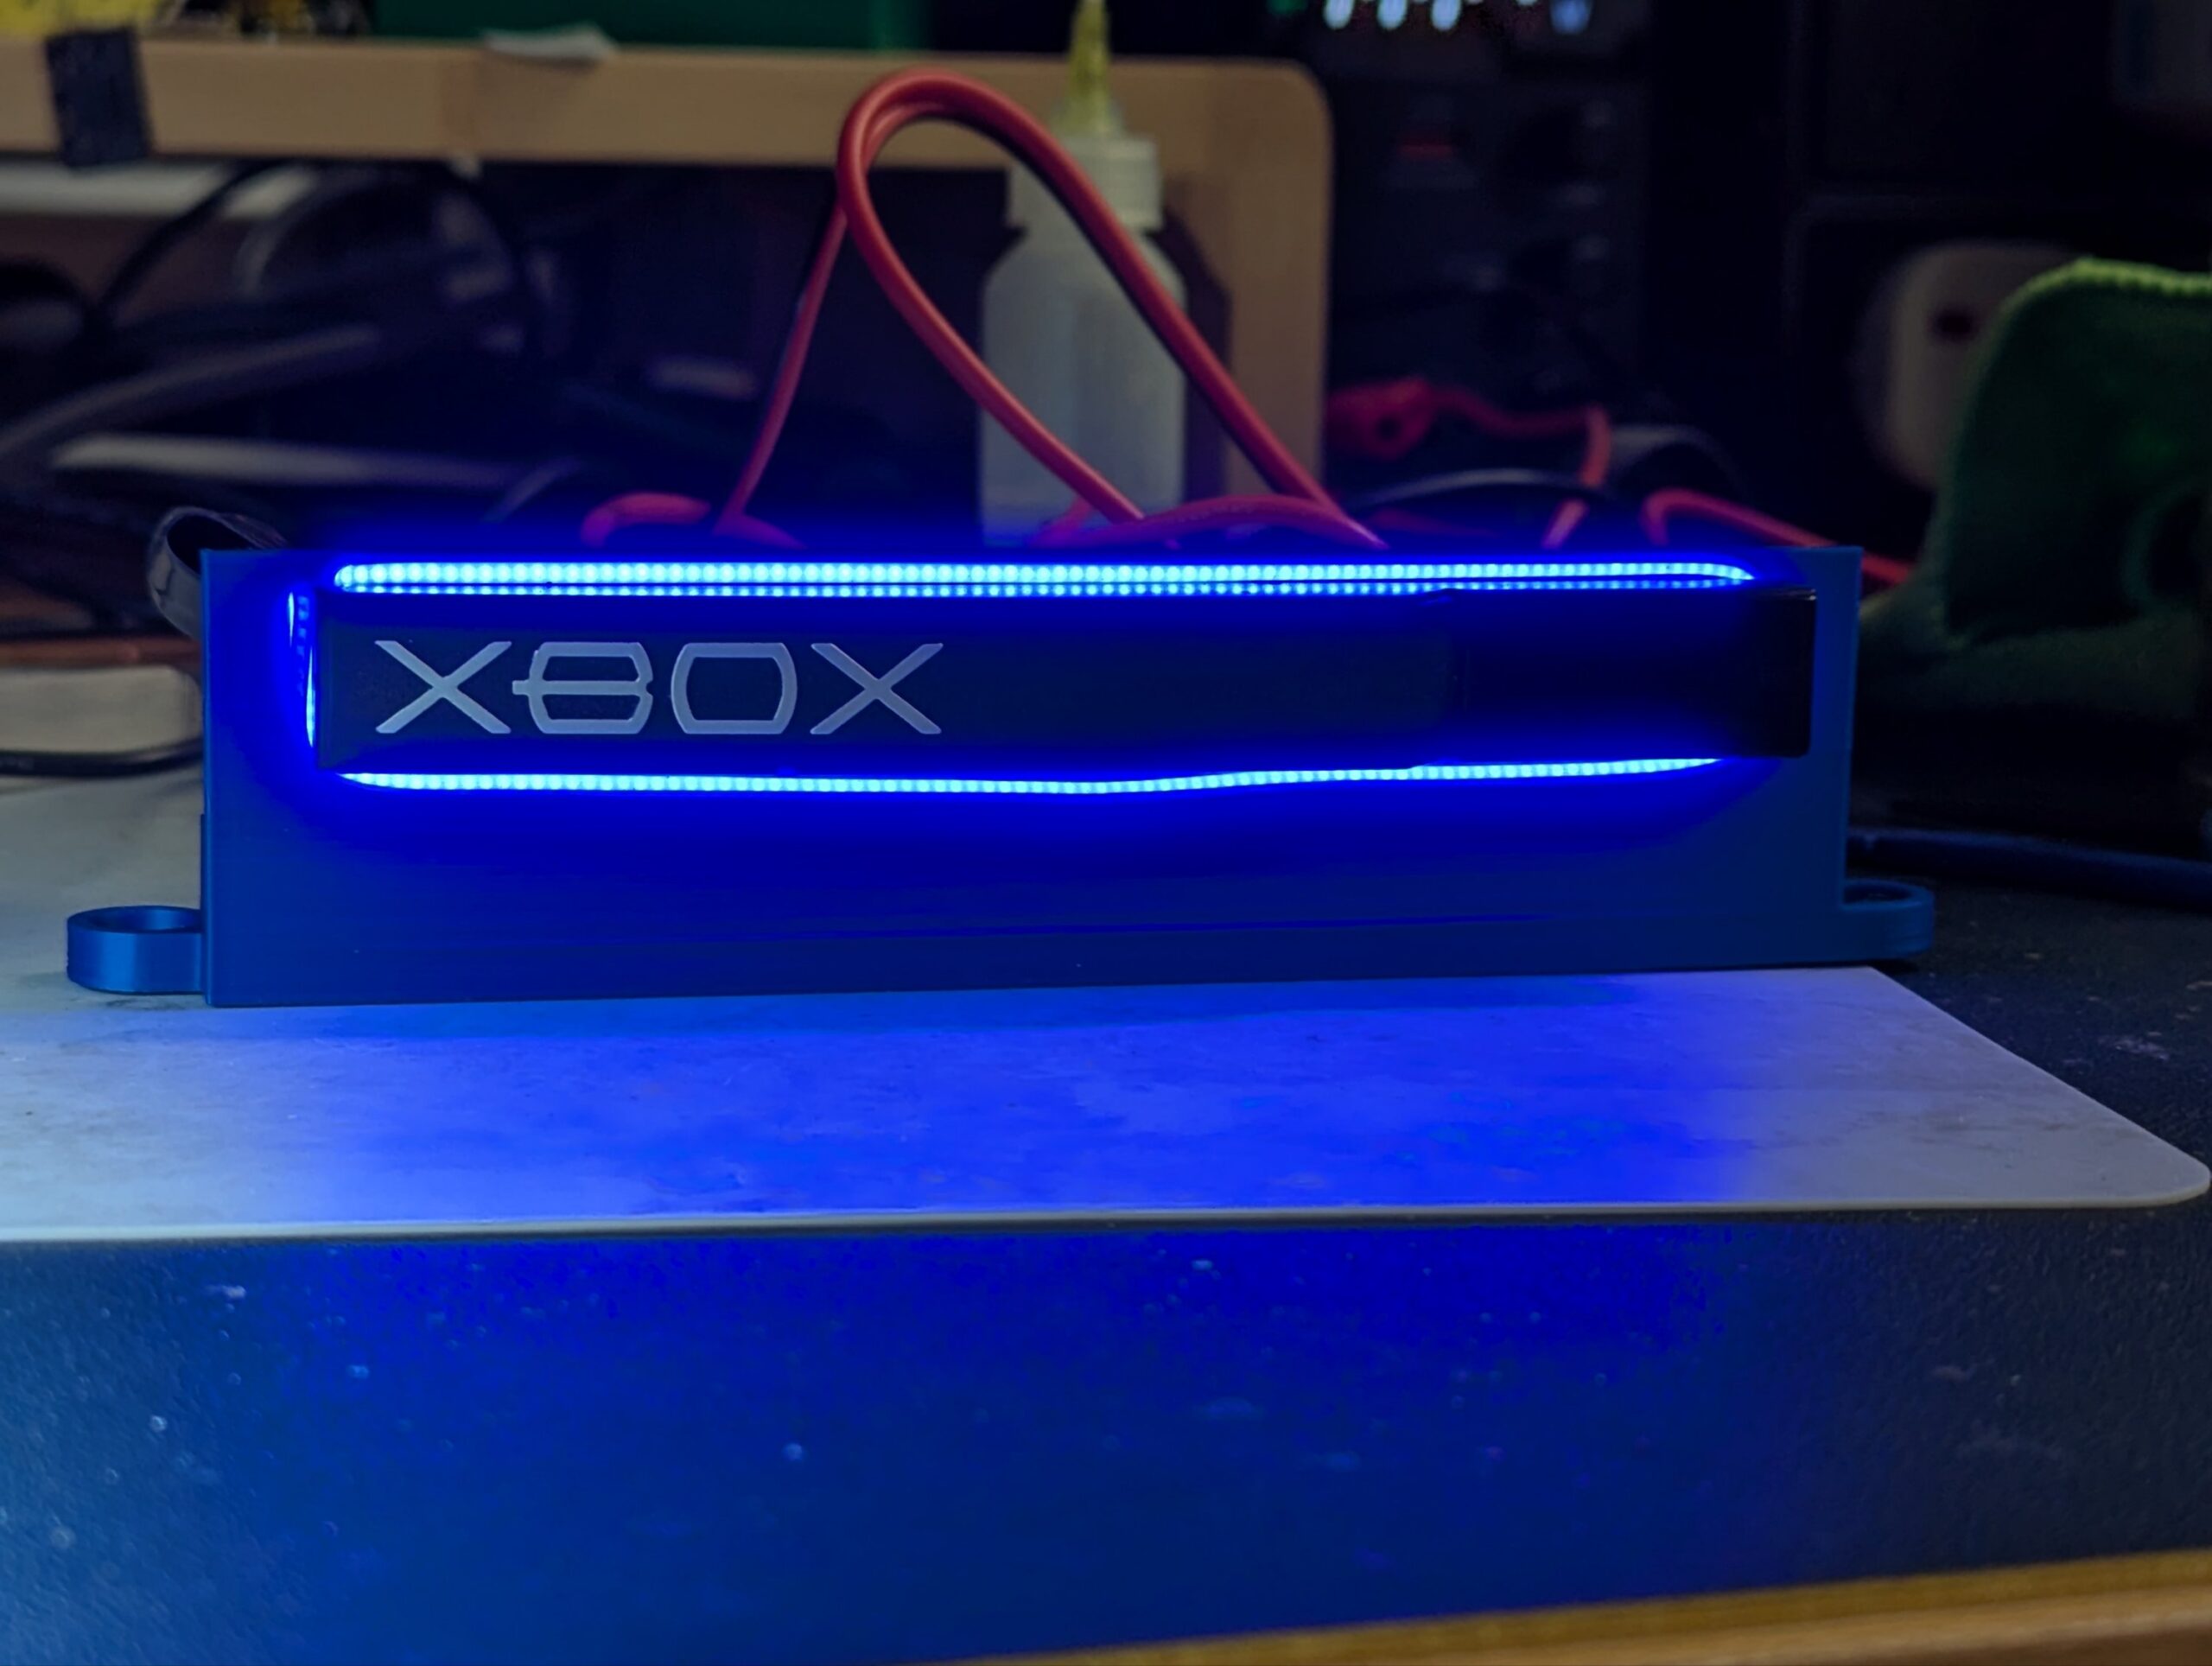
With Original Xbox DVD drives continuing to fail and no clear part replacement in the market, the best option is to mod your console in order to play your games from the HDD. This leaves an unsuable DVD drive inside the console, which some people decide to remove as it doesn’t really serve a purpose anymore. Removing the DVD drive however leaves a hole in the front of the Xbox, so 3D printed brackets can be installed that allow you to insert the original DVD tray faceplate. In this way, it continues to look like there is a DVD drive installed when in fact there is none.
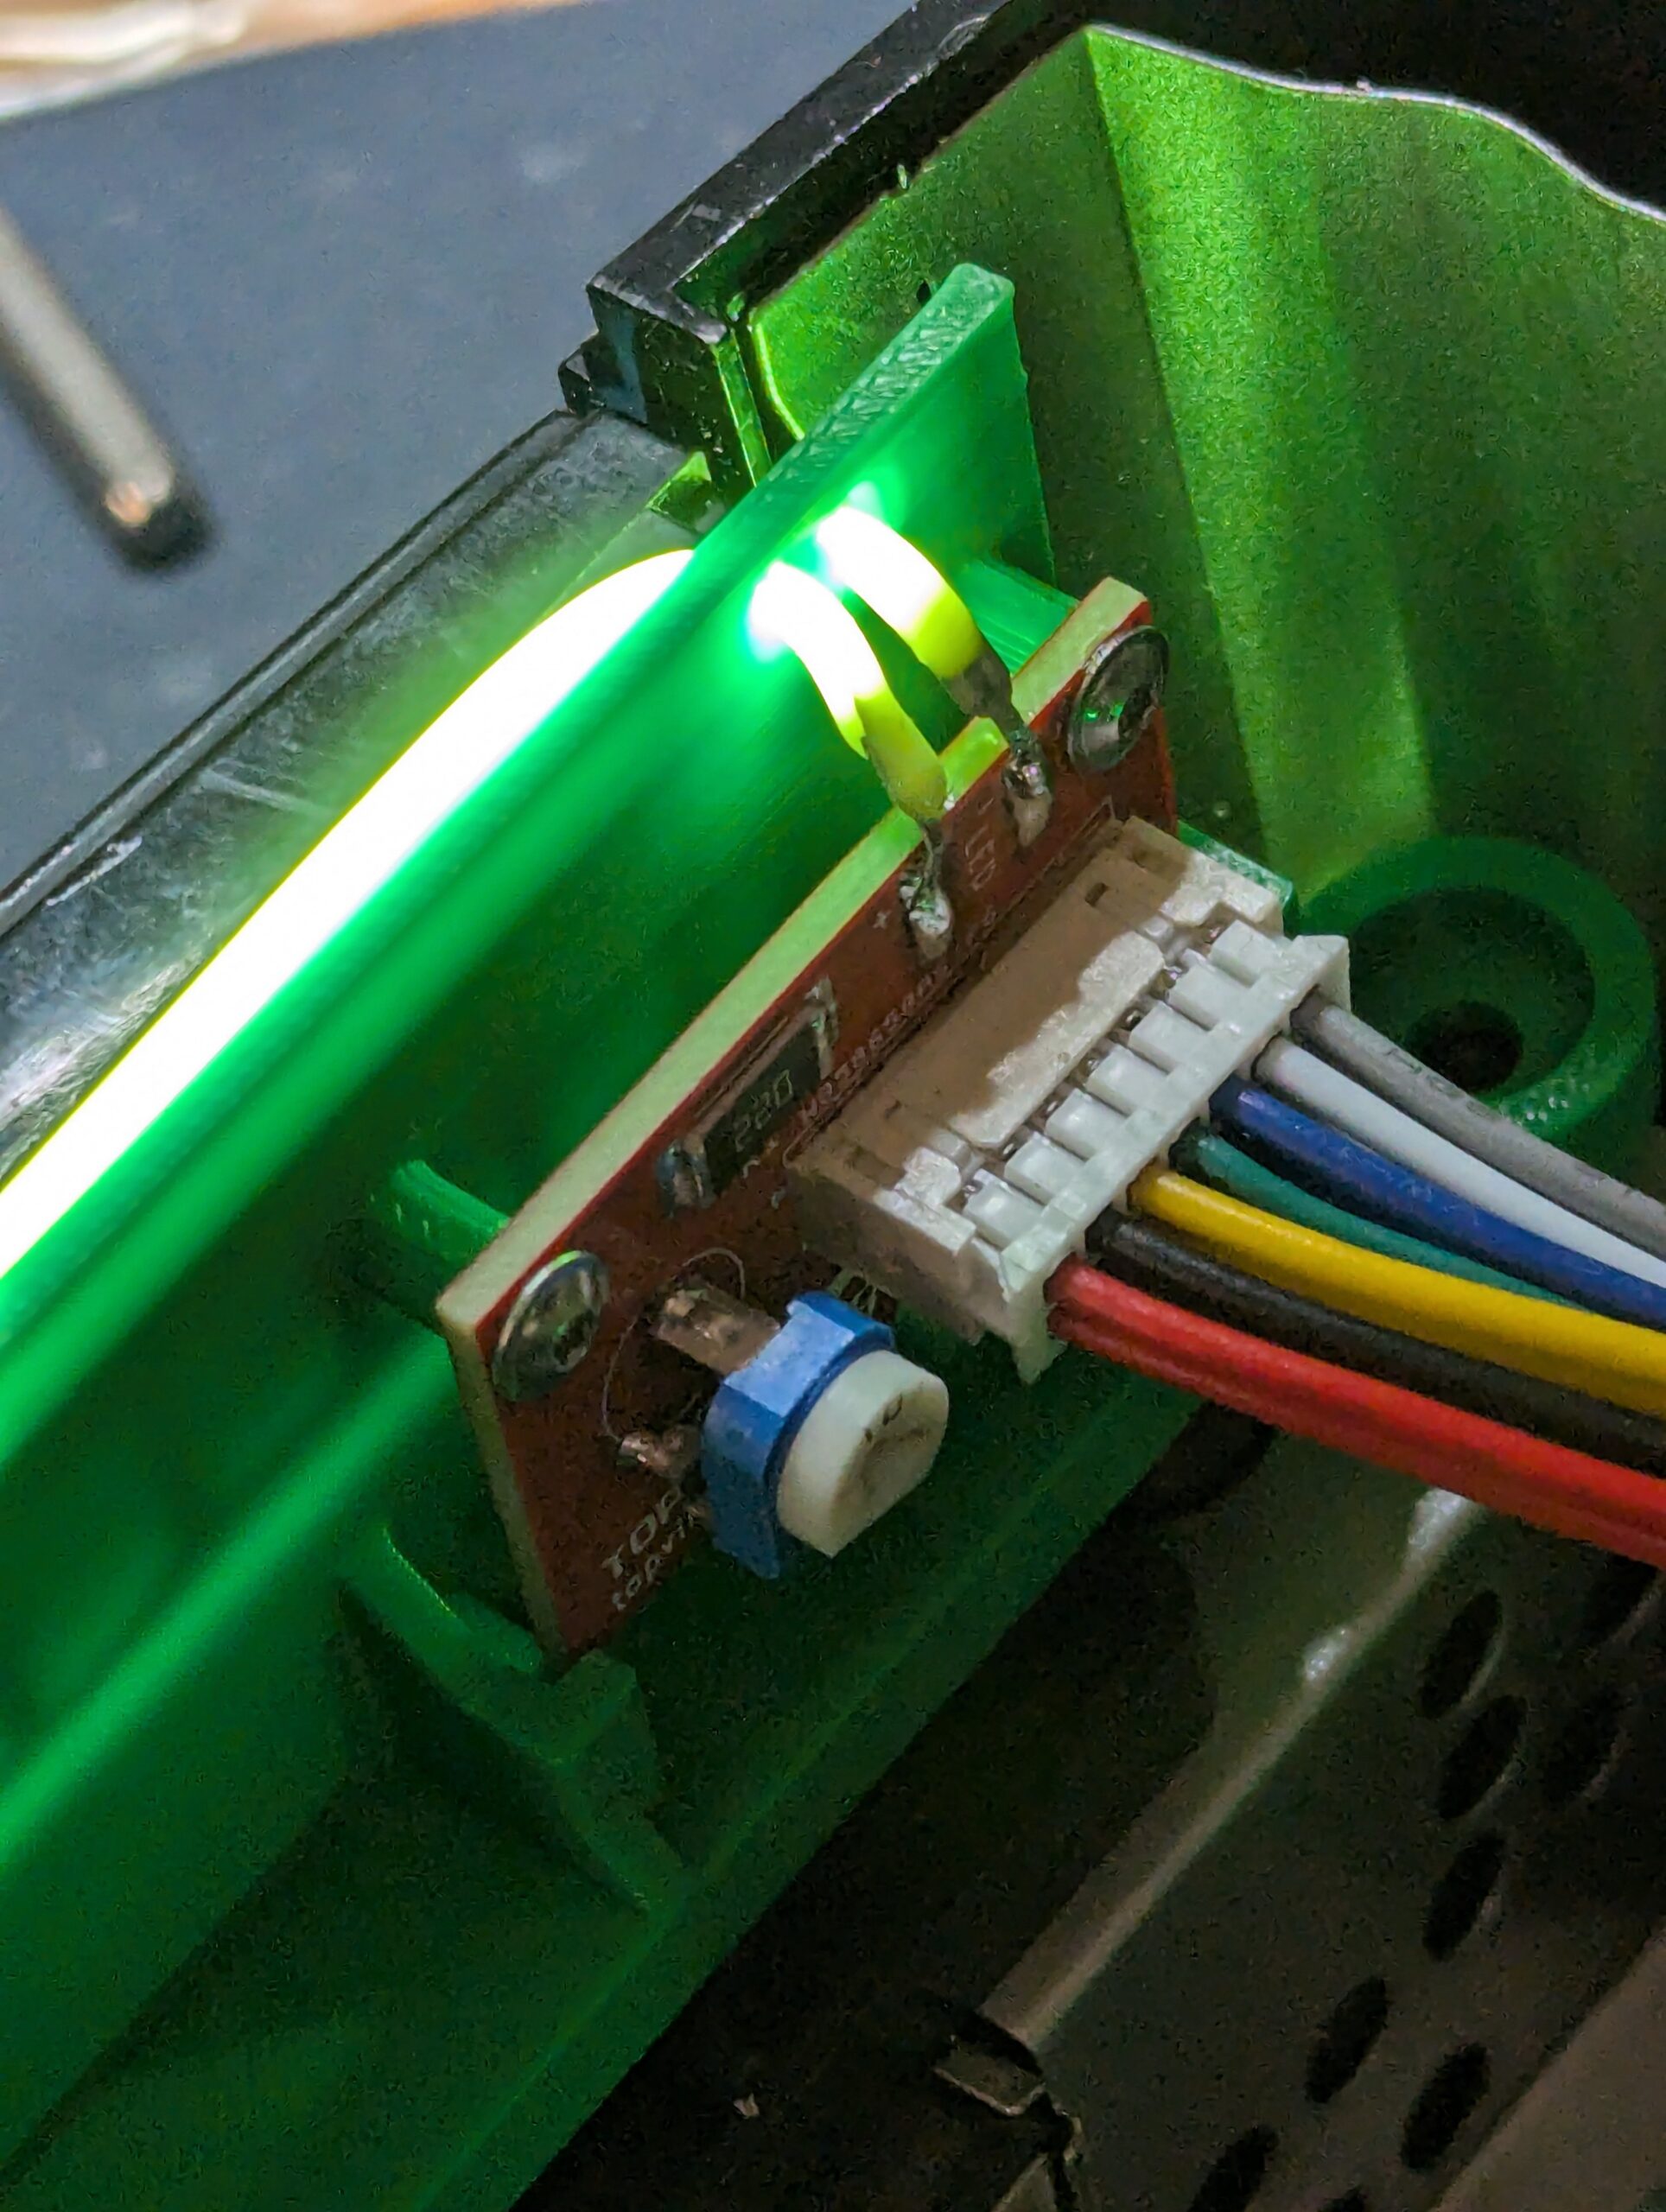
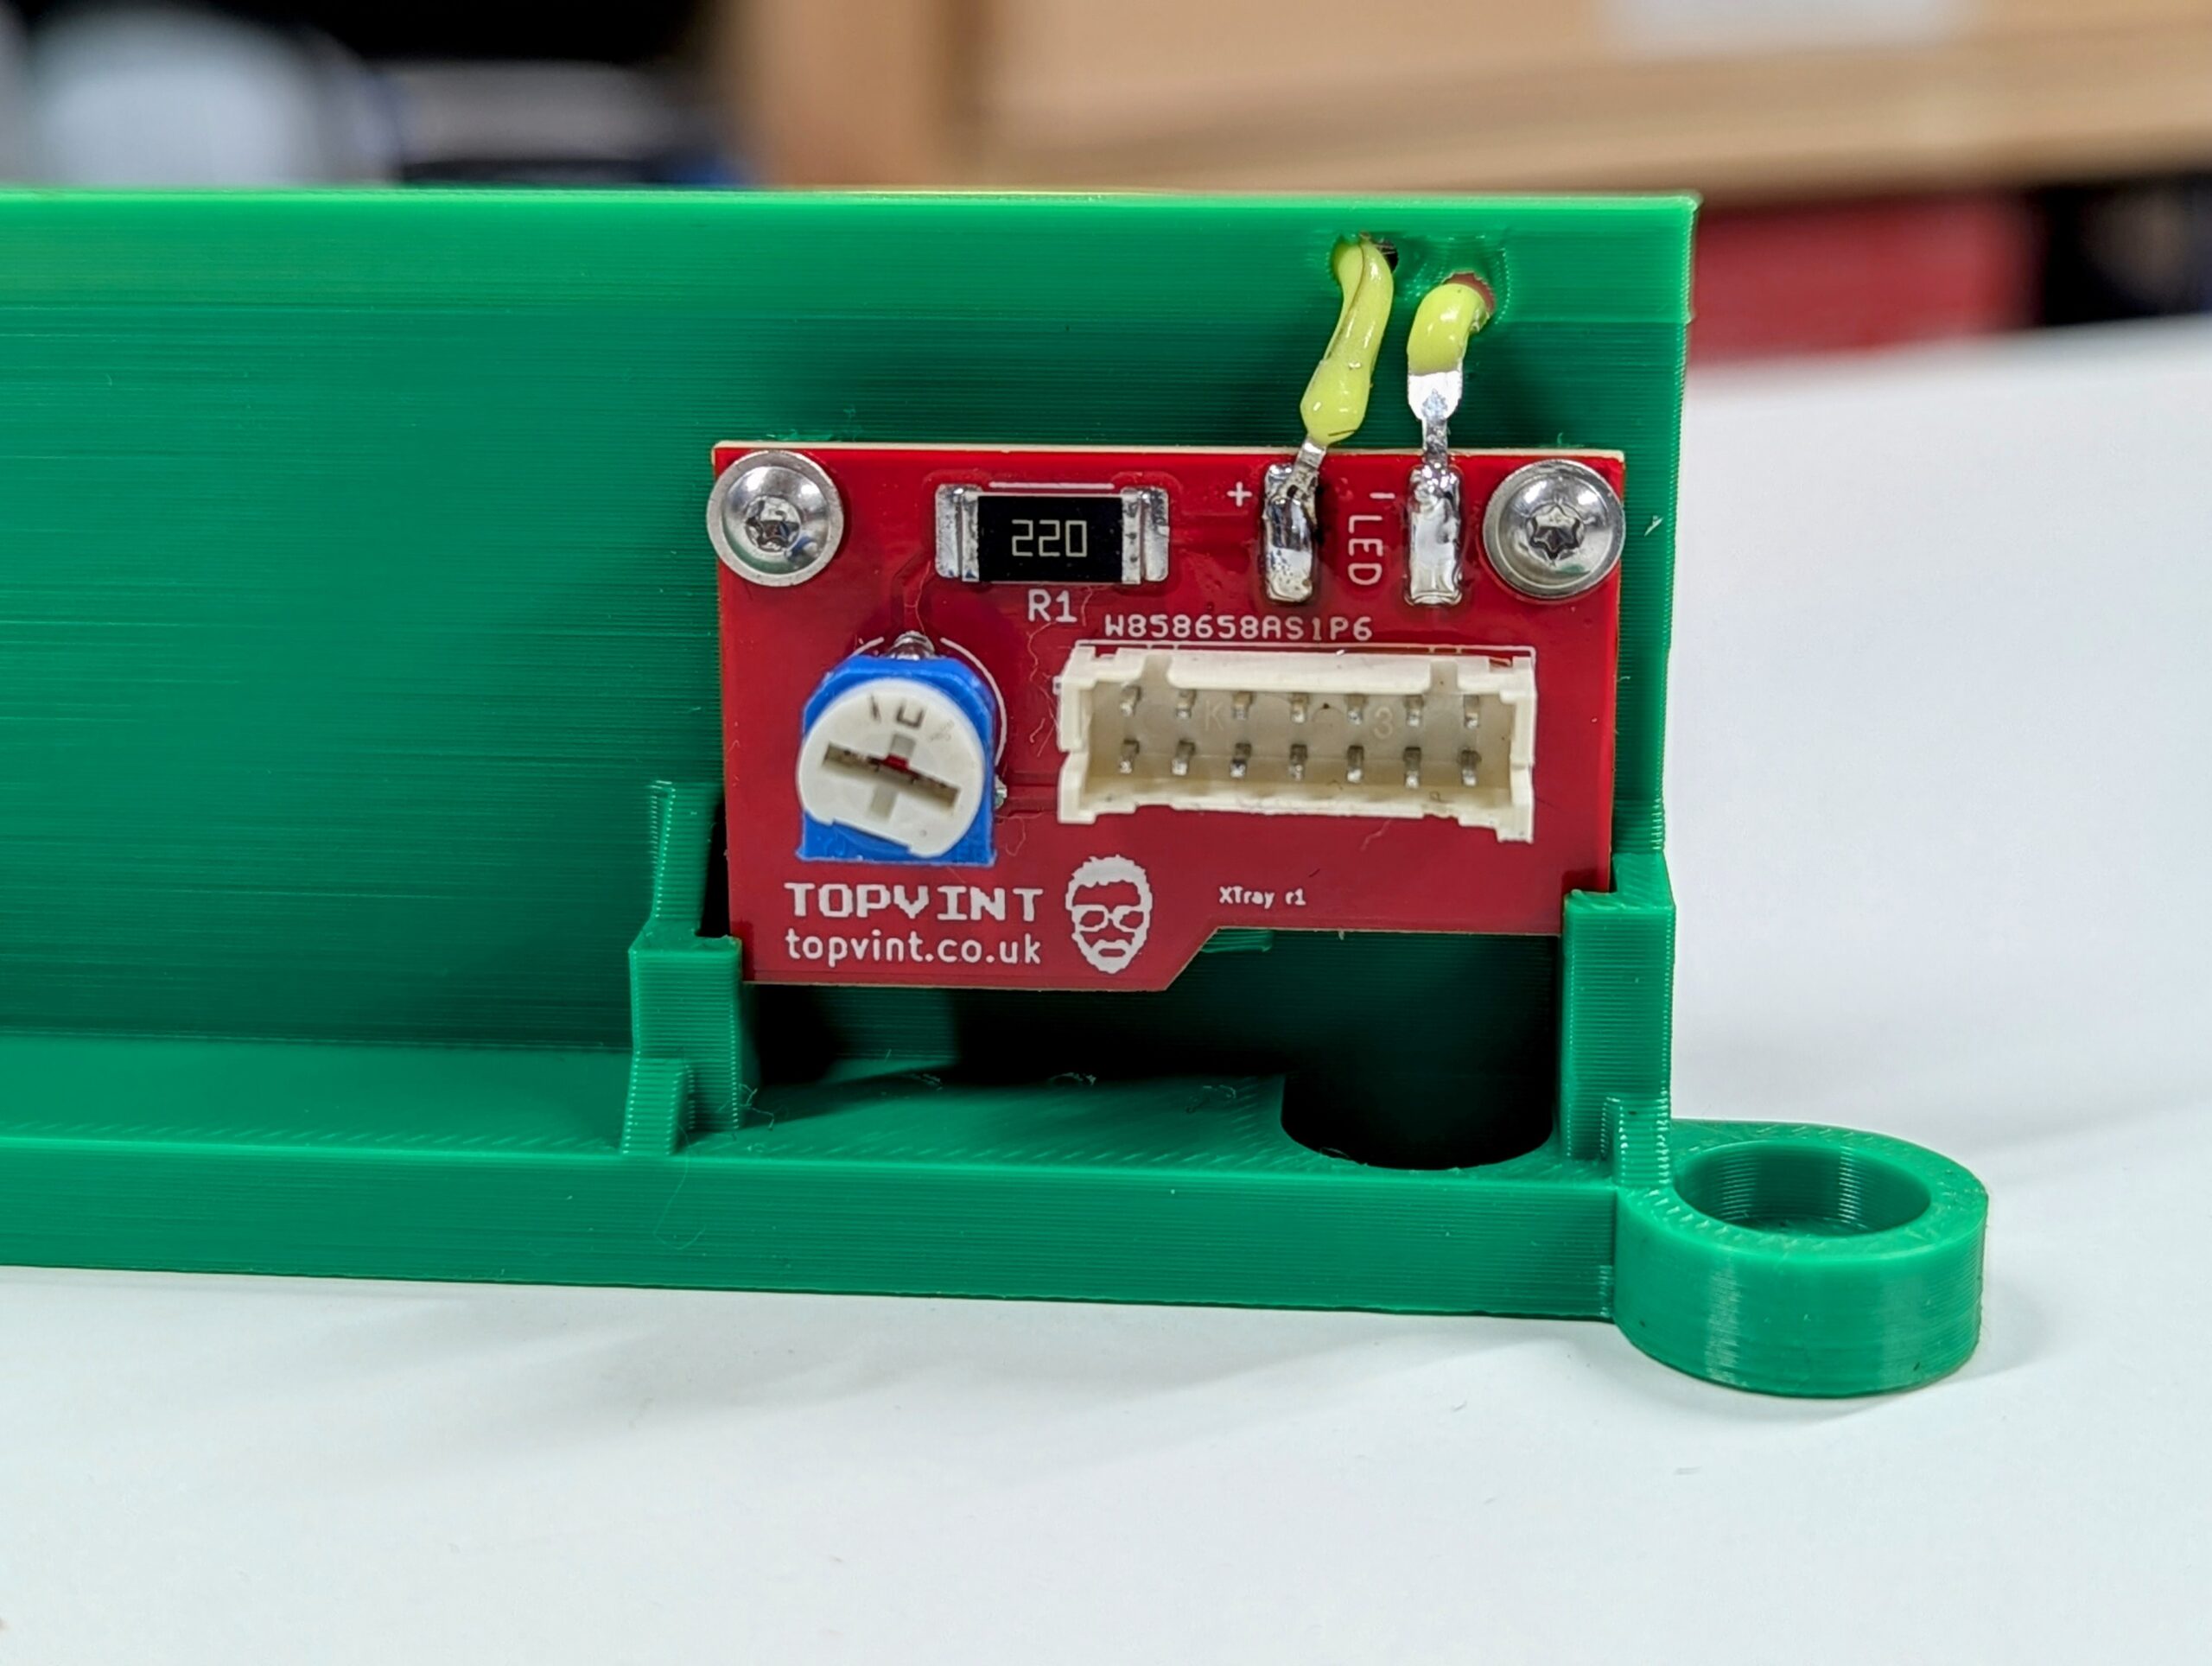
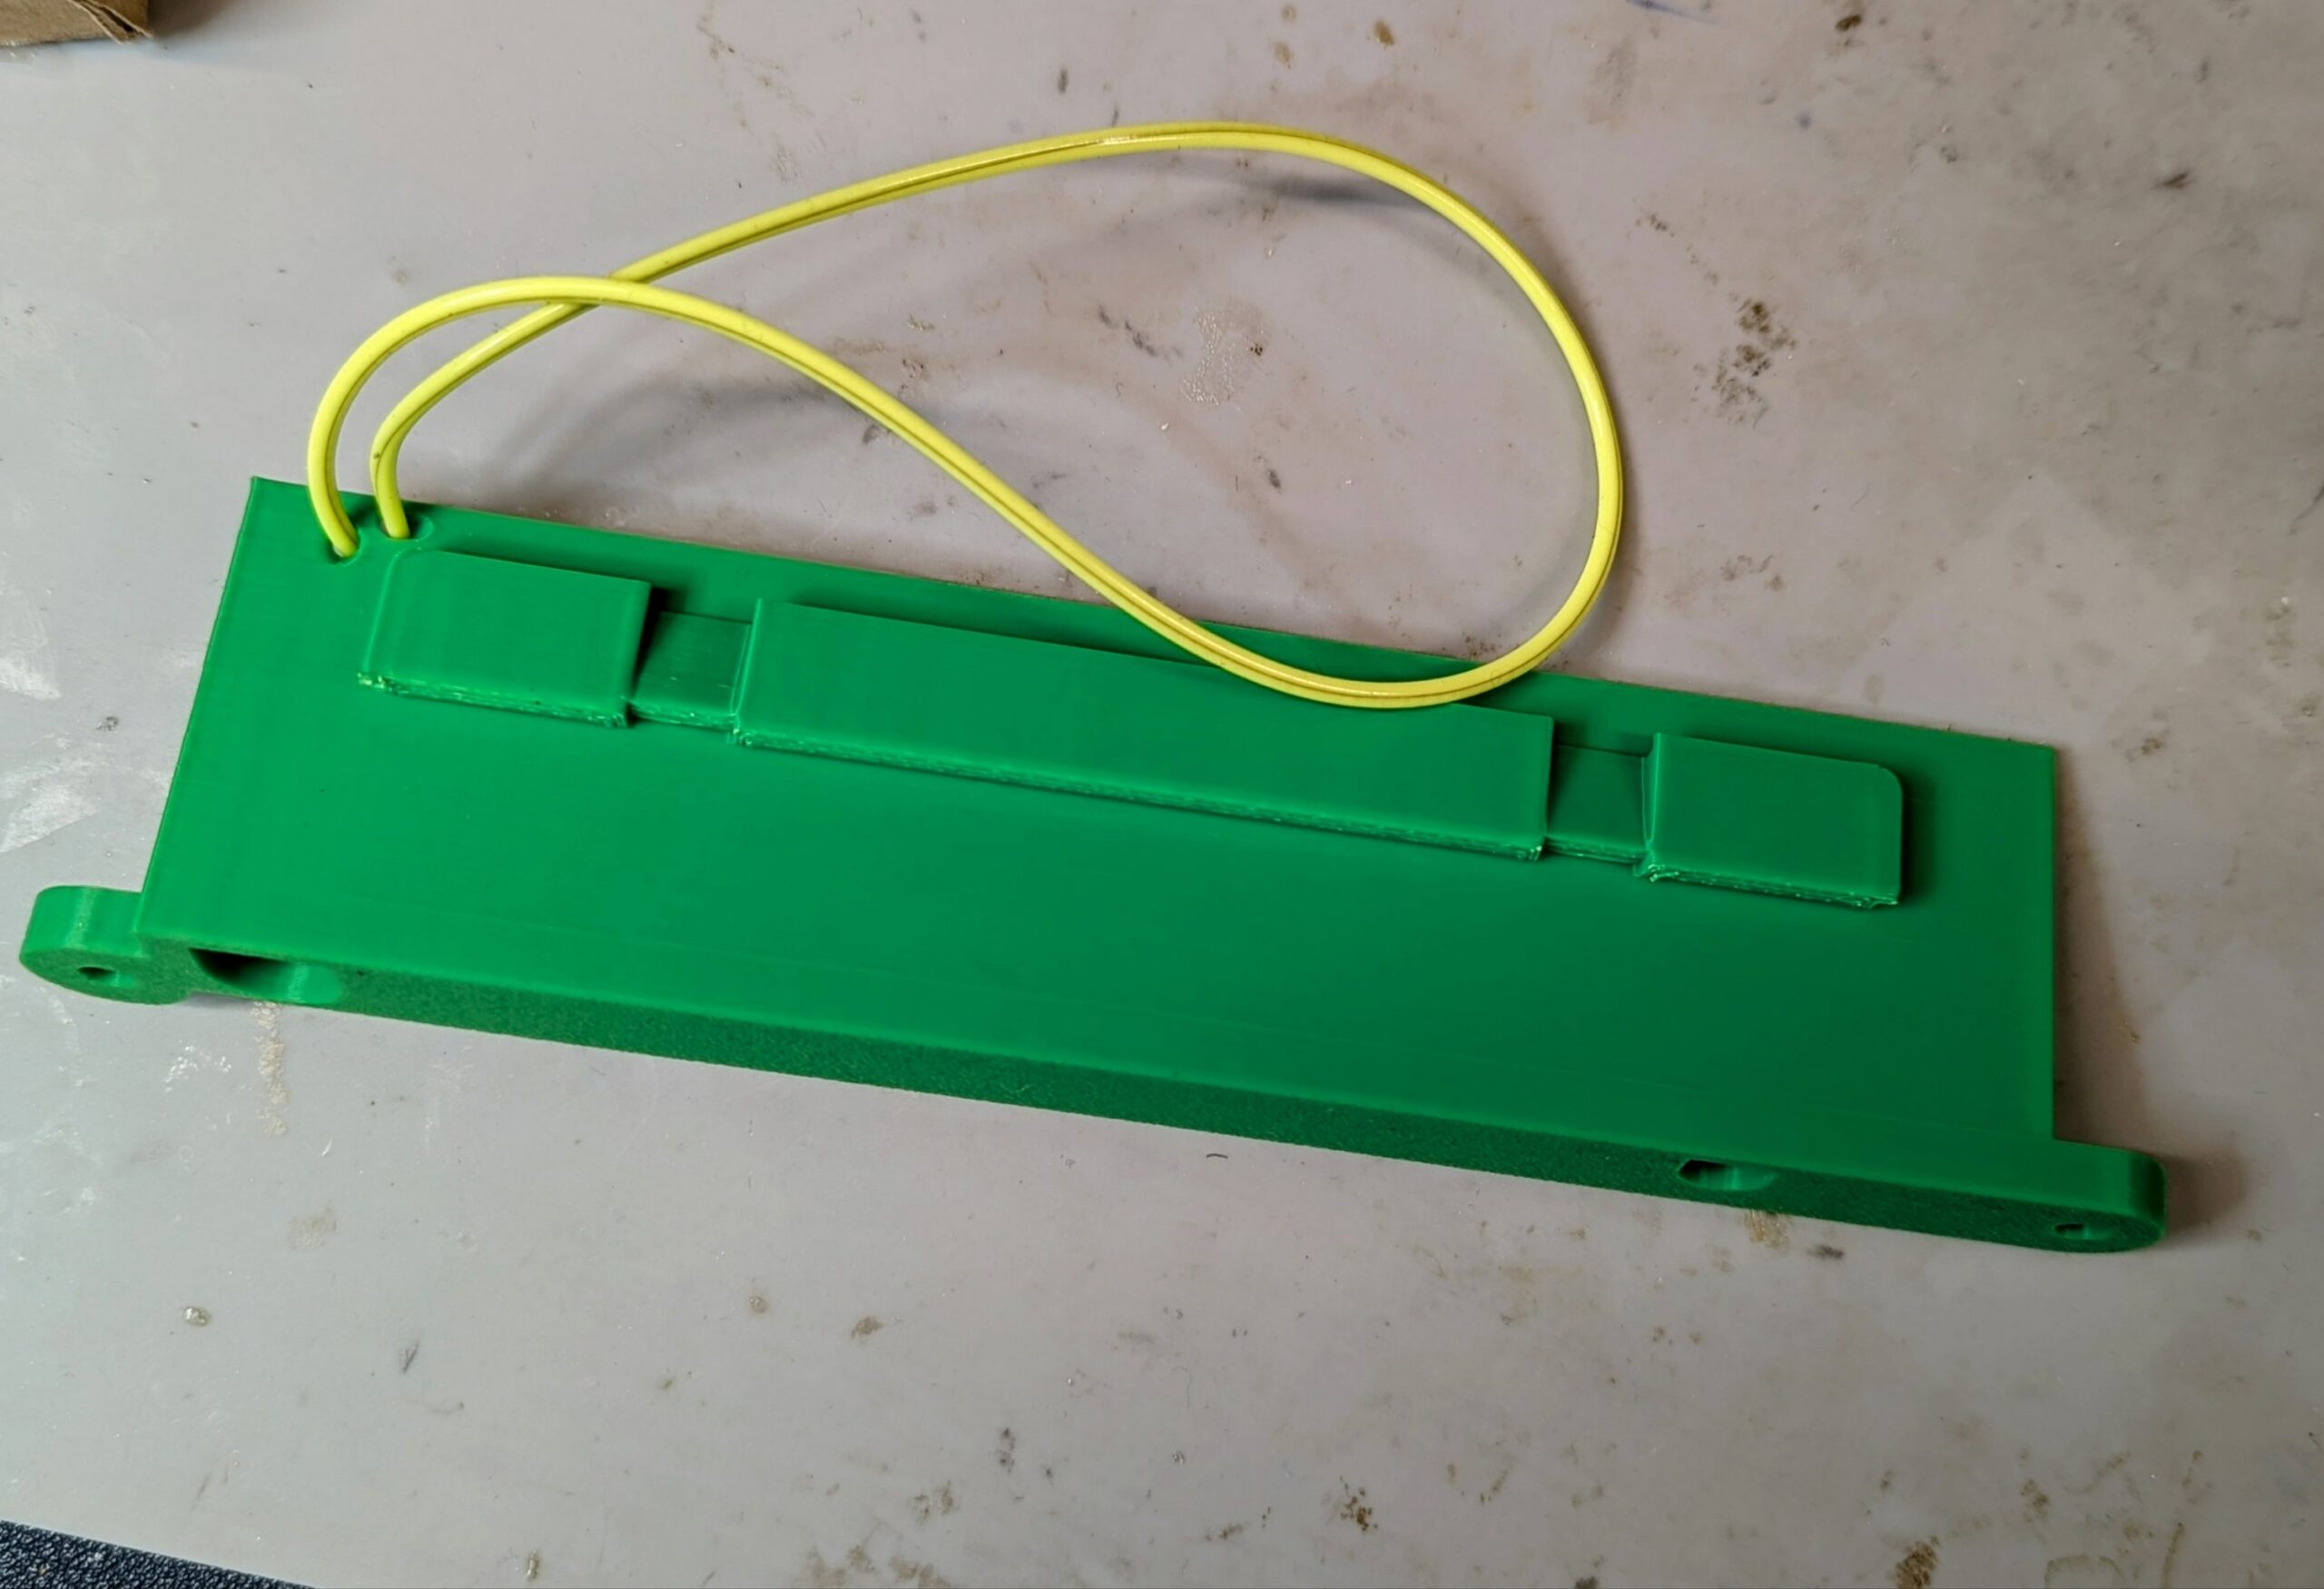
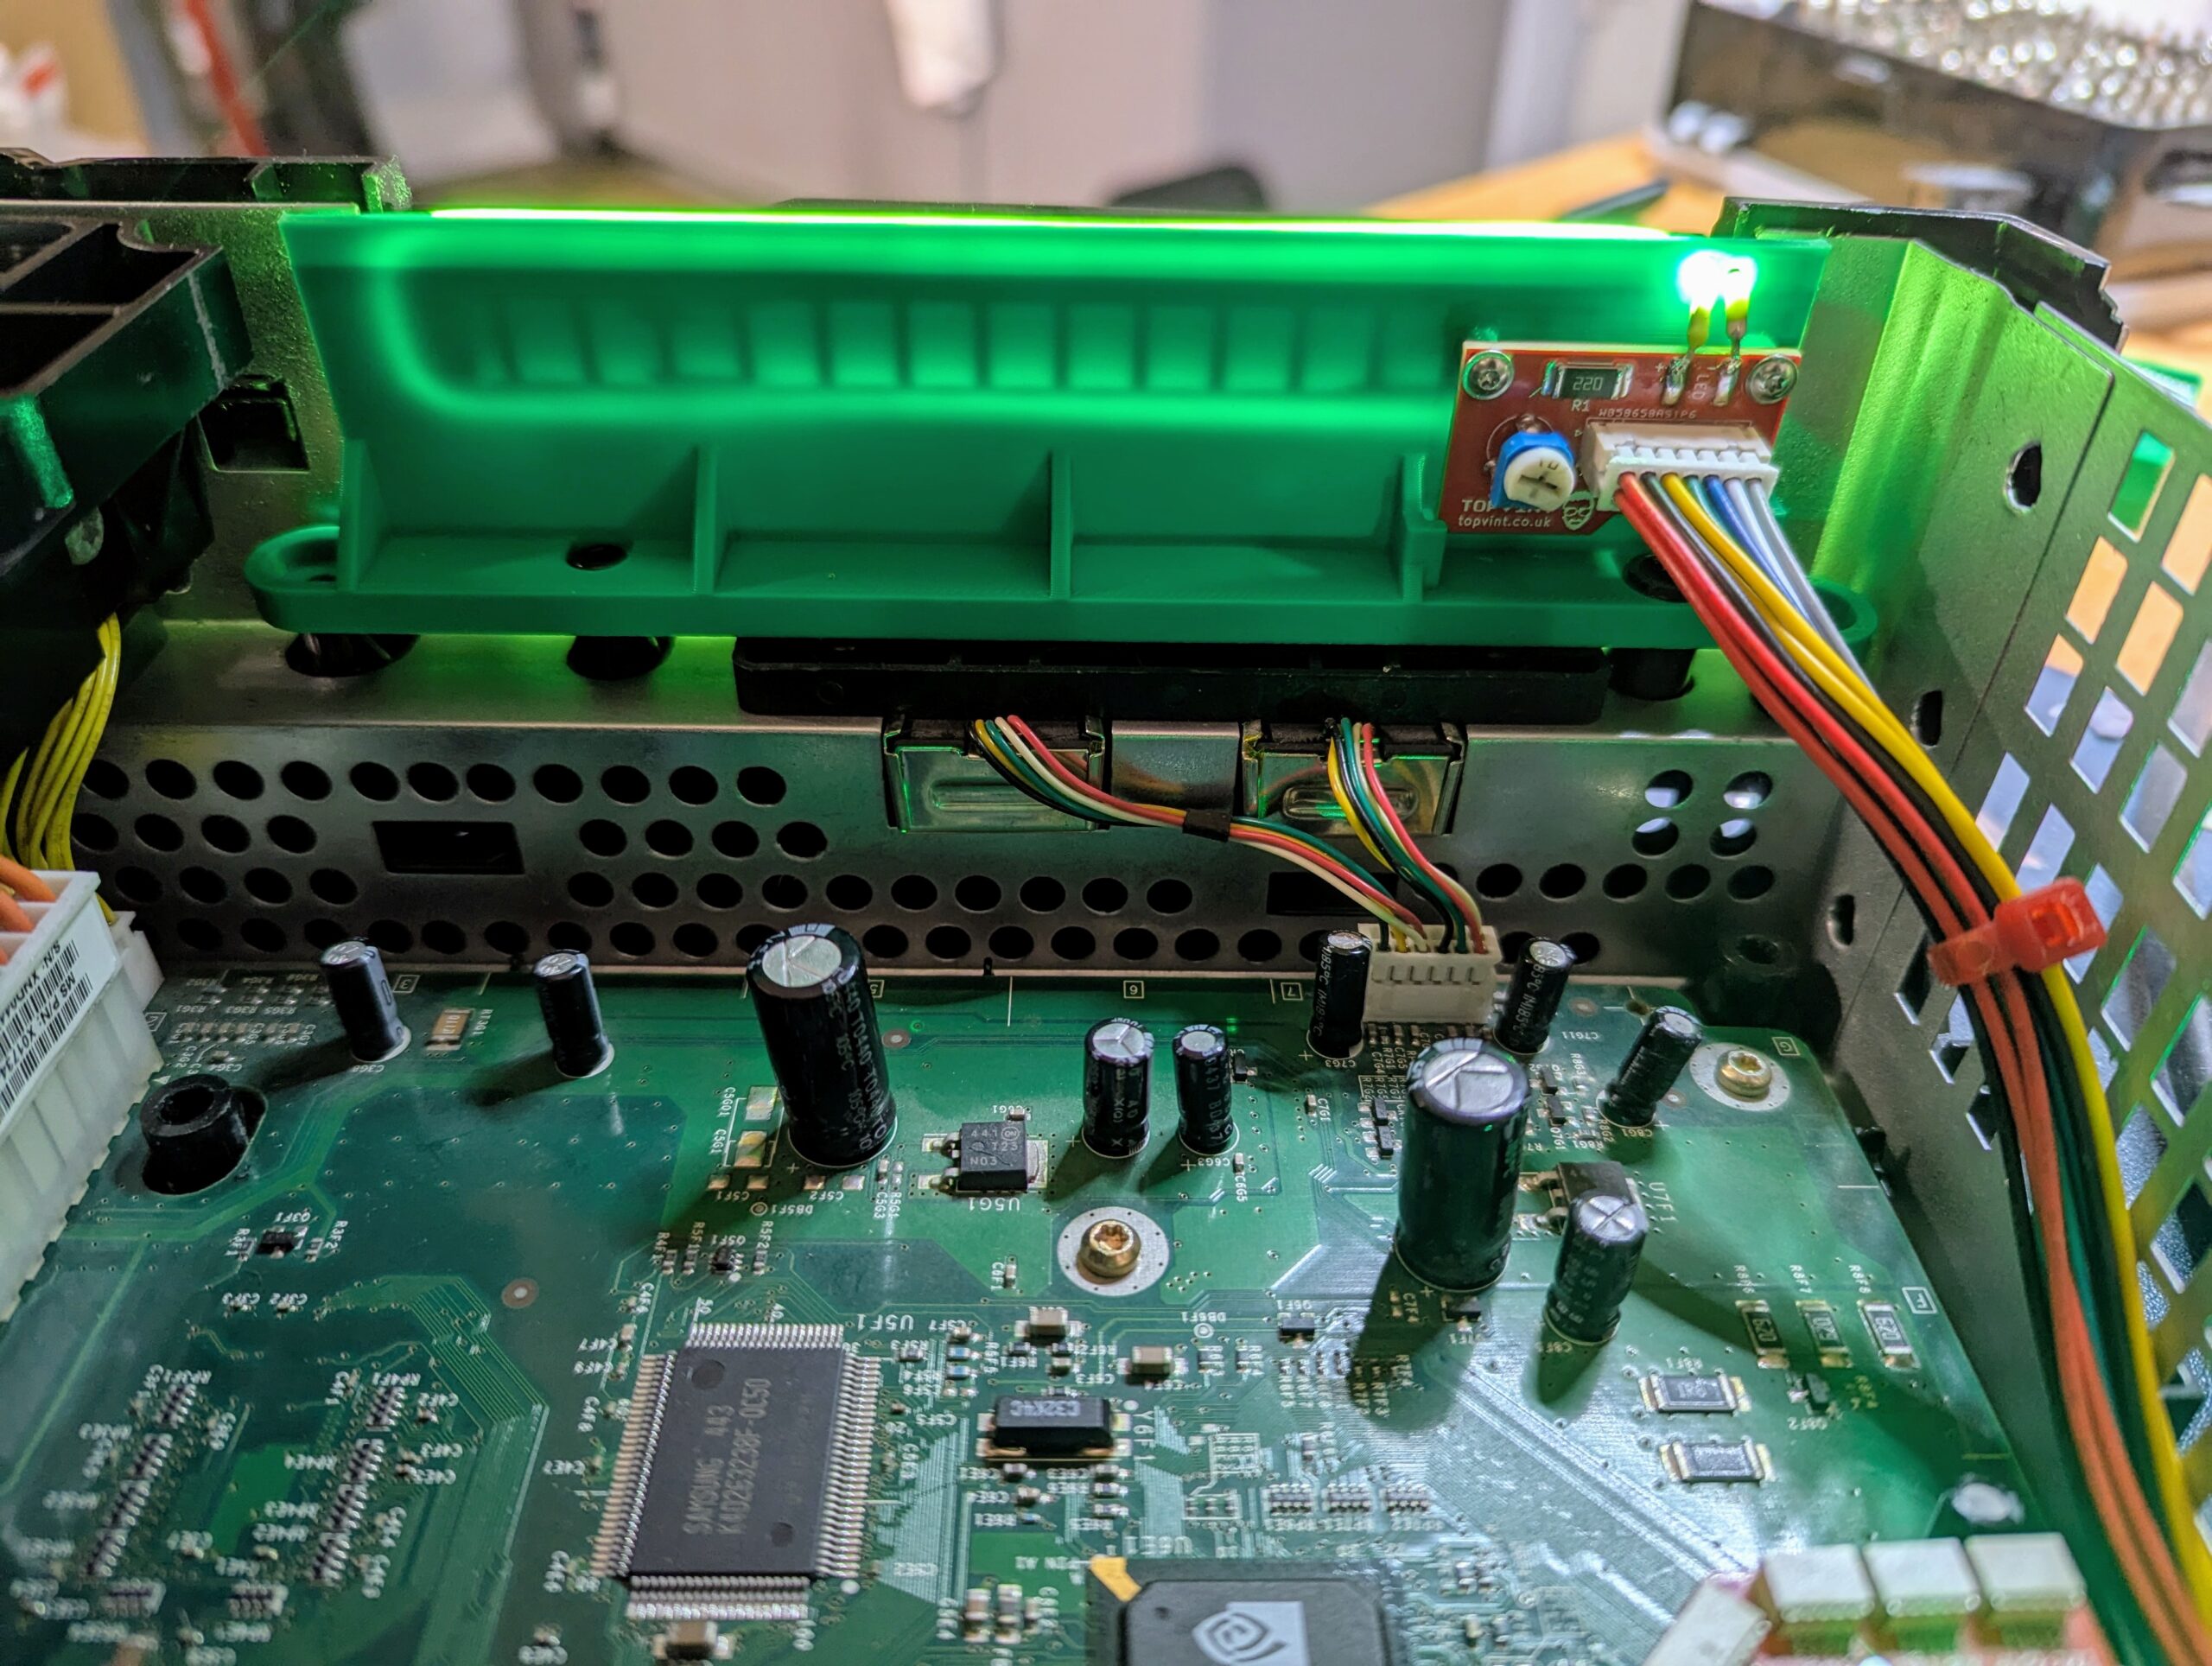
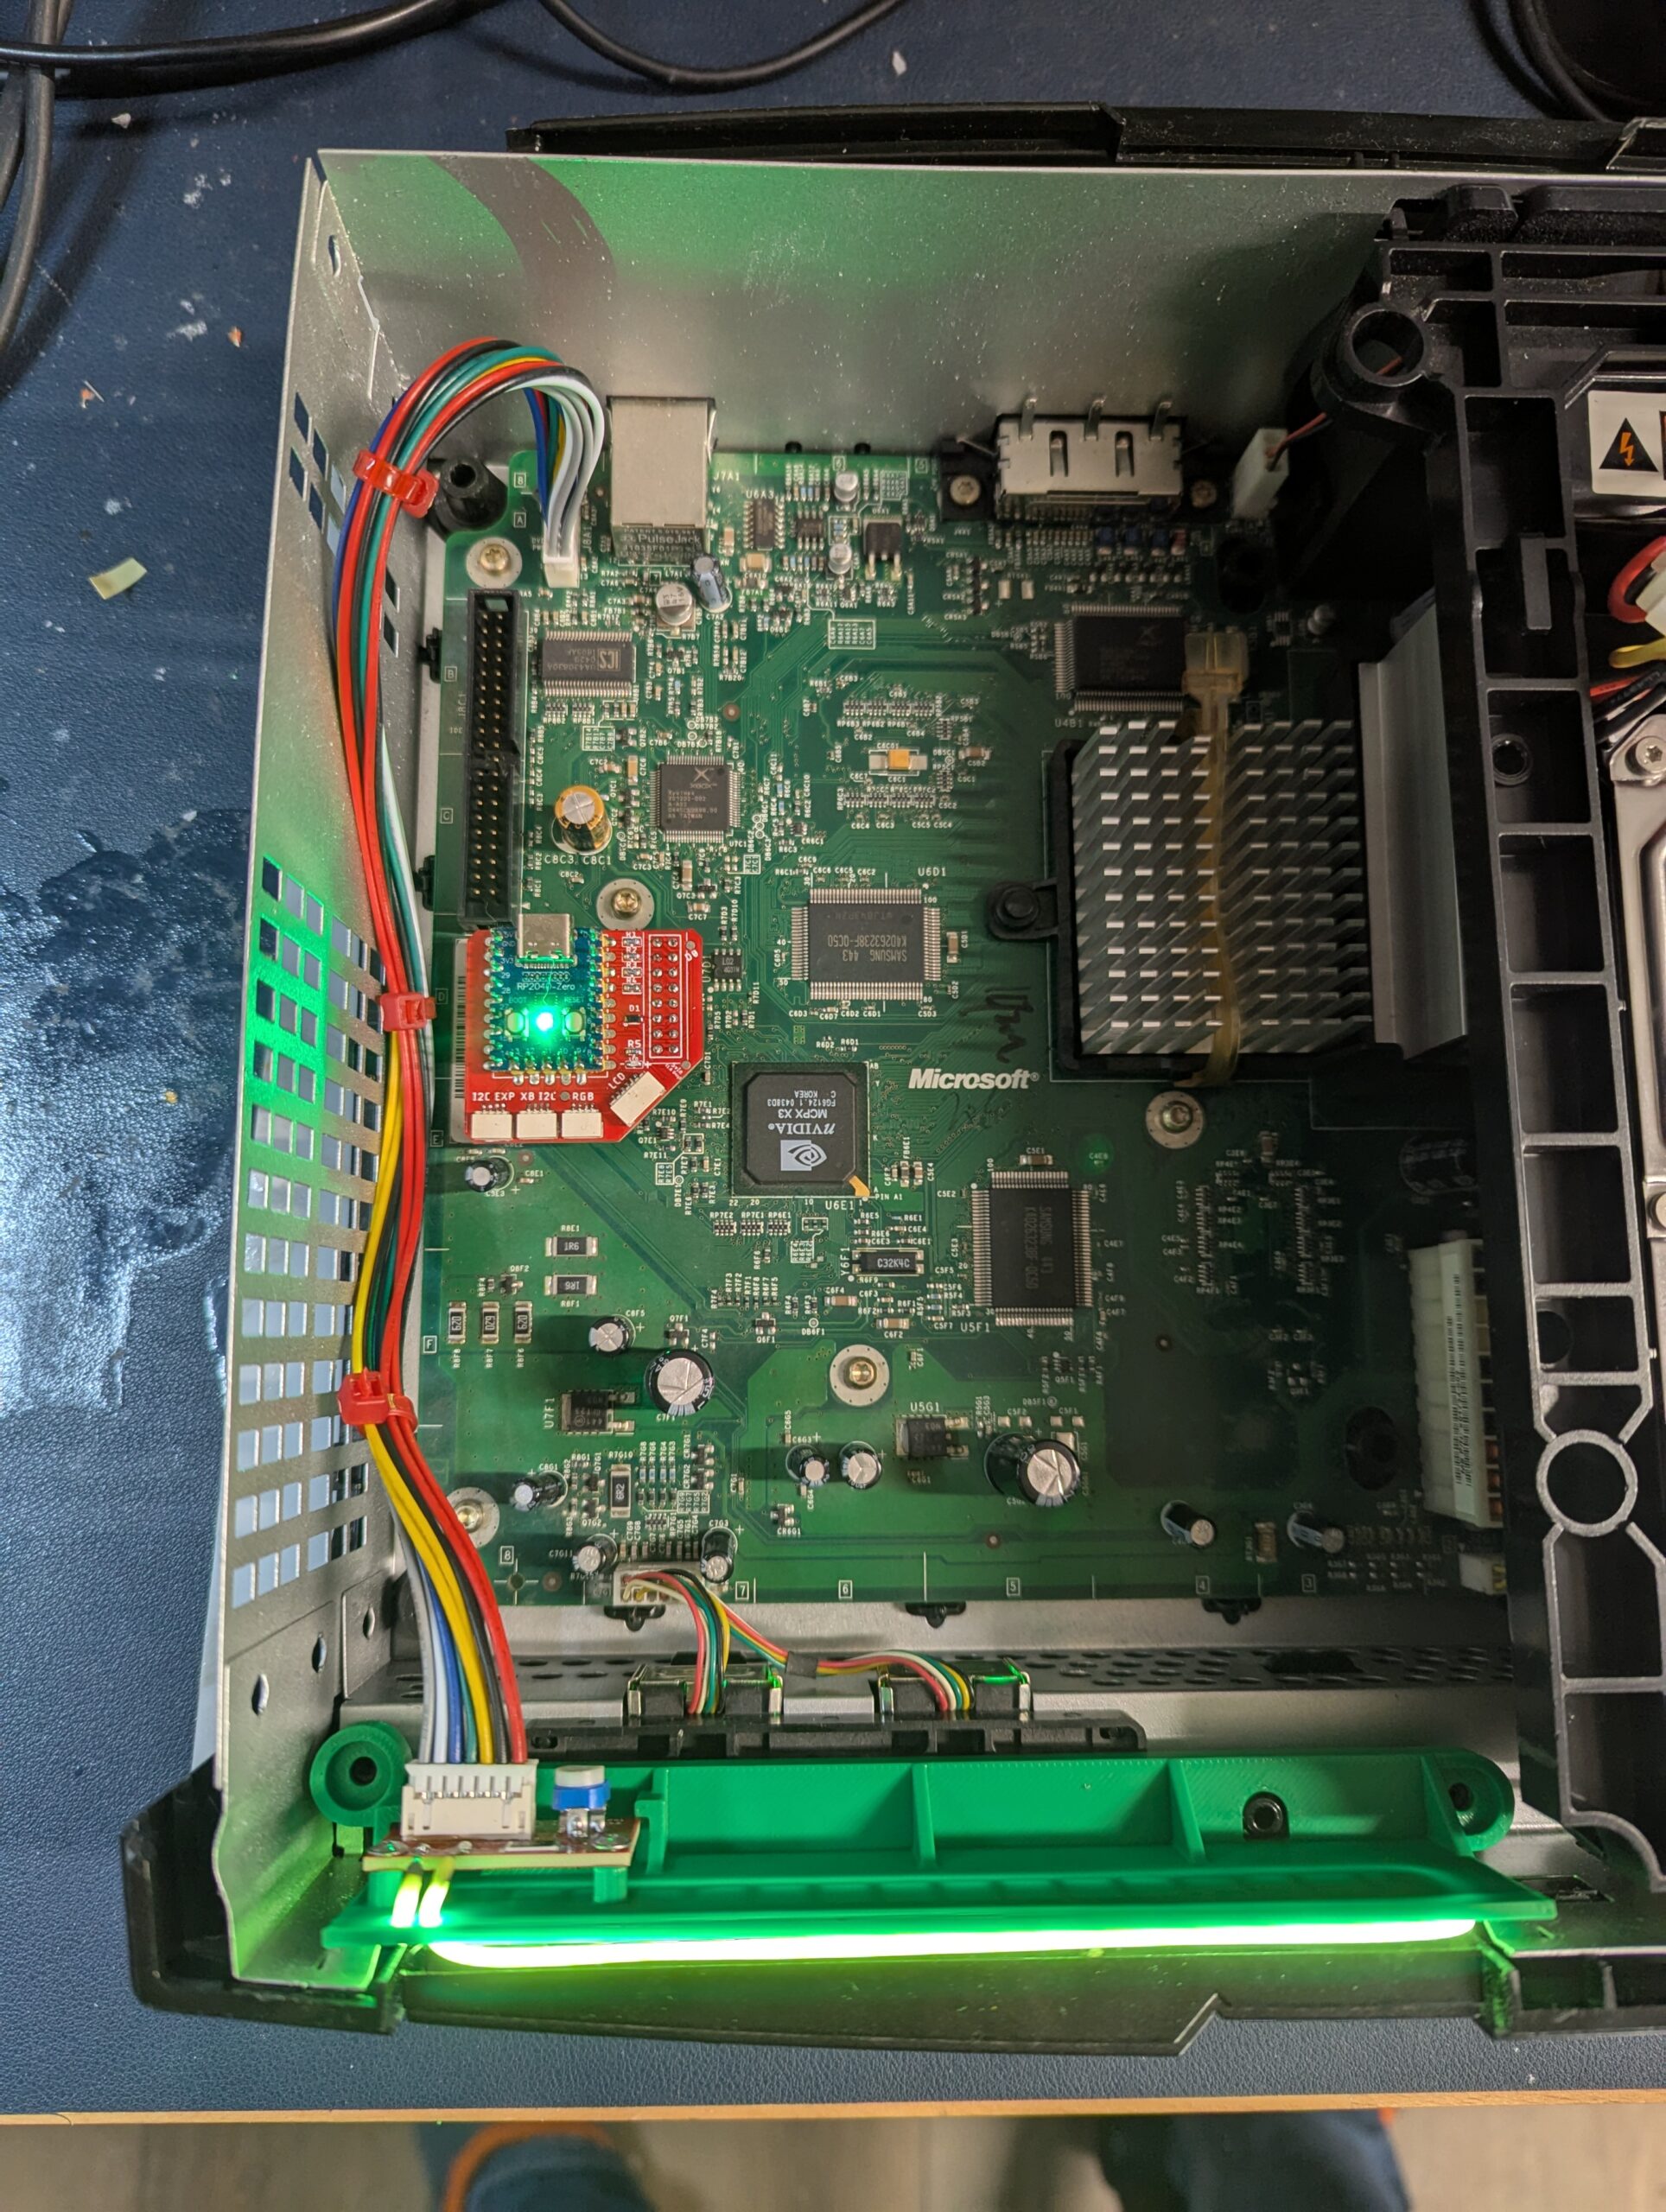
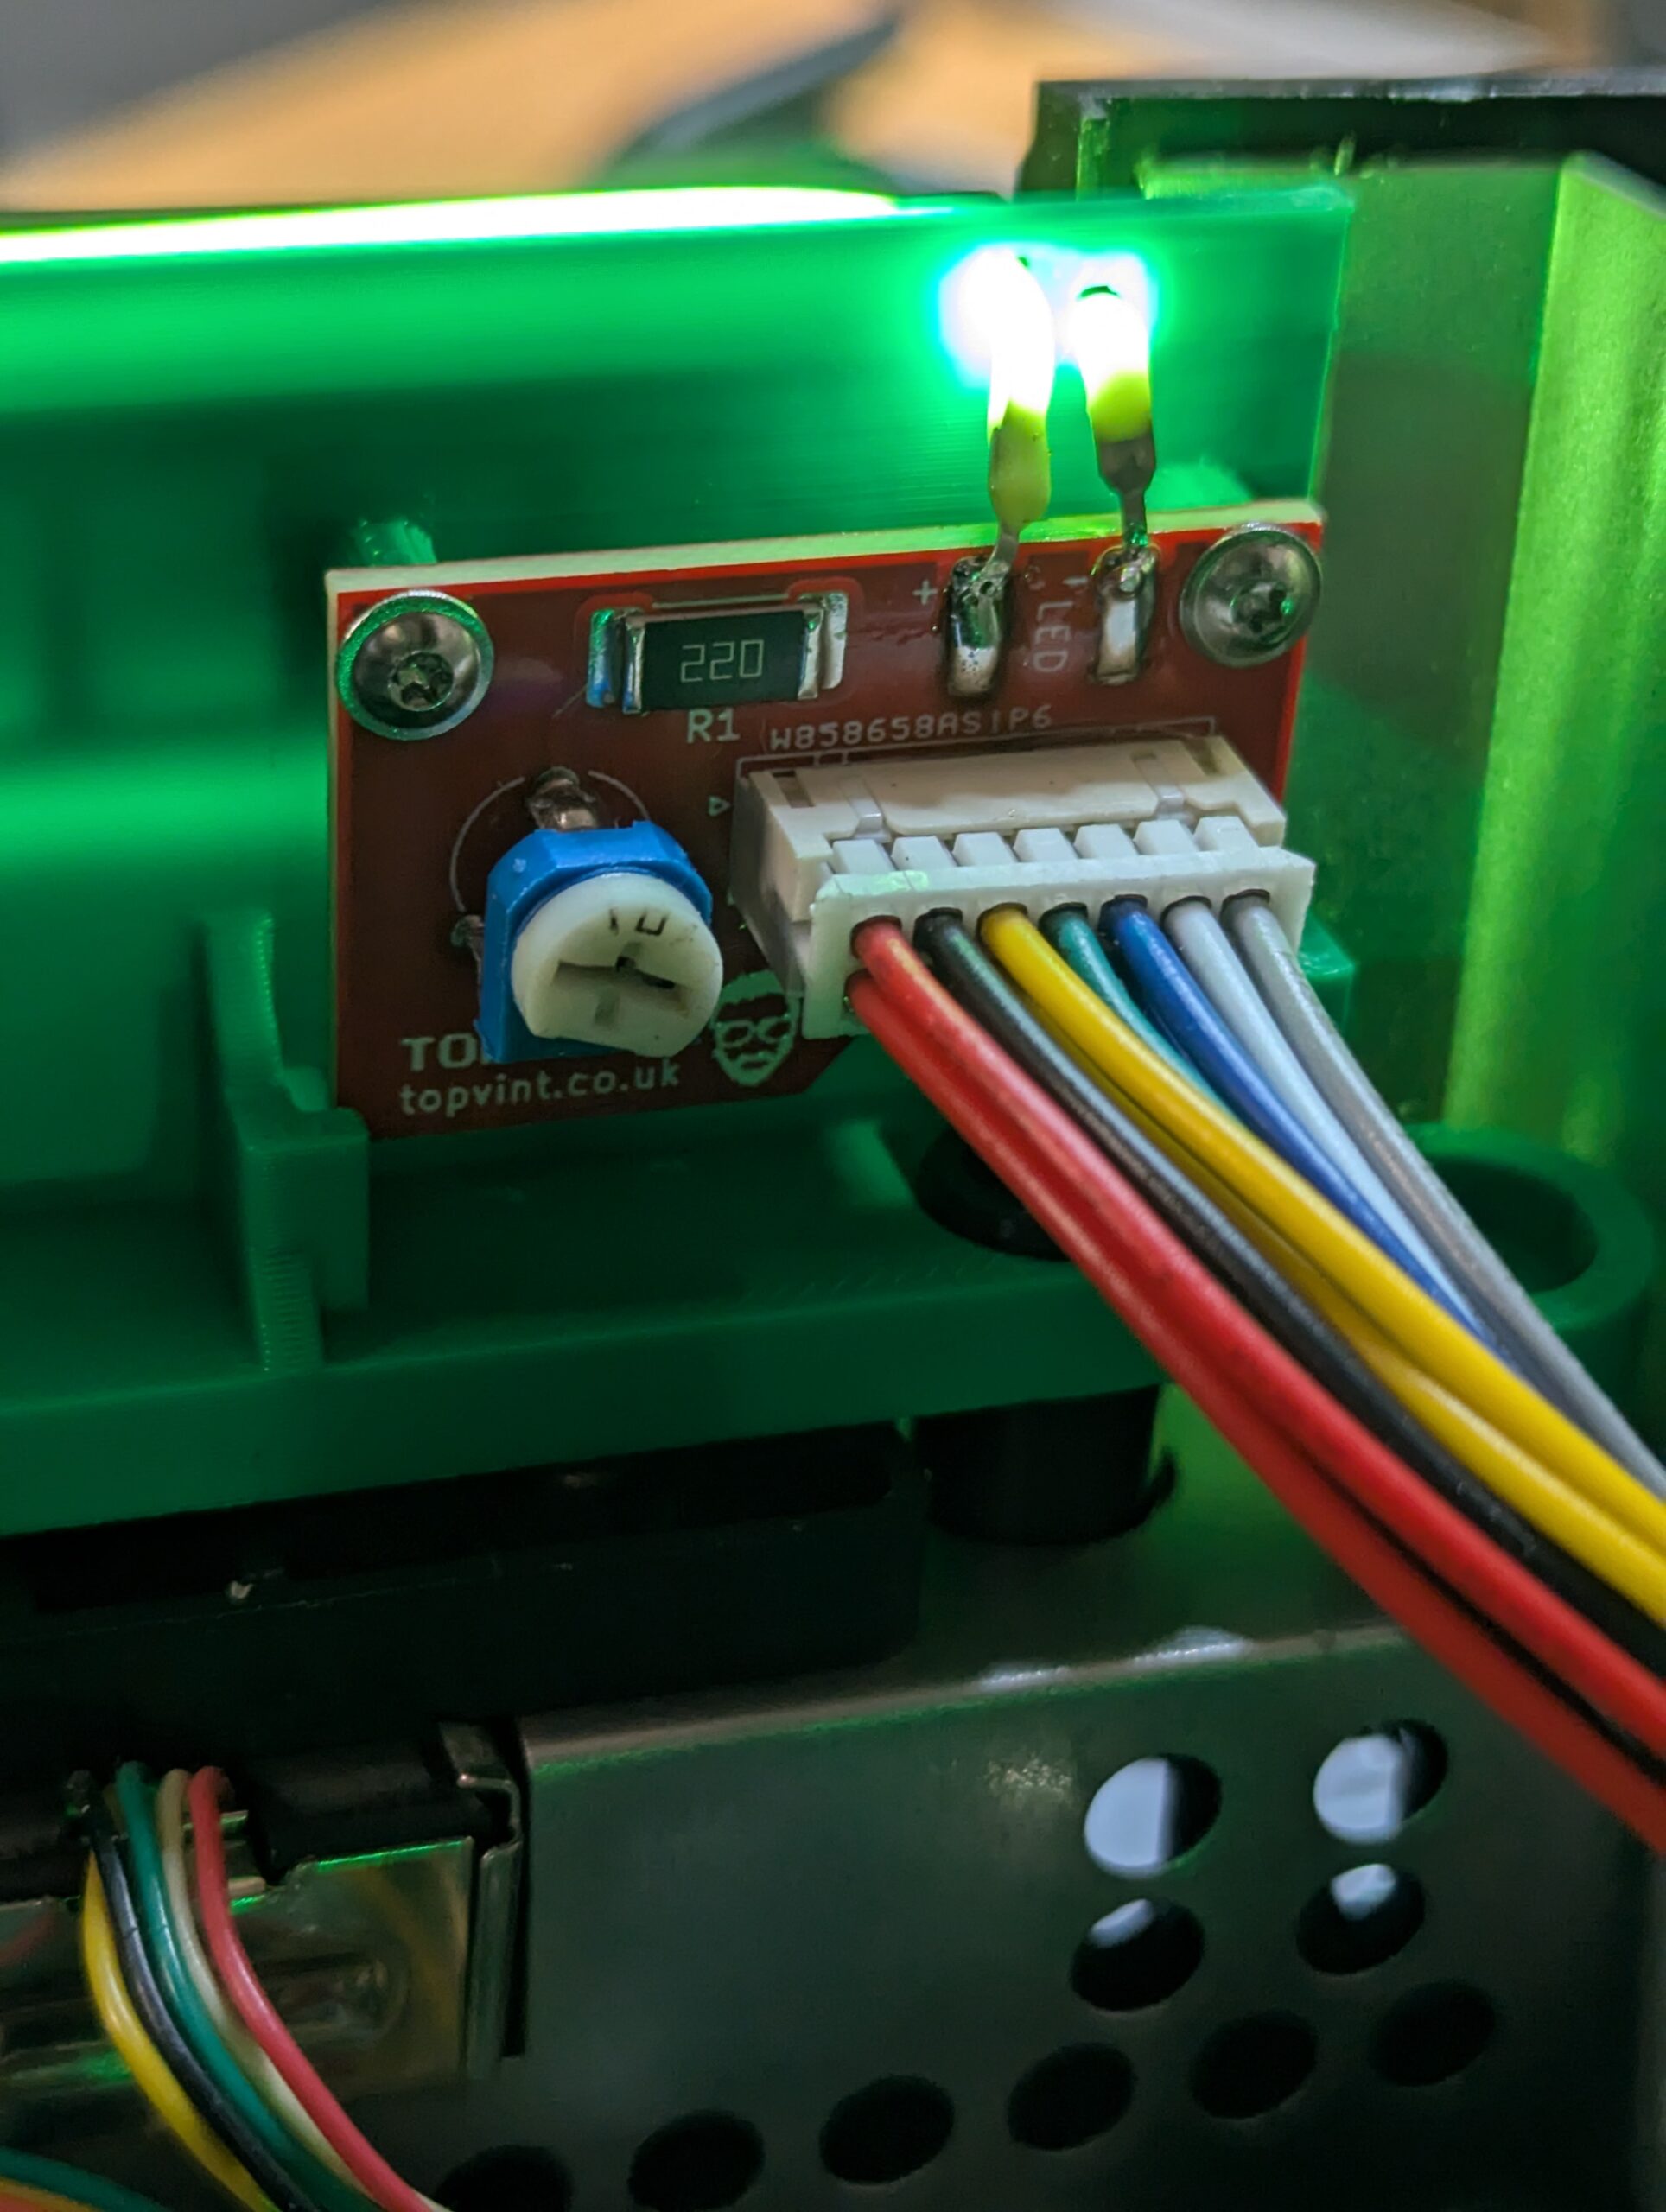
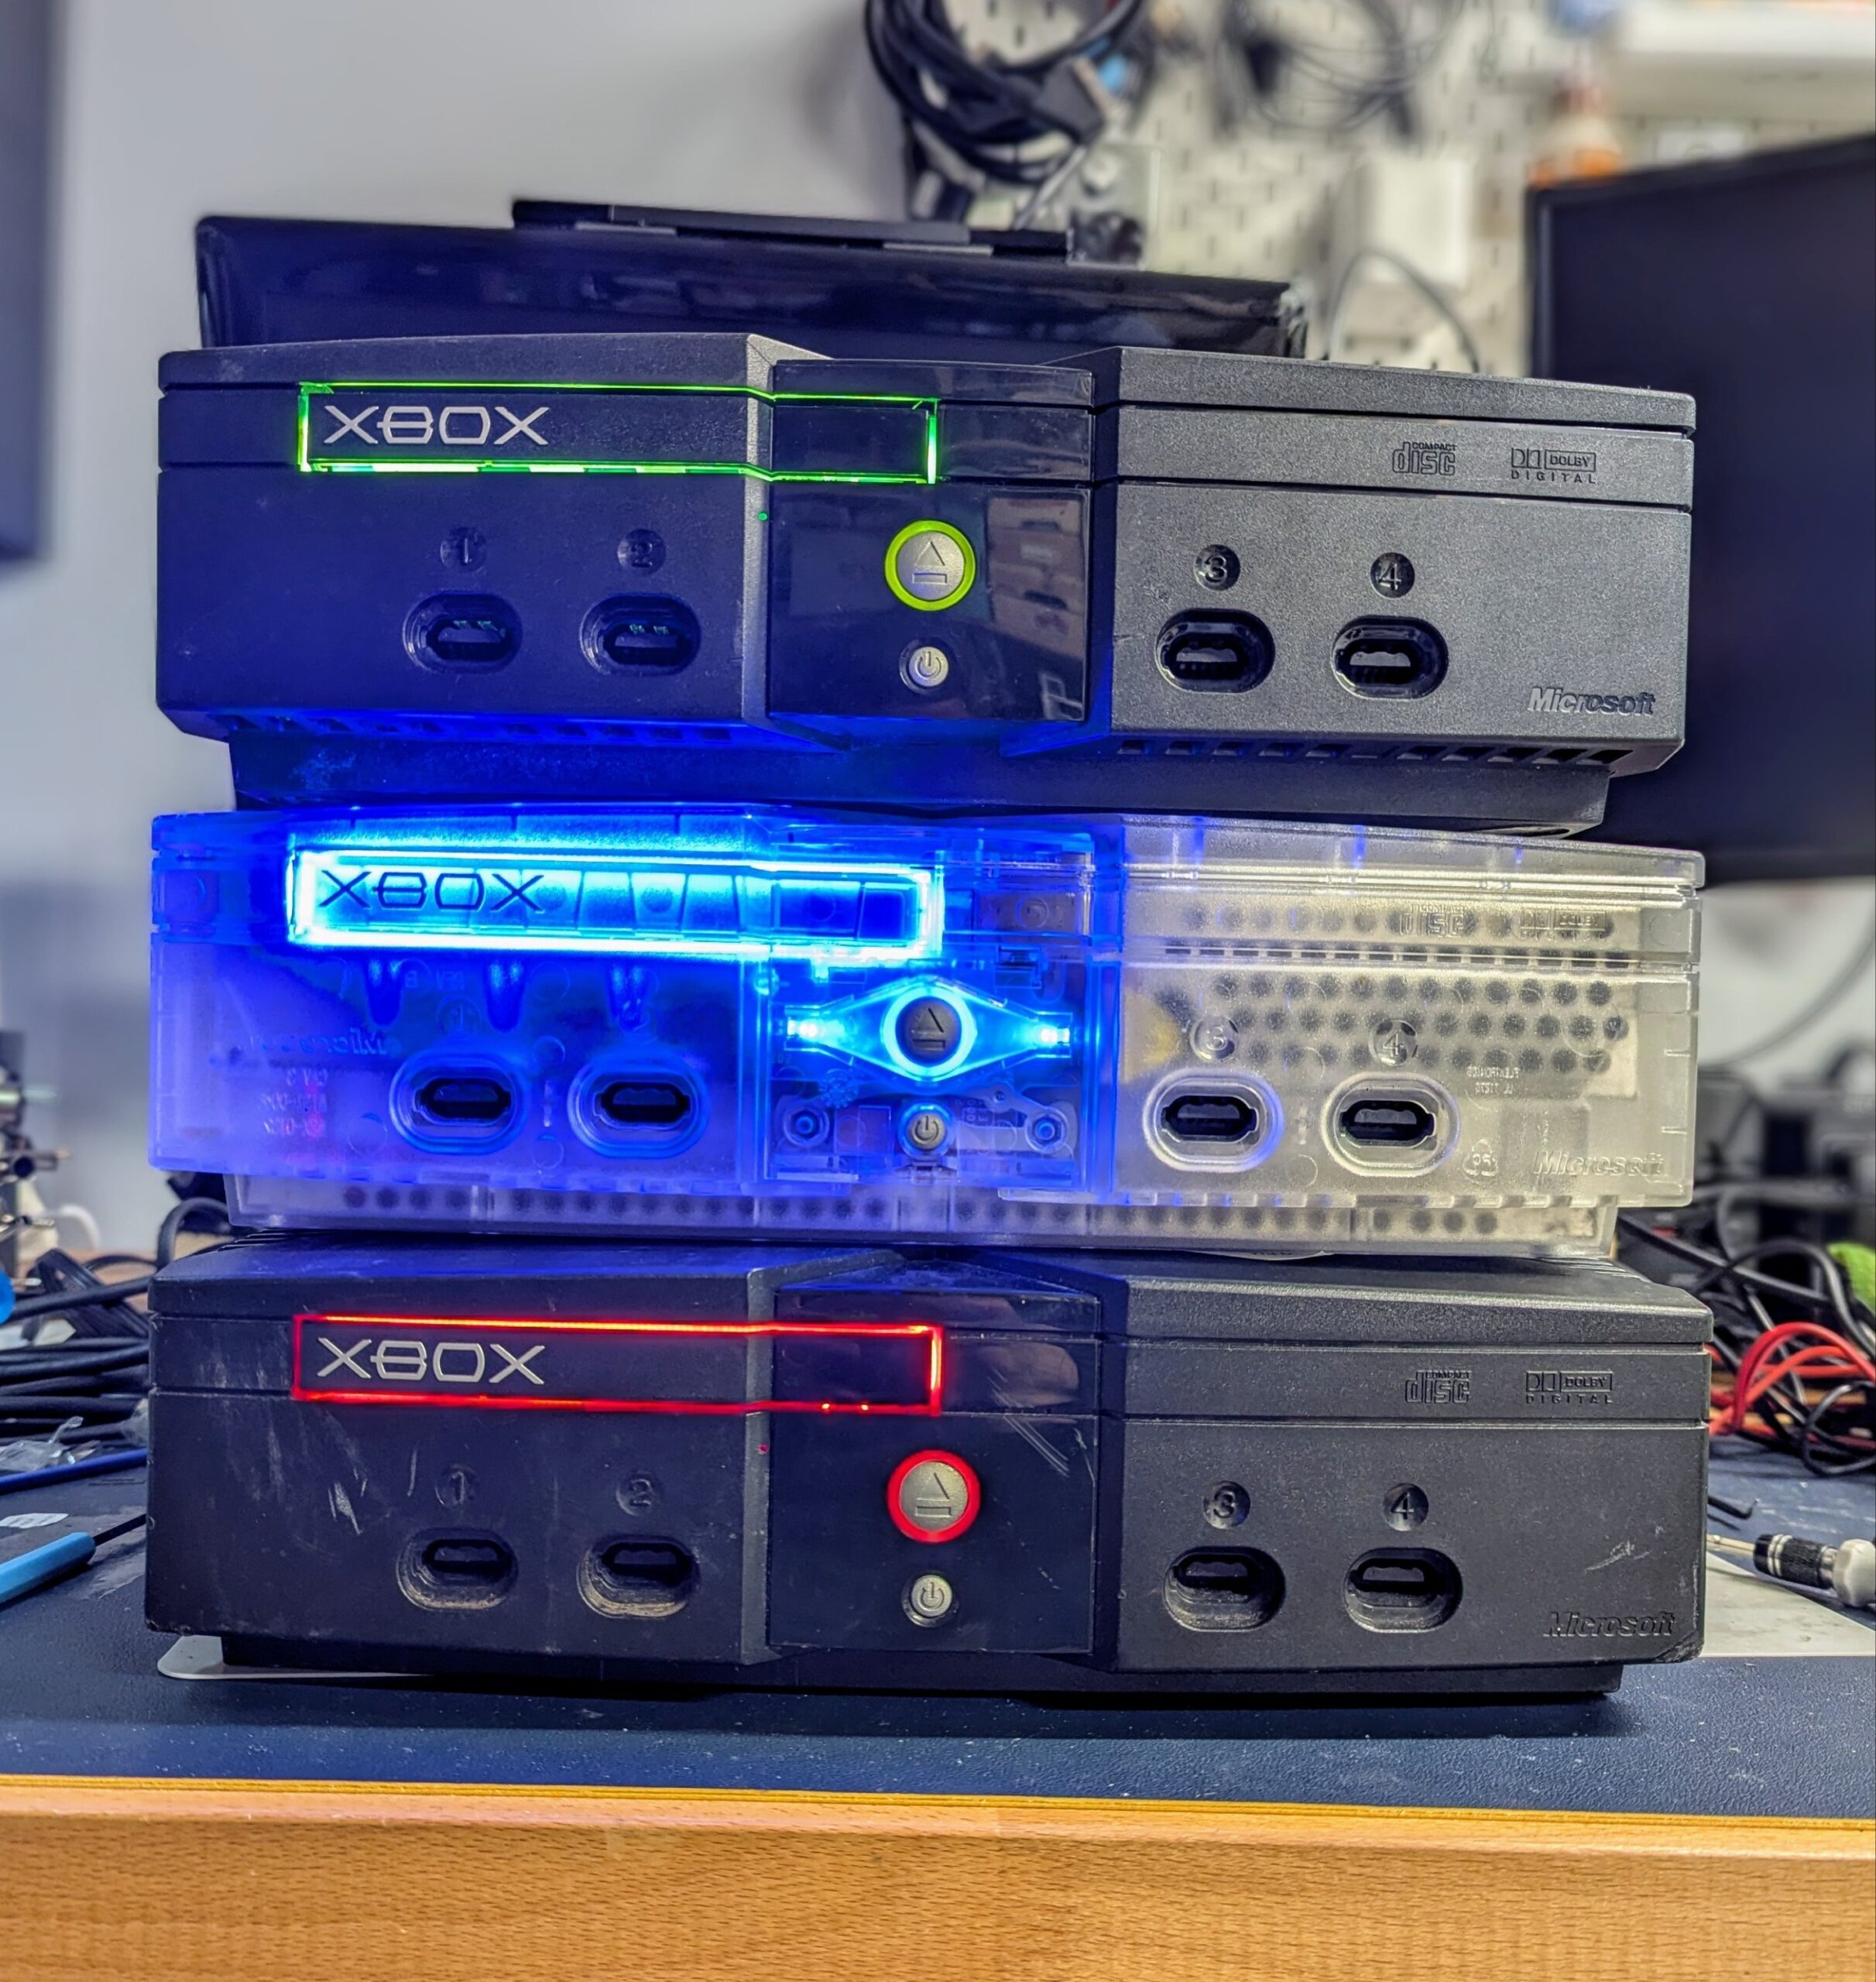
But why not spice-up your “DVD elimination bracket” with some light and colour? The Topvint Xtray serves the same purpose as the traditional braket, but adds an LED strip around the tray which can be adjusted with a potentiometer in a small PCB at the back. The neatest parts of this mod is that the LED is powered from the DVD power connector, which is now empty after removing the drive. A new power cable is included as the original cable is too short to reach the bracket.
This mod doesn’t require any soldering skills so we do not offer an installation service just for this. You need only to open up your console, remove your DVD drive, replace the power cable and insert your DVD drive’s tray faceplate into the Xtray bracket. There is only one way to plug in the cable. Snap the faceplate on and off with your hands. Use the same screws that secured the DVD drive to secure the Xtray bracket. Really easy. Please check the installation instructios below.
Please note that your console needs to be modded so that it will boot without a DVD drive present. You wouldn’t have much use for an OG Xbox without a working DVD drive if it wasn’t modded anyway 🙂
We offer OG Xbox modding services and modchips. Please contact us if you have any questions.
What’s included and Compatibility
This mod is compatible with all version of the Original Xbox.
The Xtray modding kit is composed of:
- A 3D printer bracket. Please choose the colour when you place your order.
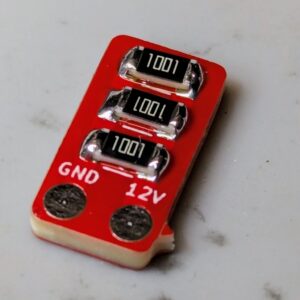
- The Topvint Xtray PCB screwed to the bracket
- The 300mm LED strip pre-soldered to the PCB. Please choose the LED colour when you place your order.
- A replacement power cable
What’s not included?
You need to provide your own DVD drive tray faceplate. Check in the installation instructions how to remove it from your DVD drive and snap it into the Xtray 3D printed bracket.
Installation instructions
Please follow these simple instructions:
- Open up your Xbox using a T20 TORX screw driver. There are 4 screws under the rubber feet, and two additional screws under the stickers.
- With the console in the upright positions, remove the top part of the shell by just pulling upwards
- With a T9 TORX screw driver, uncrew the screw joining up the HDD and DVD trays, as well as the two screws holding the DVD drive tray to the front part of the console
- Unplug the grey IDE flat cable and yellow power cable from the DVD drive. Unplug the yellow power cable also from the motherboard.
- Unplug the power Molex cable from the HDD drive and unthread it from the HDD tray so that you can lift up the HDD tray
- Once the HDD tray is partially lifted, you will have enough room to lift the DVD drive tray. Remove the DVD drive from the console
- Re-sit back the HDD tray to the original position, threading back the power cable on the side, and pluging back the Molex power cable into the HDD
- Remove the DVD drive face plate by pulling gently from the bottom of the faceplate while pushing upwards. If its more confortable, you can use a tool to help you. The faceplate is secured in place by a couple of plastic clips which hold it in the tray. It will be obvious once you take a look.
- In order to insert the faceplate in the Xtray bracket, unscrew the Xtray PCB to ensure there is as much slack as possible of the LED strip. Move the strip to one side and carefully slide the faceplate from the top until it clips in place. Then loop the LED strip around the inserted faceplate. The kit is designed to keep the LED strip tight around the faceplate while giving just the right amount of slack to loop it while the Xtray PCB is unscrewed. Therefore is a tight fit but it is not difficult. However please be careful as the LED strip is delicate.
- Make sure the LED strip is tight around the faceplate so that the Xtray PCB can sit in the right palce in order to be screwed back
- Screw the Xtray bracket in place of where the DVD drive used to sit before you removed it, using the same screws to secure it in place
- Connect the provided power cable to both the Xtray PCB and the DVD drive power connector in the Xbox motherboard.
- Turn on the console and adjust the brightness of the LED by inserting a flat screw driver in the potentiometer installed in the Xtray PCB. The circuit is designed not to exceed the maximum power that the LED strip can handle (100mA) no matter how much you turn it.
- When you are happy with the britghness level, put back the top of shell and screw it back in place.
- Turn off the lights during gameplay and enjoy your OG Xbox!
Other information
Xtray is now an open source project. Further details are available in its GitHub page.
Please check our send-in services, which include OG Xbox related installation services
The 3D model for the bracket was adapated from RubyRoid‘s design (with his explicit permission).

