
This order included
- Installation of 128MB in a 1.0 and 1.1 motherboard
- Installation of a ElectronAnalog module for HDMI
- Testing a non-working Dreamcast
- Checking a Dreamcast with a failed Noctua fan mod
- Checking a faulty OpenXenium modchip
128 Installation
The installation of the RAM in the 1.0 went on with no problem. An Aladdin modchip with an XblastOS was used to test the installation. The installation of the 1.1 was a bit more problematic as one of the modules was found faulty, so had to be removed with hot air and a new module installed.
Both consoles were then booted up with Cerbios into a XBMC4Gamers dashboard to ensure the RAM worked well once the console proper booted up
HDMI installation
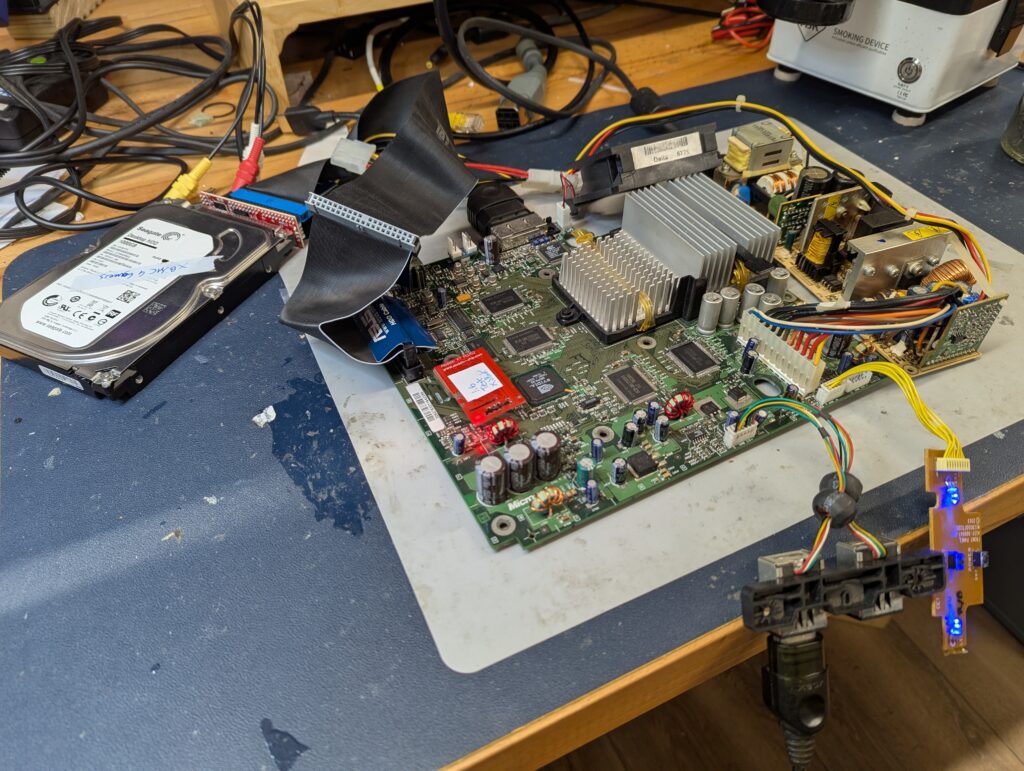
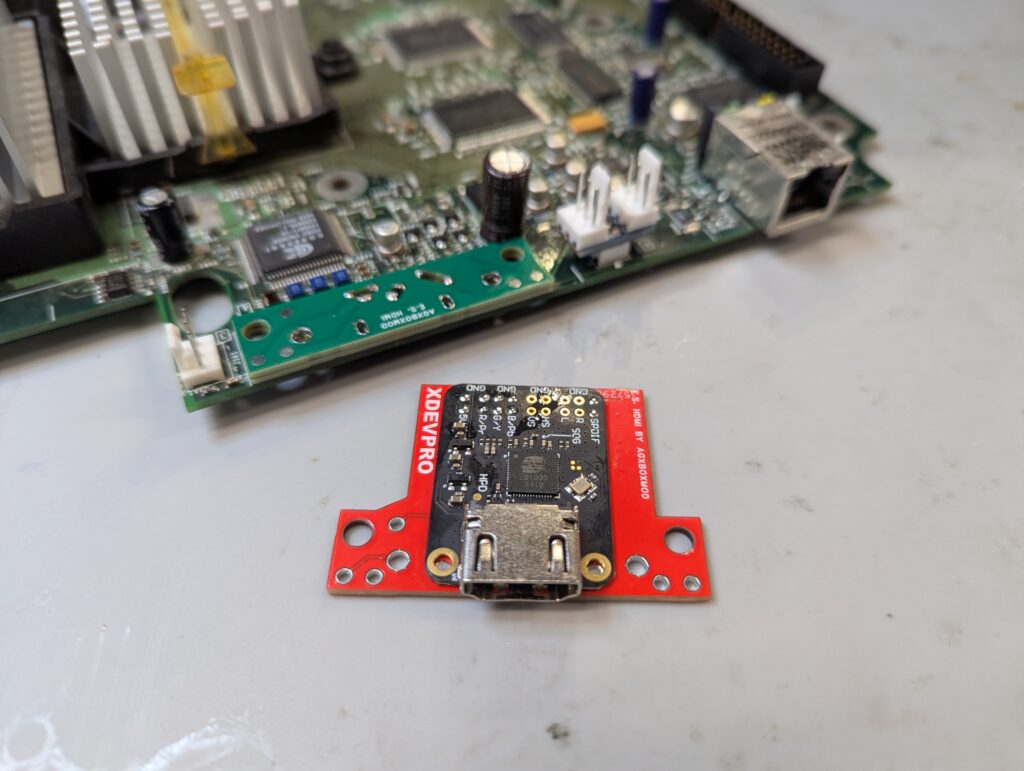
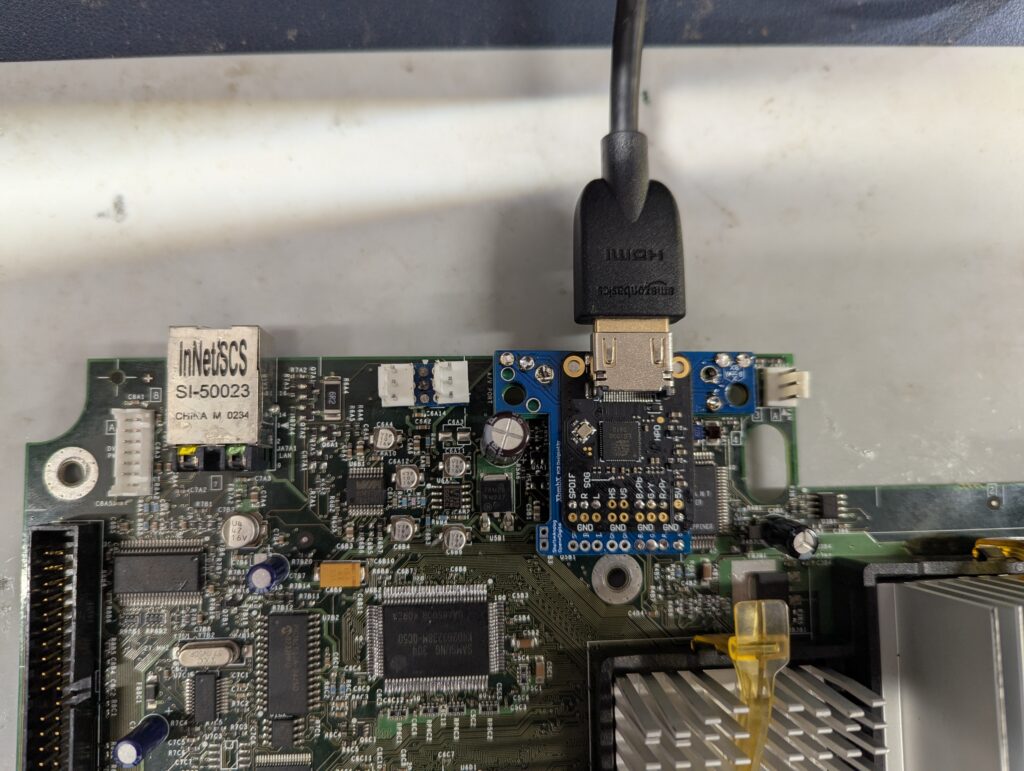
For the installation of the ElectronAnalog, first the stock AV port had to be taken out. Customer provided three PCBs. Two of them connect to the necessary pins from the motherboard that will be used by the HDMI module. Two are used to prop up the port to the right height. The third PCB is a QSB board for the module itself.
The installation also requires to bridge a couple of points at the bottom of the board to ensure the console believes there is an AV connector plugged in (otherwise the console does not boot). The ElectronAnalog module also needs to be configured for digital or analog audio, and that can only be done at the bottom of the module. Because these modules are very difficult to remove once installed (the two PCBs on top of each other create very firm solderlinks), and because the jumper at the bottom of the module, the 2 PCBs and the third PCB were connected with wires for testing
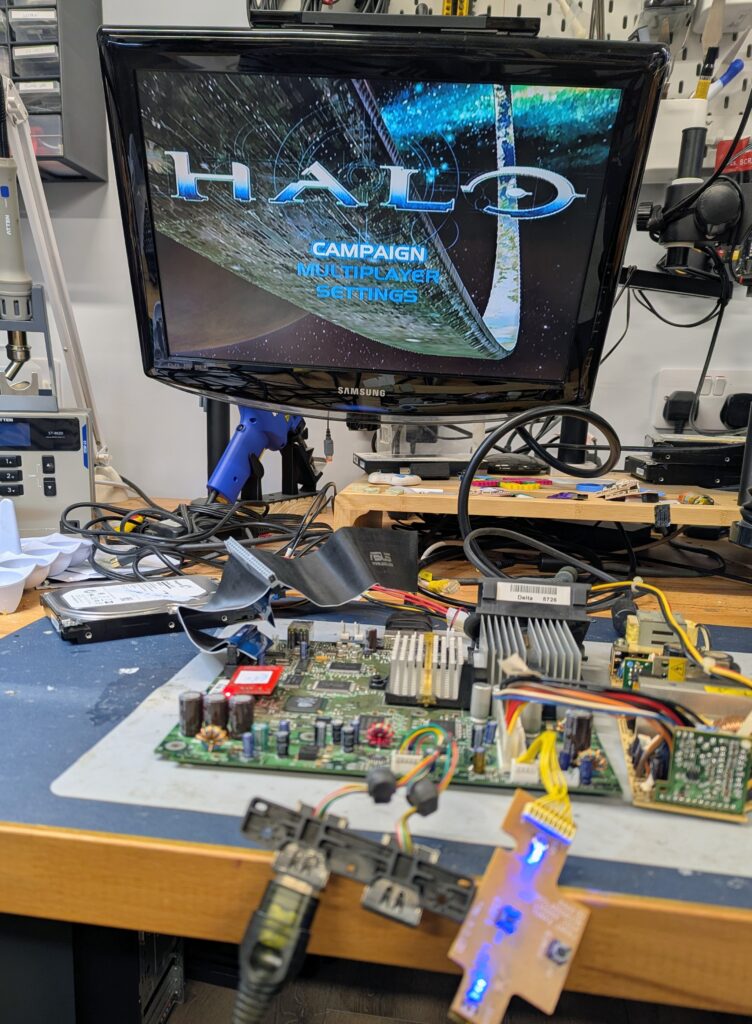
Initial testing went well. PrometheOS was configured to output in NTSC and 720p, and the same was done for XBMC4Gamers. The console now could output through HDMI and 720p, which is the goal of this module. Digital audio was available once the dashboard booted (but not in the BIOS booting screen), which is normal (hence digital audio was left configured).
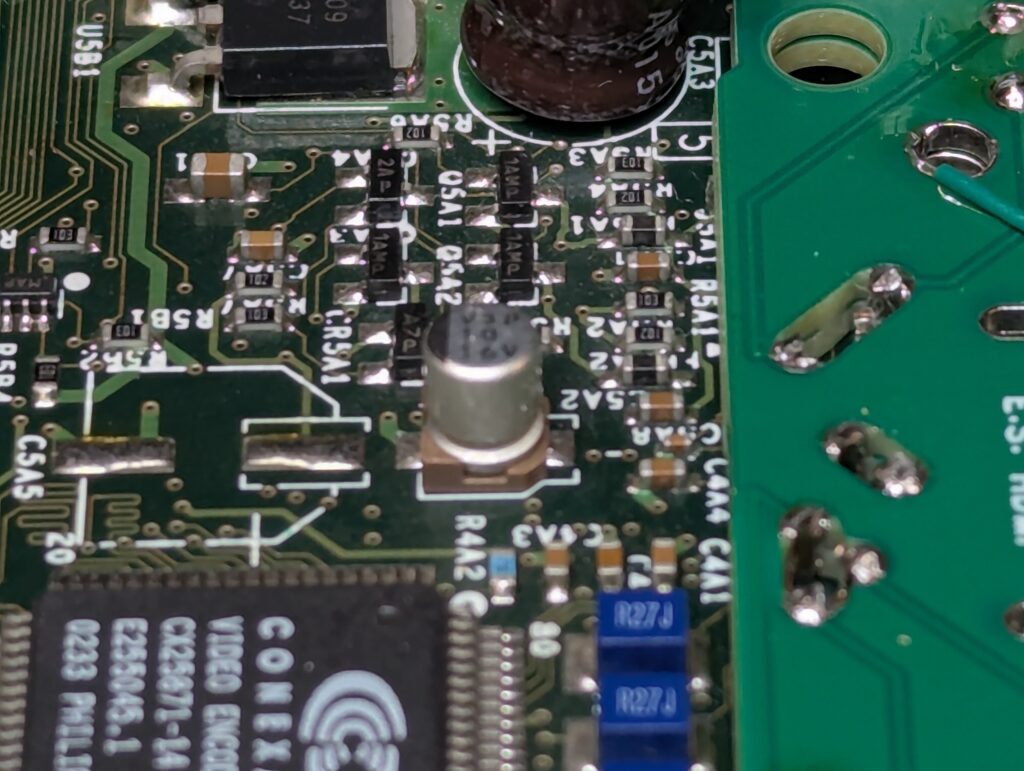
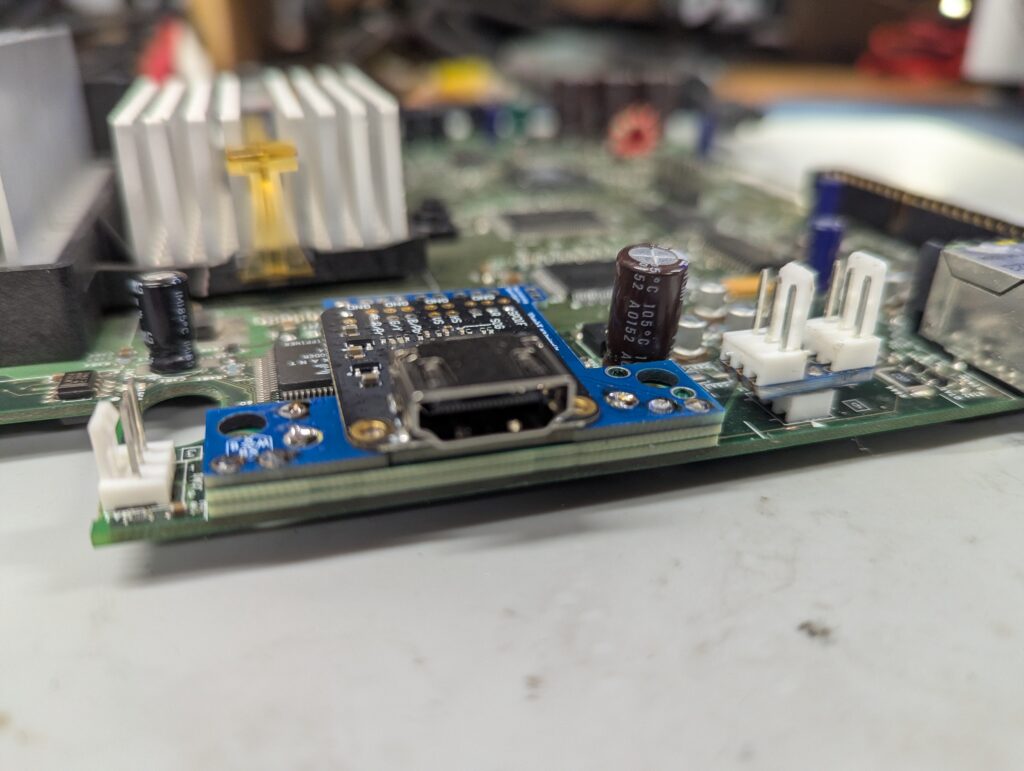
Before installing the third PCB on top of the other two, one of the capacitors nearby the AV connector was replaced by a low profile one as otherwise the third PCB cannot lie flat. This capacitor wasn’t provided so I sued one that I already had.
However when testing with the new cap before full installation, the HDMI output because unstable, with screen flickering. This happened regardless of the modchip (Xblast and PrometheOS). I checked all the soldering and I narrowed it down to the ElectronAnalog module or the 3rd PCB. Luckily I had another module, and PCB from a different modder, with a far better design. So I soldered the new HDMI module to the new 3rd PCB, and wired it up for testing. This time all worked well. I decided to install the new module instead. I think the potential culprit is either a faulty ElectronAnalog or a faulty 3rd PCB (which is not particularly well designed). Since it was originally working and now is not, the decision was to provide a new module to the customer without charge.
Non-working white Dreamcast
The console wouldn’t boot although it would make an electrical sound when the power was applied. Upon testing the PSU output, a short was found in the 5v rail (using multimeter in continuity mode between the 5V pin and ground). Removing the PSU, the short still remained, so I disassembled the console. When I got to the motherboard, the short had disappeared. Reassembling the console and testing every step, the short was still gone. My guess is that there was a bad connection in one of the ribbon cables. In any case, the console works fine now
Black Dreamcast with bad Noctua fan mod
The console has was looks like a PicoPSU mod, a BlueRetro and a GDEMU mods. The stock fan was plugged in and the console worked fine. The customer provided the Noctua fan whose wires had been cut and attached to a compatible fan connector.
A 10Kohm was wired between the red and yellow wires, and the console tested. It booted but rebooted itself after a few seconds. A test was performed without the resistor. Same behaviour. The fan was tested with an external power supply, and it worked well.
Thinking that somehow it might be a faulty mod, I tested with a new fan that I had (used jumper wires as I didn’t want to cut the connector from the new fan). The same behaviour persisted. I checked online but couldn’t find any information so I left the stock fan connected.
Faulty OpenXenium modchip
Customer mentioned that the modchip was faulty but on inspection the only thing I found is a D0 pad burnt out. I booted the HDMI modded board with the modchip and the D0 pad of the motherboard connected to ground (which always enable the modchip to boot) and it worked well. Obviously not an ideal modchip but it does seem to work.