The order was for the installation of a N64RGB V2.1 mod kit from RetroUpgrades, based on Borti’s Open Sourced design. The customer mentioned that the console had been RGB modded a long time ago (in 1997), and wasn’t sure what the mod looked liked, but assumed it would be possible to remove and install the new updated mod.
Upon disassembly, direct wiring to VDC-NUS to the multi-out was found, with no amplifier, which is probably the reason it wasn’t outputting very good signal. Installation of these models can be done with an amplifier board, but that lack many of the more advanced features of the N64RGB kit.
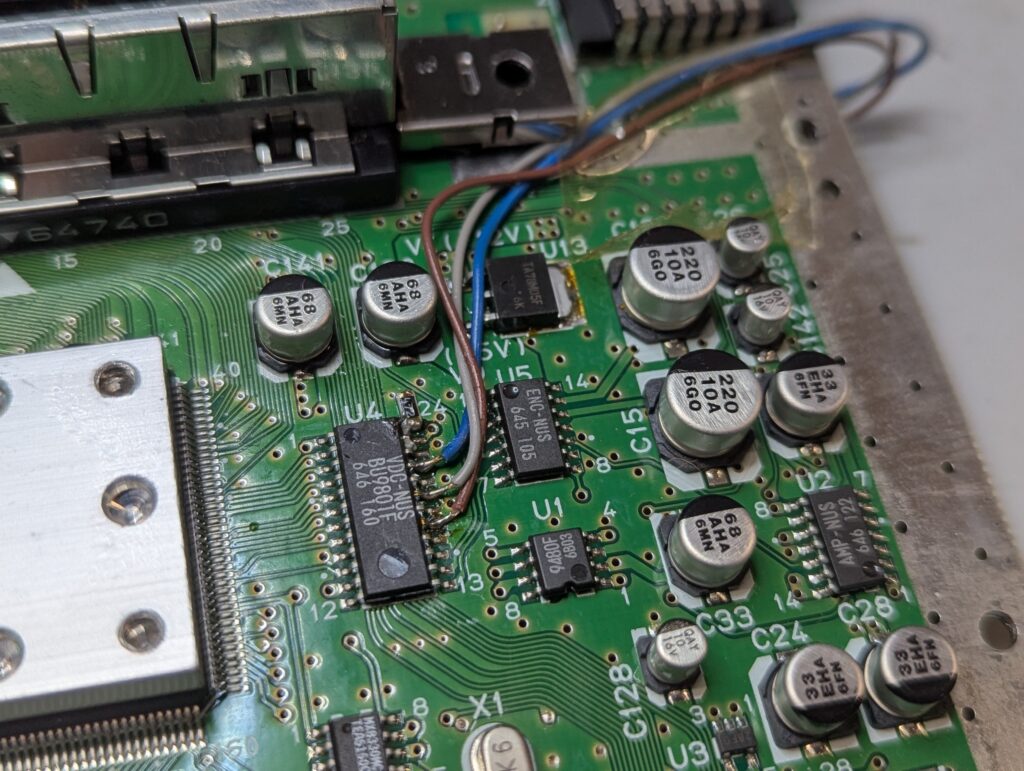
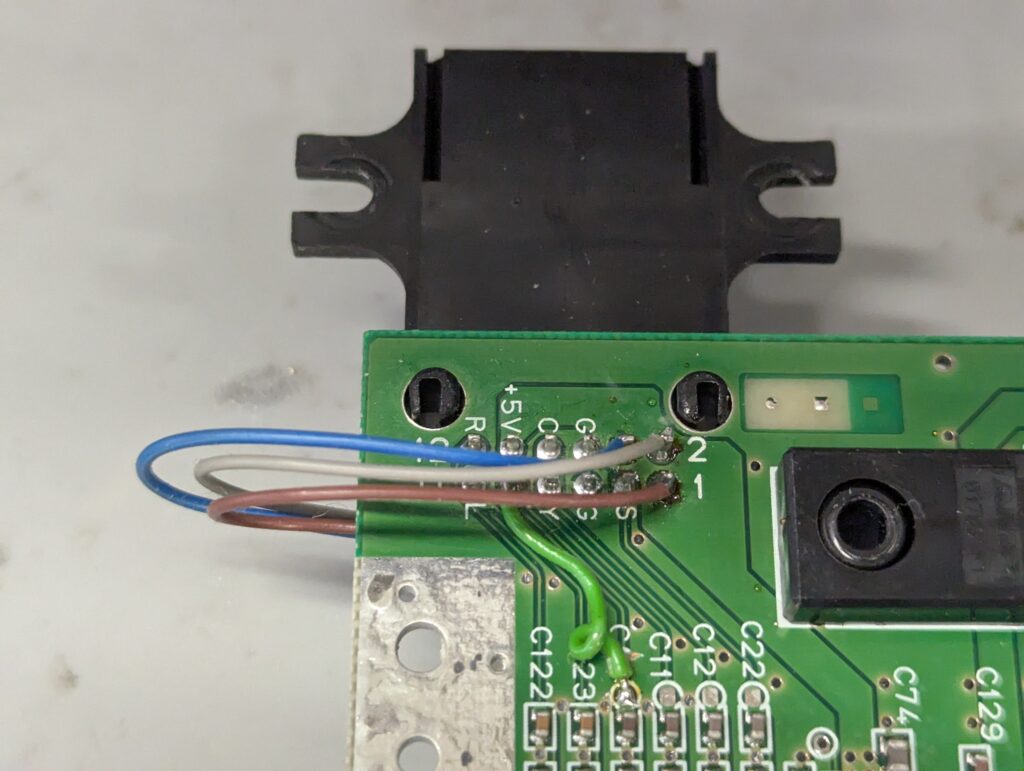
First, the kit was removed and tested that the console was outputting normally as if it was stock. For that, the wires were removed and the lifted pin in the chip put back. The previous solder job was tidied up as well
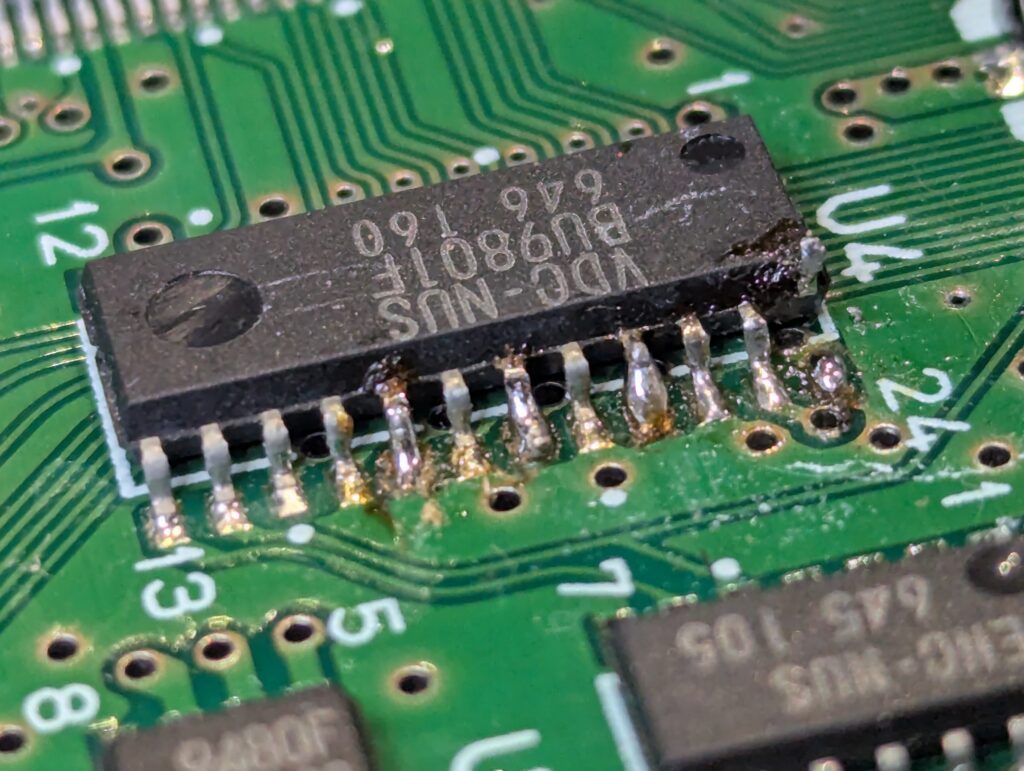
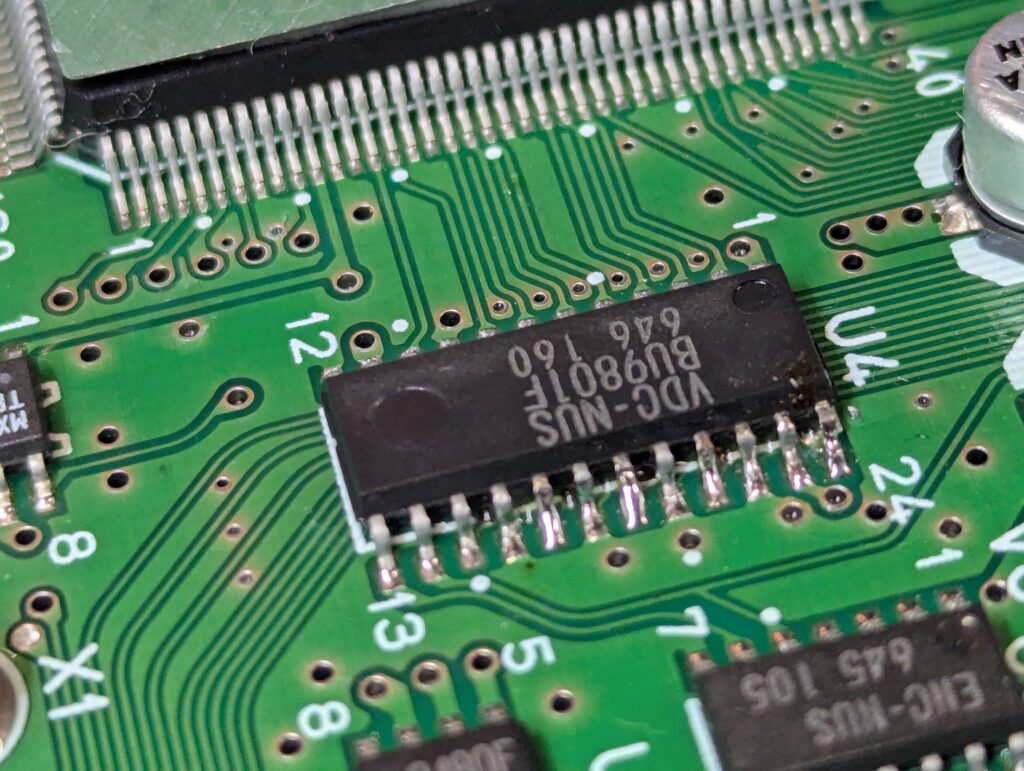
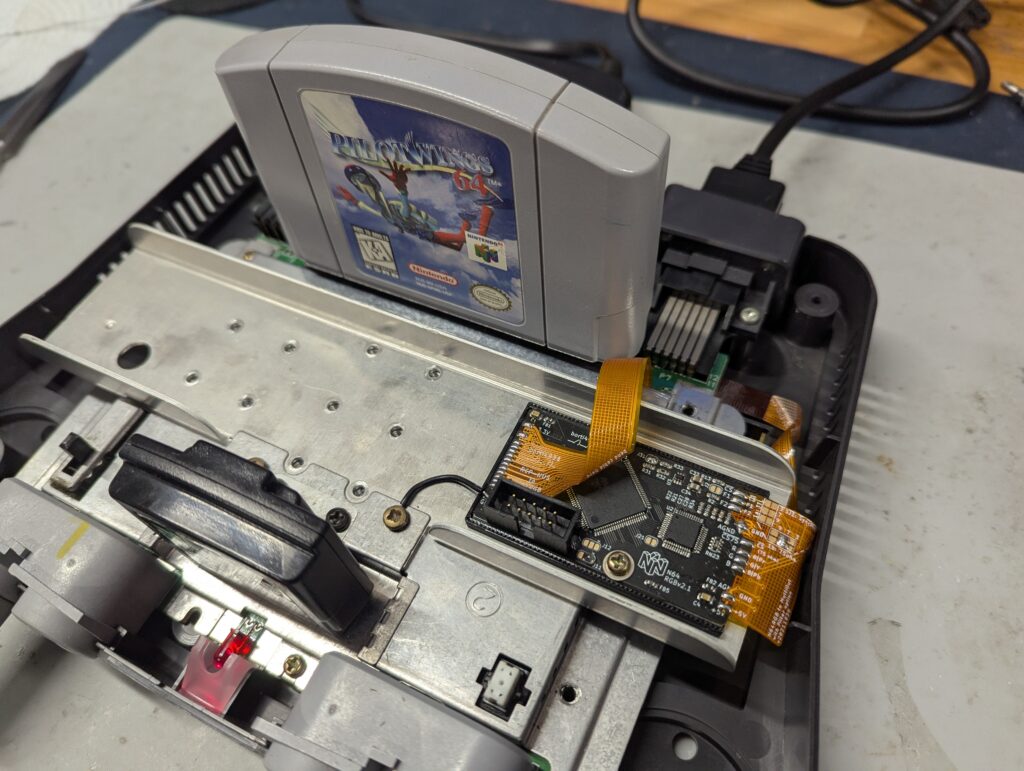
To install the new modkit, first step is to solder one of the two flexes to the video chip. That flex cable also needs to be connected to 3.3v, and for controller functions (reset, deblur, etc), two wires need to be connected to PIF-NUS. The flex then needs to be folded in preparation to fit under the shield.

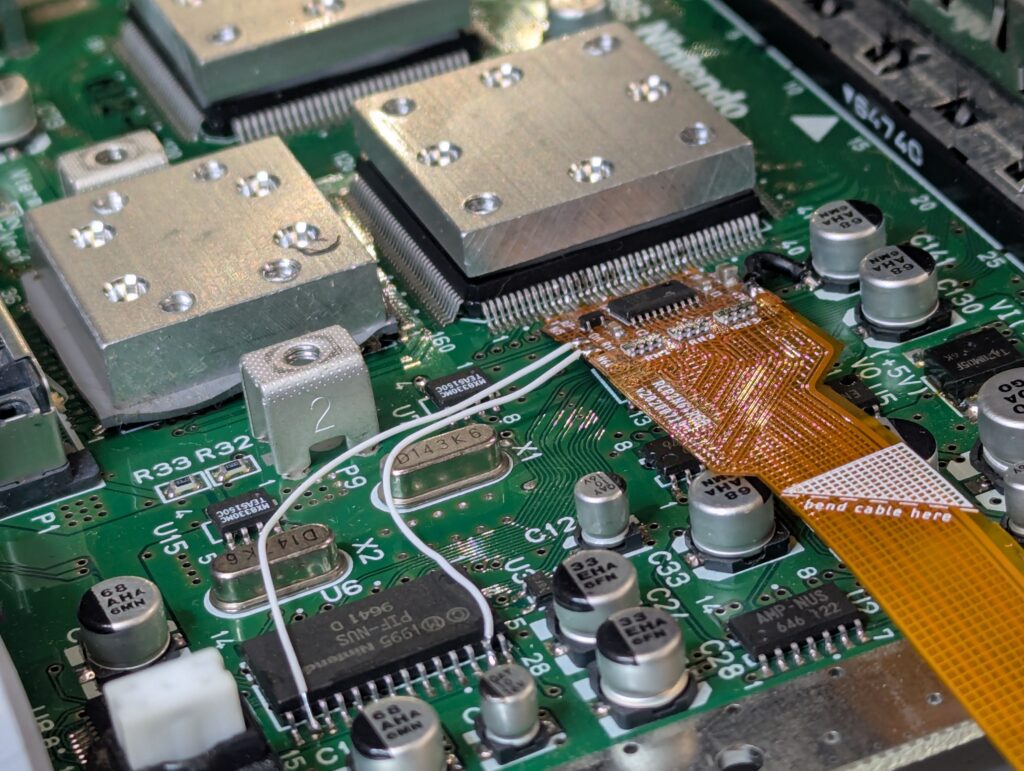
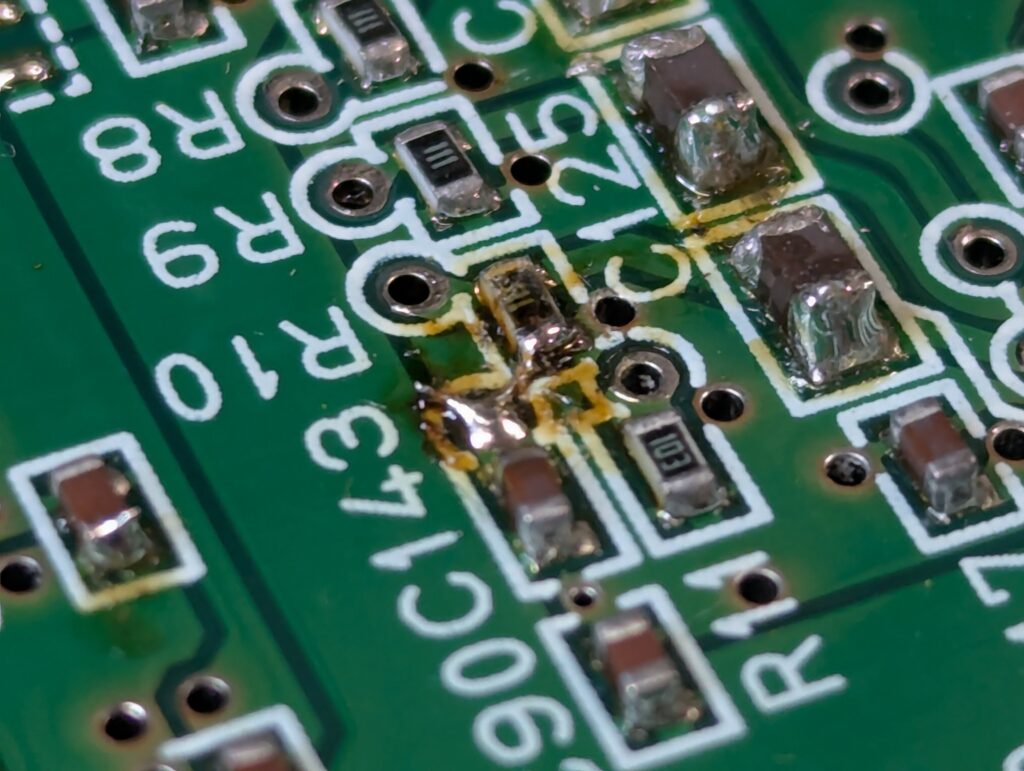
The second step is to install the second ribbon to the multi-out. Since there was a jumper wire due to a previously cut thrace, the jumper wire had to be removed first and resoldered once the flex was in place. The capacitor leading to Pin 7 (which we are using to sync on Luma) had to be removed as well, but it was left soldered to one of the pads just in case the console needs to be returned to stock in the future.
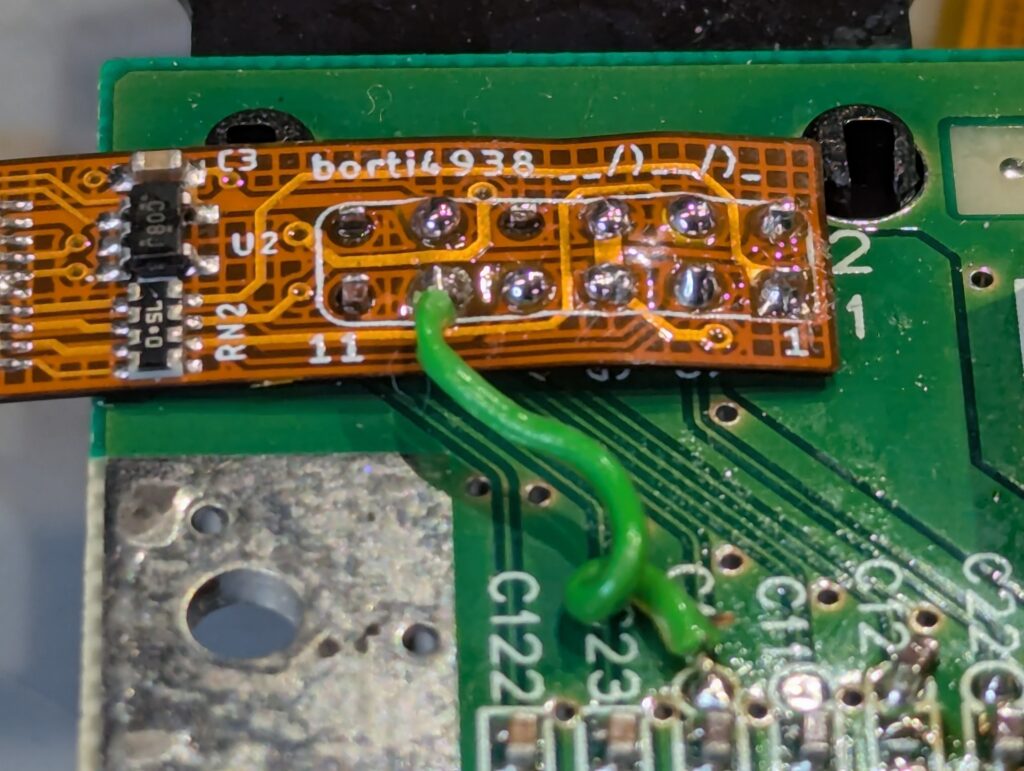
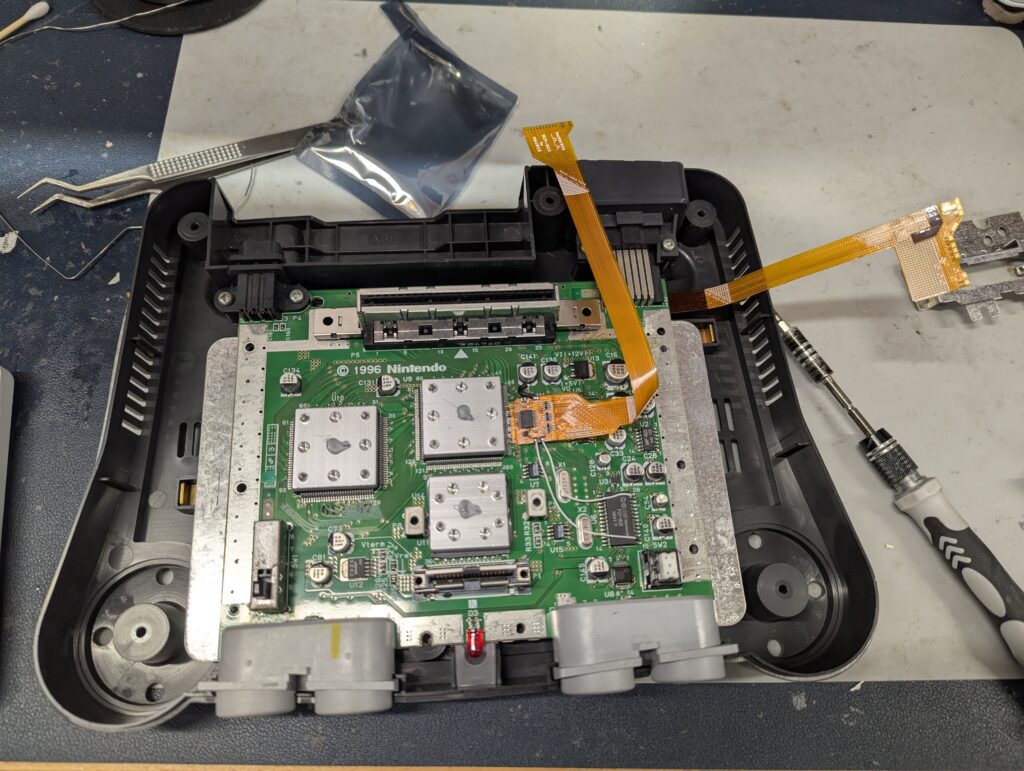
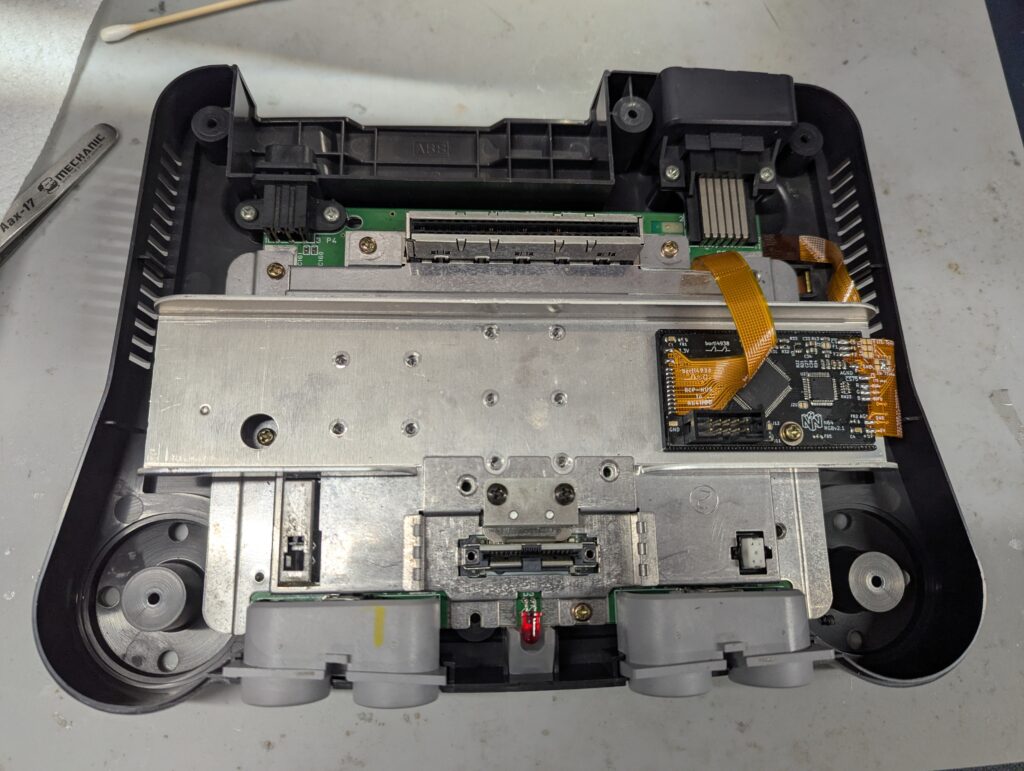
The shields were then reassembled and the PCB was then installed in the top shield with the provided bracket. The two flex cables were further folded and soldered in place. Jumper 1b:75Ohm for pin 7 in the flex cable, as well as jumpers 11.1 (deblur enabled) and 31 (for 300mv @ 75ohm sync) were closed. the PCB was also grounded
Testing the console with customer’s provided cable (sync on Luma) worked well. Console was then reassembled and further tested.
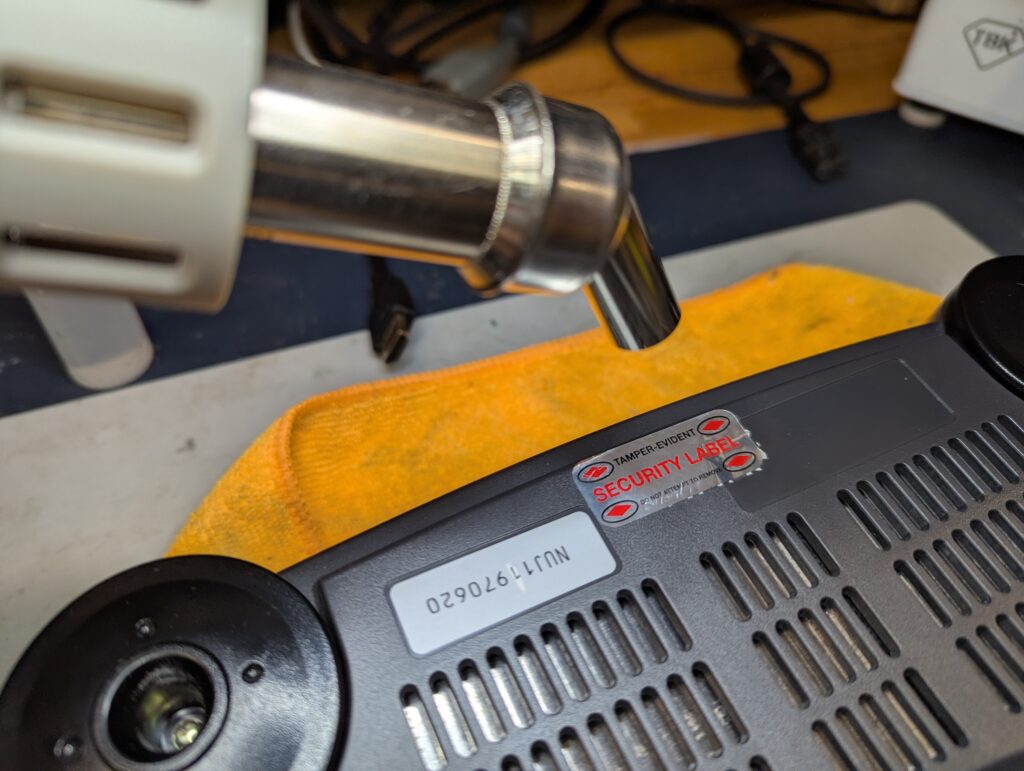
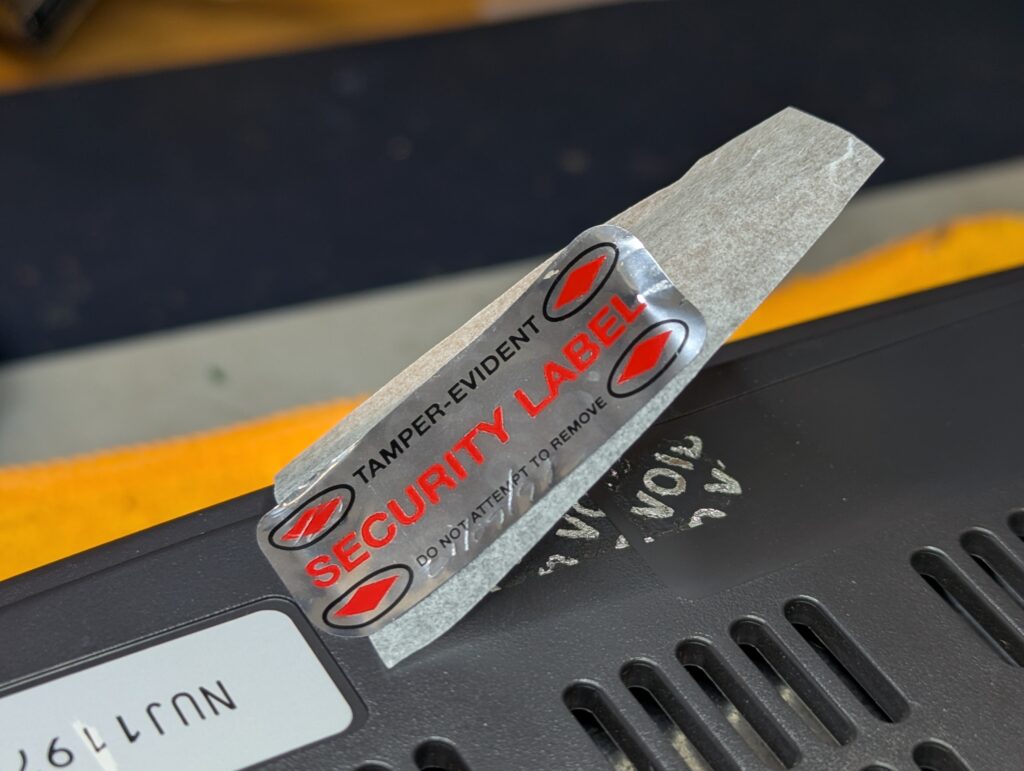
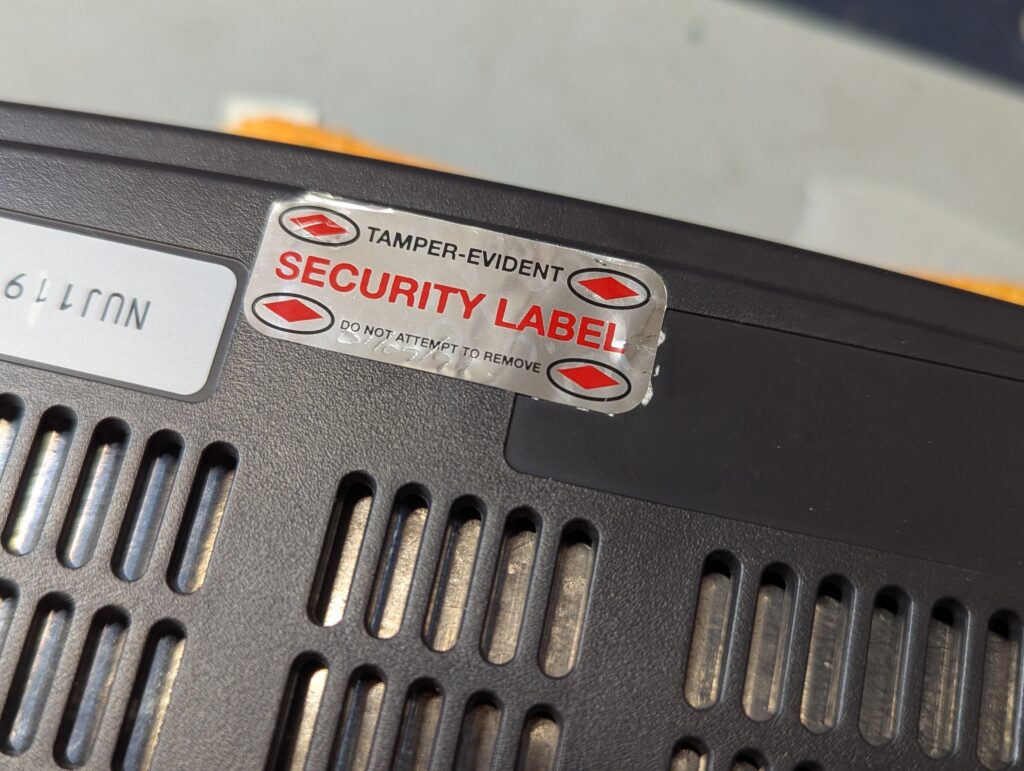
The original servicing sticker, which was removed with hot air initially – observing that a previous sticker must have been removed without care and this one put on top, was put back like nobody else was in there 🙂