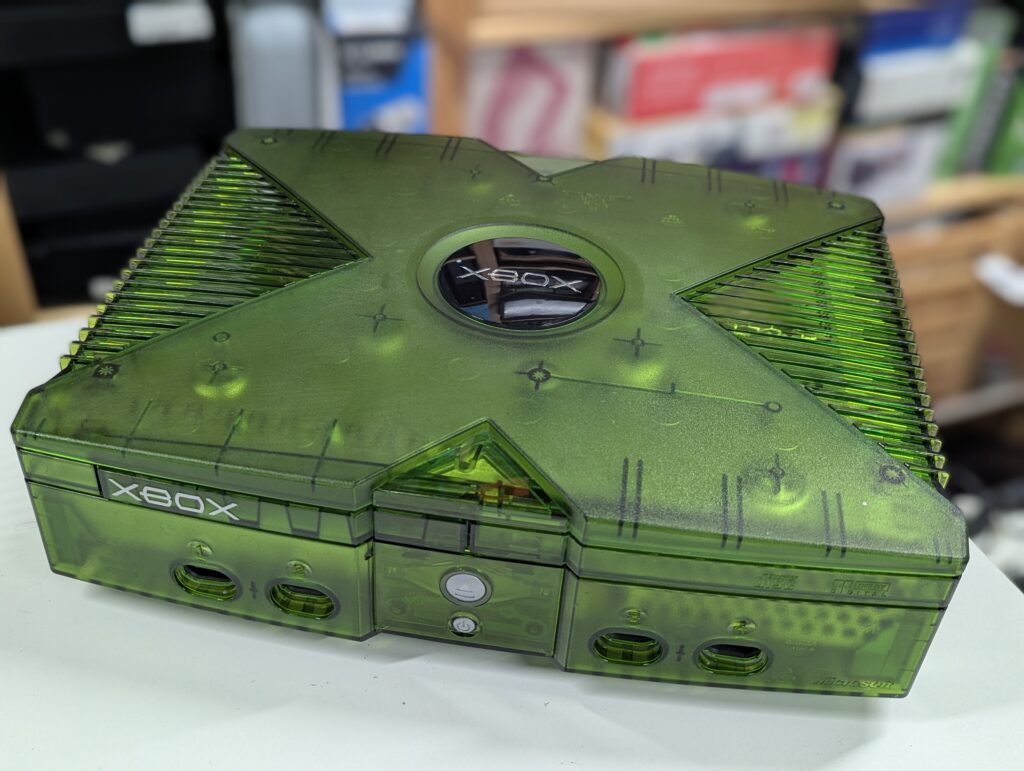
This service was a green translucent Original Xbox that came for a refurbishment, a recap (motherboard and PSU), a SSD install and modding via TSOP flashing. The customer provided the SSD and the bracket, as well as a heatsink for the southbridge. I provided the Startech IDE-to-SATA adapter, the UDAM ASUS ribbon cable and capacitor kit for both the motherboard and the PSU.
Console itself was very clean and in good condition. The was just a small amount of rust in the fan area, which is very common in these models. After checking the model of the motherboard (v1.2) and the PSU (Foxlink FTPS-0002 Rev B3), capacitor kits from Console5 were ordered. I new clock capacitor was also ordered for full functionality.

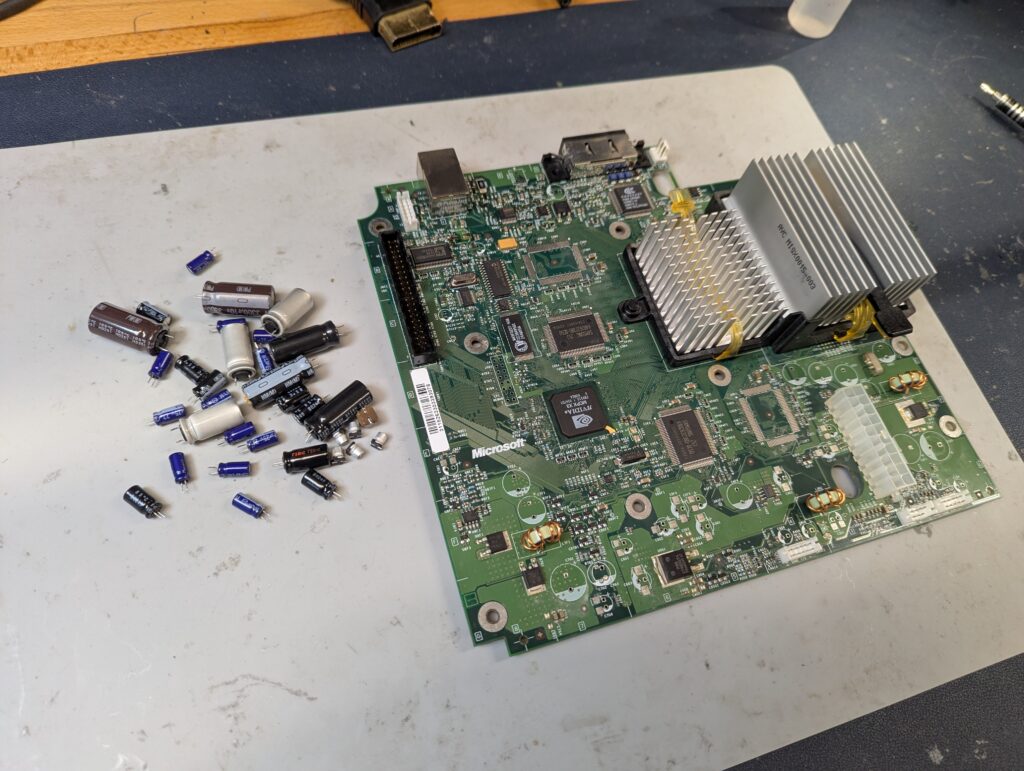
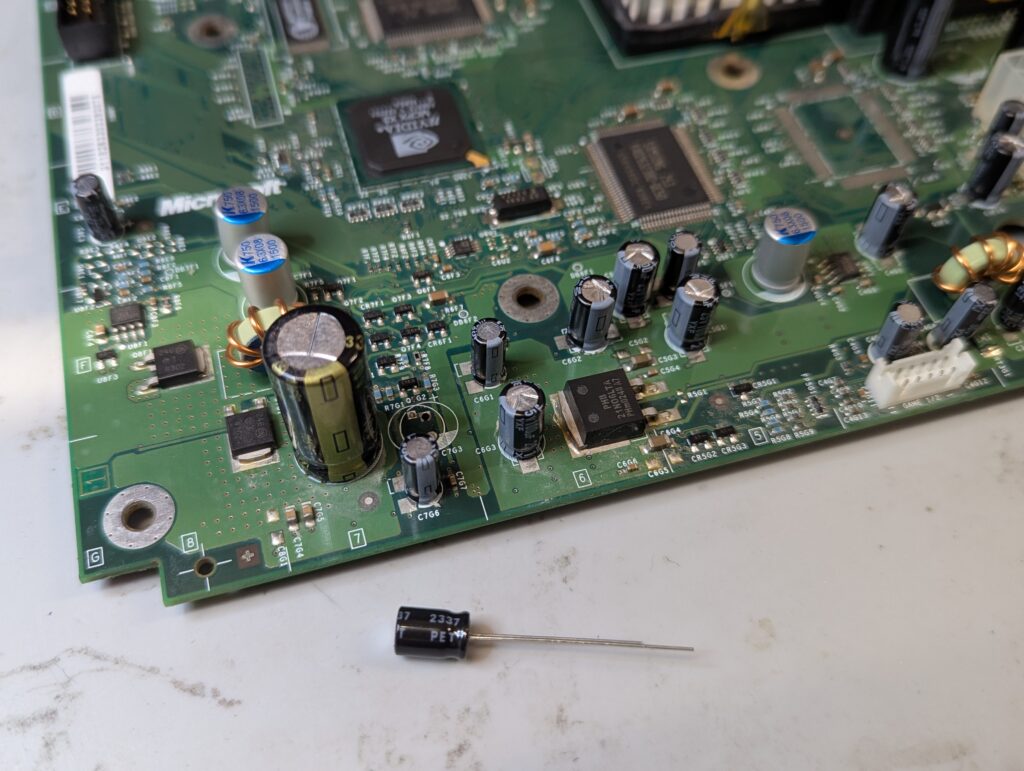
The console clock had been previously removed and the thermal paste changed. Nevertheless, a new clock capacitor was installed and the thermal paste changed
Next the PSU. Some of the capacitors are glued to other components, particularly to avoid high frequency noises. To remove those capacitors, the silicon glue has to be cut. The caps were replaced and the silicone glue replaced. See the original glue (white) and the new glue (grey)

Next, the console was completely disassembled and the shell cleaned with soap and a warm water.
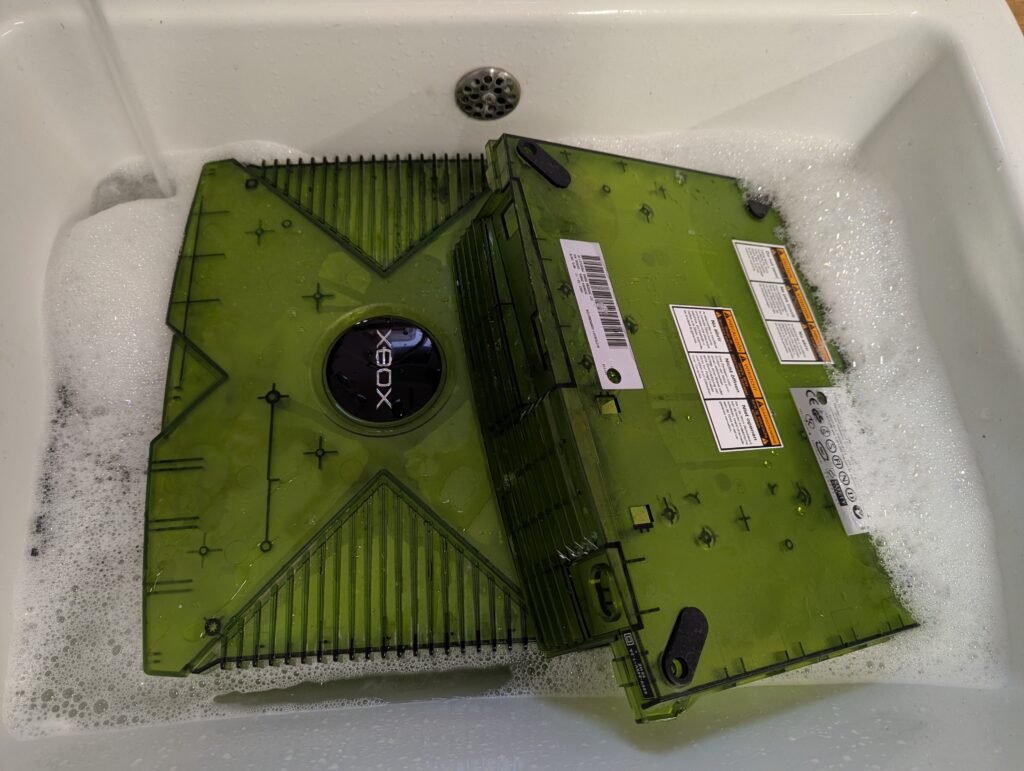
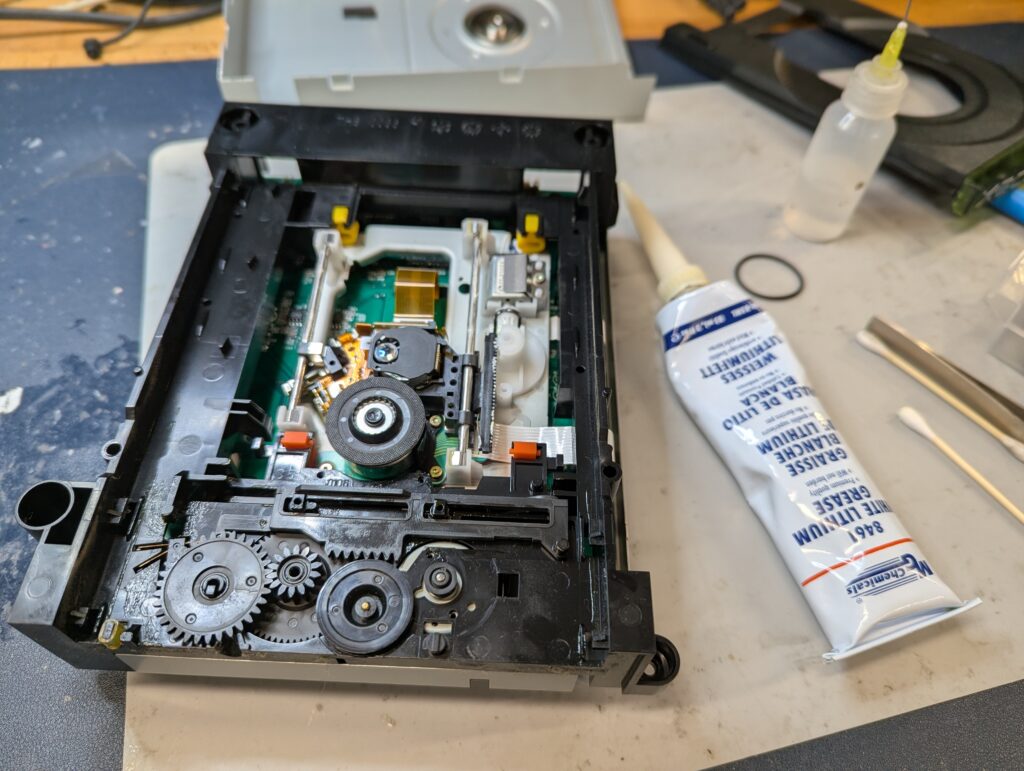
The rust was removed by sanding the affected areas. The DVD drive was also opened up, cleaned and lubricated with fresh white lithium grease, even if the condition was excellent
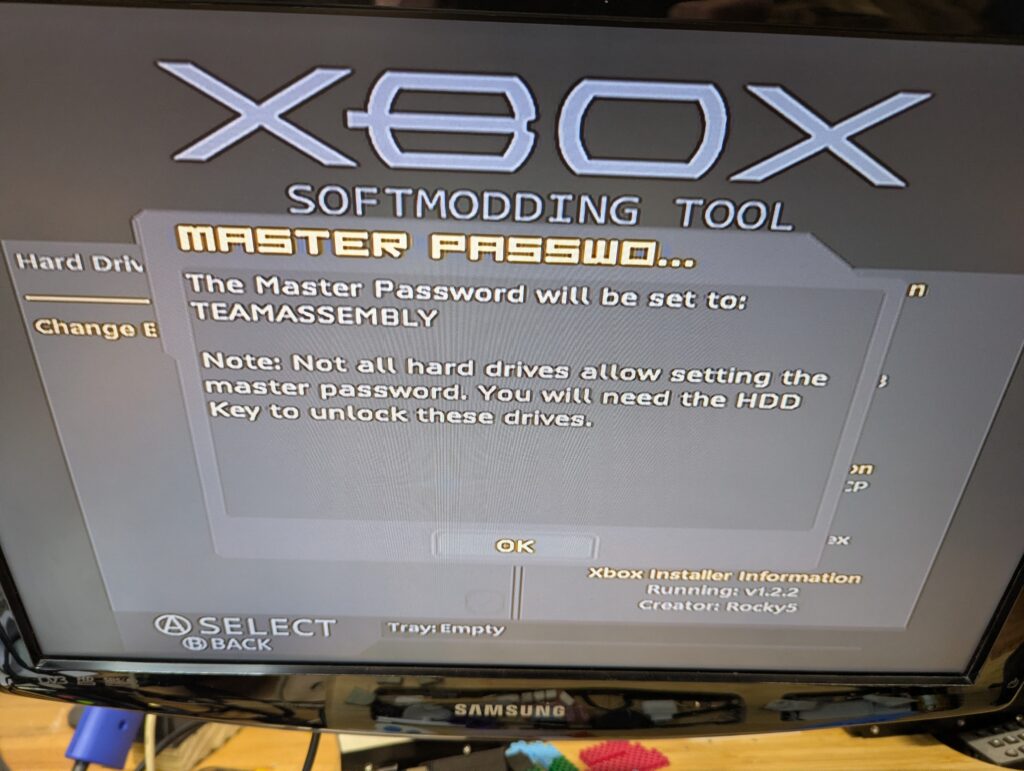
In order to mod the console, it was first soft-modded so that the flashing software can be run. The soft mod was done using a new Skelton key software, which includes Rocky 5 softmod. After softmoding the console, Xblast OS was run to flash the new TSOP image (Cerbios 3.0.0 Beta). Note that at this point the master password of the stock HDD was set to TEAMASSEMBLY (see photo below). This will be required if the stock HDD needs to ever be used.
After the console TSOP was flashed with Cerbios, the SSD was formatted and partitioned with XFatxplorer. The configuration files for Cerbios are included in the E: drive (these can be changed by removing the SSD and plugging it into a PC and use Cerbios, or by connecting to the console using an wired ethernet connection, which is also the easiest way to upload game images). The Xbmc4Gamers version that is installed should have the artwork package installed, but a script might be required to be run for new games for the dashboard to use the right artwork. The HDD also has other dashboards, including the stock MS dashboard. They all can be run either from Xbmc4Gamers, or at boot time by modifying the Cerbios.ine file in the E:\Cerbios folder. Please check Cerbio’s 3.0.0 documentation for more information about configuration (including boot animations and much more). Xbmc4Gamers is also extremely configurable.
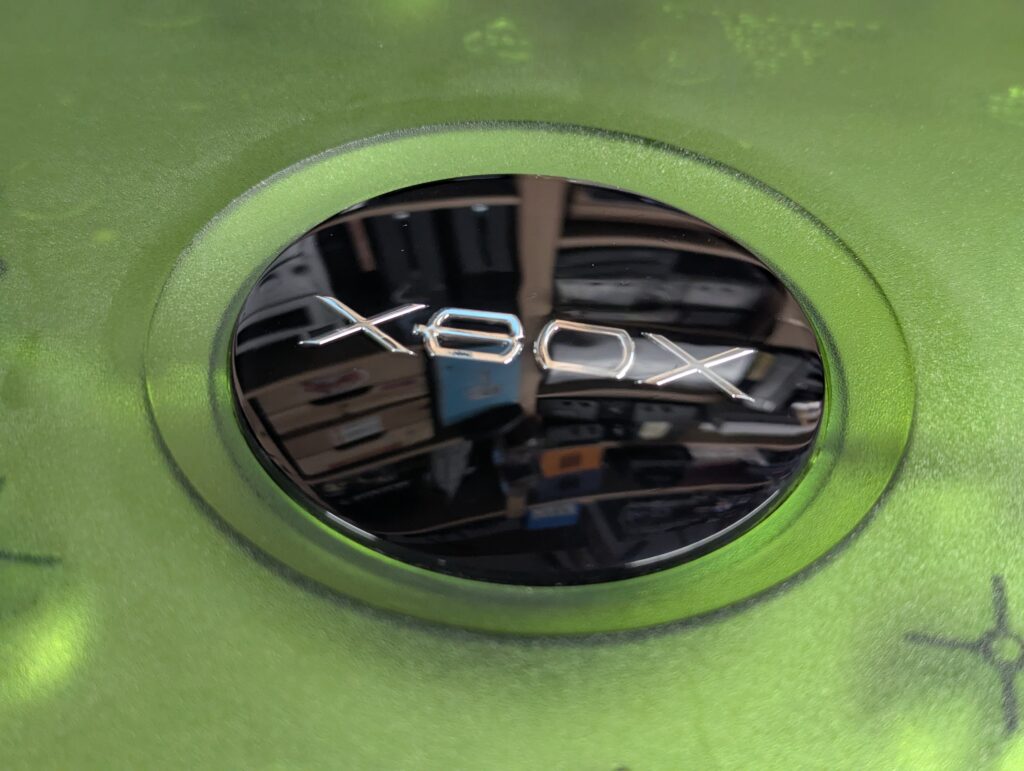
Finally the shell jewel was polished, the shell wiped with 303 plastic protector, and the heatsink installed in the southbridge
Note that in order to prevent the IDE-to-SATA adapter to disconnect during transport, a piece of polystyrene was placed in the new empty space in the HDD bay. This is not required and can be removed if desired.

Final picture of the console before packaging 🙂