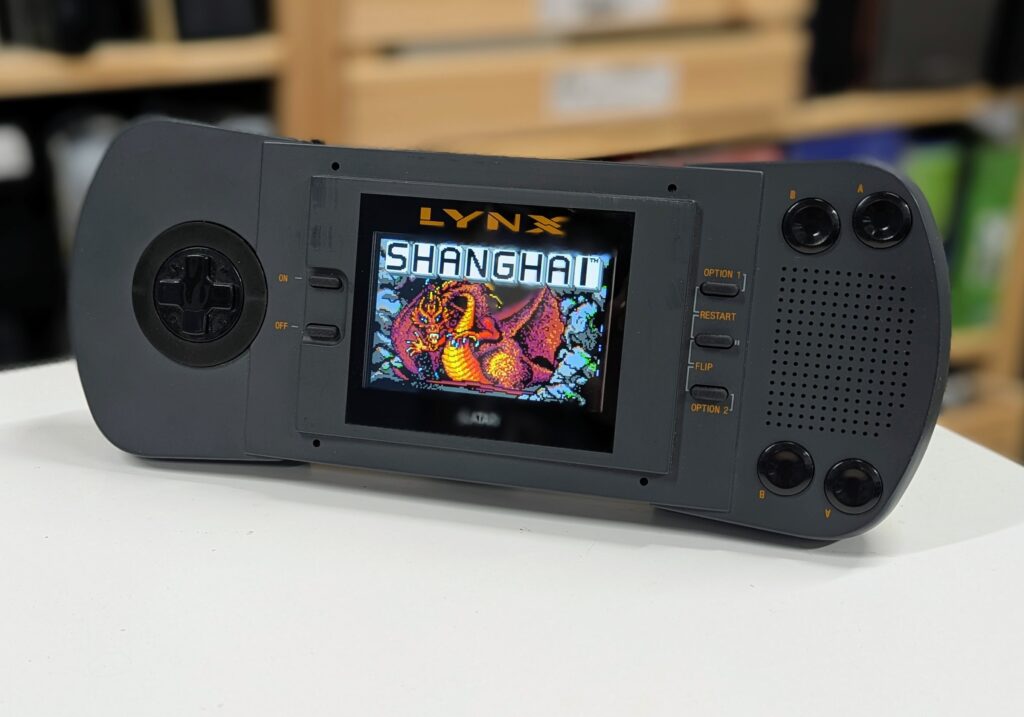
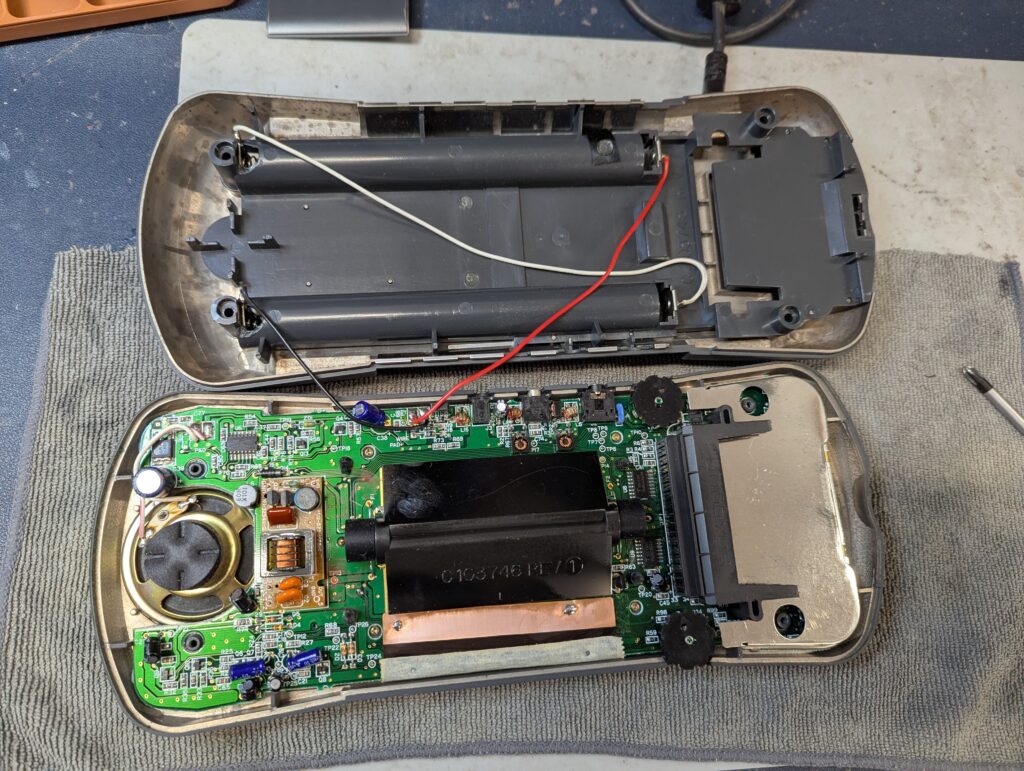
This order was for the installation of a BennVenn IPS screen in a Atari Lynx model 1. The console was is quite good condition, with a working screen. Initial tests we made with external power.
The first step after disassembly is to remove the old screen. That includes removing also the backlight and the power transformer that feeds power to the LCD screen
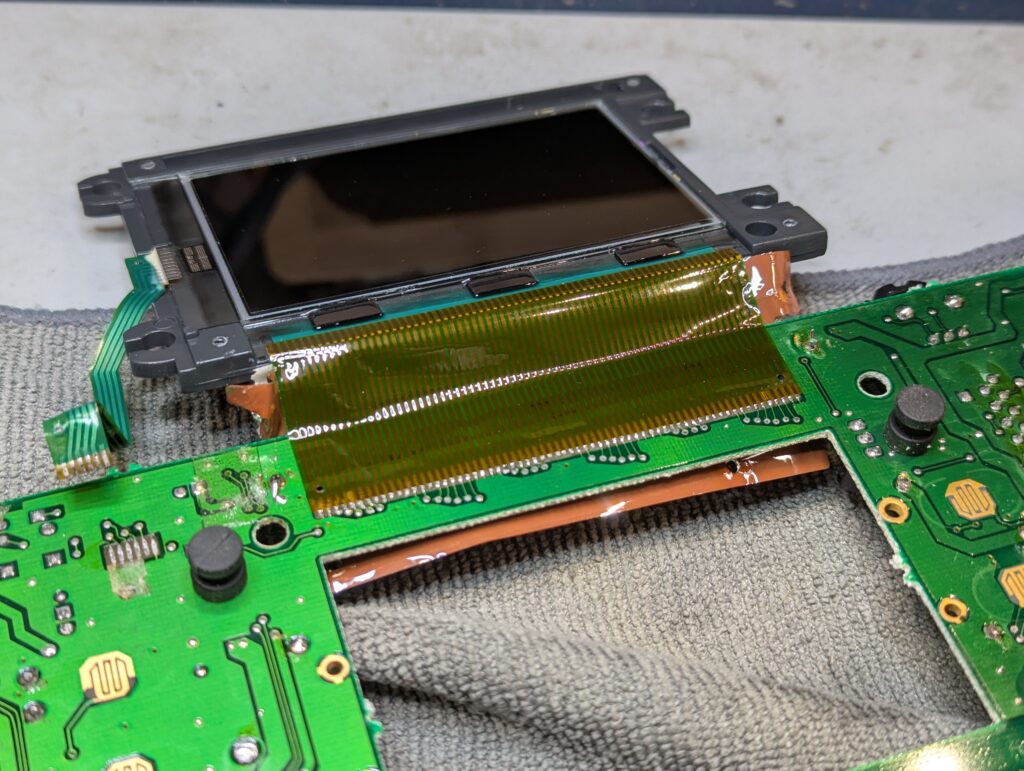
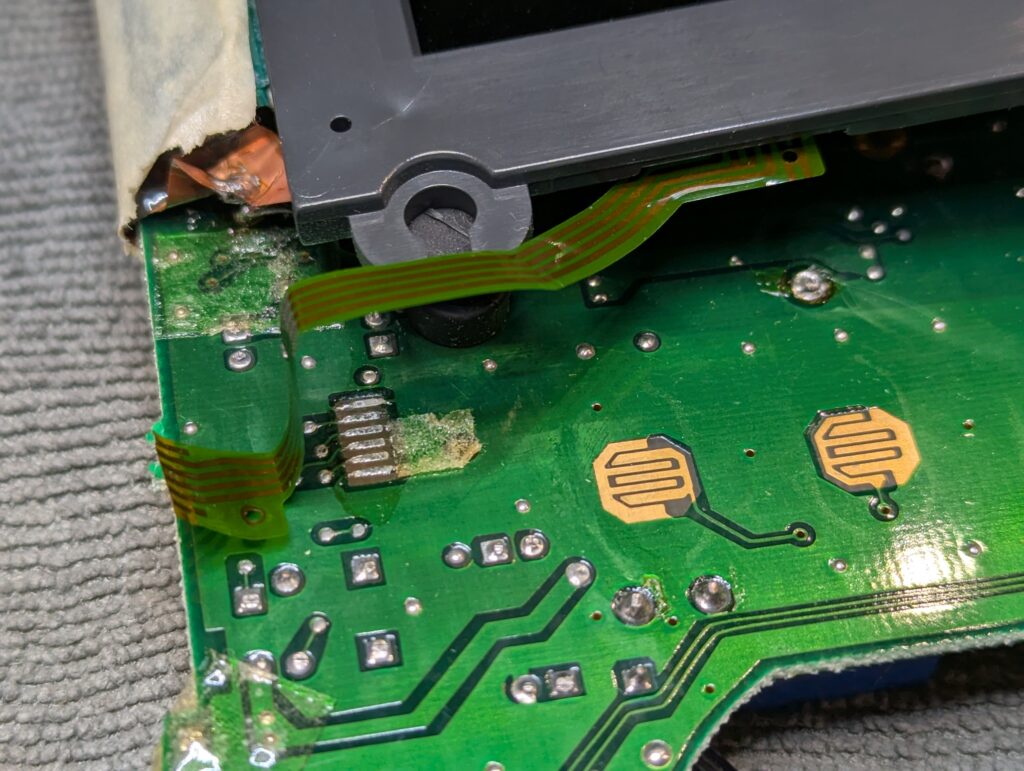
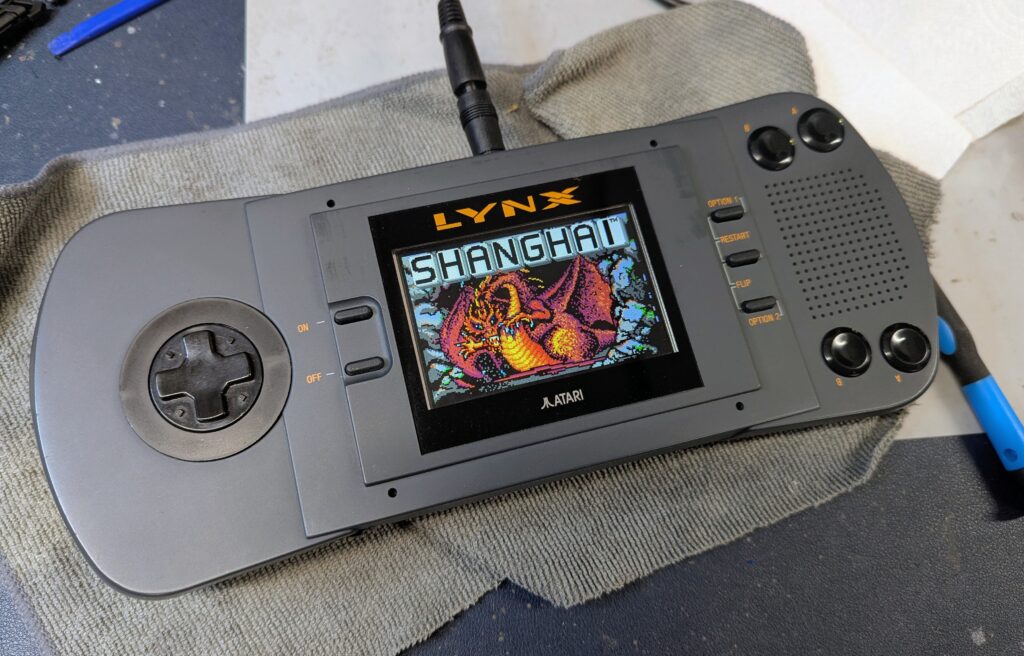
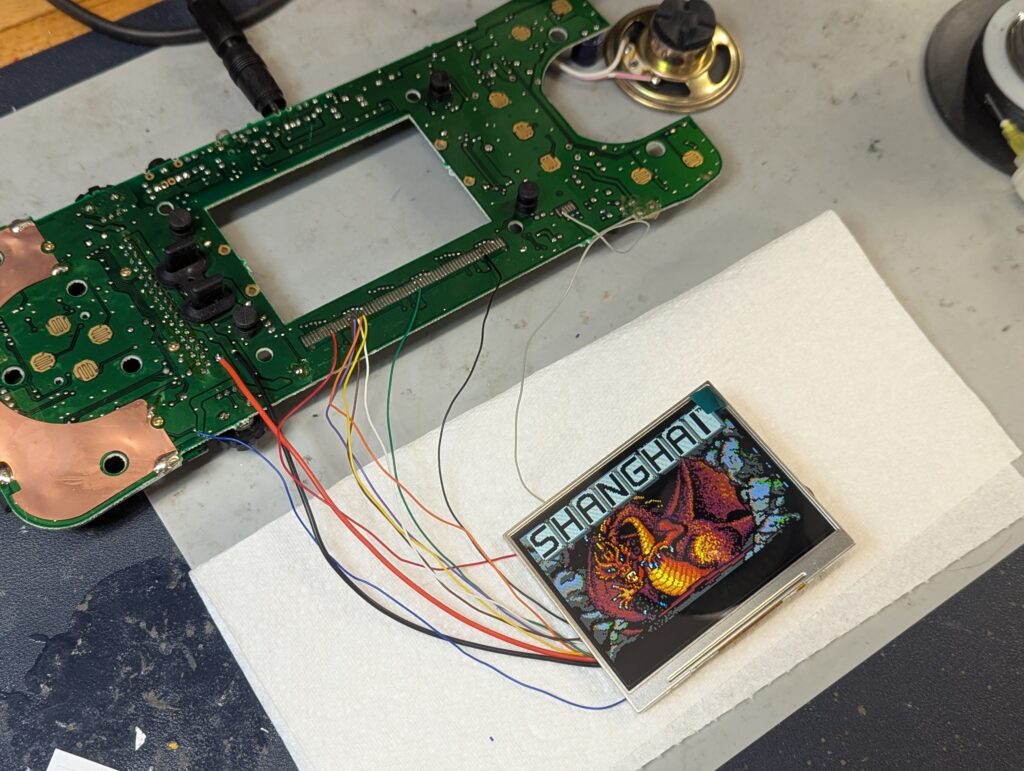
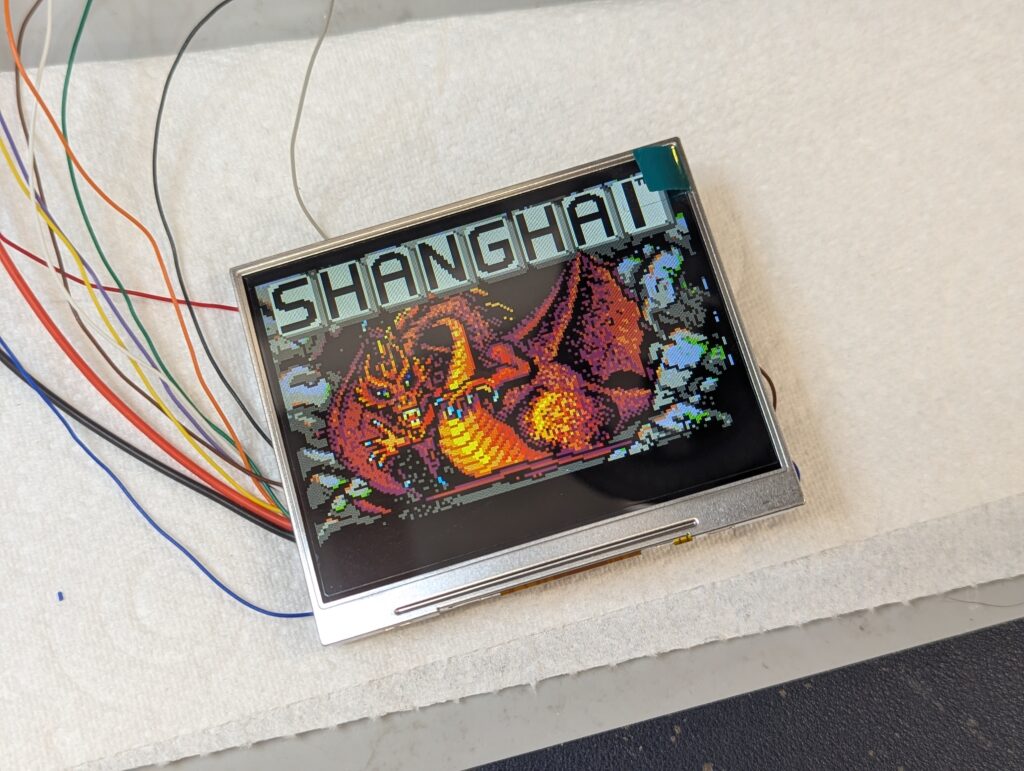
After the screen has been removed, then a number of wires need to be soldered to the old pads and into the new IPS screen. ZedLabz provides wires of different colours which makes the installation easier. Inserting the came and powering up the motherboard shows that the mod is working as it should. Note this screen is larger than the old screen, so the bottom of the screen has a black stripe which doesn’t show when the console is assembled.
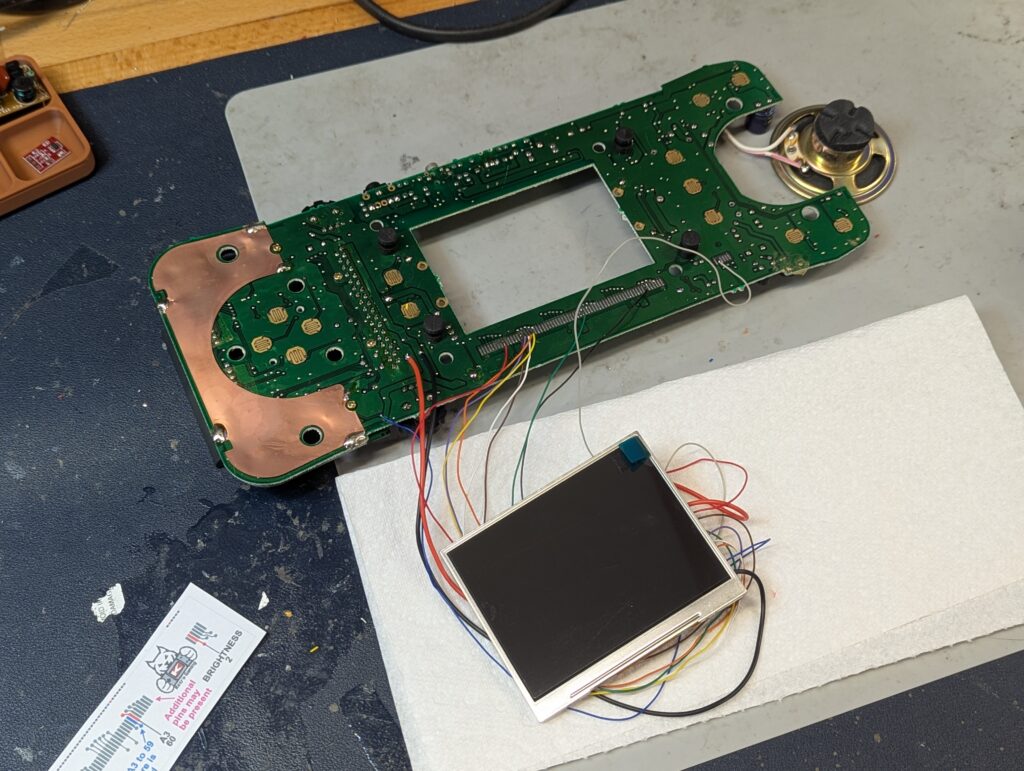
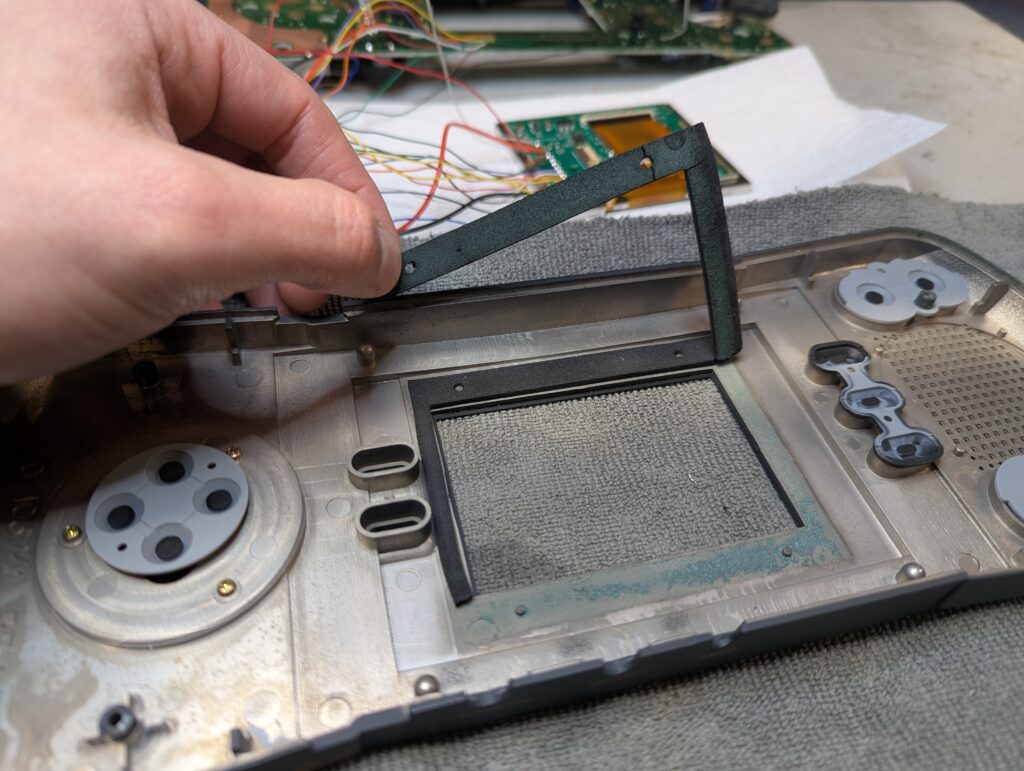
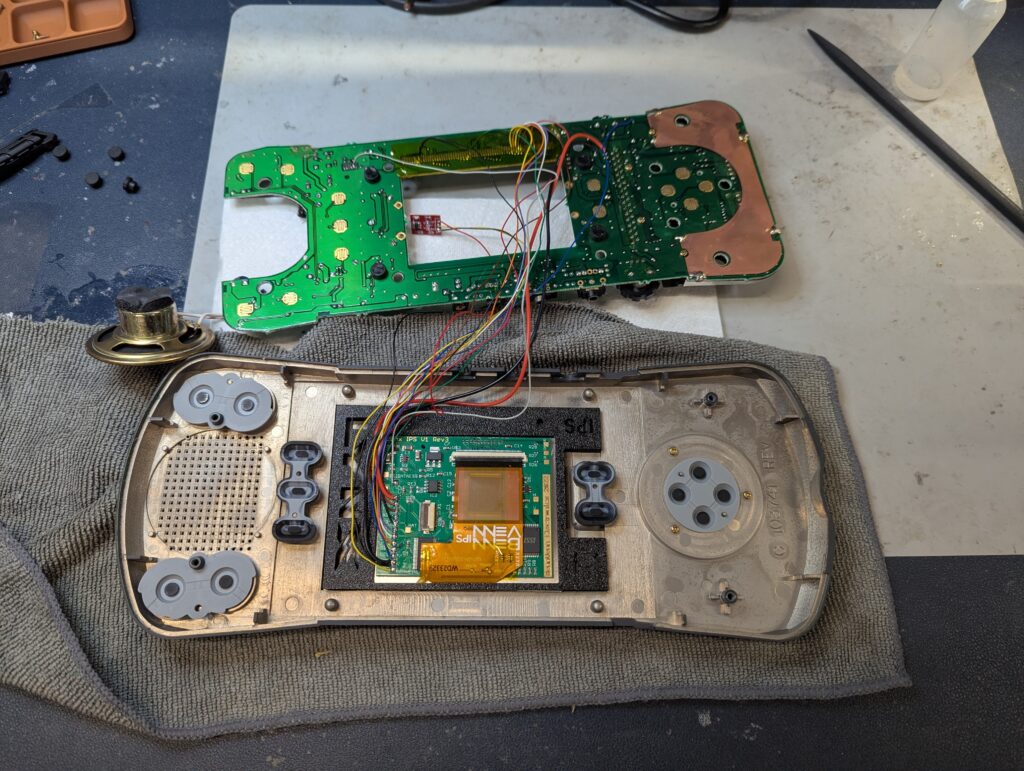
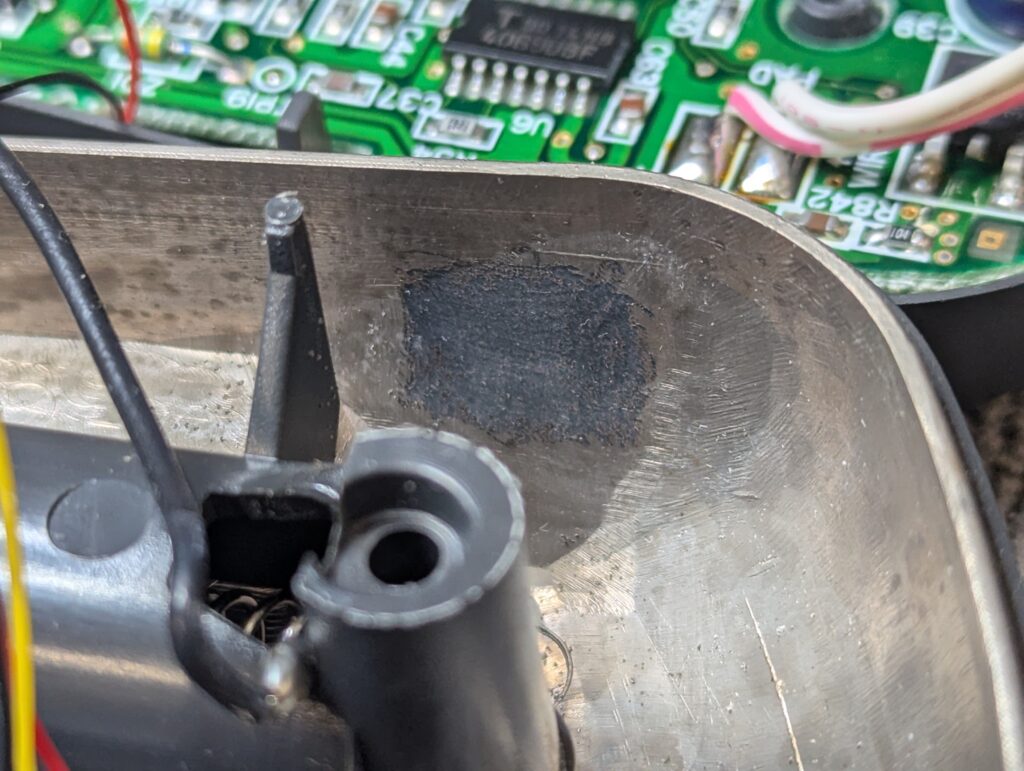
To install the screen in the shell of the console, the old foam needs to be removed and a 3D printed bracket used. The old foam crumbled away while trying to remove it, so some cleaning was required. Finally the screen is mounted in the front of the shell and the motherboard carefully folded on top of the screen. Thankfully with the bulky backlight gone, there is plenty of space.
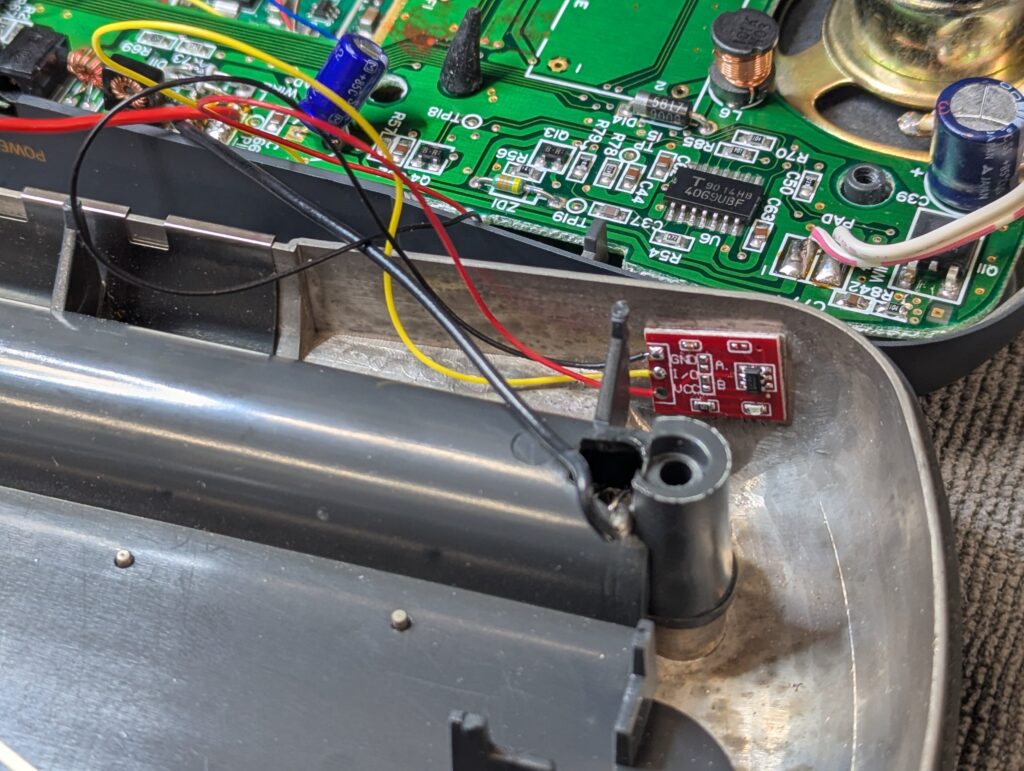
The kit includes a “touch” sensor to enable scanlines and change the video output to VGA. The VGA mod wasn’t included, but I decided to install the sensor anyway. The idea is that the sensor is installed internally, and taping the outside of the shell in the right place actions the change. Unfortunately, this is one of the few Atari Lynx 1 consoles that has an internal coating of conductive silver paint, which stops the sensor from working. This is mentioned in the instructions of the mod. I tried to scrape the paint and install the sensor there, but still didn’t work. I did try the sensor before sticking it in the shell and it does work , so it is inside the console should it ever have a use in the future. The only functionality that is not available is enabling artificial scan lines. If this options was desired in the future a physical button would need to be installed by making a hole in the shell.
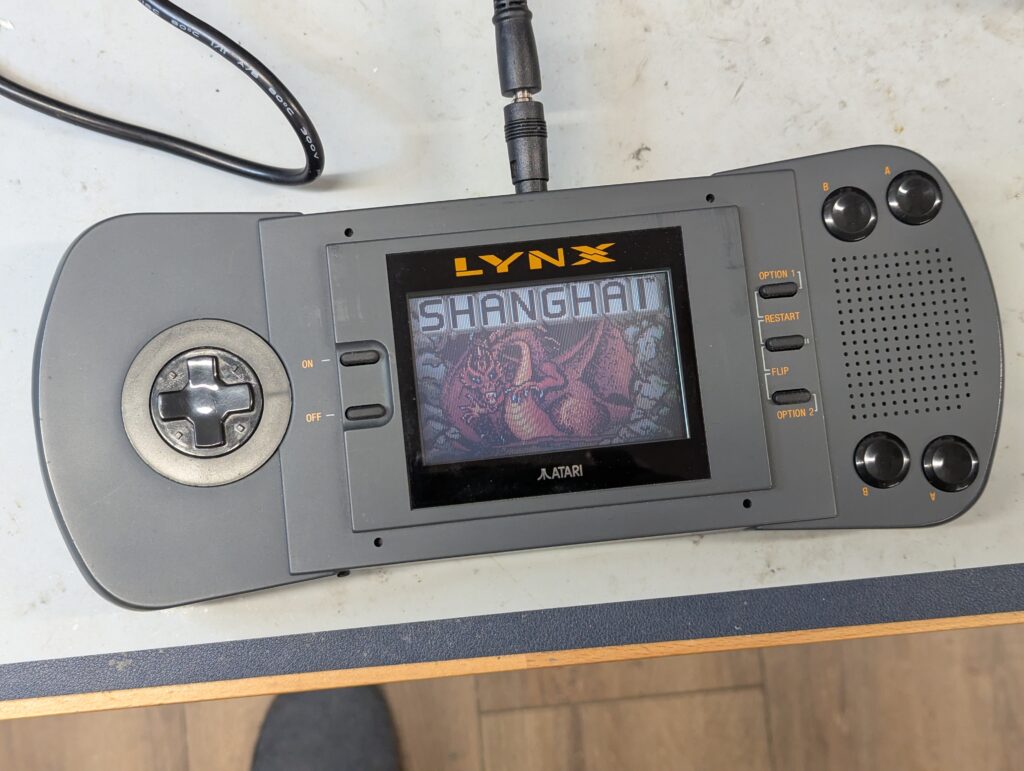
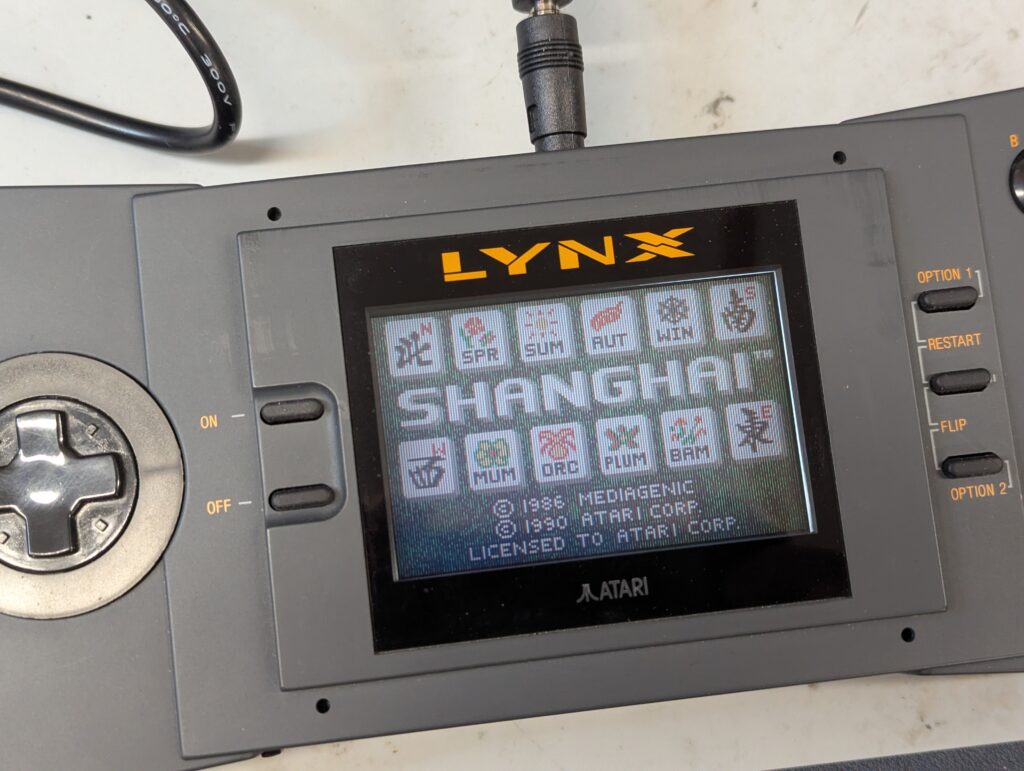
The console was tested with external power and batteries, and all works well