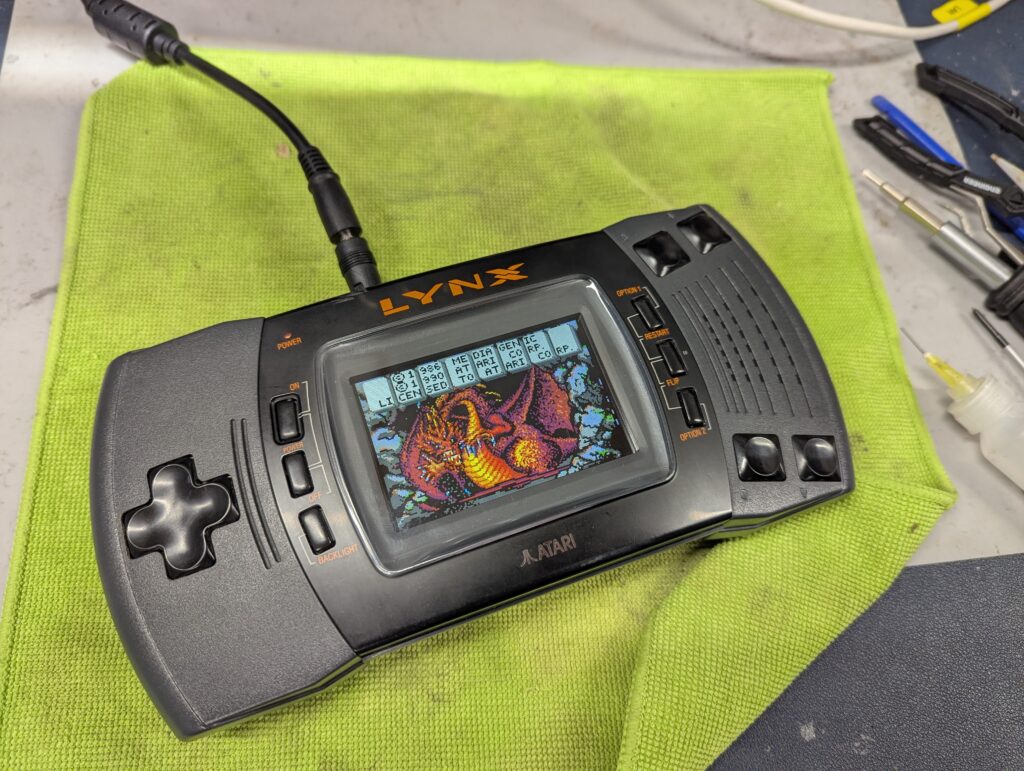
This order was for a Lynx II recap and screen replacement. The recap also included the replacement of the power circuit.
The console was overall in a good condition with some scratches in the screen lens (it is possible to change the lense for a new one at a future date). The first thing to do was the do the recap and the replacement of the power circuit. The components that were removed and replaced are shown in the picture below, including the power regulator, zener diode, two transistors, 30 ohm resistor and the Hex inverter chip. The aluminium foil was placed to protect plastic and other components since the removal was made with hot air.

After testing the console worked fine after the recap and power circuit upgrade, it was time to change the screen. In this model, the screen doesn’t require any further soldering and is dropped in place of the old screen with a bracket that secures the screen to the shell.
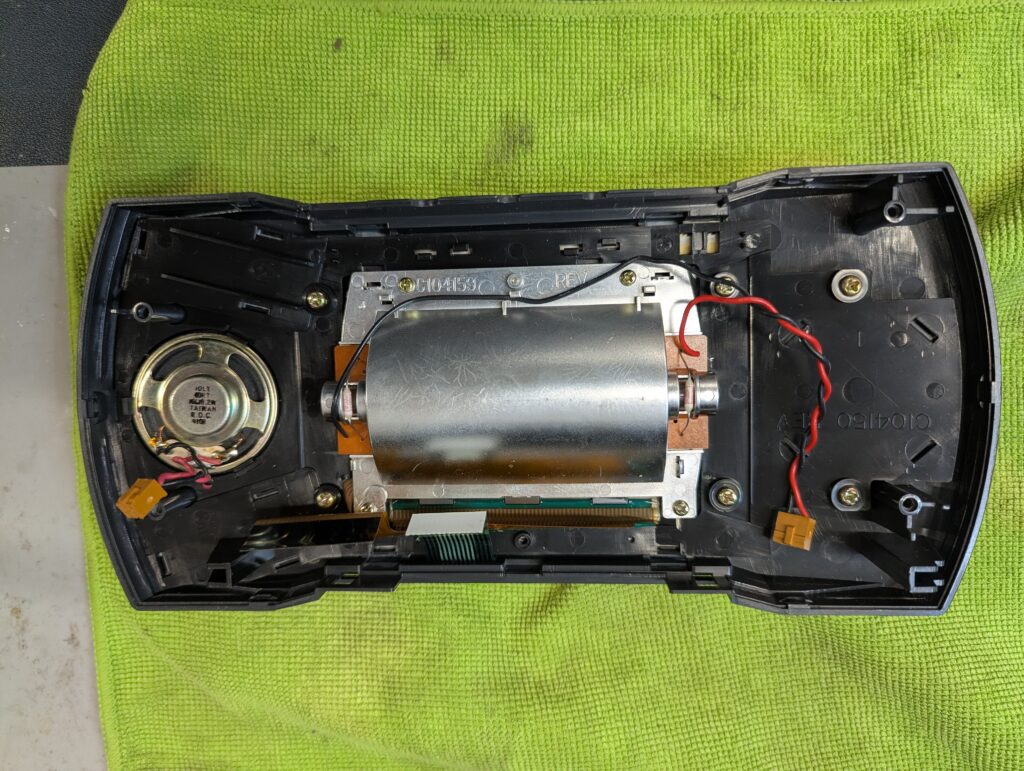

The screen connects to the old connector with a new ribbon cable. There is one wire to be soldered so that the backlight button can be used to cycle through screen modes, namely scanlines and output to an optional external video output (not installed).