This order was for a set of mods and work on a PS2 fat model 39003:
- TLC of the console and disc drives
- The installation of a Retro GEM
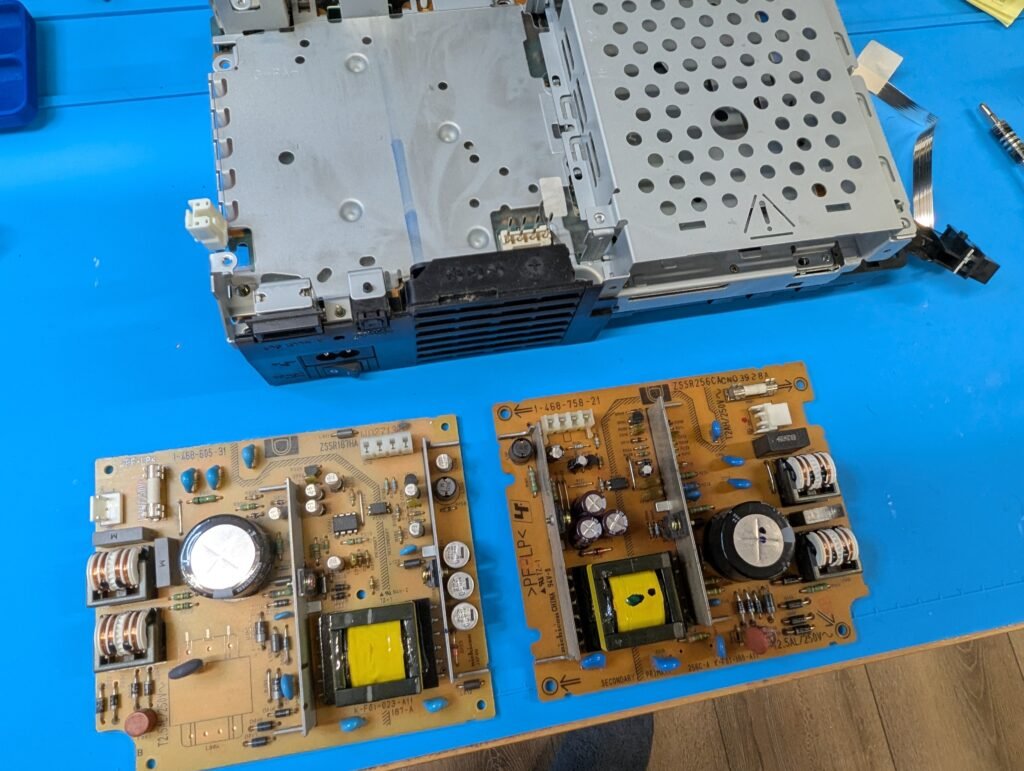
- Recap of the motherboard and PSU
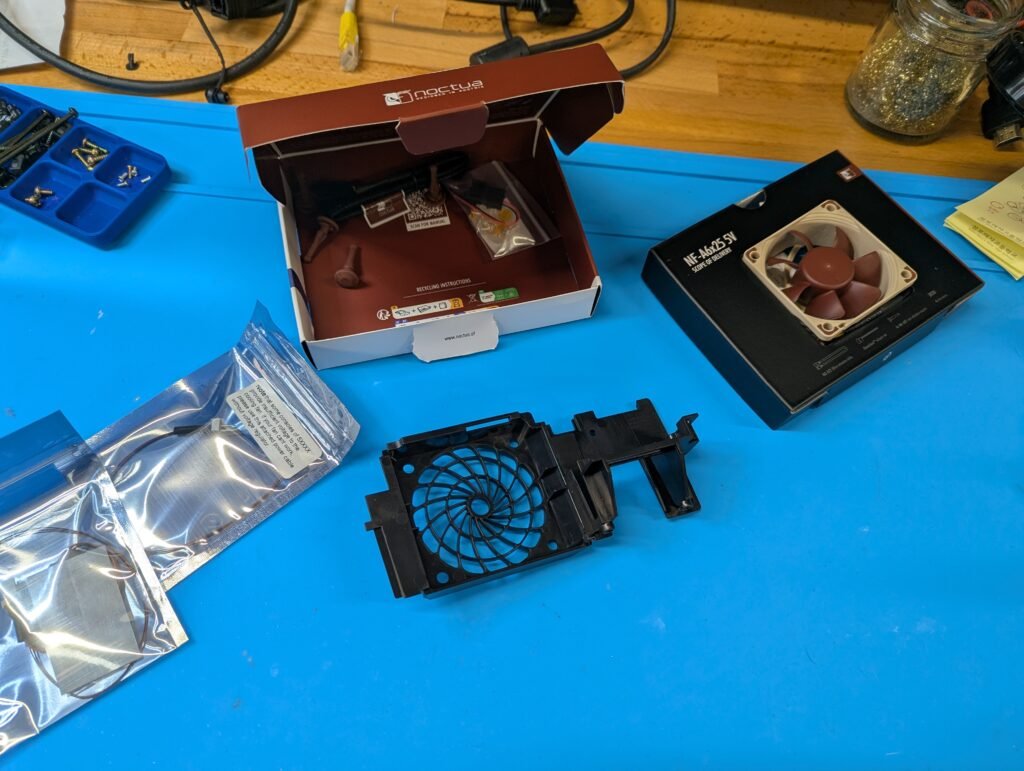
- Installation of a Noctua fan and a new fan and power bracket (provided by customer)
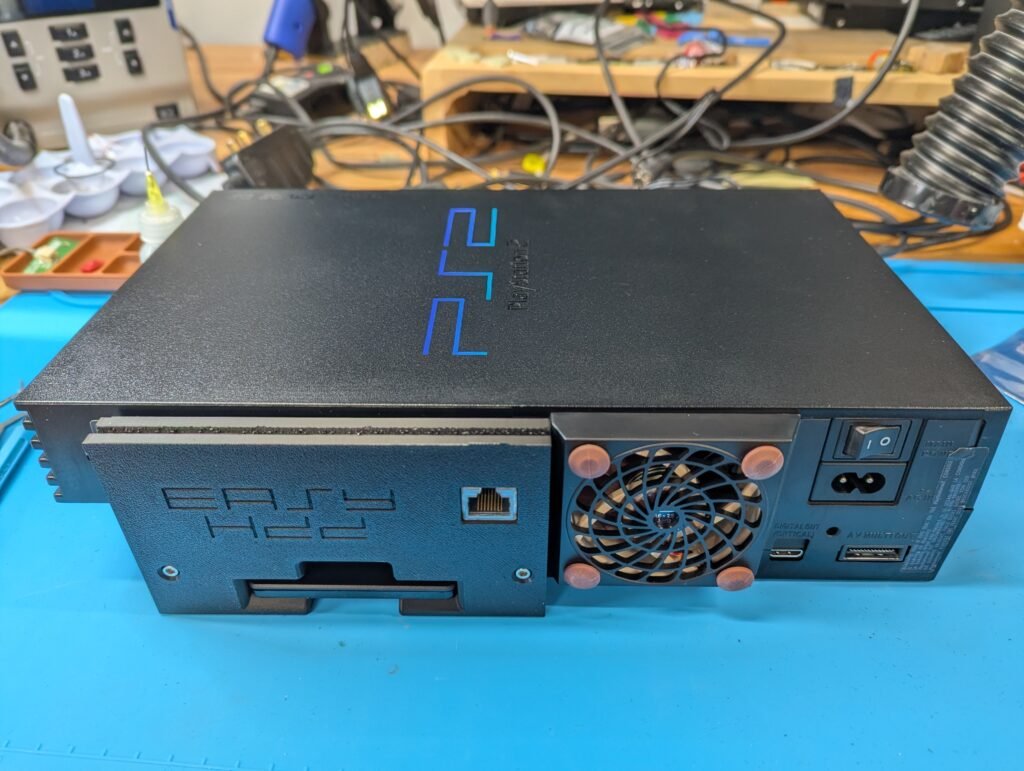
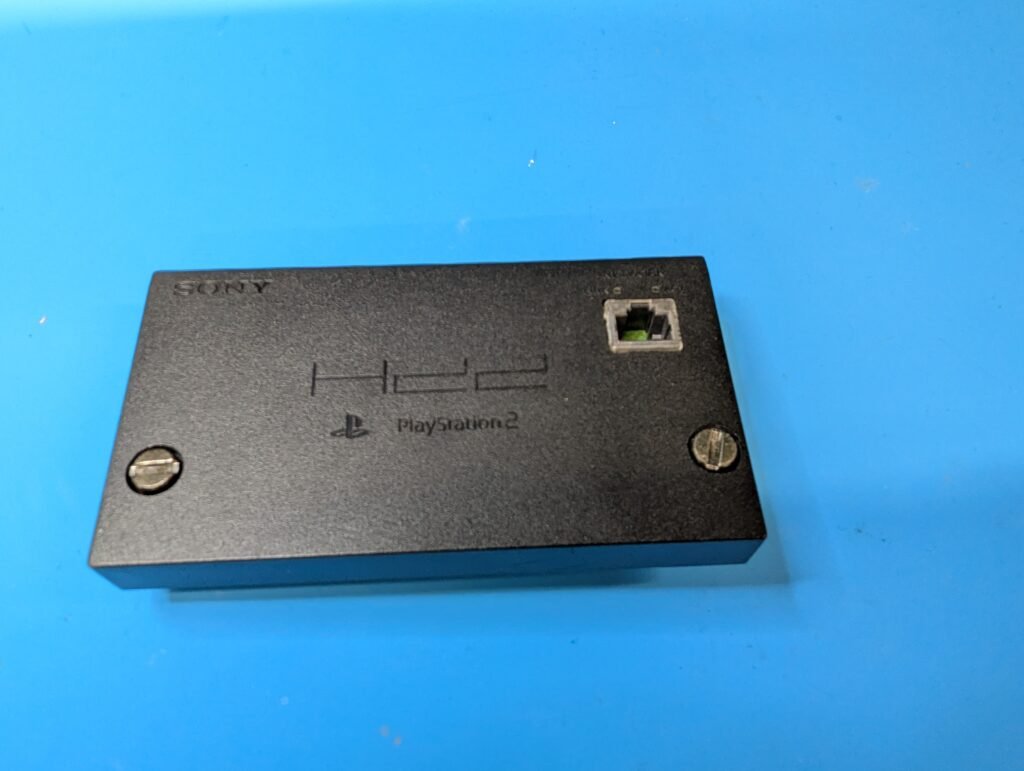
- Installation of an EasyHDD using a customer-proved Network adapter and 500GB SSD
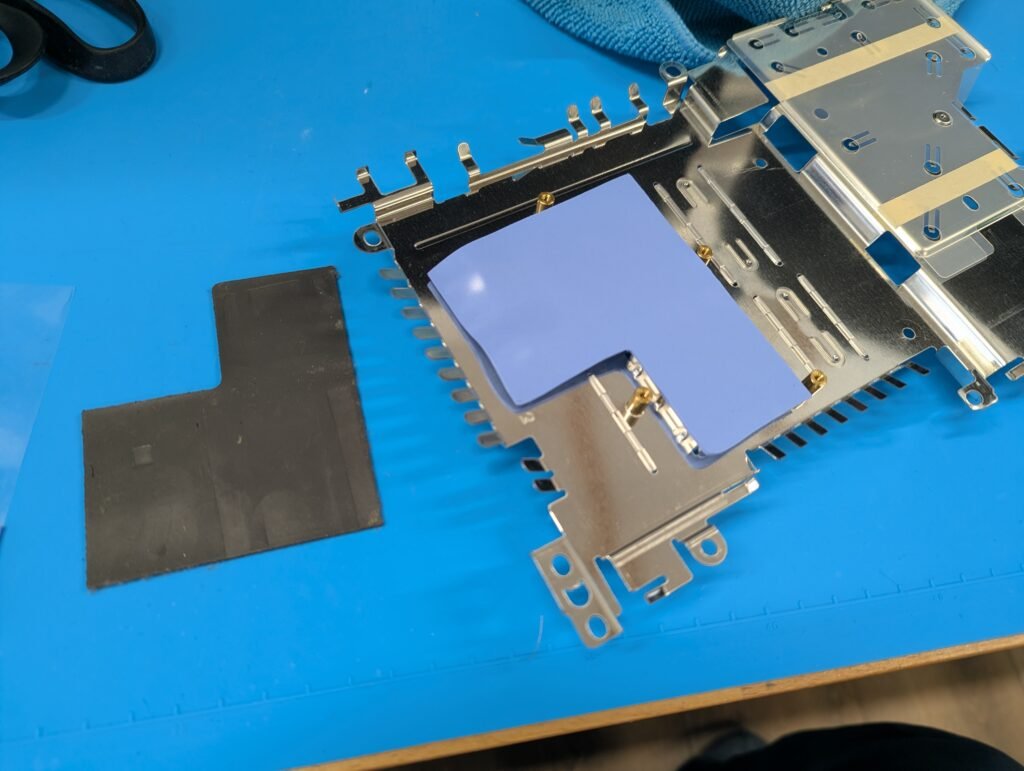
For this model of the PS2, the Retro GEM installation requires a 5000x PSU and shield as the one that comes with the console cannot accommodate the GEM’s PCB otherwise. I sourced a 50004 console and removed the PSU, shield, HDD shield and plastic PSU protector.
At the same time I assembled the Noctua fan and new bracket that the customer sent.
First job, the clean up and TLC. That includes, amongst other things, disassembly, dusting and washing of the console shell and other components; replacement of thermal pads; disassembly, clean, lubrication and replacement of the drive belt in the DVD drive
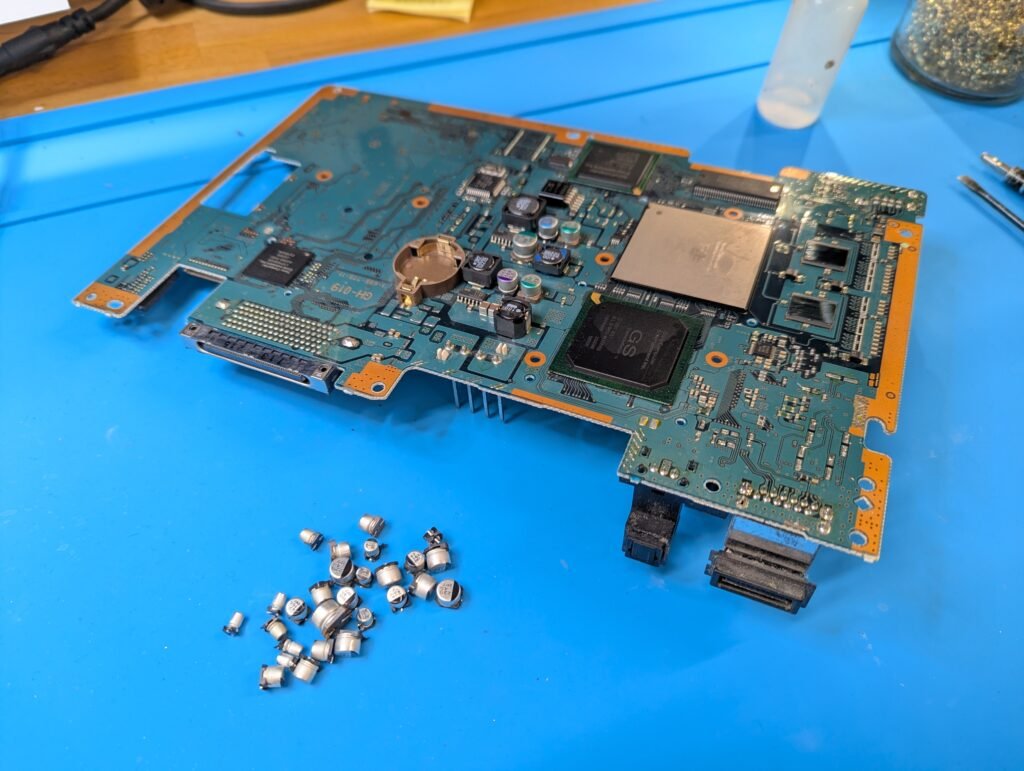
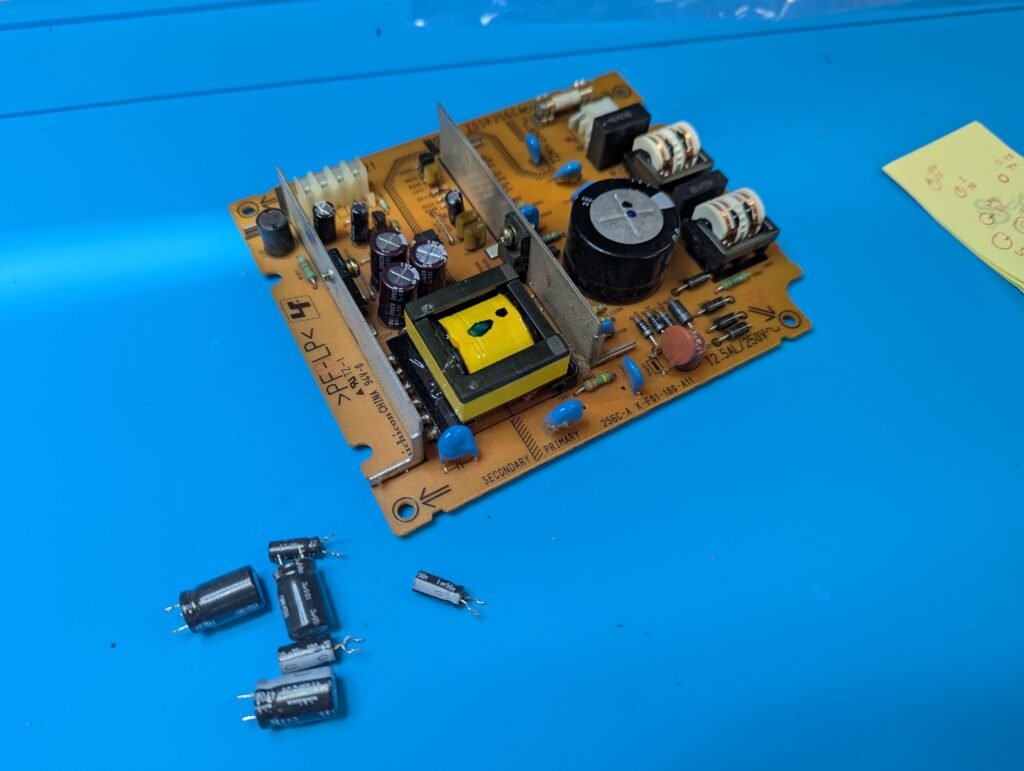
Next recapping of the motherboard and the borrowed PSU from the 50004 model
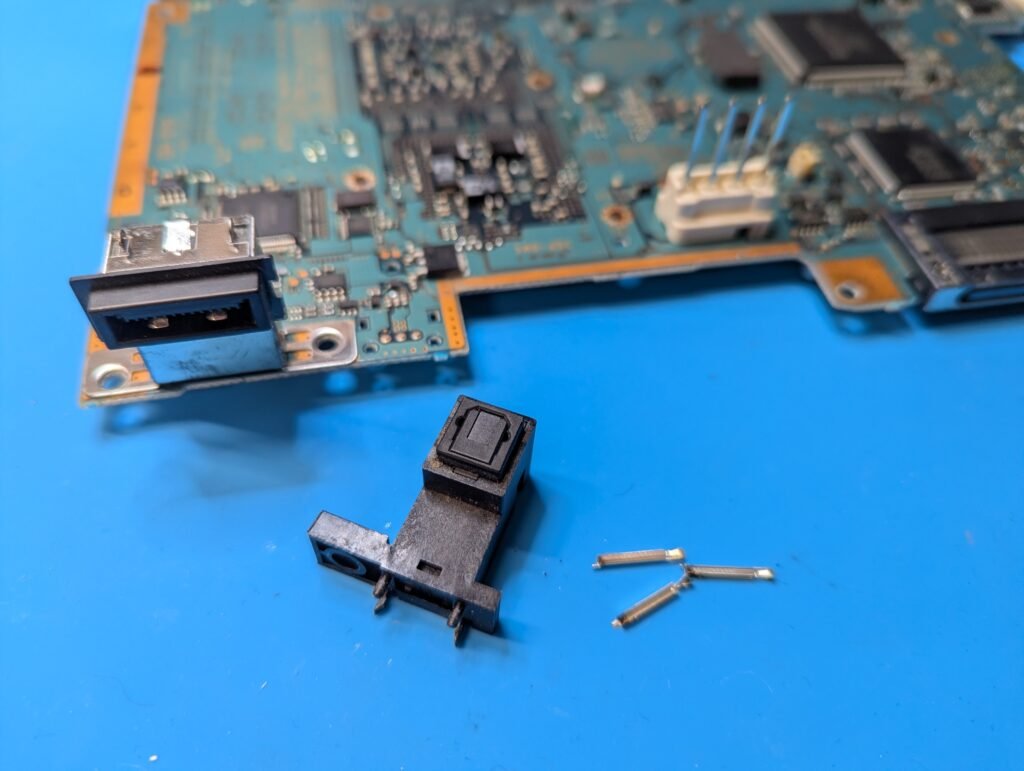
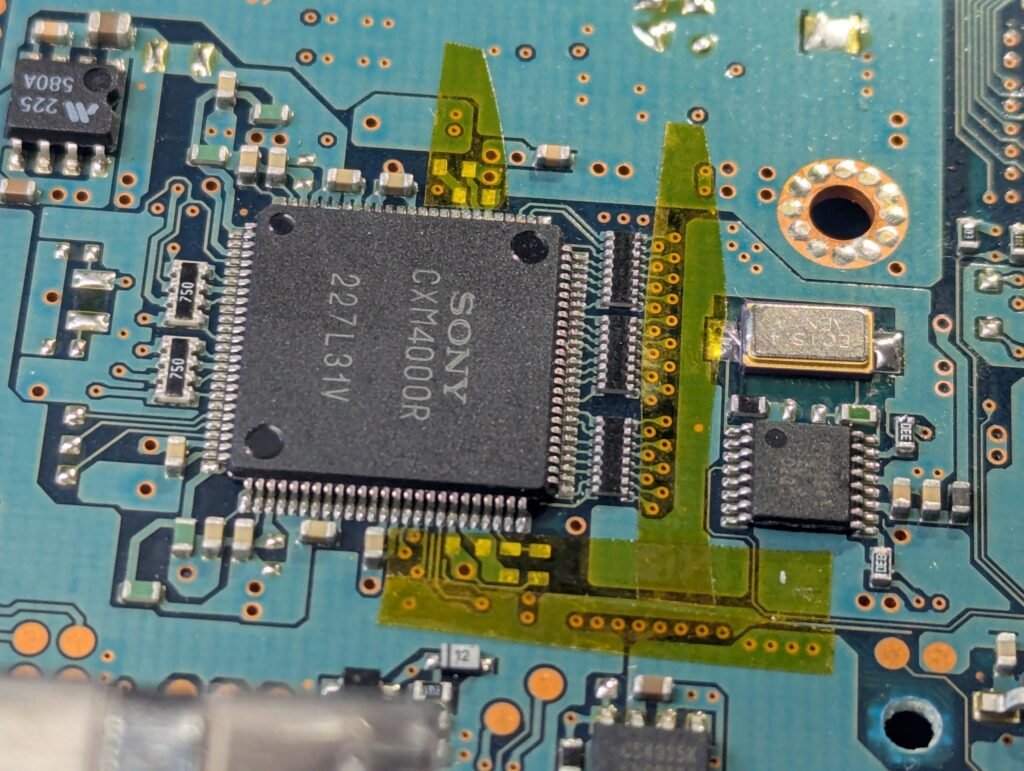
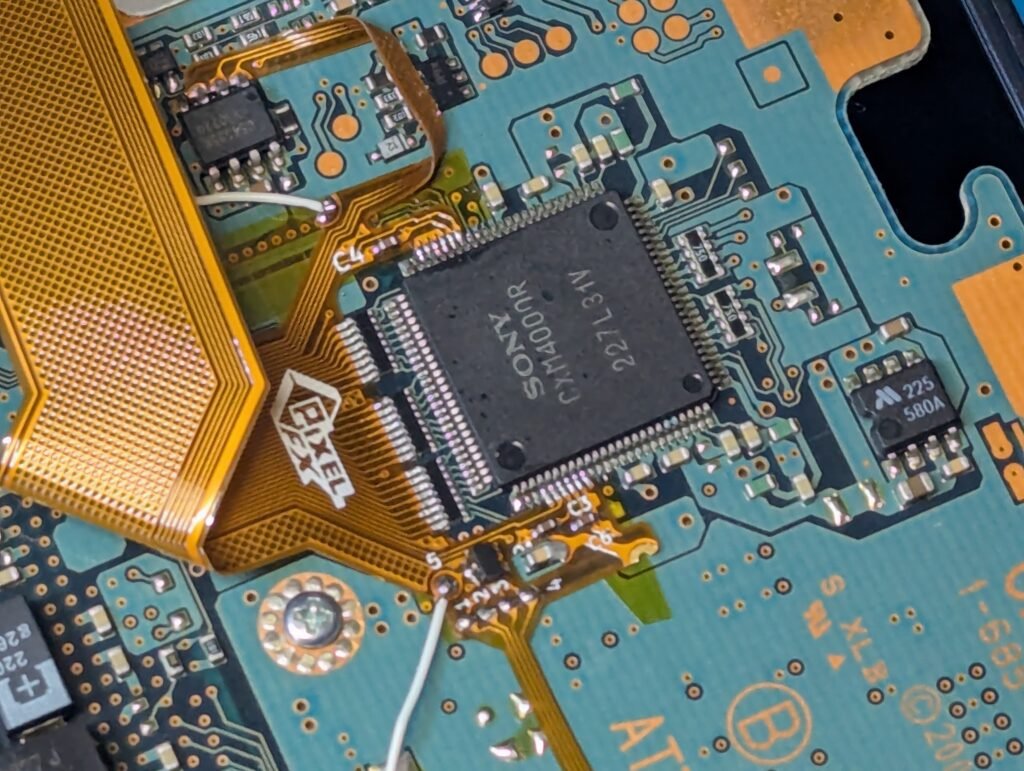
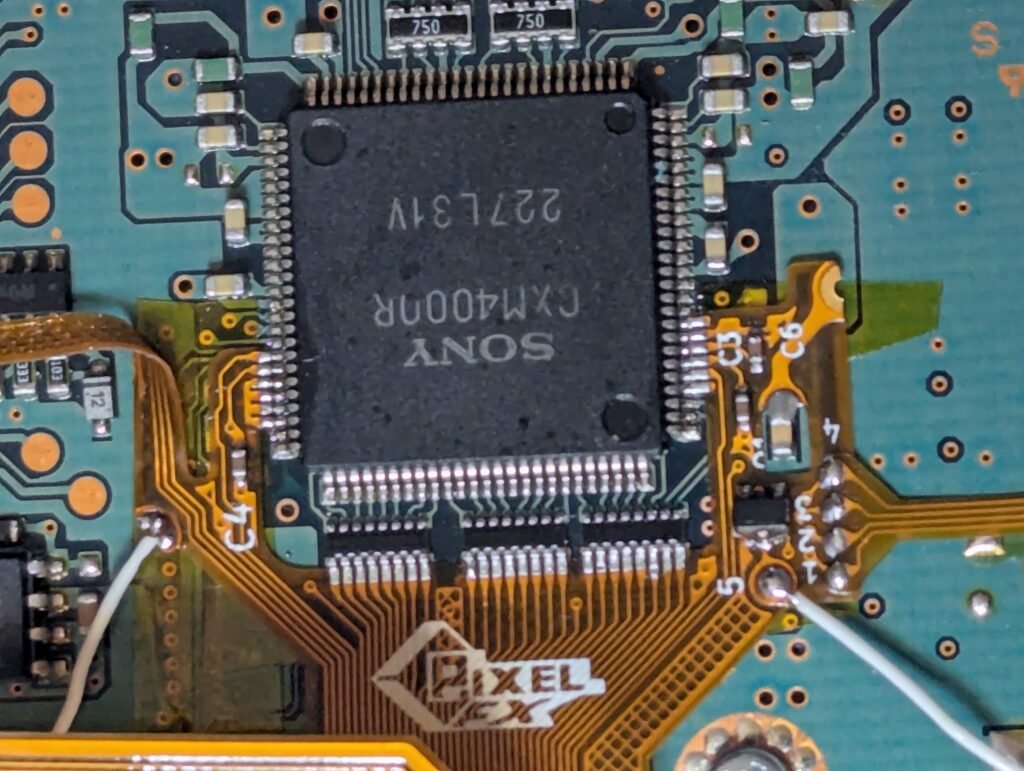
Next, installation of the Retro GEM. For that, some preparations are required, namely removal of a few components and replacement of the crystal with a lower profile one to make the soldering easier. This version of the GEM has two flex cables, one of the controller and another one for the rest. It also needs a couple of cables for reset and 5V. The Toslink also needs to be removed to make space for the HDMI port later on.

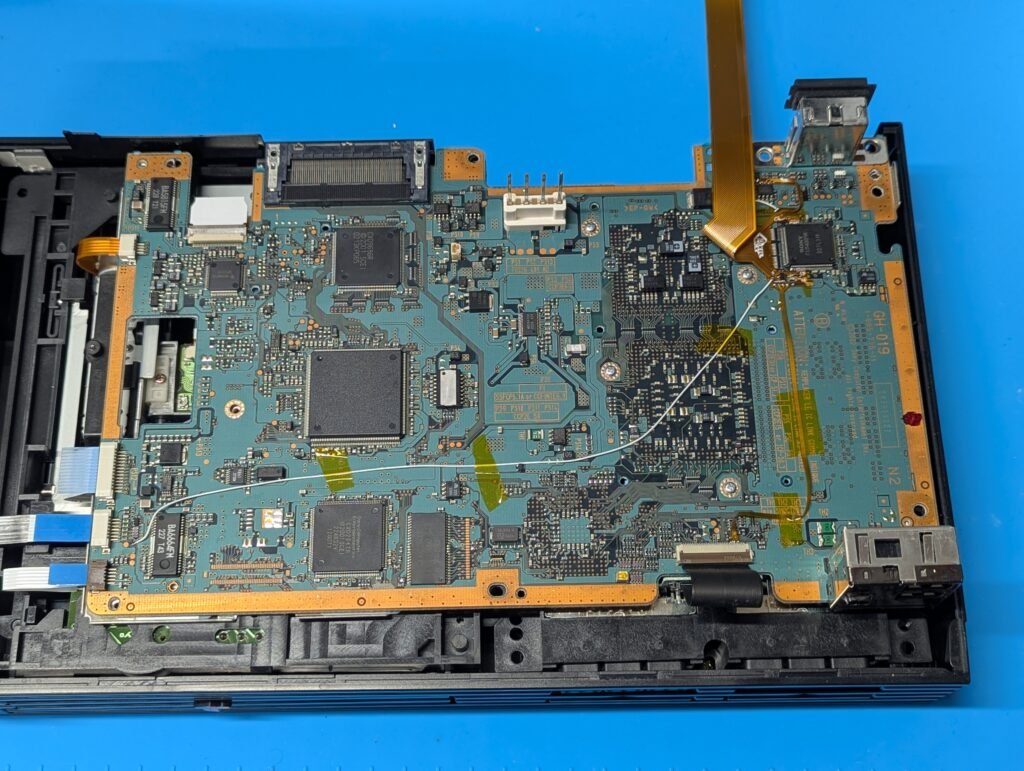
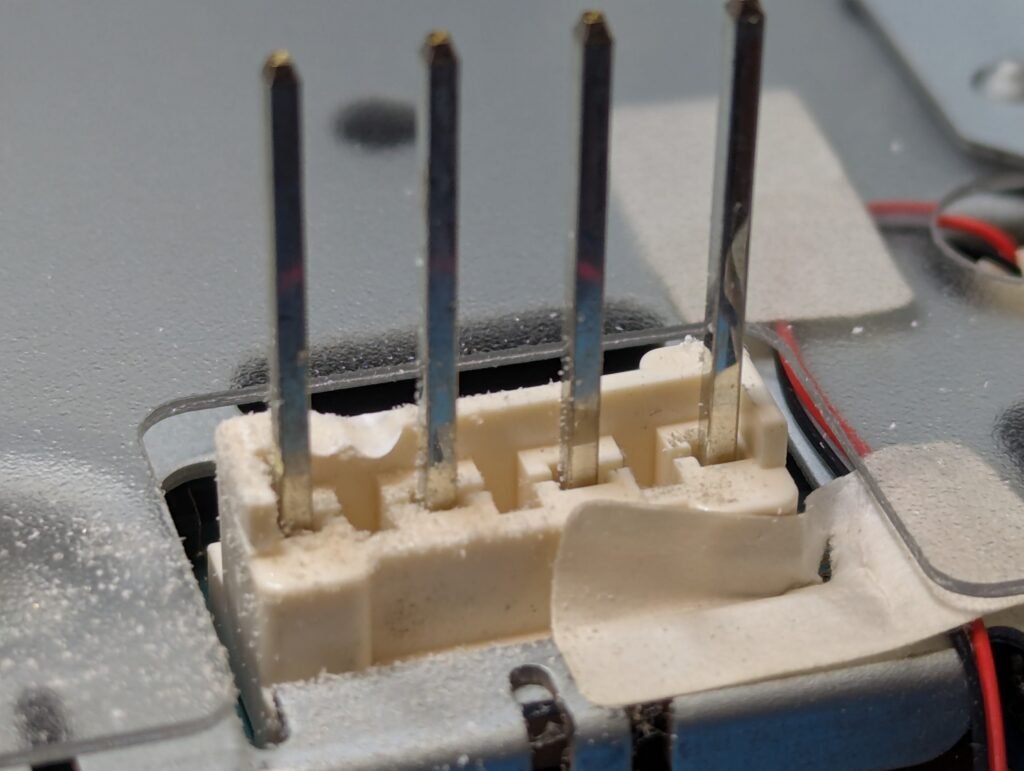
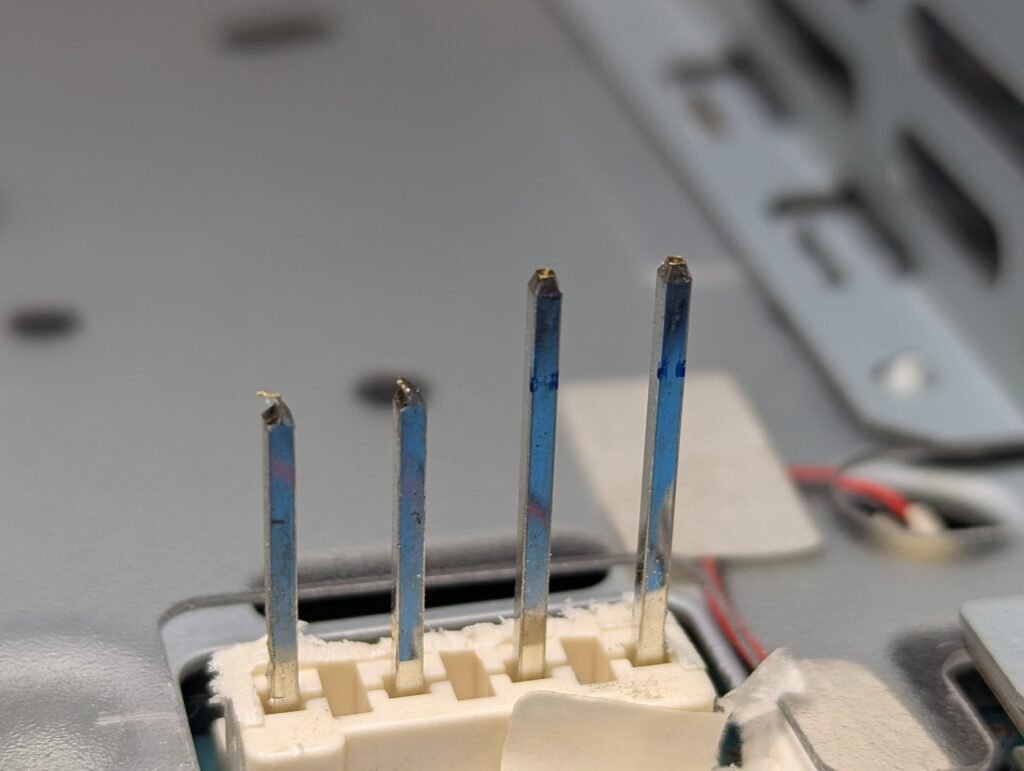
After various testing, is time to mount the GEM in the PSU area (this is the reason we changed the PSU). However, this revision of PSU requires further modification, namely, cutting one of the heatsinks and also trimming the pins that come from the motherboard so they don’t touch the GEM PCB.

Finally the GEM can be installed in place
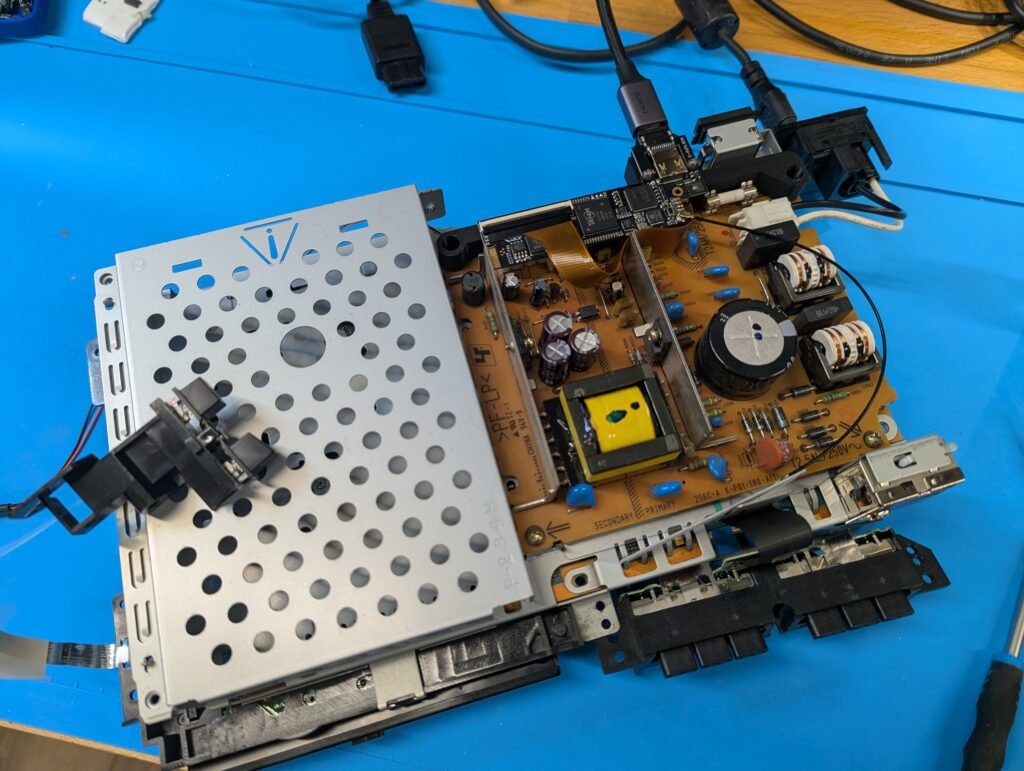
Time to reassemble and test again
Now the EasyHDD with the Network adapter.
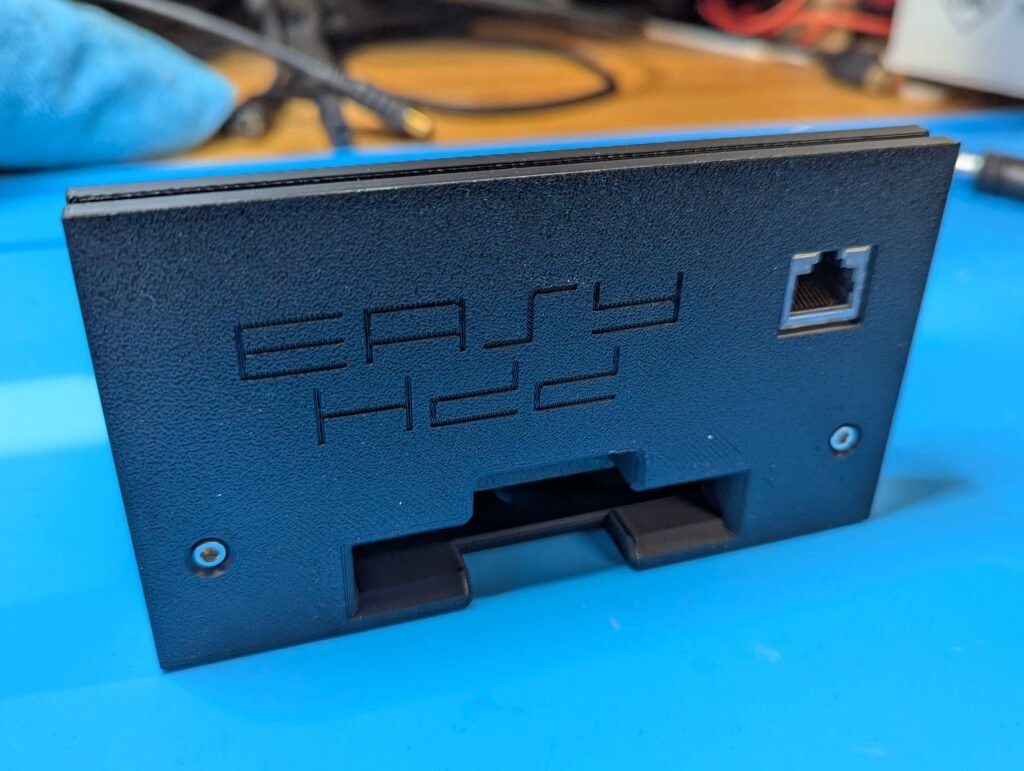
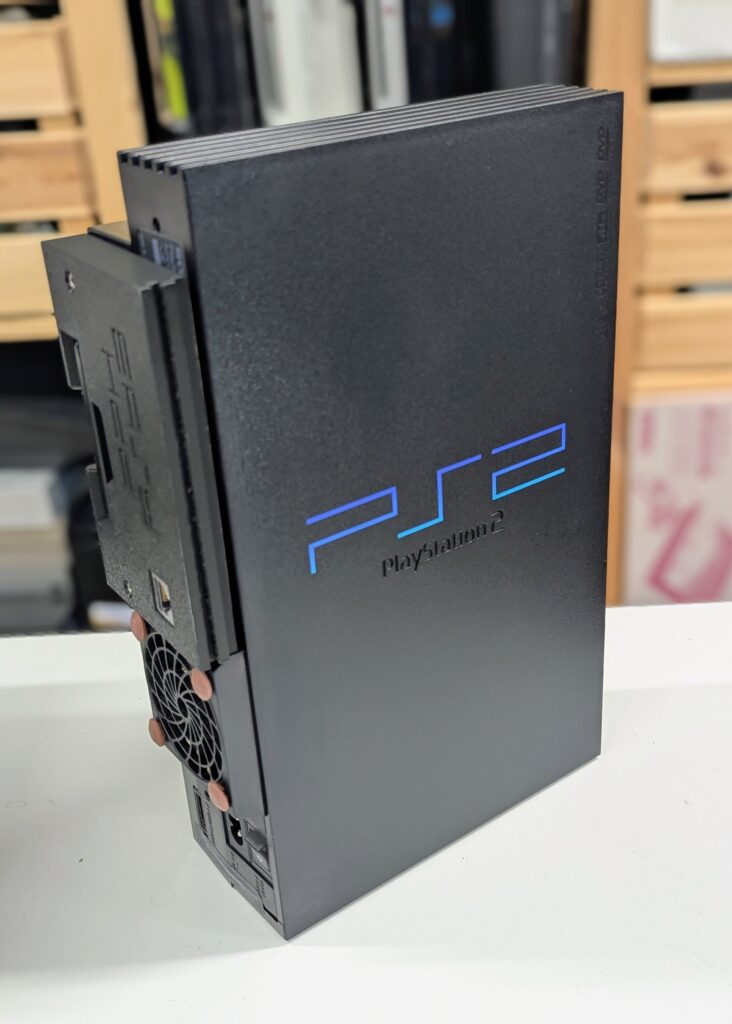
The problem with this print is that it doesn’t fit in place due to protruding Noctua fan and the new bracket. After a lot of testing, a new version was created and re-printed to ensure that it fits well. The console was finished off with some plastic enhancer and putting back that warranty sticker as if nobody has been inside 🙂
In terms of software, FreeHDBoot was installed in the SSD. With the SSD installed, the console will boot into the FreeHDBoot menu, and without it, into the normal PS2 menu.