This order was for a refurbishment of a Master System as well as for the refurbishment of an OG Xbox. Additional services that the customer agreed to and that were undertaken are
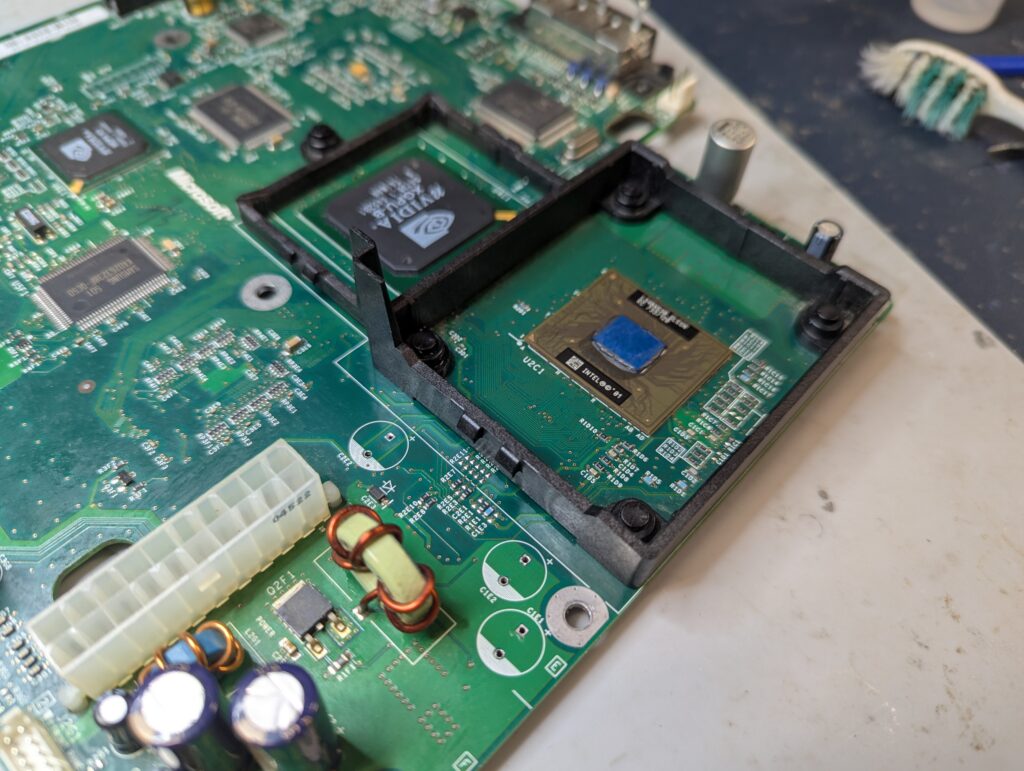
- Replacement of the CPU capacitors in the OG Xbox
- Replacement of the external shell of the OG Xbox as the one sent was damaged
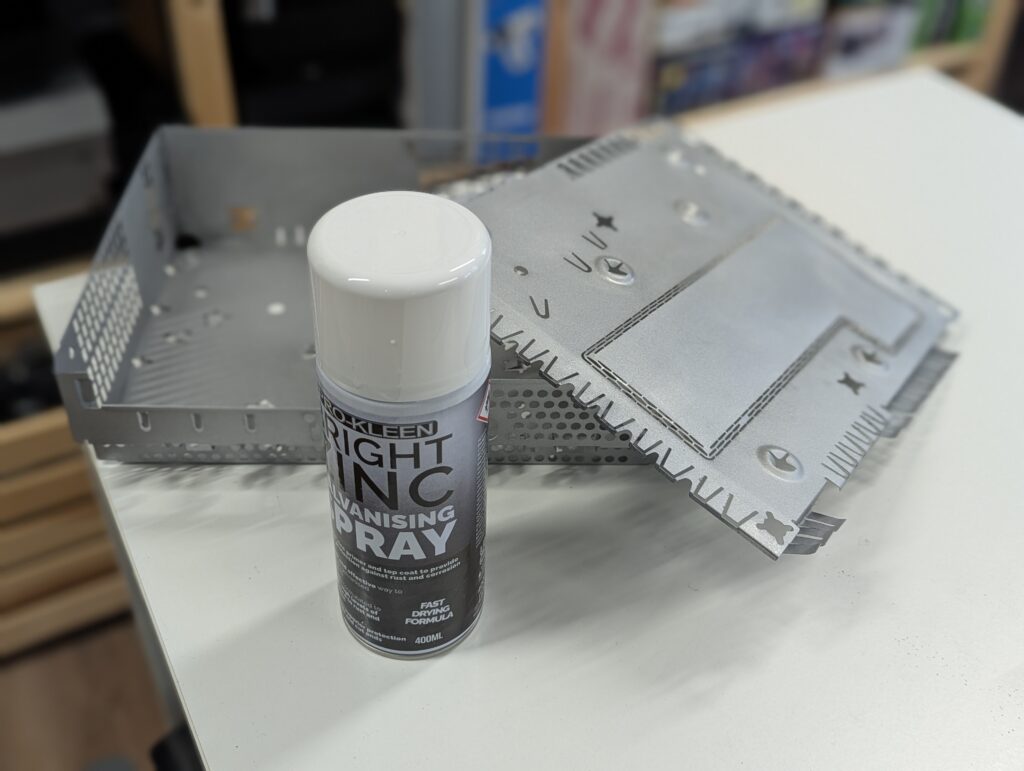
- Painting of the OG Xbox shields as they were rusted
- Replace the IDE to SATA connector for a Startech branded one to optimise the booting process
- Replacement of the Reset and Pause buttons on the Master system
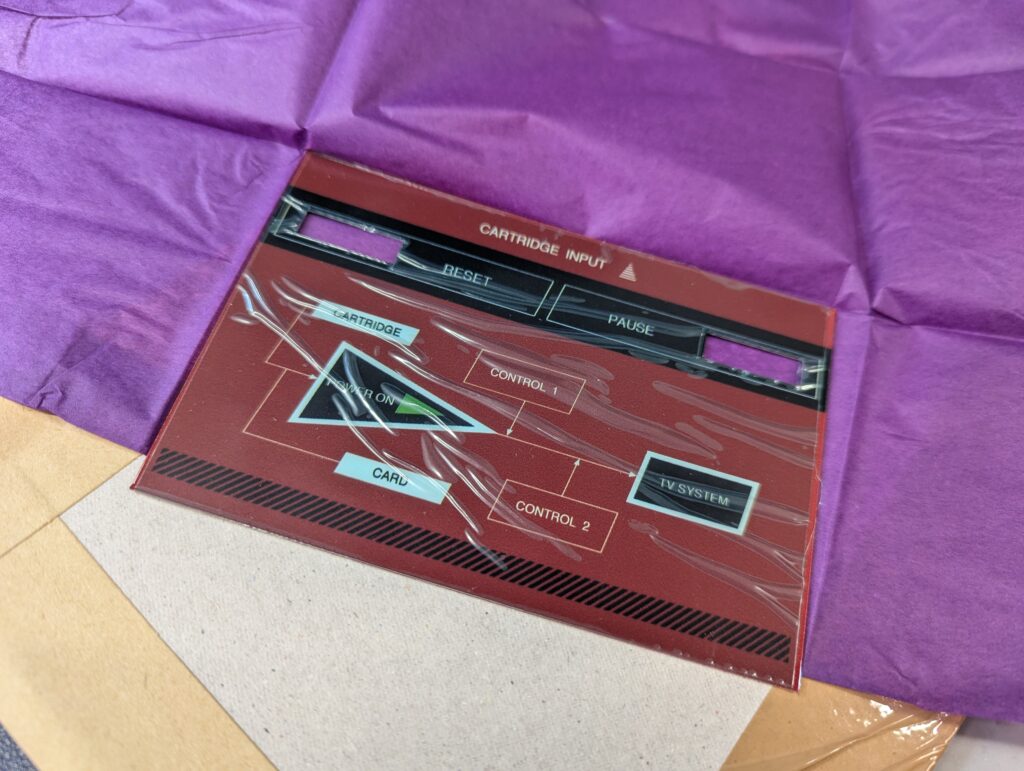
- Replacement of the front sticker in the Master System which was faded
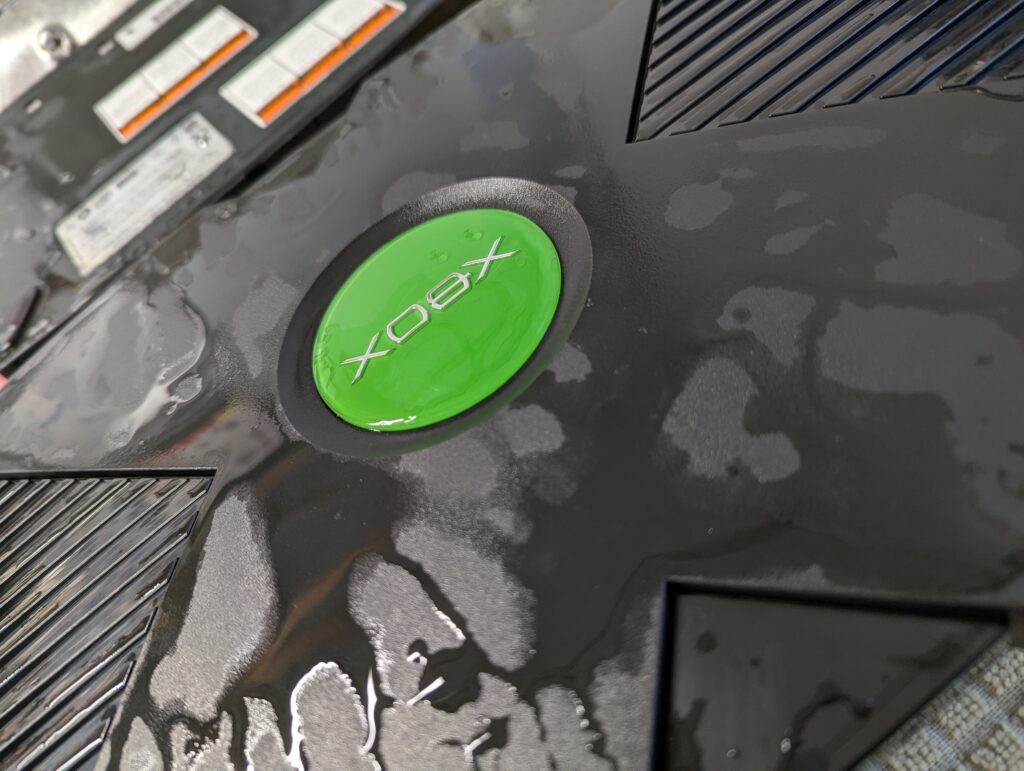
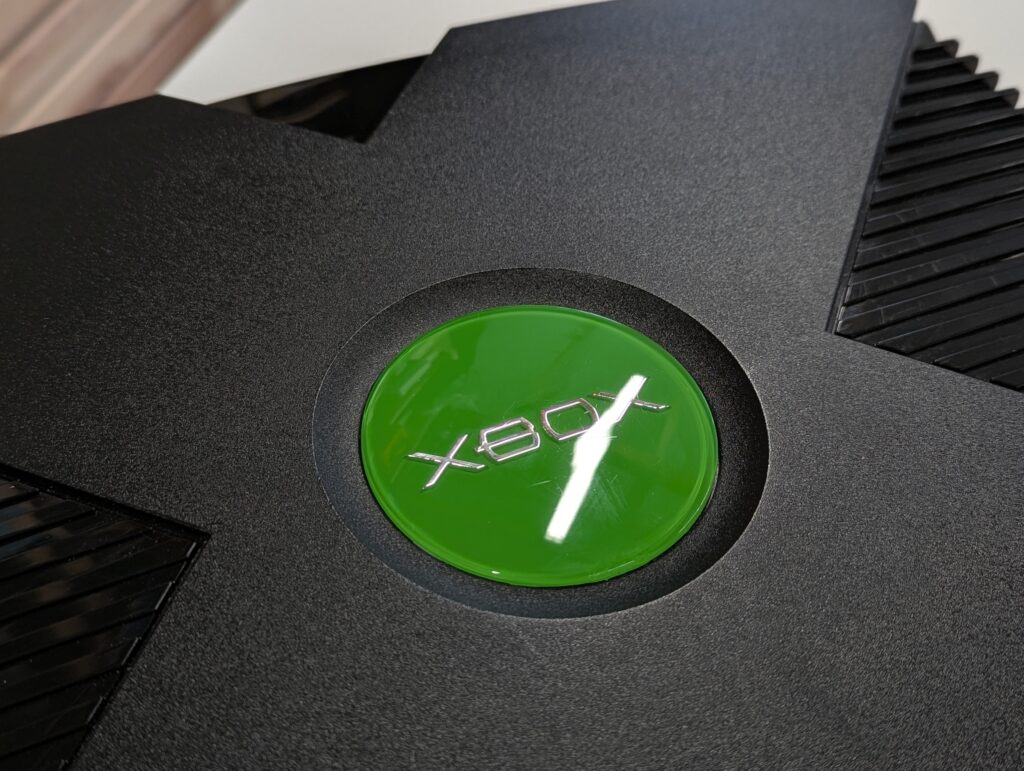
Original Xbox
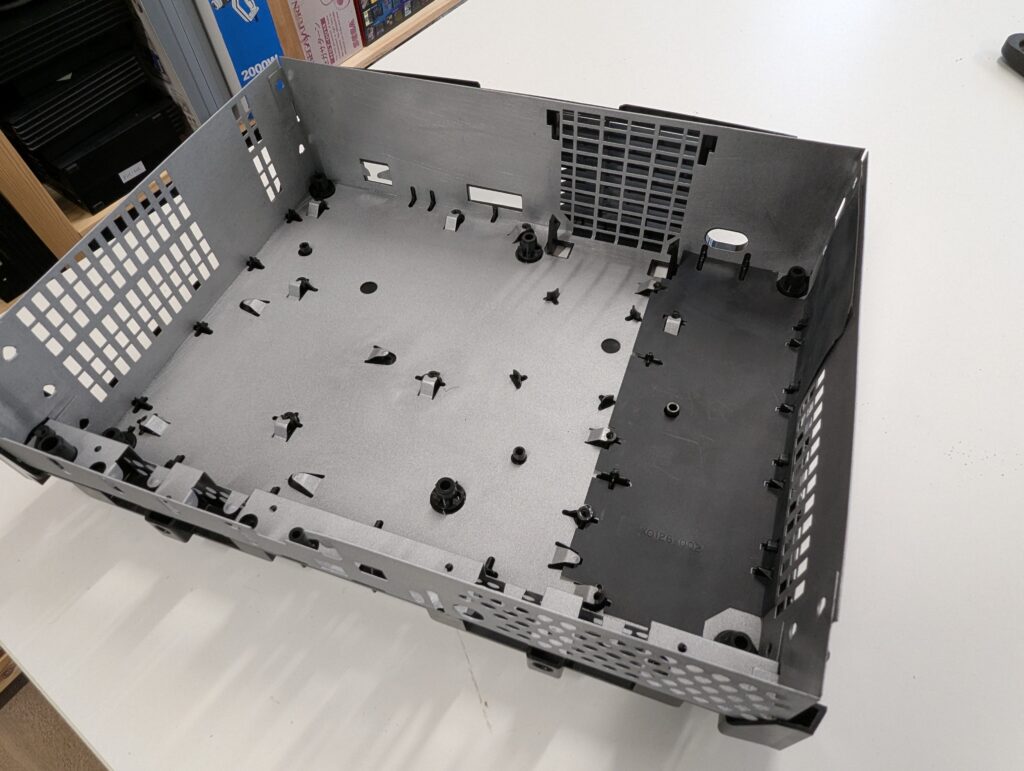
First step was disassembly and washing of the “new” shell. Note the rusting
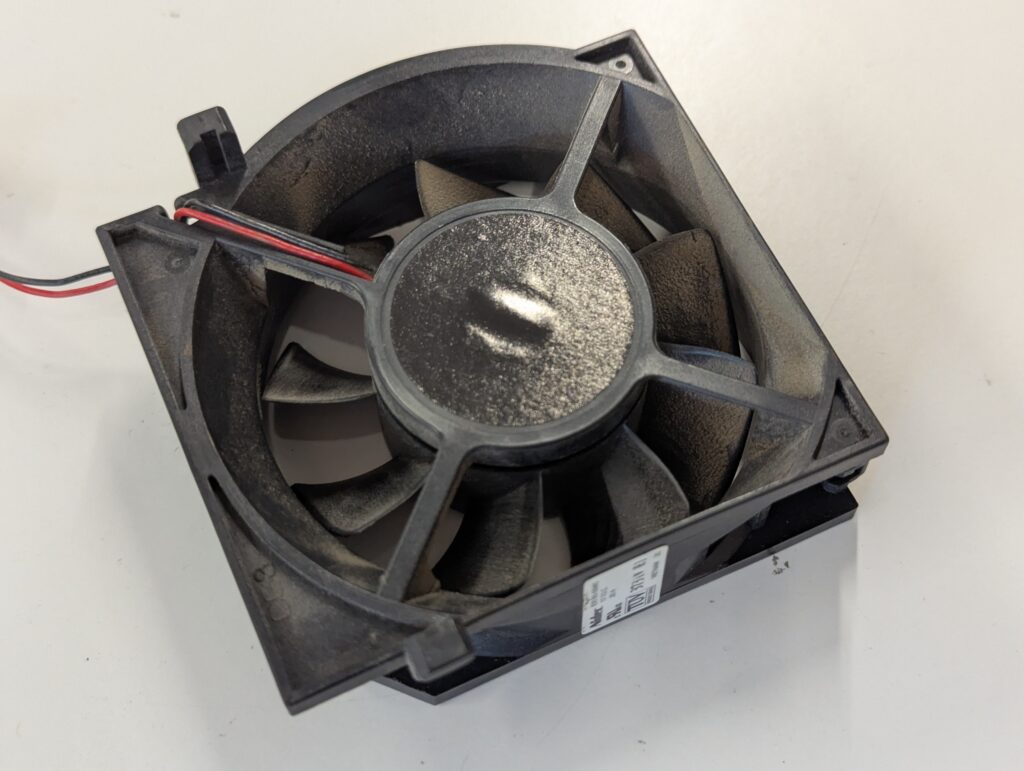
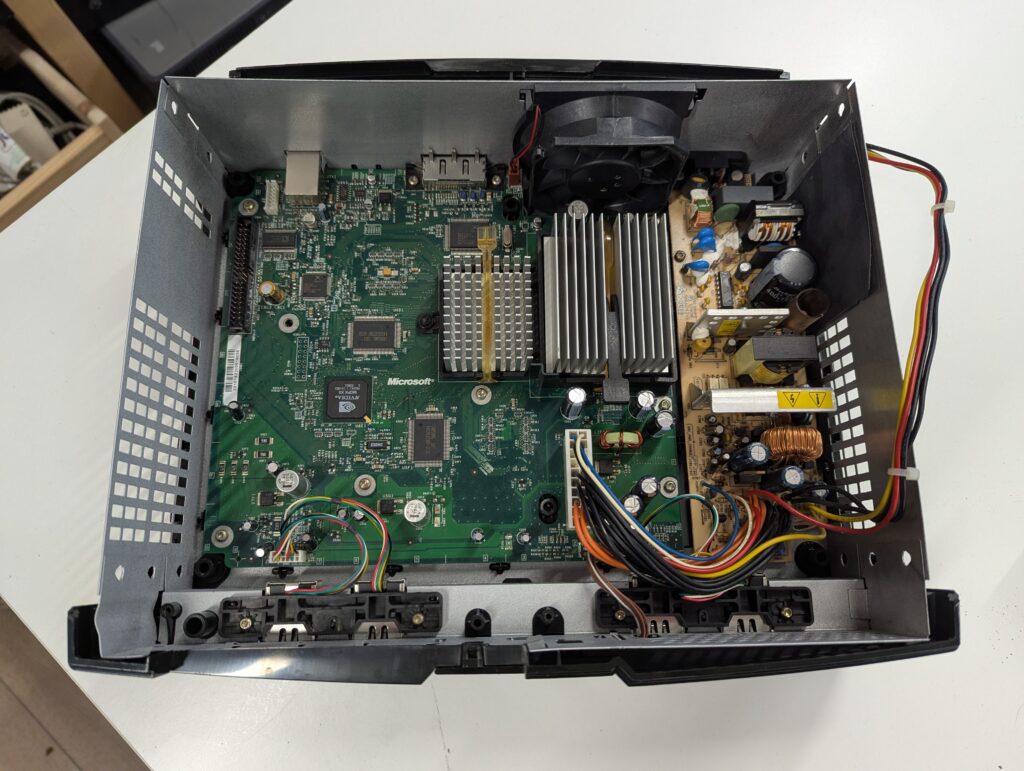
Then replacement of CPU capacitors and thermal paste, cleaning of fan
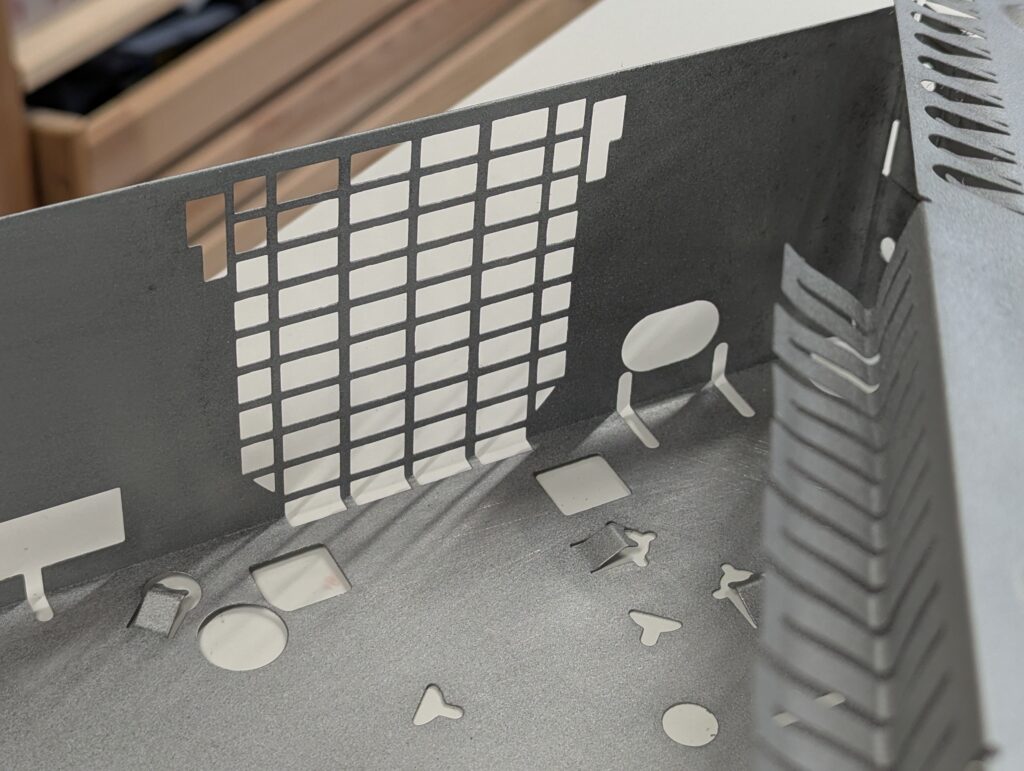
Then sanding and painting of the shields. For panting I used galvanising Zinc paint which is conductive… a good property for an RF shield which is also a common ground
Then I put the console together. Part of this was printing a support for the laptop-sized HDD that came with the console and which was attached only with onew screw to the HDD tray

The DVD wasn’t working and even if the issue was probably the laser, I refurbished it. This involved cleaning and replacing all the grease for new one, cleaning the lense and replace the belt. Unfortunately the most the DVD drive did was to signal that it was reading a disc, but it never successfully read a game.

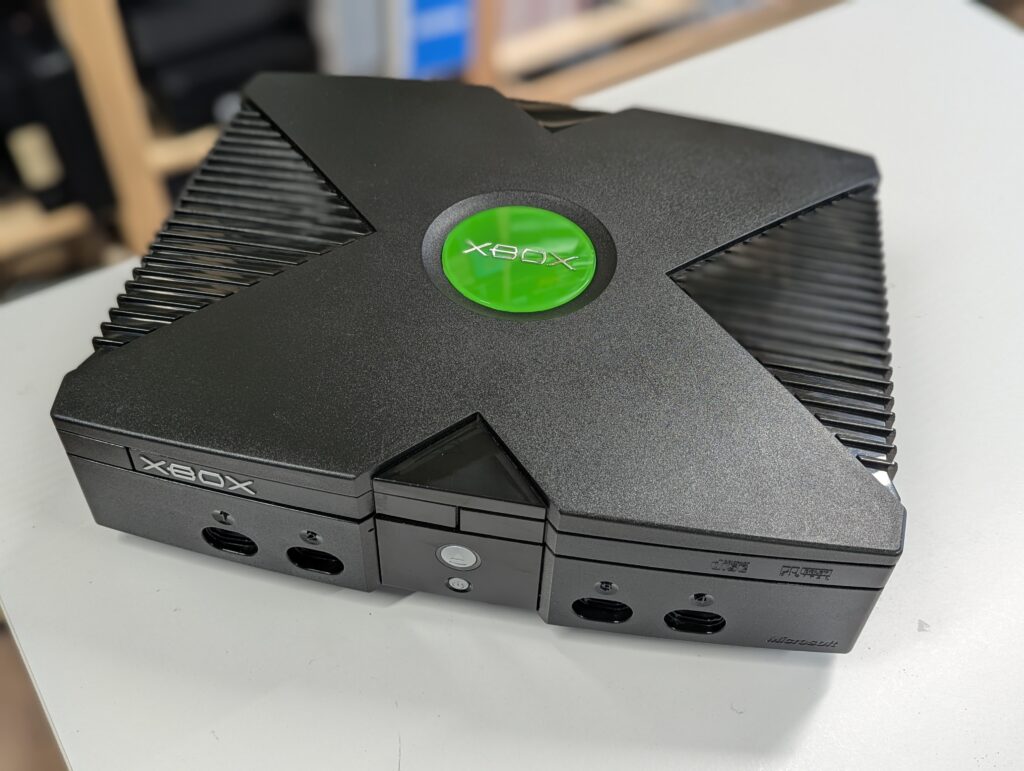
Console was tested and works well. The booting time has been reduced, but it still take around 10 seconds. This might be because of the way the UDMA setting have been set during the soft modding process. The shell and jewel were also polished so it looks as good as possible.
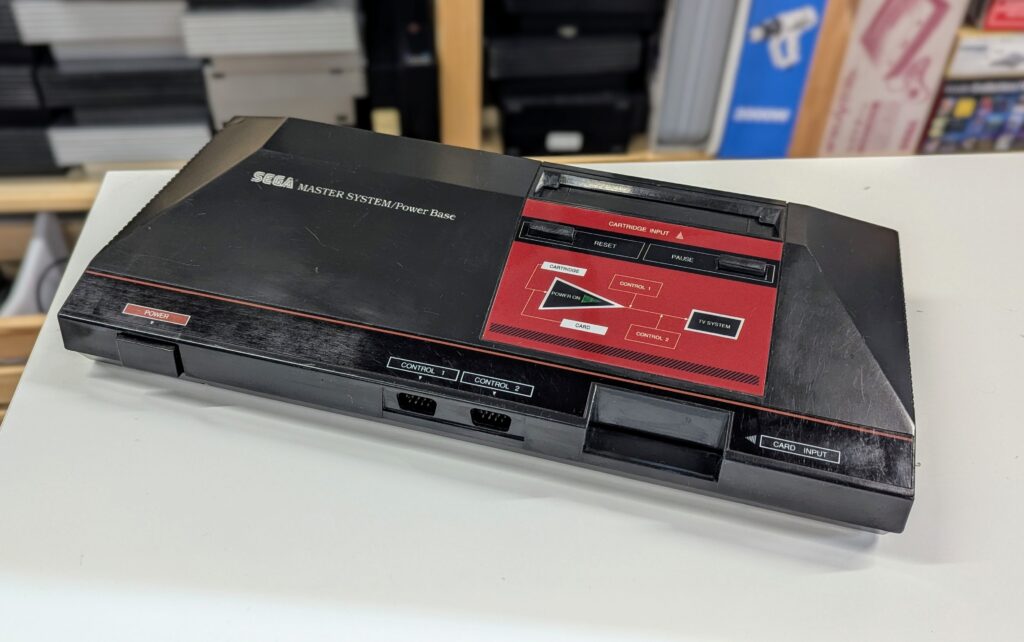
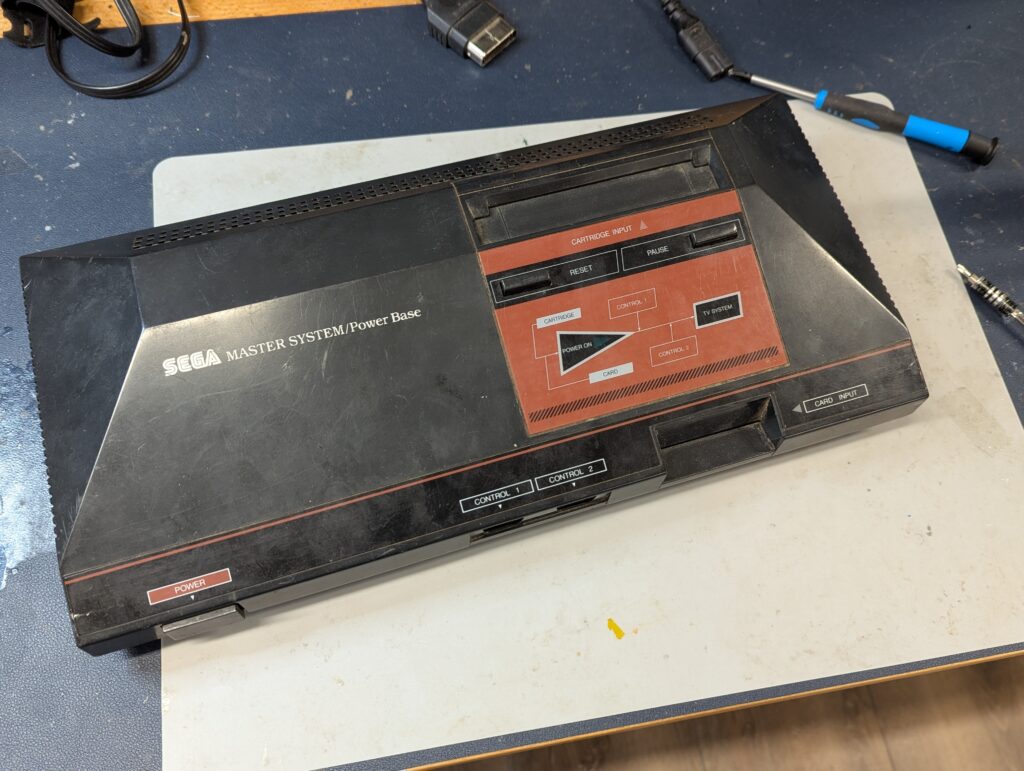
Master System
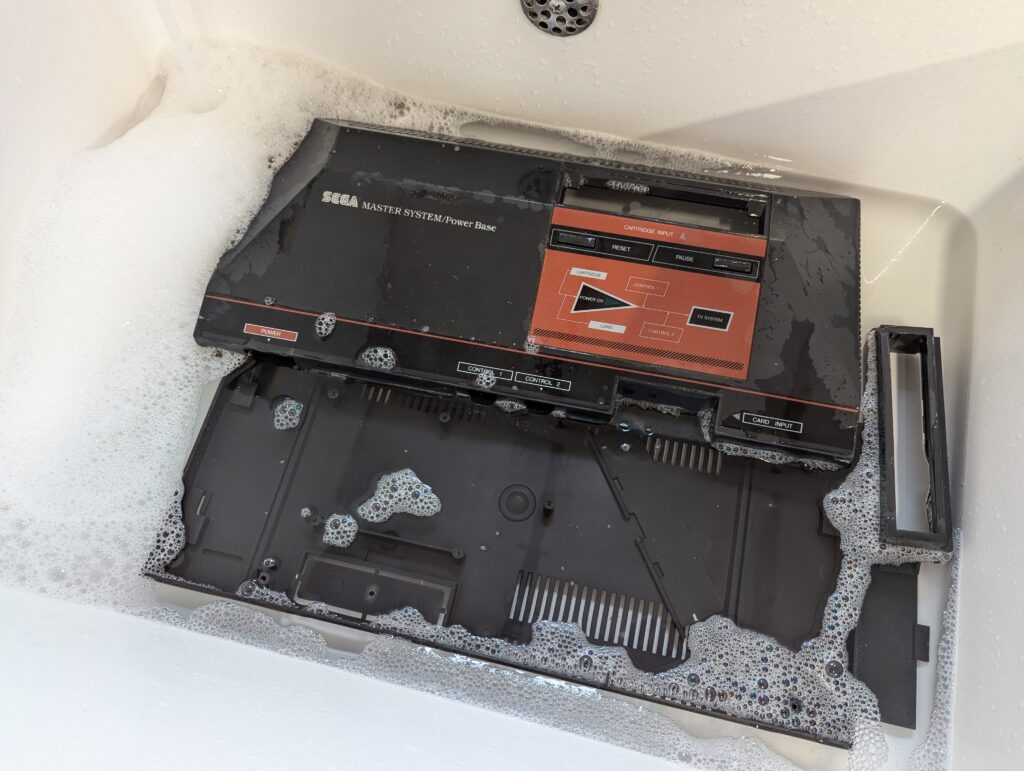
The Master System was in a relatively poor state even if working properly, with plenty of dust and grime.
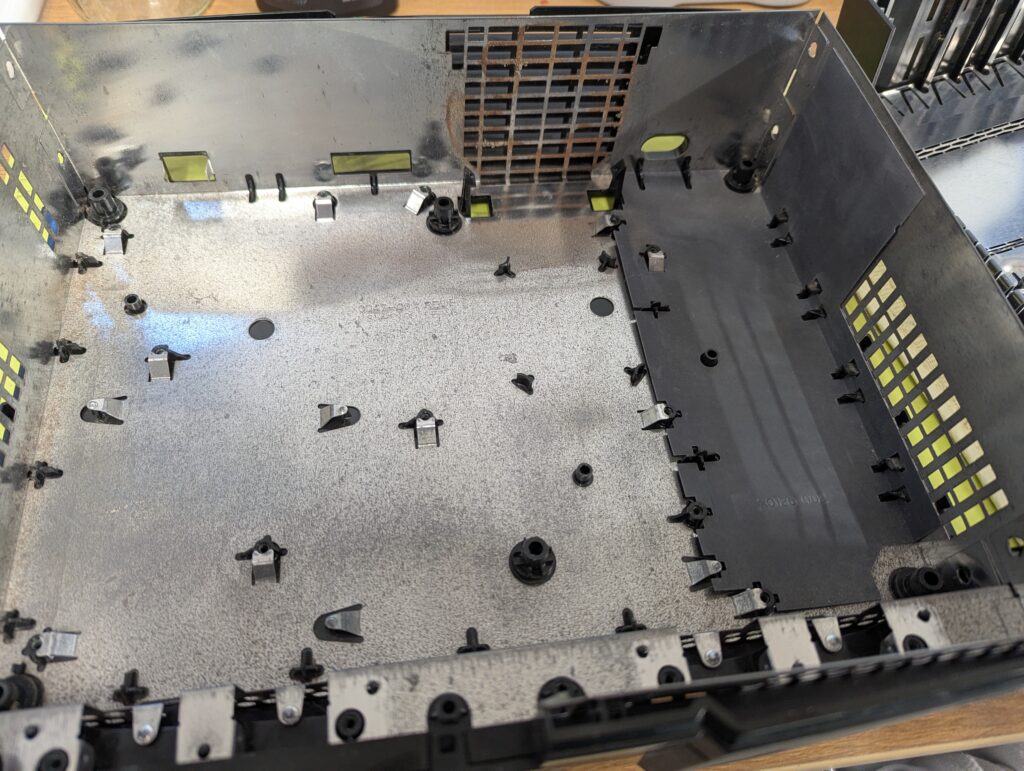
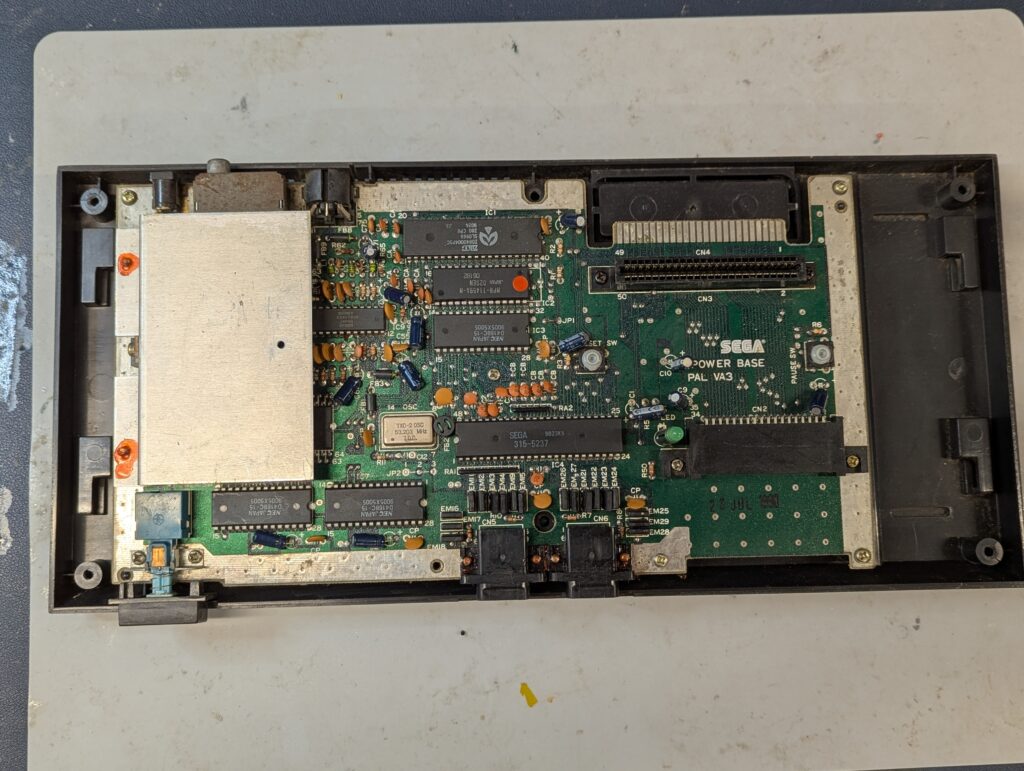
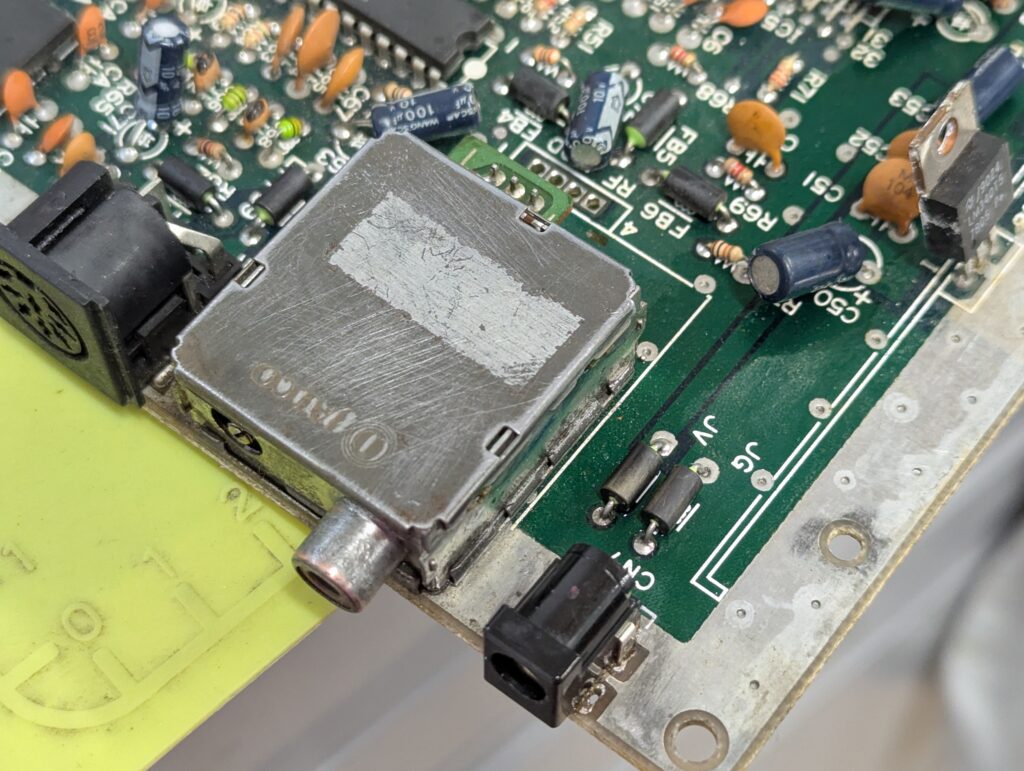
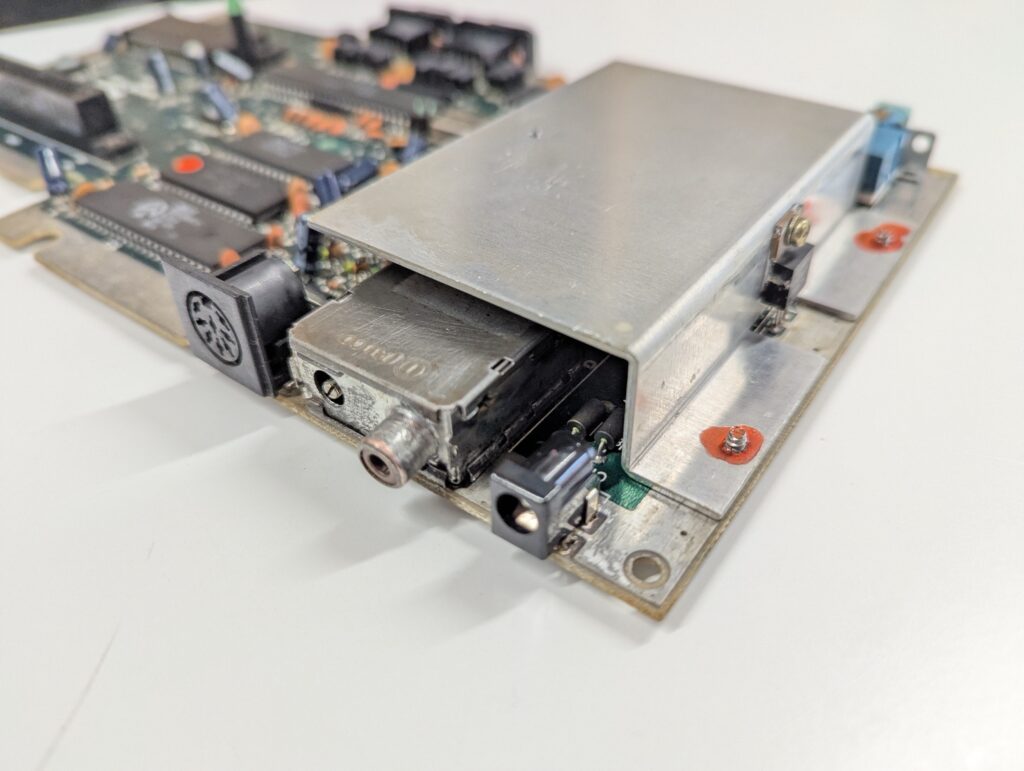
The inside wasn’t particularly better, with rust in the RF module and shield, apart from a layer of dirt throughout the board. So first step was to give the shell a good wash with soap and water.
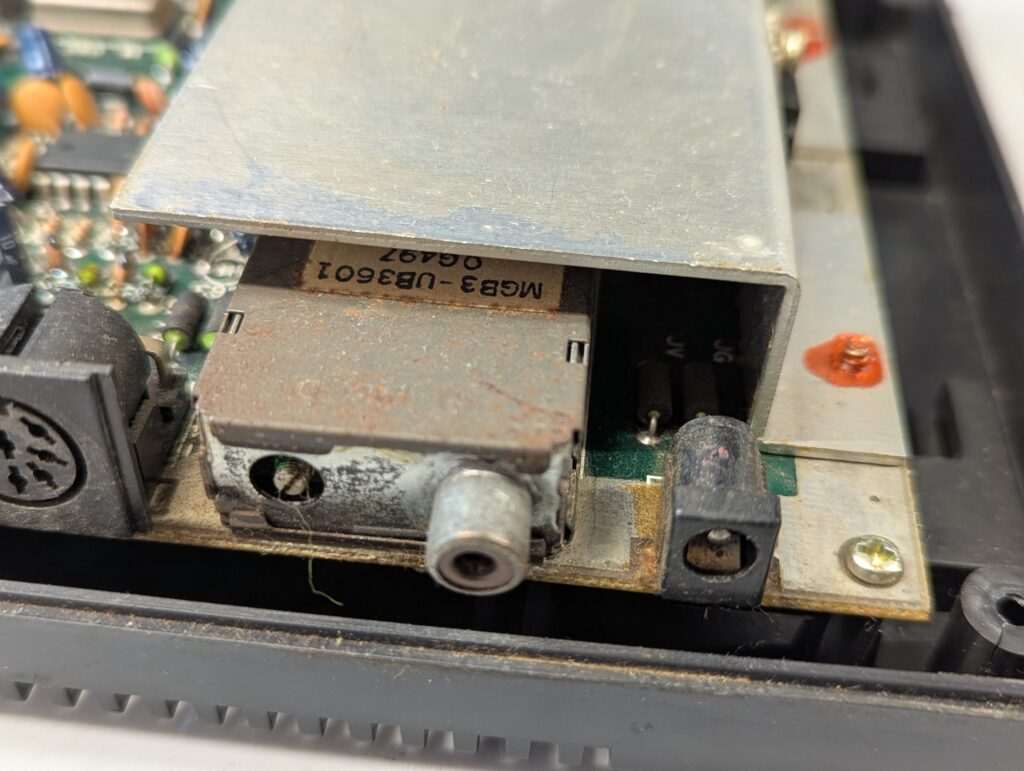
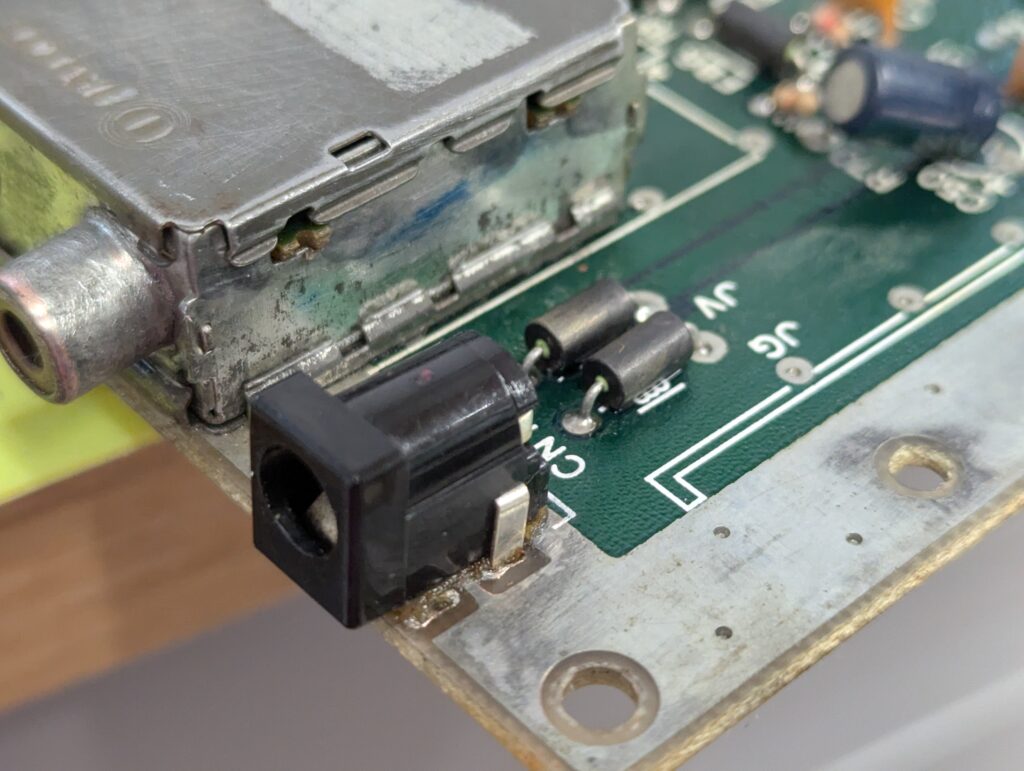
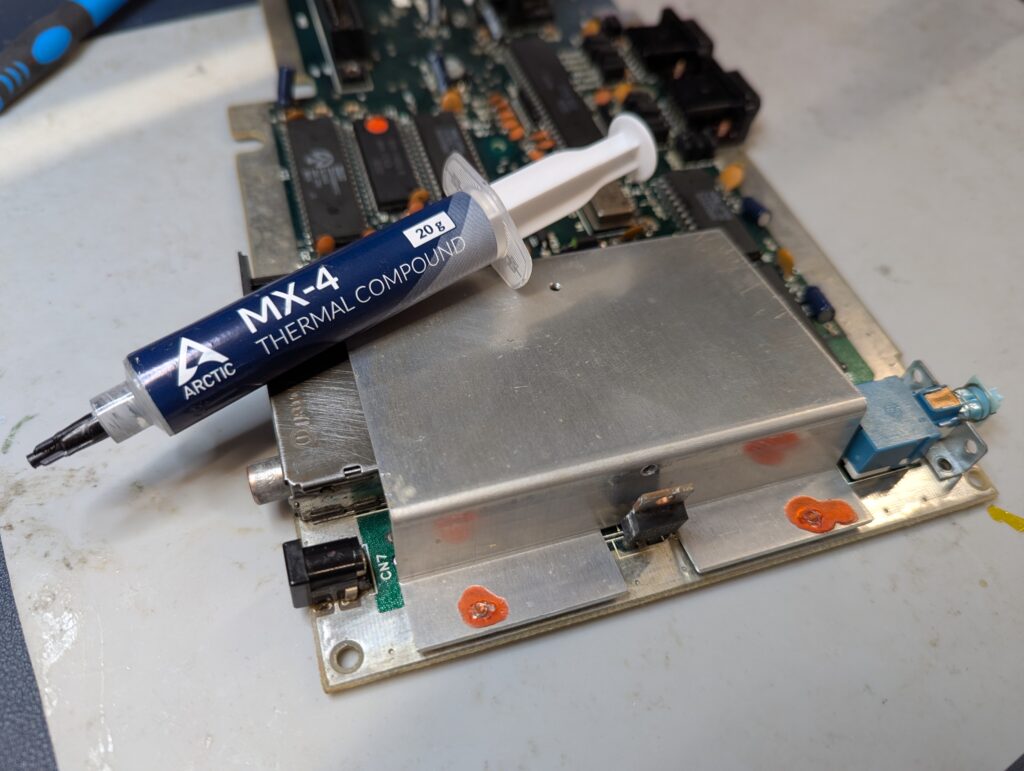
Rust from inside was also removed, and new thermal paste added between the voltage regulator and the shield
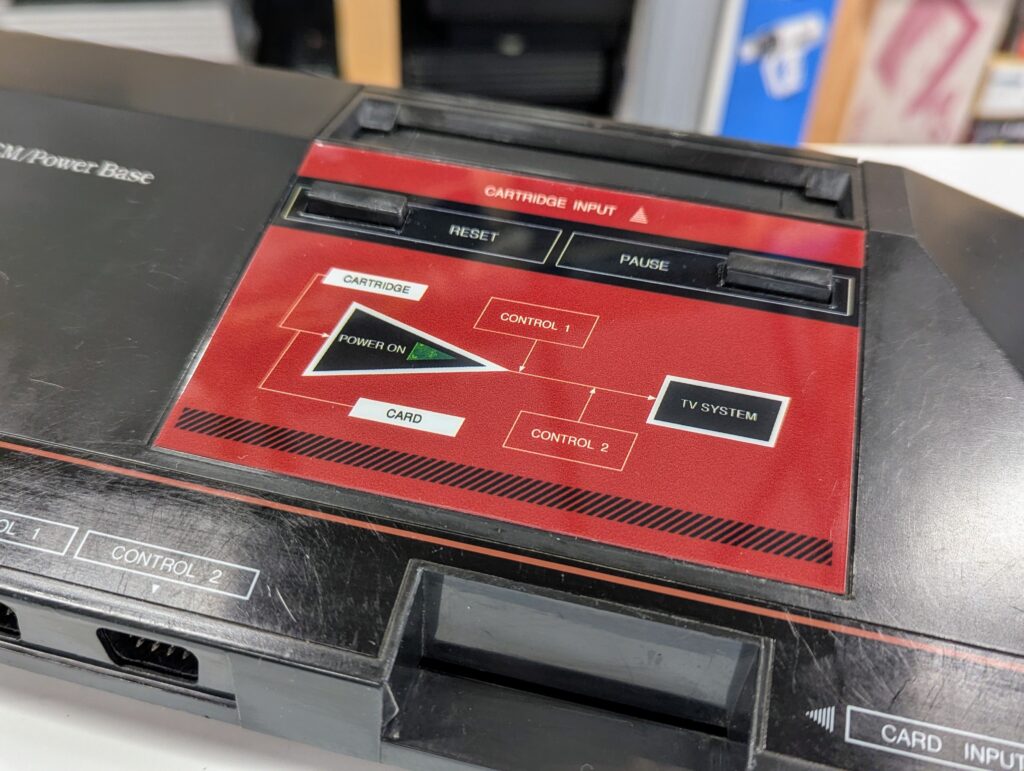
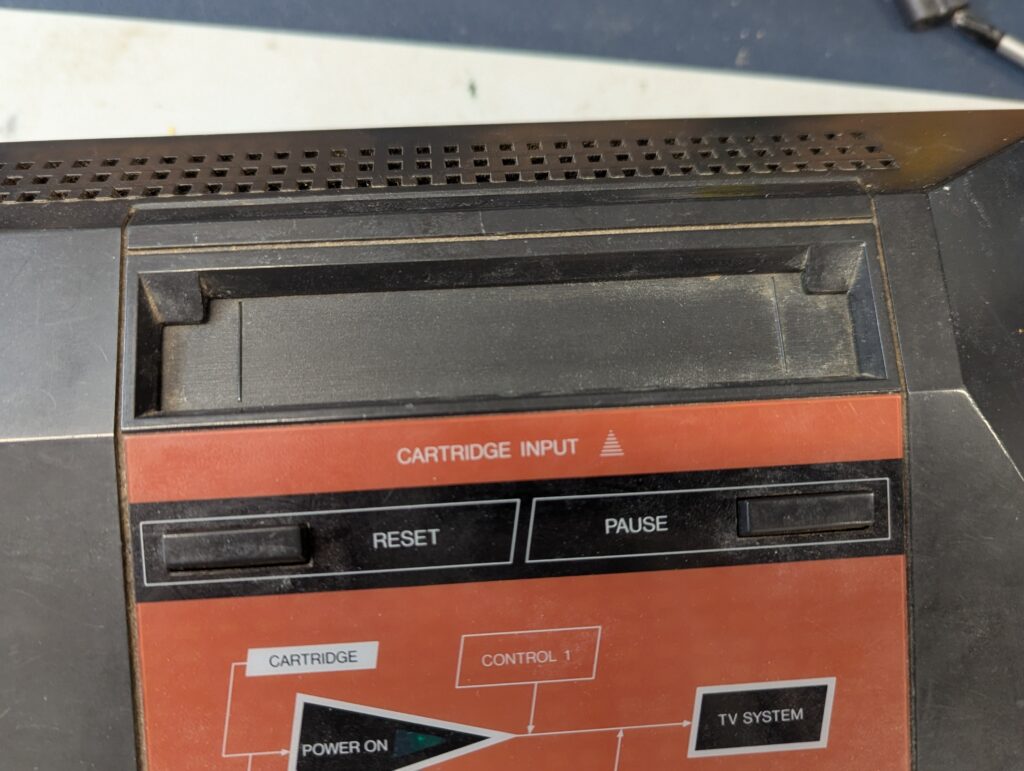
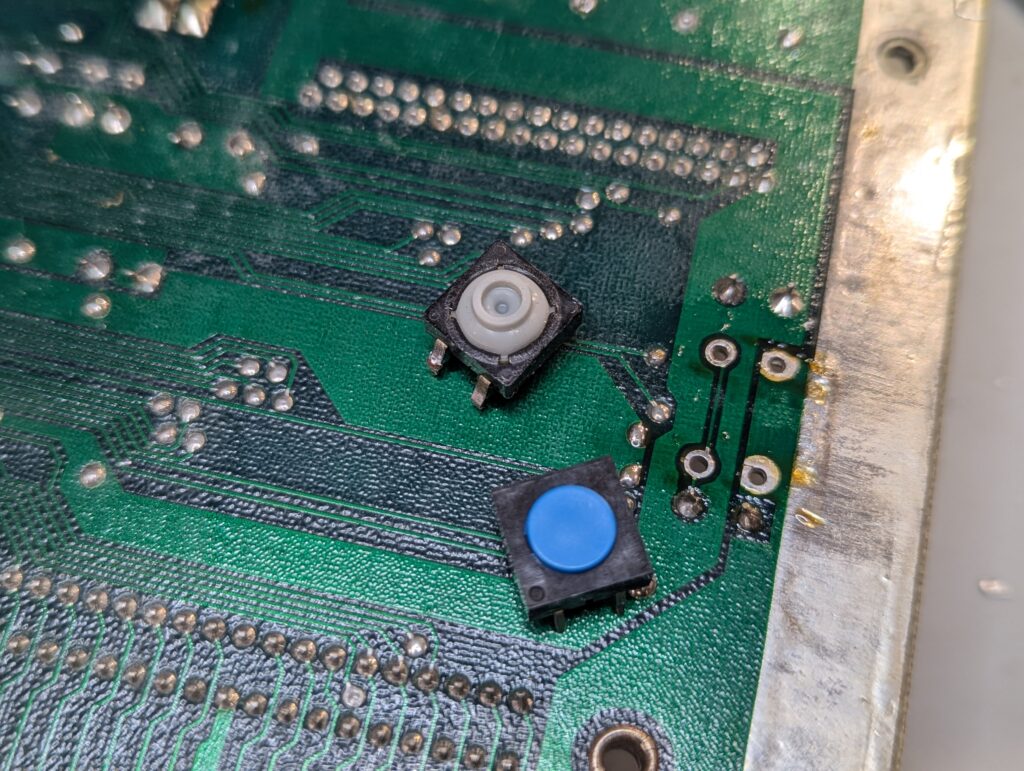
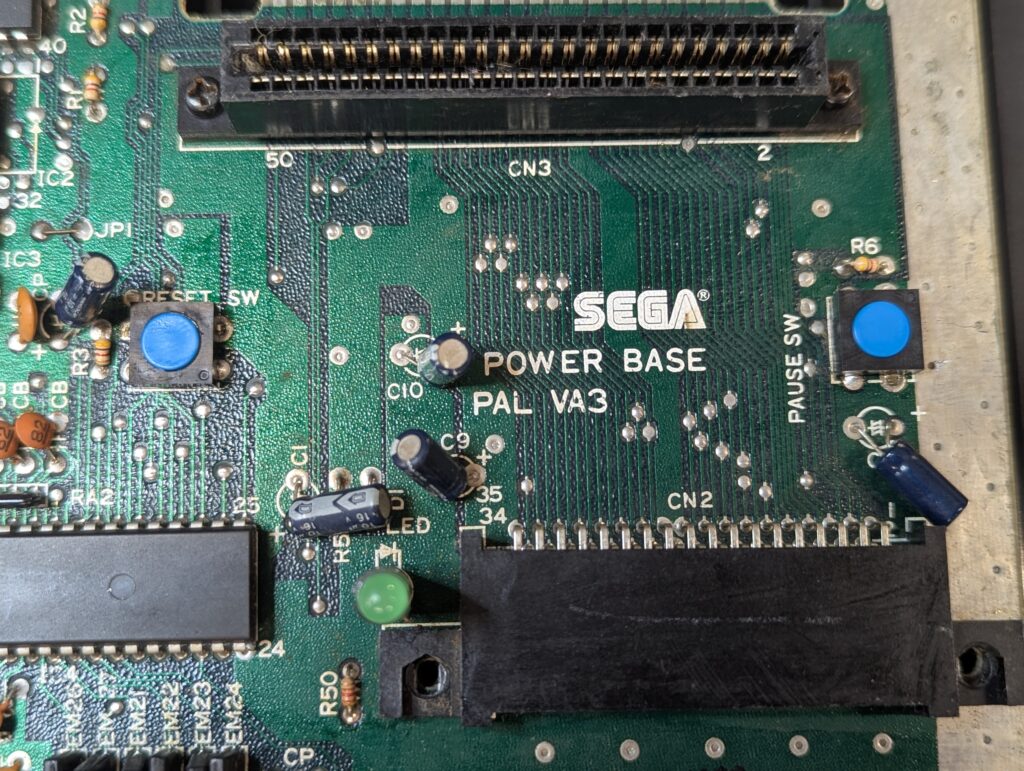
The two buttons for Pause and Reset were not working, so they were replaced with new buttons
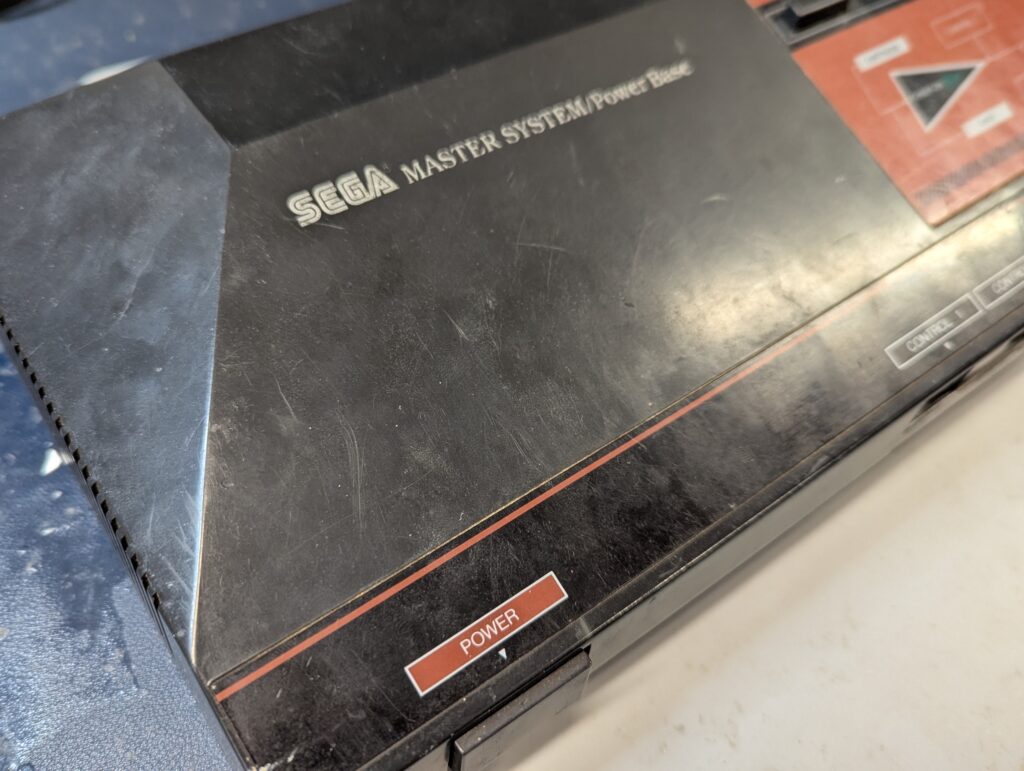
Finally the shell had many white maks which were removed with a magic eraser, and the shell was polished to the extent possible with some plastic protector. The front sticker, which was faded, was also replaced. Note that there is a rubber foot missing but I couldn’t source a replacement