
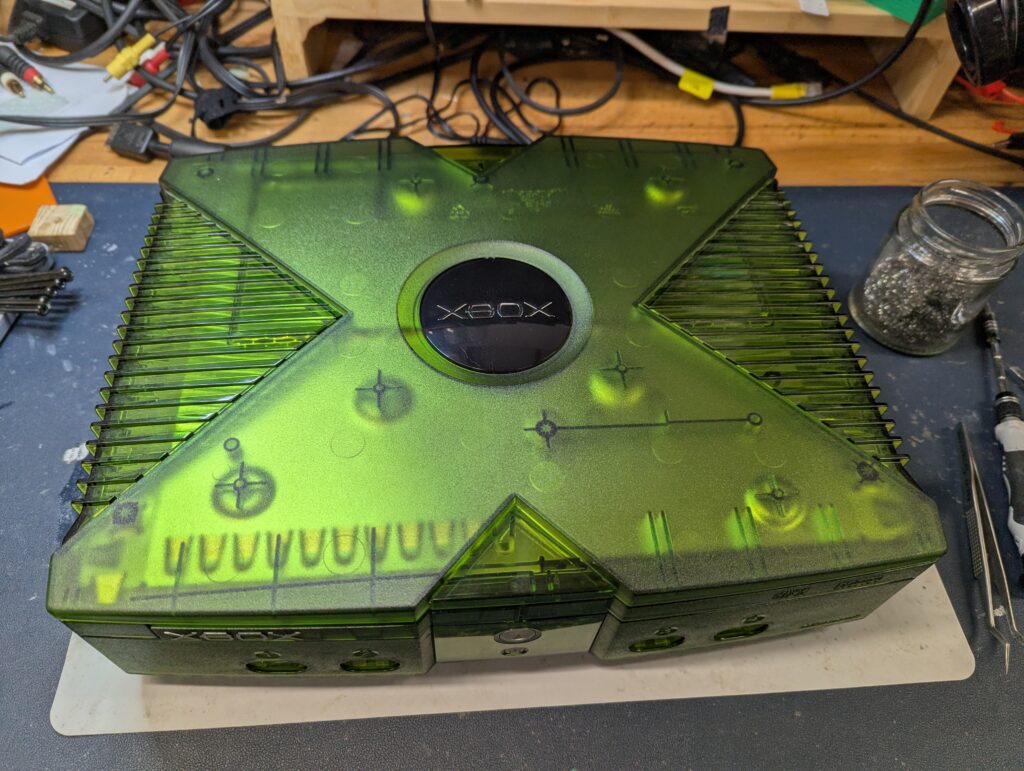
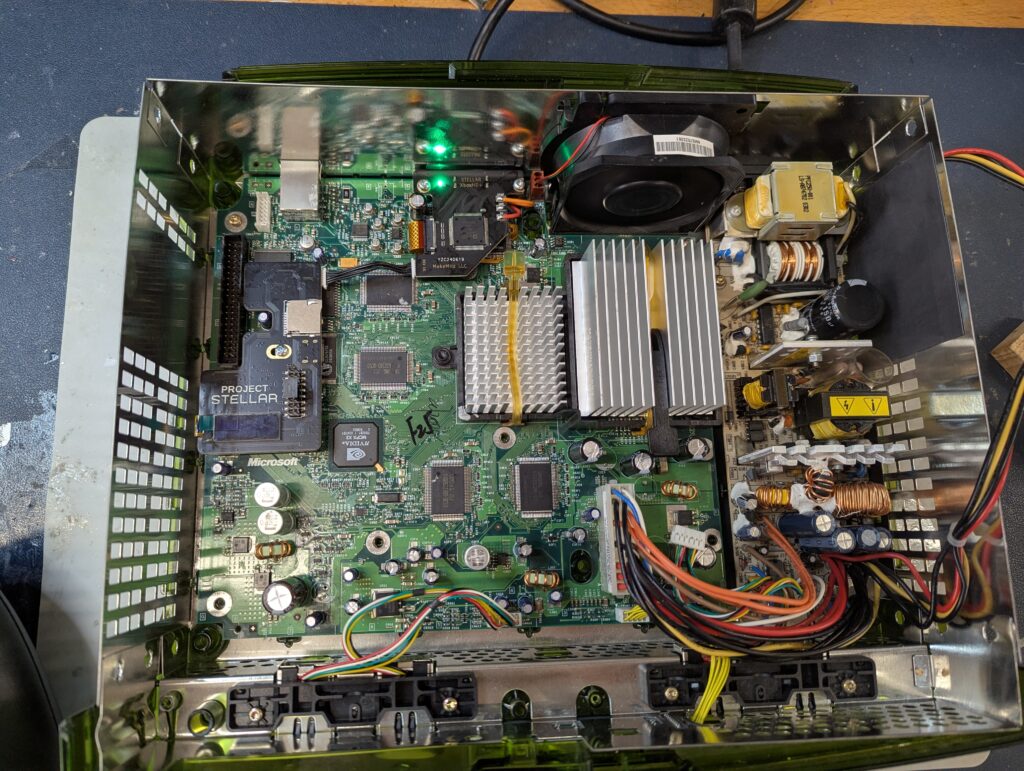
This service was for a partial recap, 128MB upgrade and Stellar and XboxHD+ install for a beautiful transparent green Original Xbox.
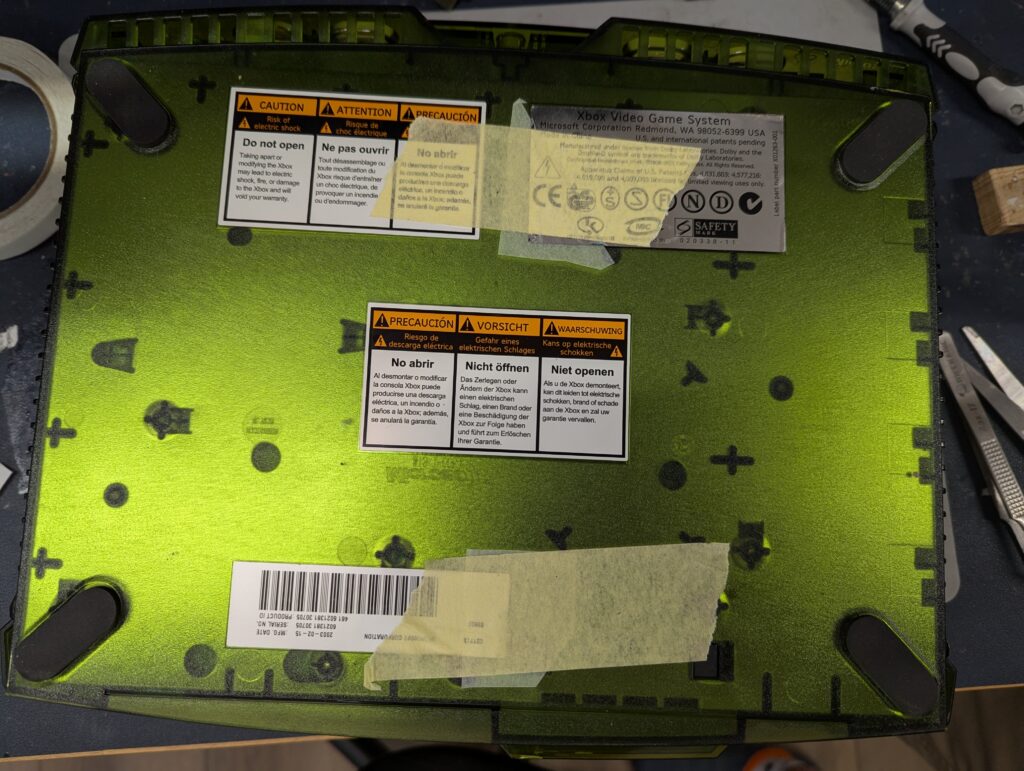
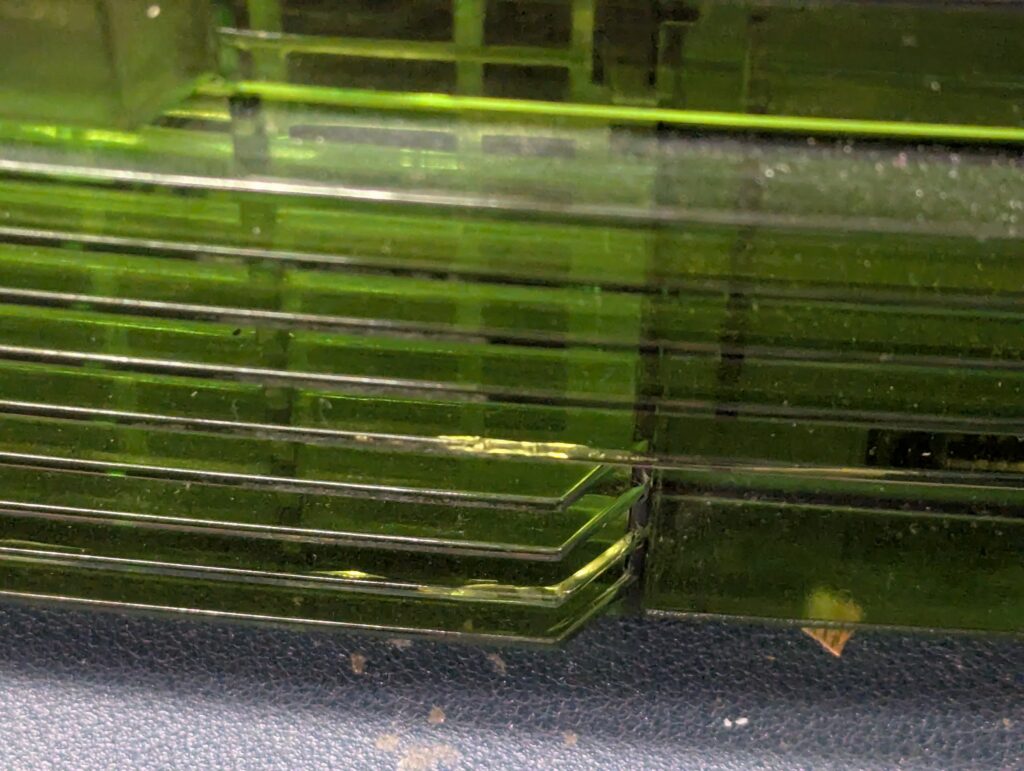
The console was in really good condition albeit for a couple of marks in the back fins which have slightly cracked (this is not uncommon on this model). I removed the two stickers hiding the screws with some hot air to prevent the security pattern to show. I left the stickers like that as the customer will need to open the console to install a new HDD. When the customer is done, the tape and protective baking paper can be easily removed and the stickers put back in place without hopefully looking that anybody had opened the console before.
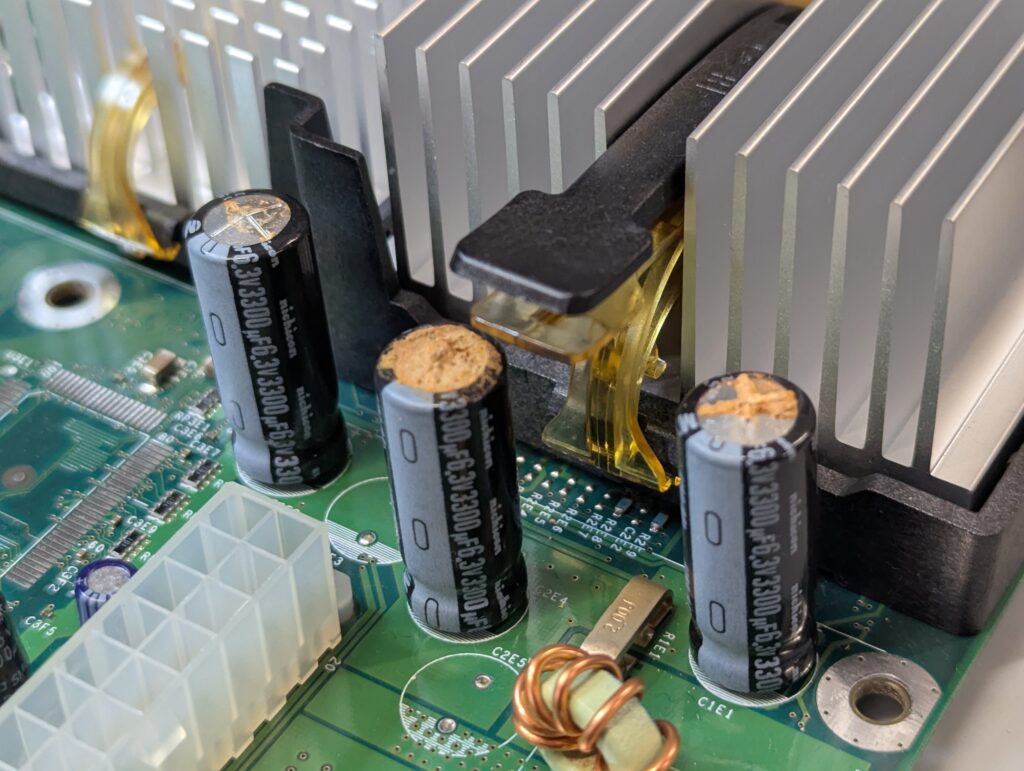
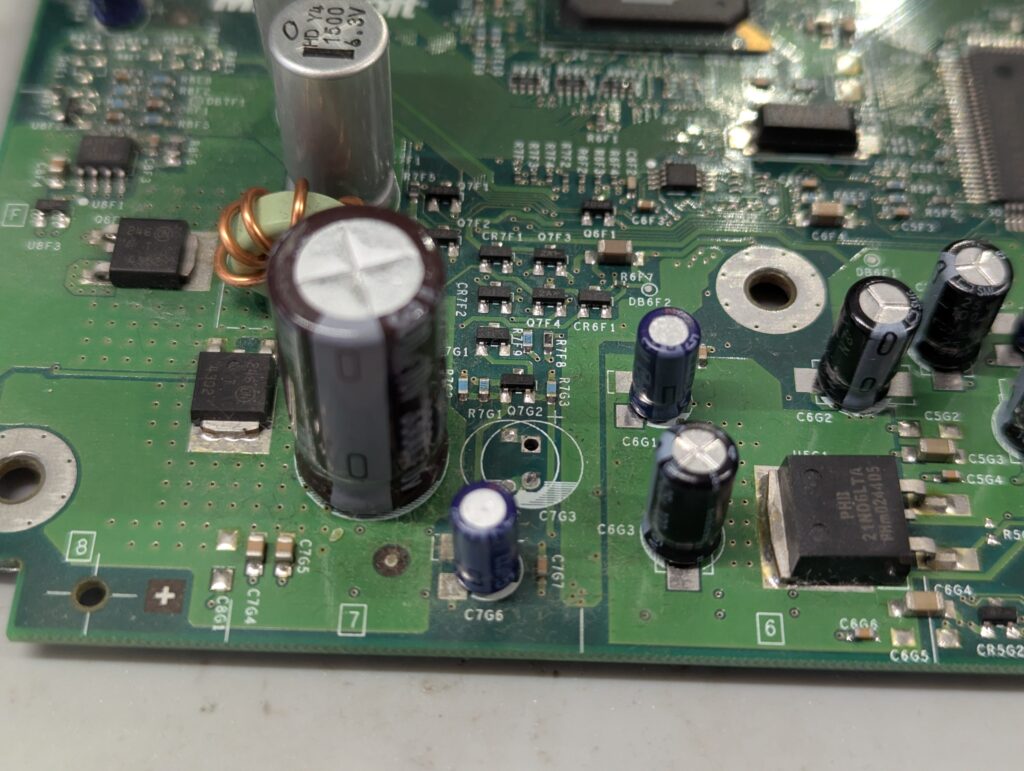
The first step was to change those capacitors, which were clearly blown even if the console did boot. I also removed the clock capacitor which is known for failing and spreading electrolytic liquid across the motherboard. This one had not leaked but is considered good practice to remove as a preventative measure. This has no effect on the functioning of the console as long as it remain plugged in (the capacitor only keeps the clock for a few hours when unplugged anyway)
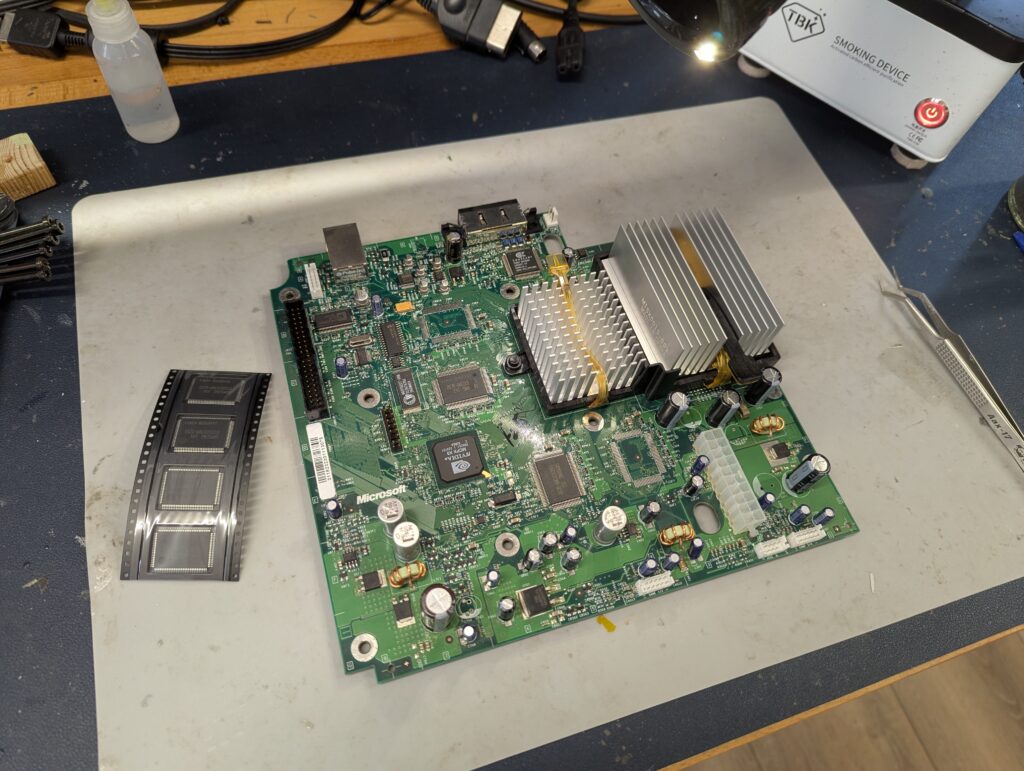
I also replaced the thermal paste even if the refurbishment service wasn’t ordered to ensure good thermal performance.
Next up was the installation of the header pins for the modchip and preparation of the Stellar modchip (which needs configuration and upgrade once connected to the PC). Once confirmed the Stellar modchip worked, I proceeded with the installation of the extra RAM. For testing I used a Aladdin modchip with XblastOS.
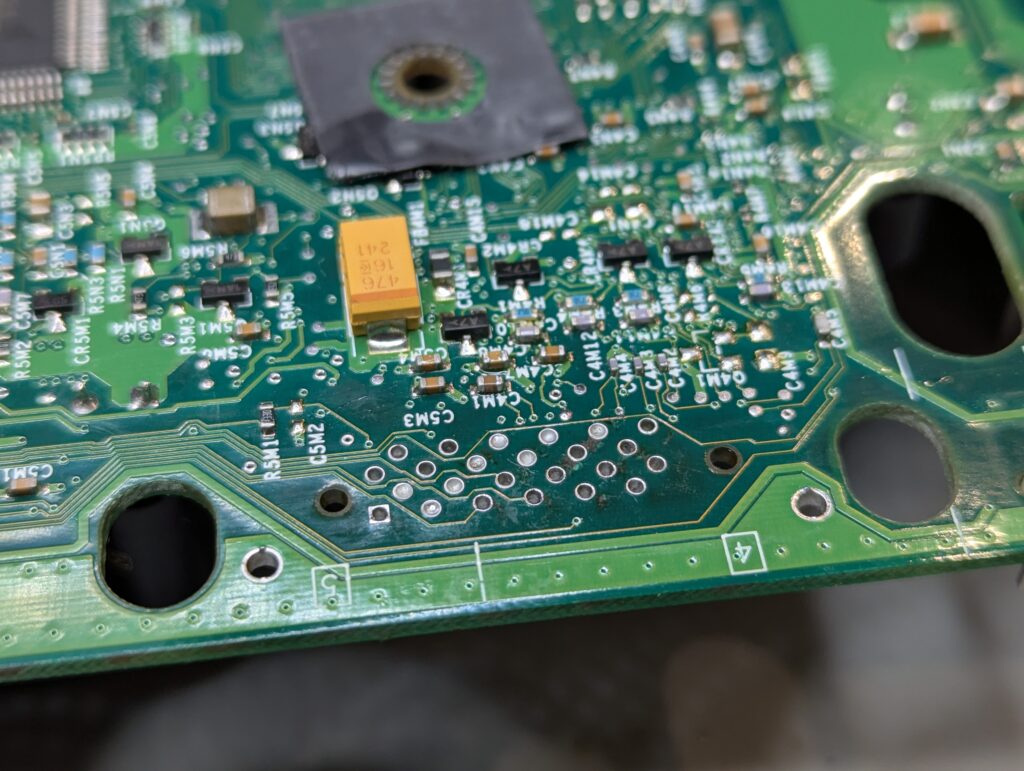
Once booted with the Stellar chip to confirm Stellar OS can see the new RAM, I proceeded with the installation of the HDMI kit. First up, removing the AV port, the ferrite bead FB3B1 and the supporting signal enhancer QSB for this revision of the board.
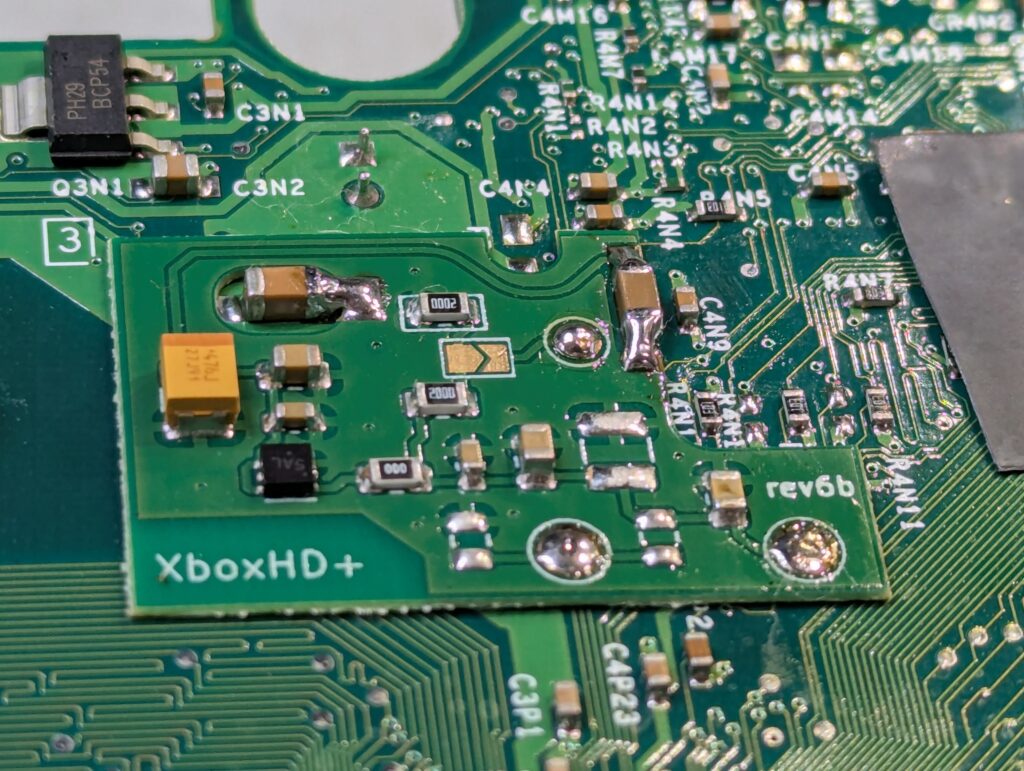
After bridging a couple of the pads in the AV port to ensure the console doesn’t think there is no lead connected, it was time to install the flex cable to the encoder chip. After that, a couple of more cables and screwing the HDMI board in place, connecting the flex to the connector. Finally, it was time to connect Stellar to the XboxHD+ and test it out.

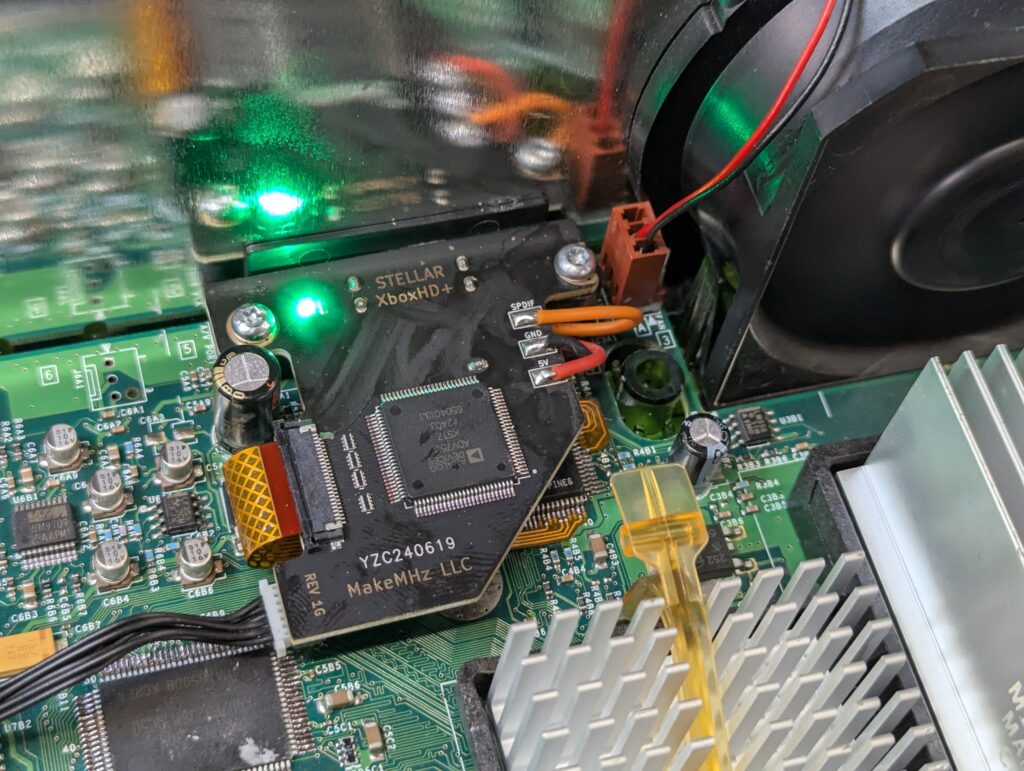
Finally check that Stellar boots with the HDMI cable and recognises the XboxHD+. Nothing left but putting the console back together and a final test before packing it back.
Please note that this console will boot to a standard Xbox dashboard and that the new HDD / SD needs to be configured according to the instructions provided in the MakeMhz website for an alternative dashboard to boot.