
This order was for a OG Xbox Refurbishment and modding 500GB / 1TB + – 500GB SSD new.
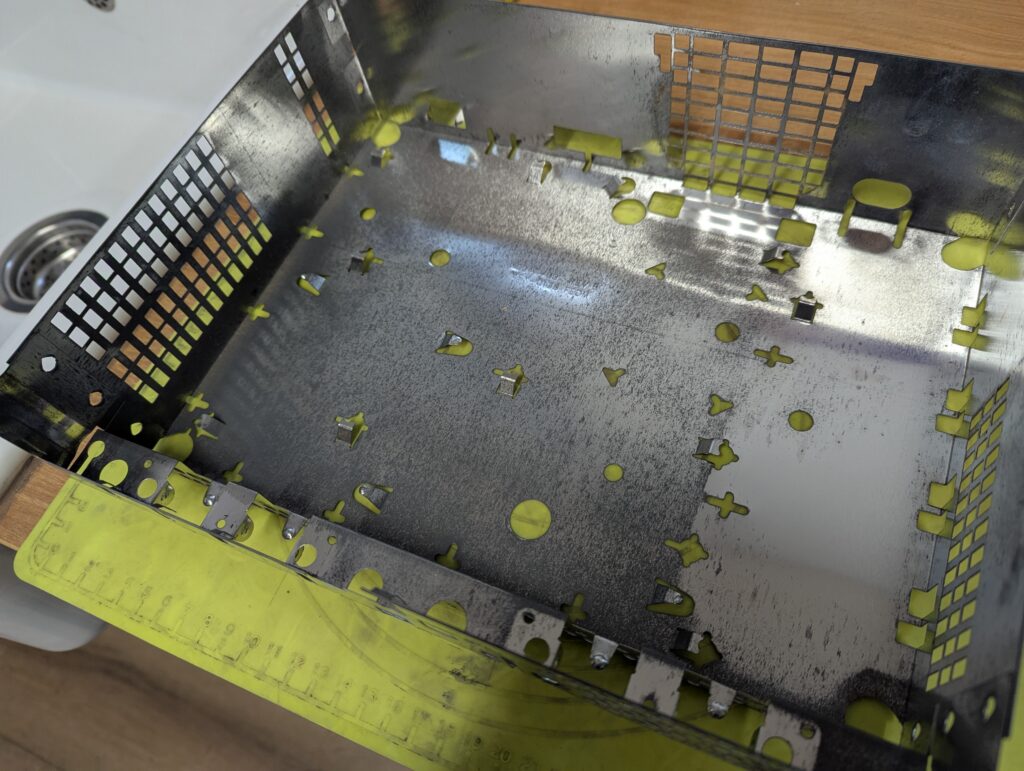
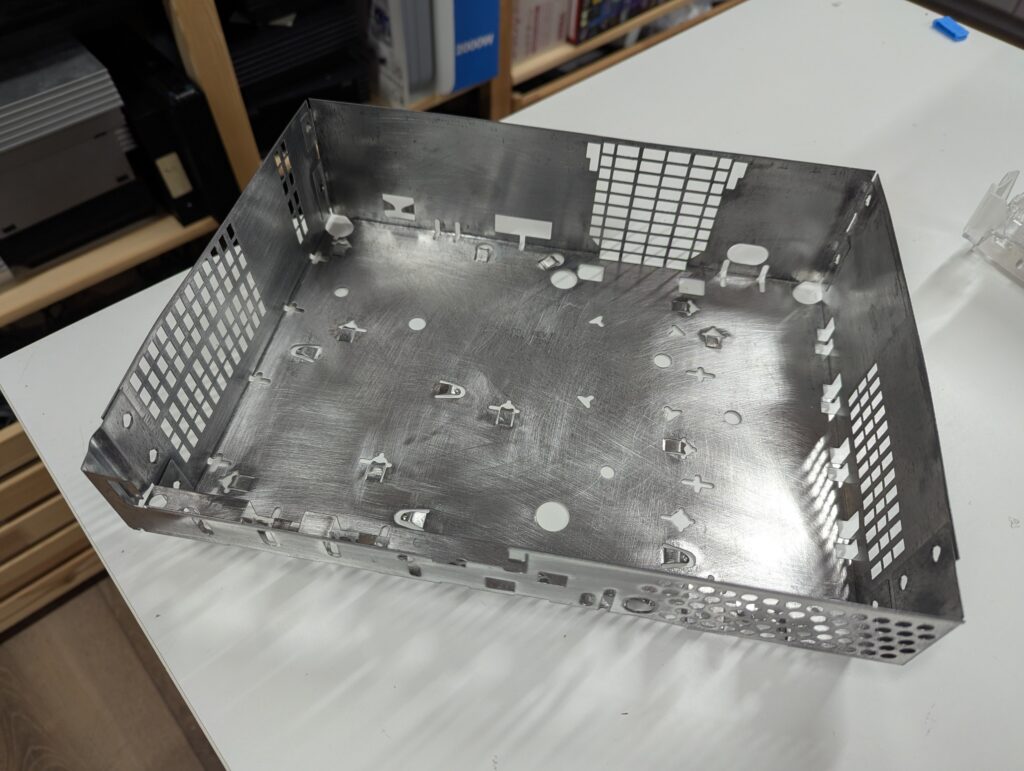
The console testes well on receipt, and it was fairly clear overall, apart from some rust present in one side of the shield. The customer agreed to have the shield painted for an extra fee.
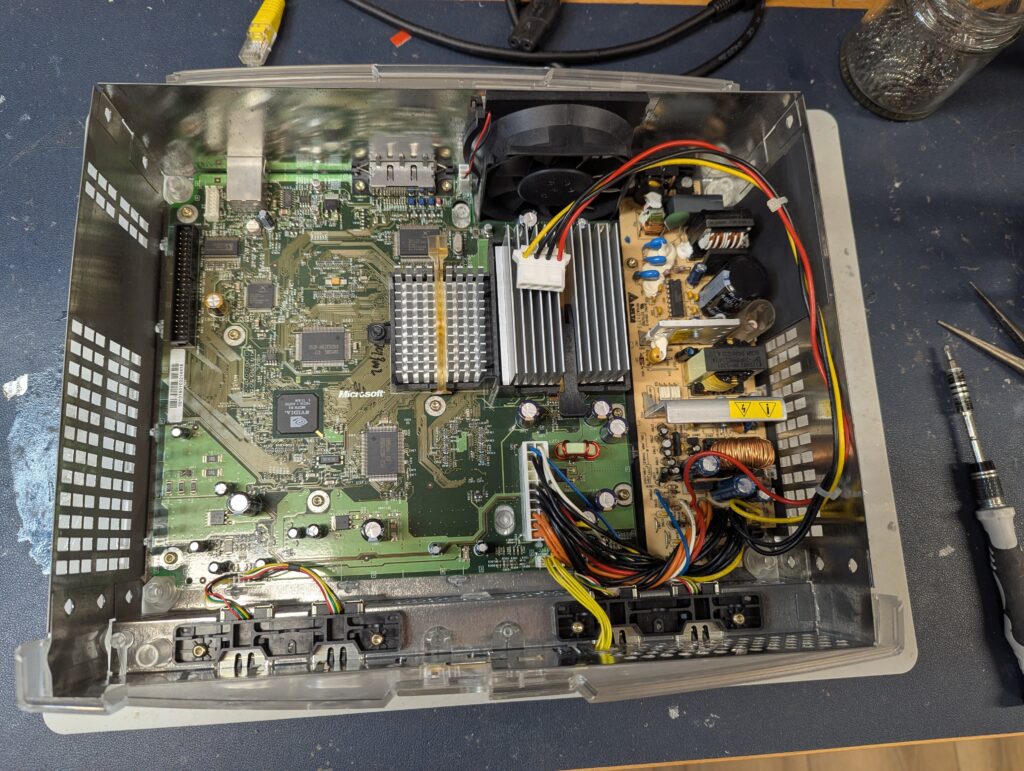

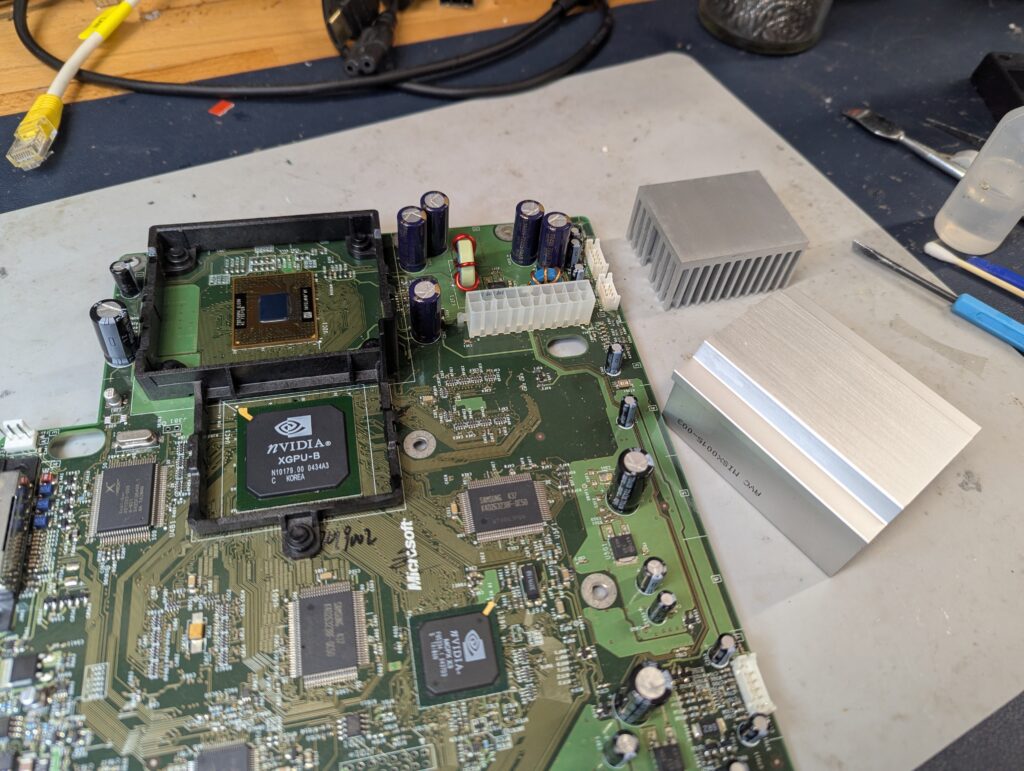
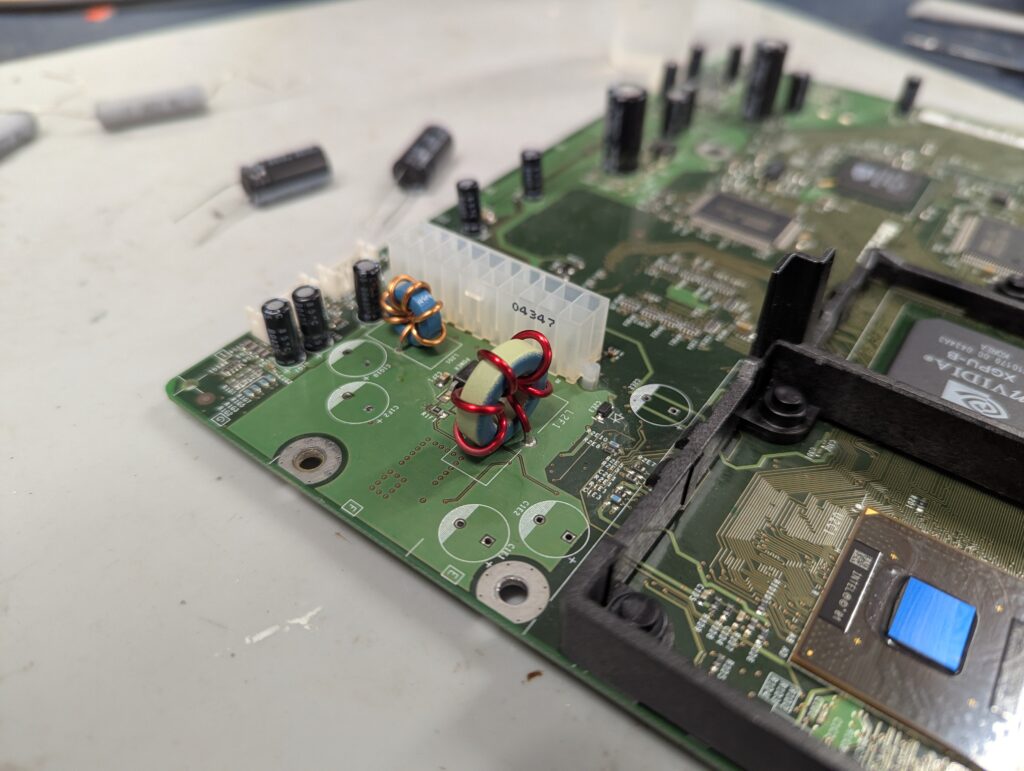
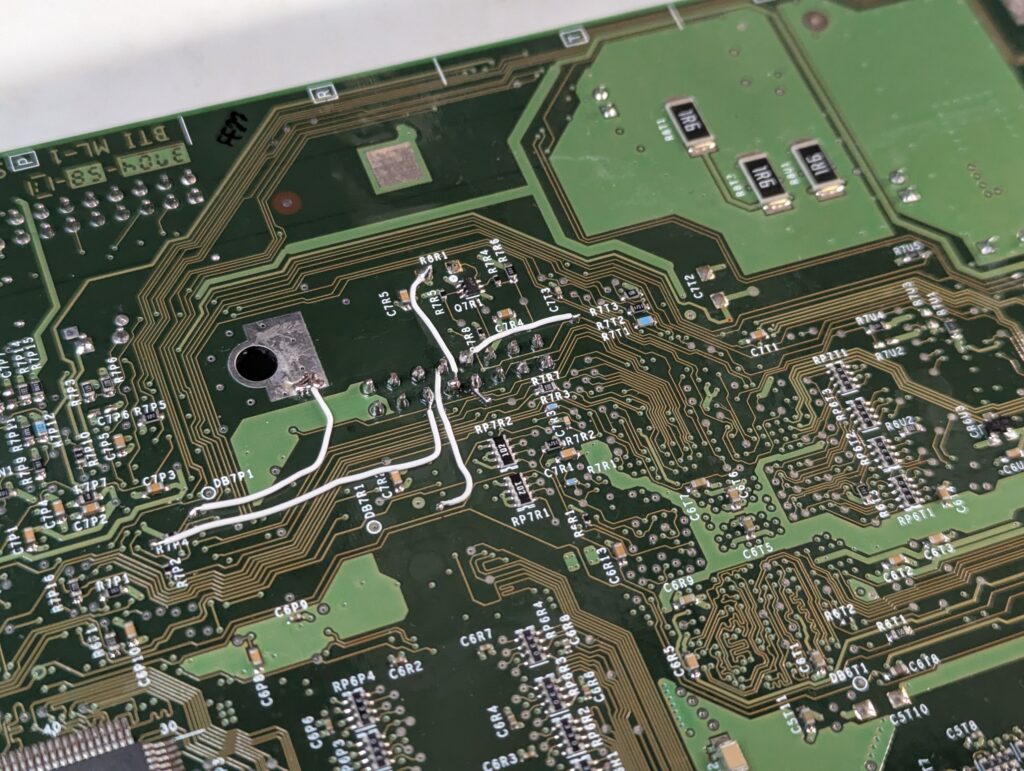
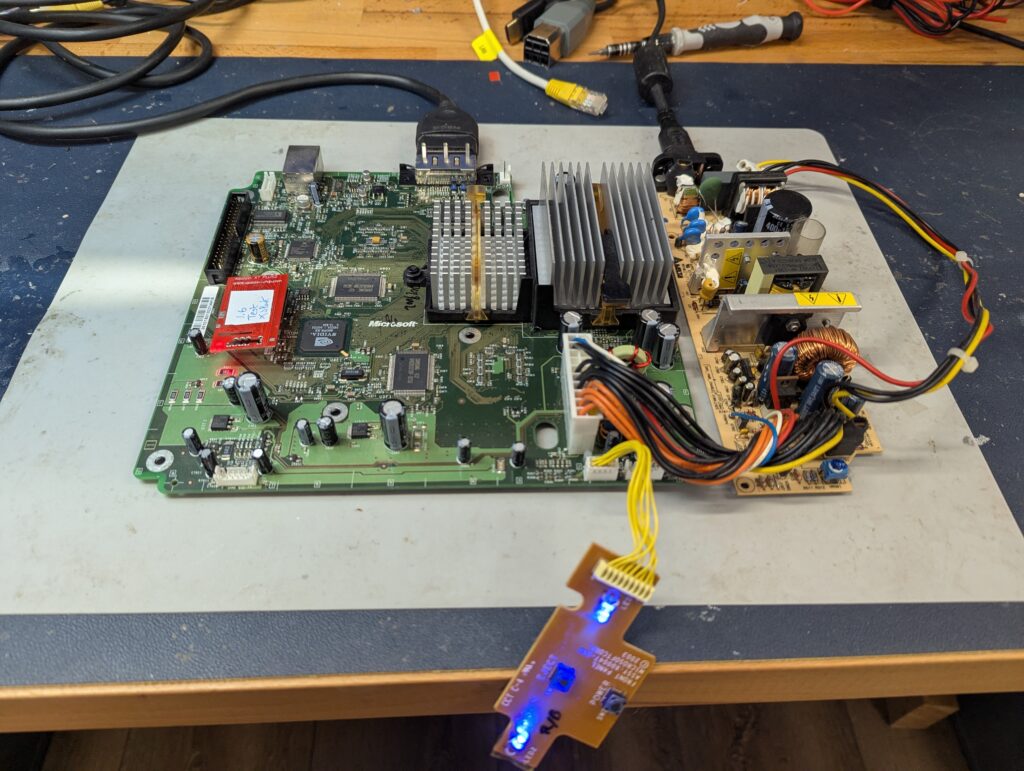
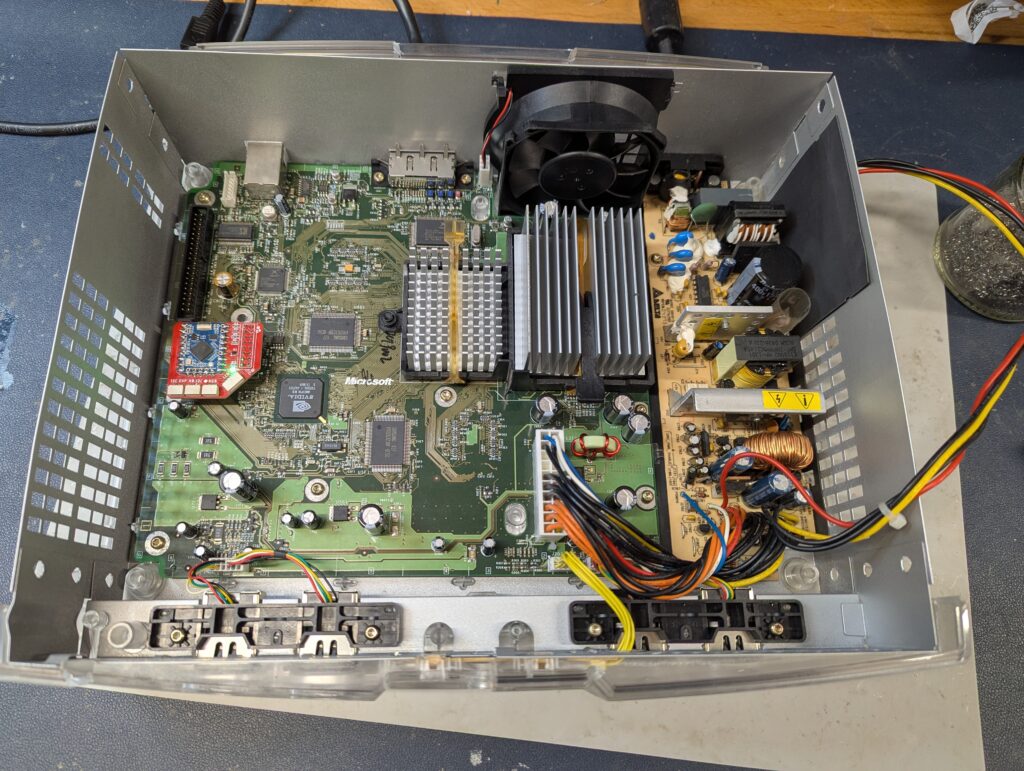
The first step was to replace the capacitors, replace the thermal paste and create the circuitry required to install a modchip
Testing booting with an Aladdin modchip (not the modchip that was finally installed, please see below)
Next step was to sand the shield before painting. This process alone takes at least 30 minutes, while the painting requires 3 to 5 coats.
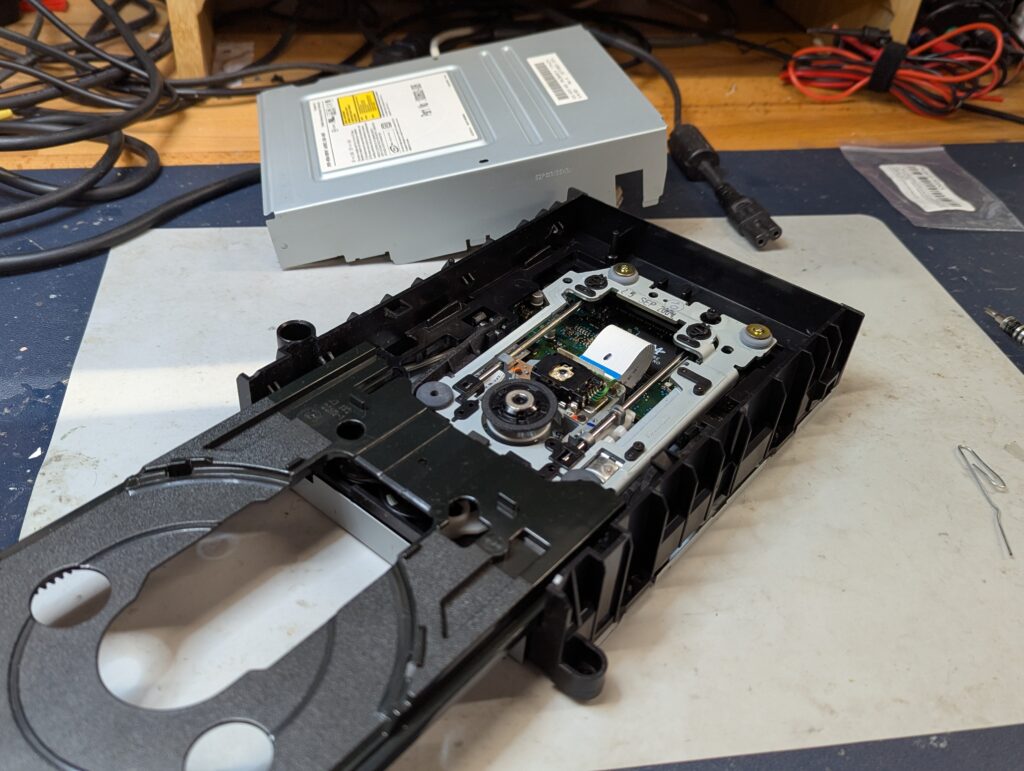
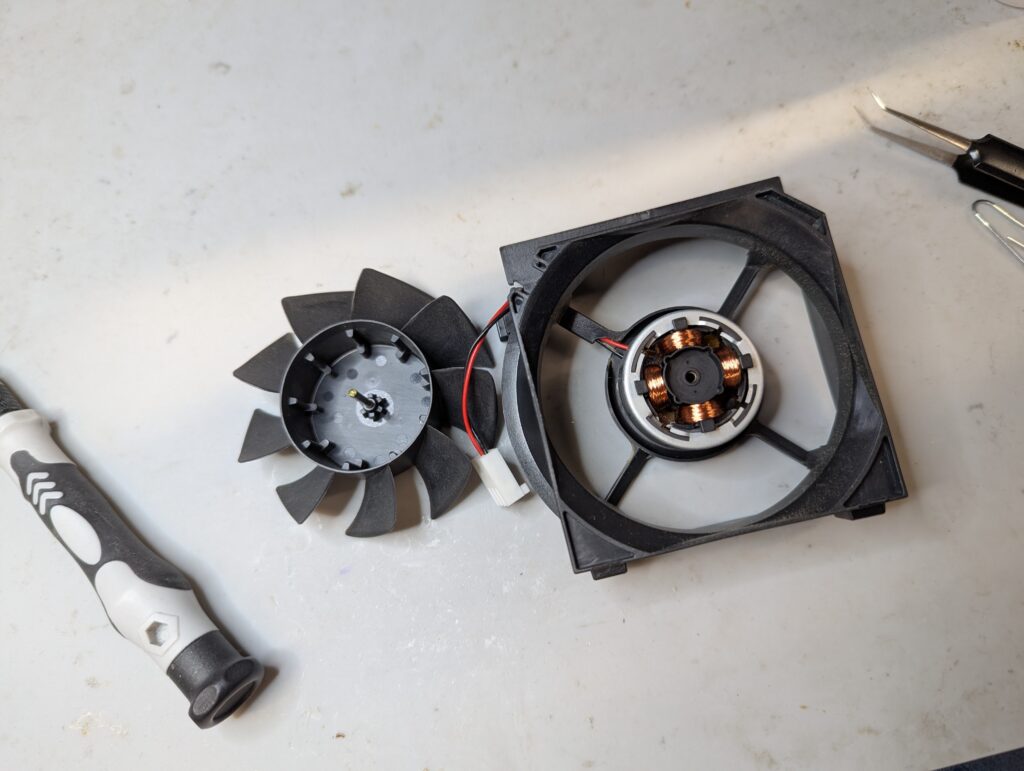
The fan was dissassembled and oiled, and the DVD drive was also disassembled and new lubricant applied. Overall the drive was very clean and no major cleaning was required.
With all the work done on the hardware, it was time to reassemble. This time a ModXo modchip with Raspberry Pi Tiny was installed as agreed with the customer. The console will boot to PrometheOS and the a bank with Cerbios will autoboot. The easiest way to flash new BIOS is to plug an ethernet cable, stop the autobooting process and note the IP address at the bottom of the screen. Then go to a PC in the same network and input the IP address in a browser. The rest is self-explanatory.
To update the contents of the Raspberry Pi memory (e.g. to flash a different OS BIOS to PrometheOS), take the modchip out of the console, attach the ribbon cable that has the USB C port to it (included in the box), and plug the USB C cable while pressing the button in the Pi. Please ensure you understand the steps to do this beforehand, or you might not have a bootable ModXo. The Xbox will not boot without the ModXo installed. To revert it to stock (the original BIOS is still in the TSOP) you need to desolder the D0 point at the bottom of the console (please only do if you know what you are doing)
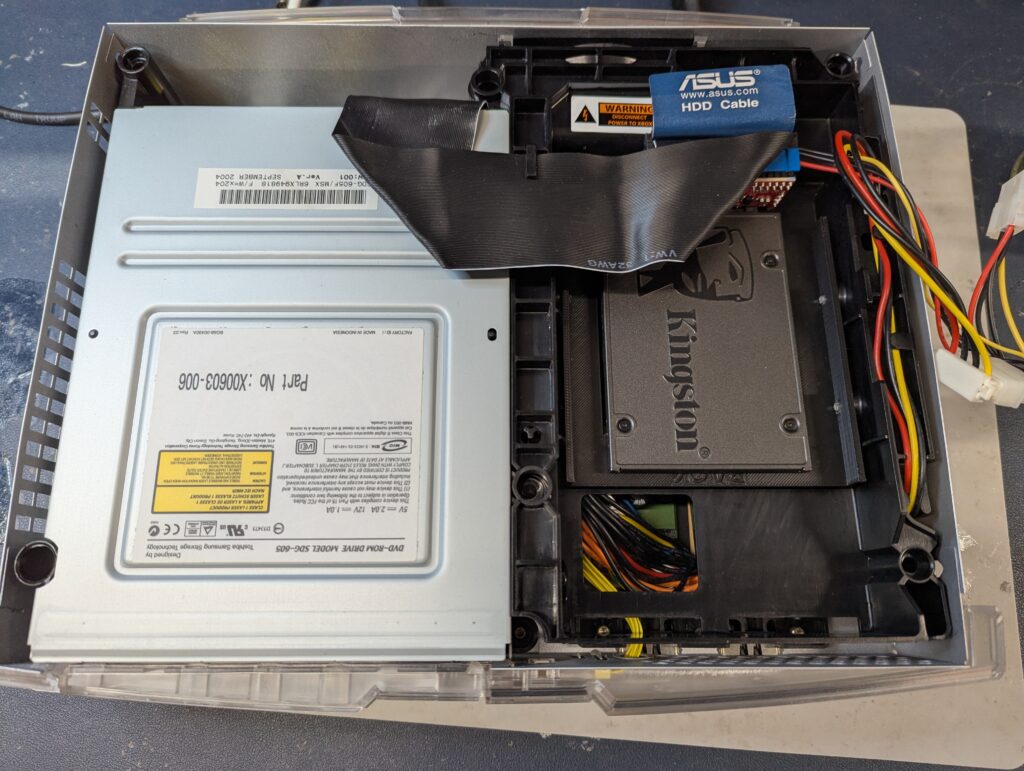
A 500GB Kingston SSD was also partitioned and installed with XBMC4Gamers. What dashboard will boot is specified in the Cerbios.ini file, which is in the root of the C drive. You can edit this file by connecting to the console through FTP, or taking the SSD out and using FatXplorer to mount the partition. Please be careful with this as a bad configuration file might result in the console not booting to a dashboard.
Xbox4Gamers has a lot of configuration features. Please get familiar with those as you will probably need to change things to suit your configuration (for example, video configuration for your TV). You can play games both from DVD or the SSD. If you add new games to the SSD, you will likely need to rerun the artbox script to make sure the new games display all the art (all the art is in the SSD already). Again, please familiarise with how this works as is all homebrew and not commercial software, so some things are not straight forward.

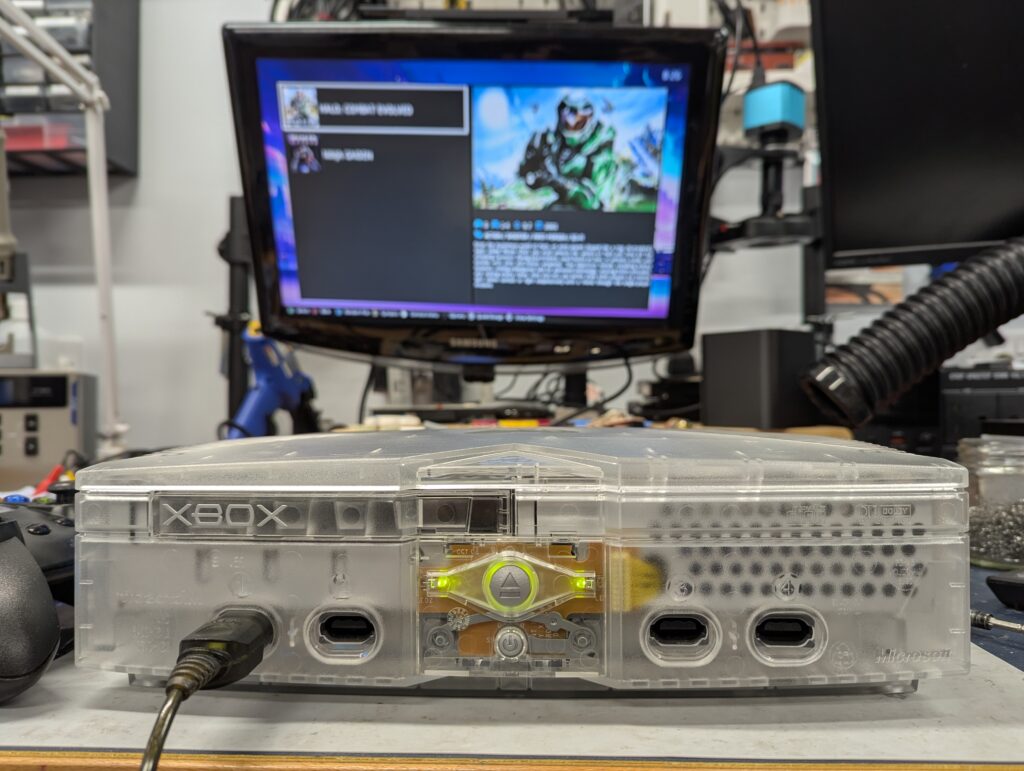
Some testing
Finally, please note that the SSD was attached with a 3D printed part, and the IDE to SATA adapter attached to the back. To try to make sure the adapter doesn’t move (which will result in the console not being to boot into the dashboard as it wouldn’t be able to find the SSD), I added a piece of white polystyrene. While not a fool-proof method, it will hopefully prevent the adapter to detach during transport.