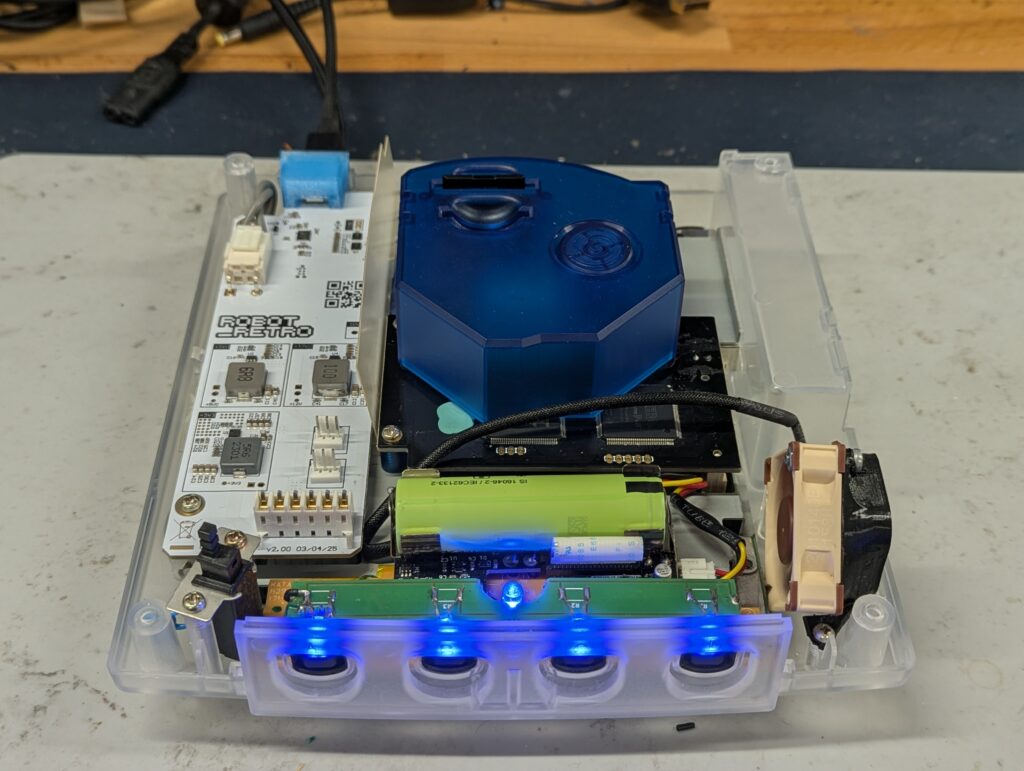
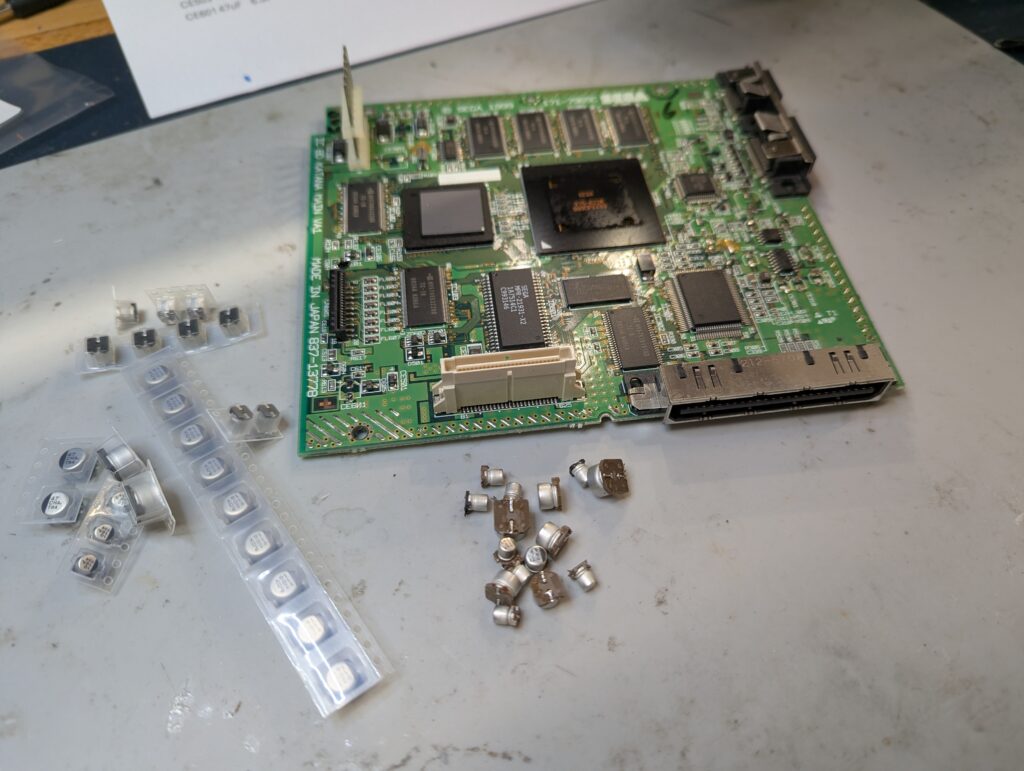
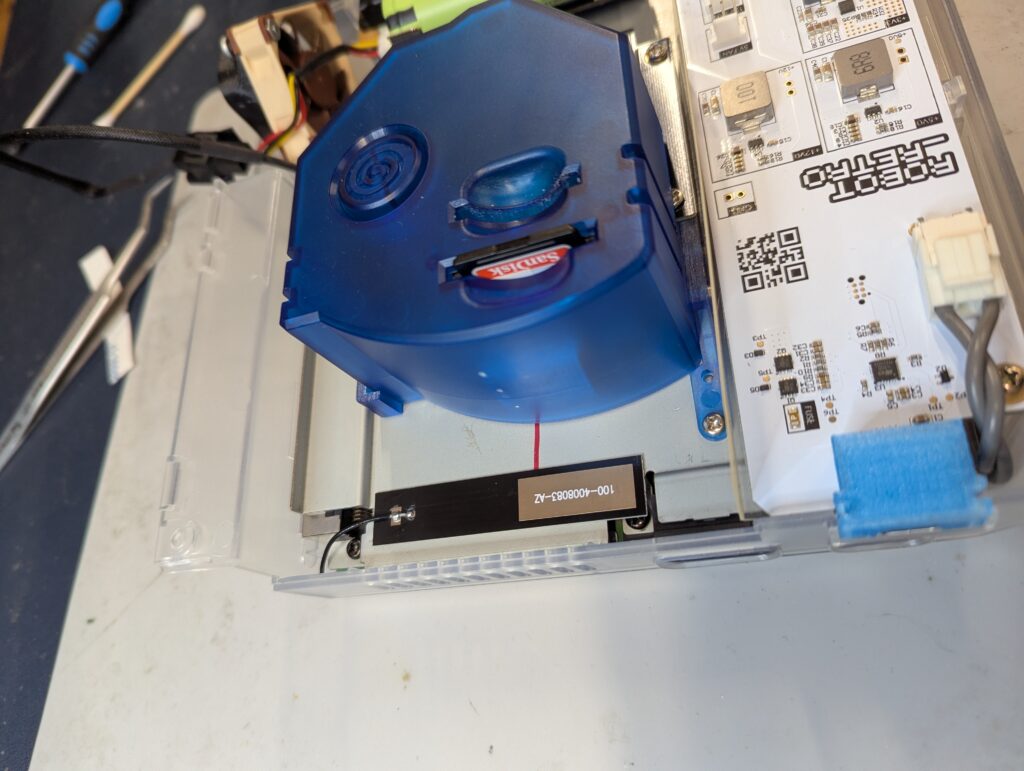
Customer got in touch to install an HDMI RetroGem mod into a Sega Dreamcast, as well as recap and an LED PCB for the controller board. The console came already heavily modded, with a GDEMU, a USB PSU, a Noctua fan, a battery mod and a custom shell.

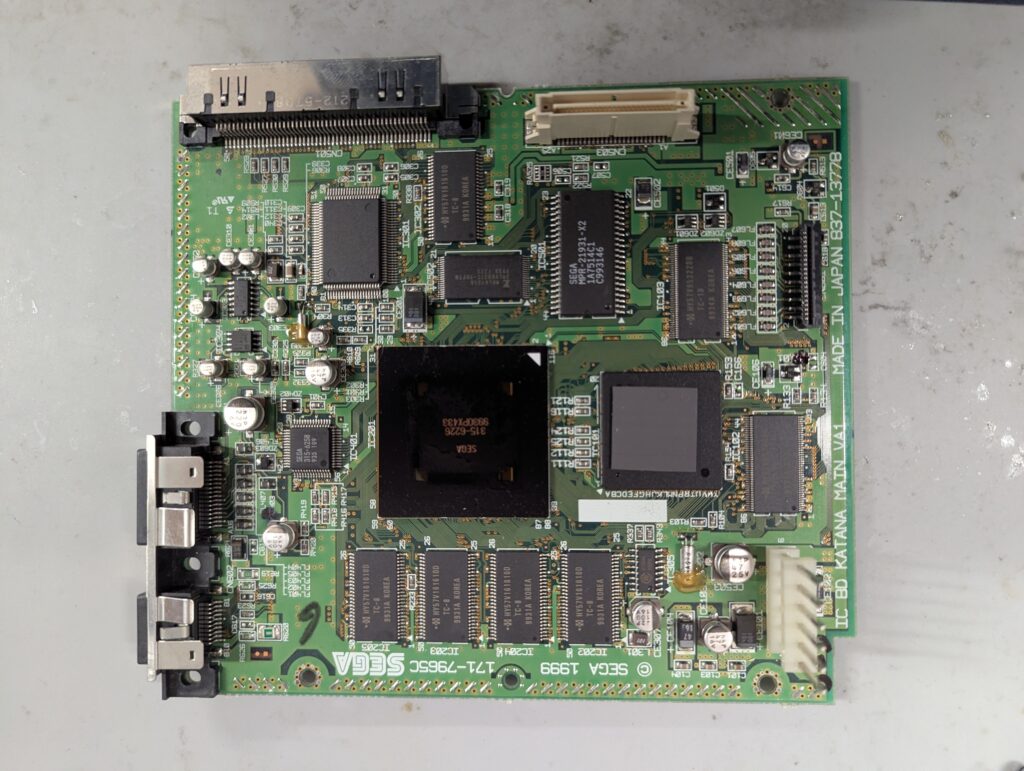
After disassembly, first the recap as that would be more difficult to do after the RetroGem is installed
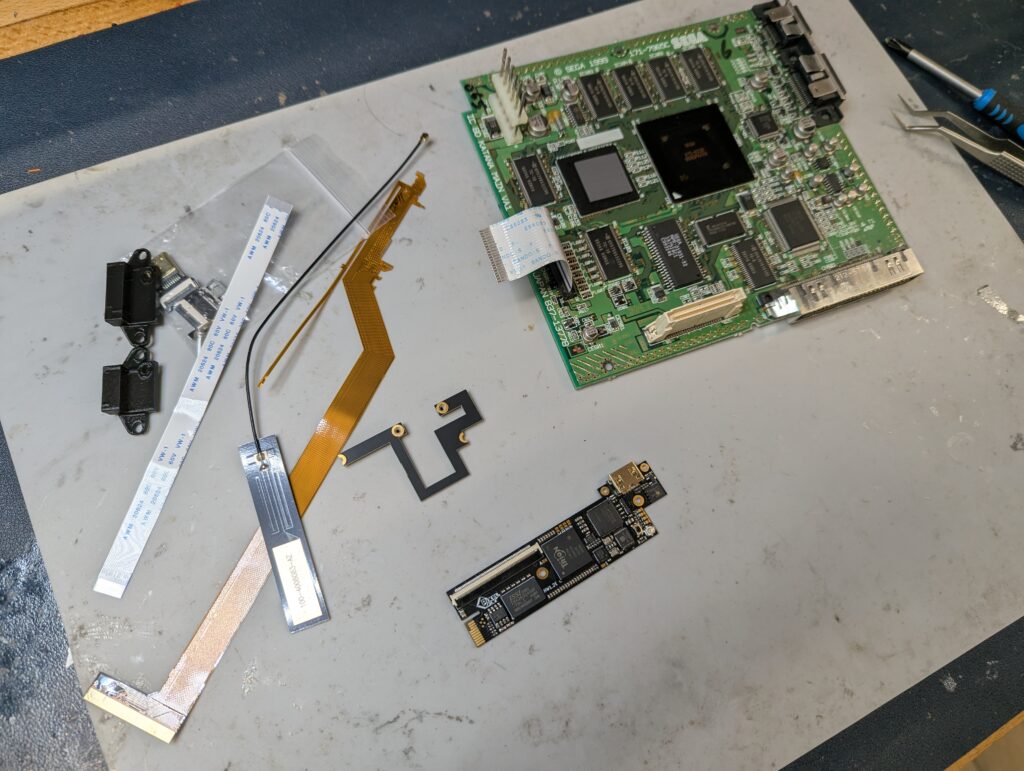
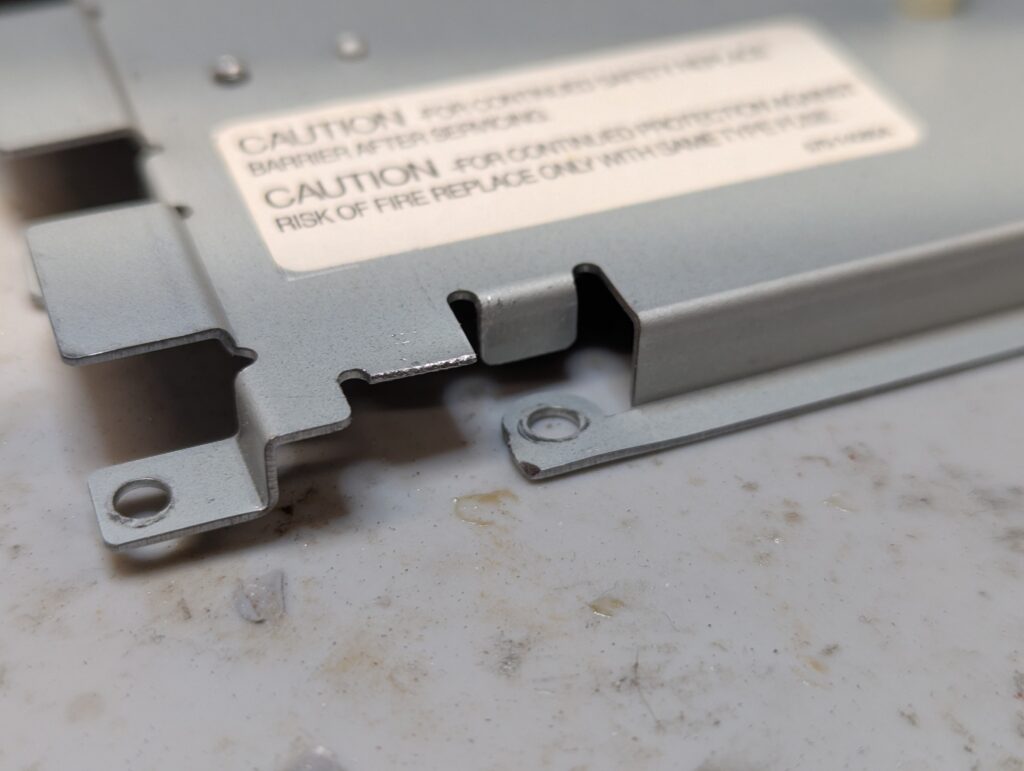
To install the RetroGem, several steps are needed. First, is to trim some parts of the top and bottom shield to allow the space for the ribbon cables. Also took the opportunity to change the thermal pads for the regulators at the bottom of the board.
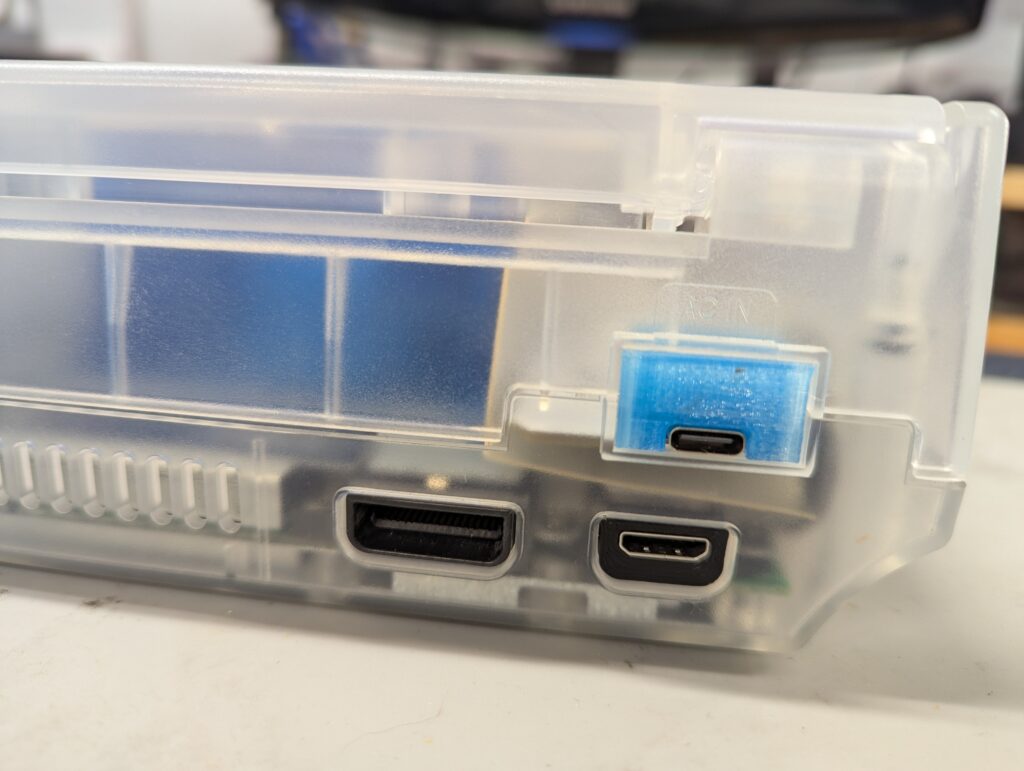
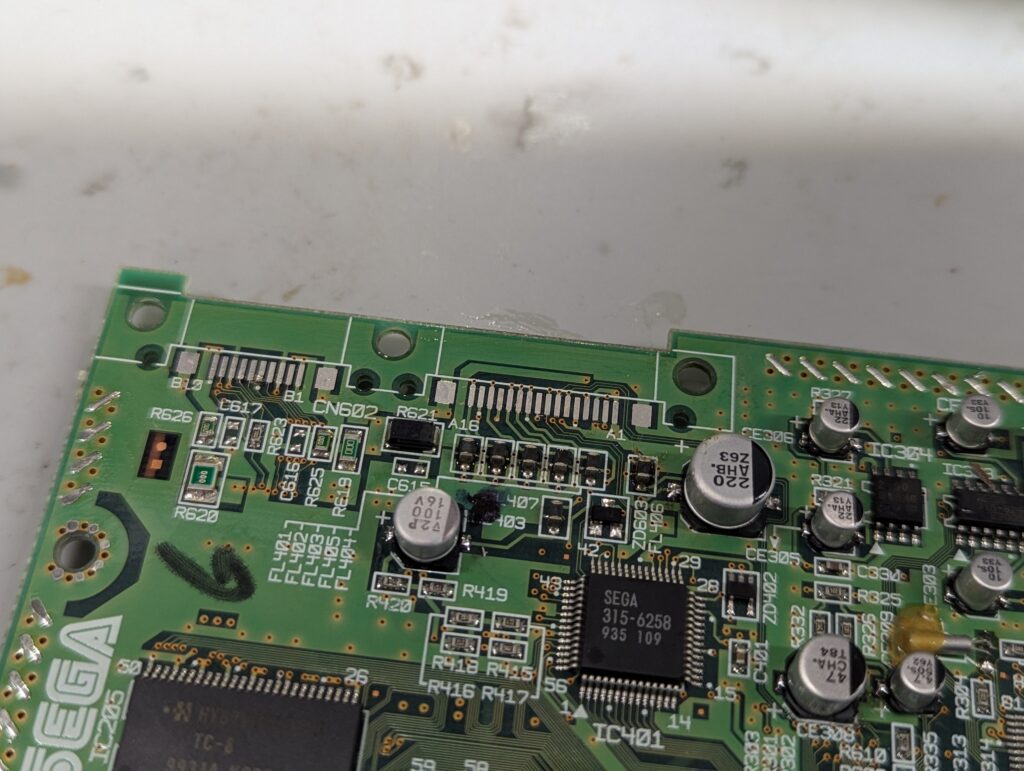
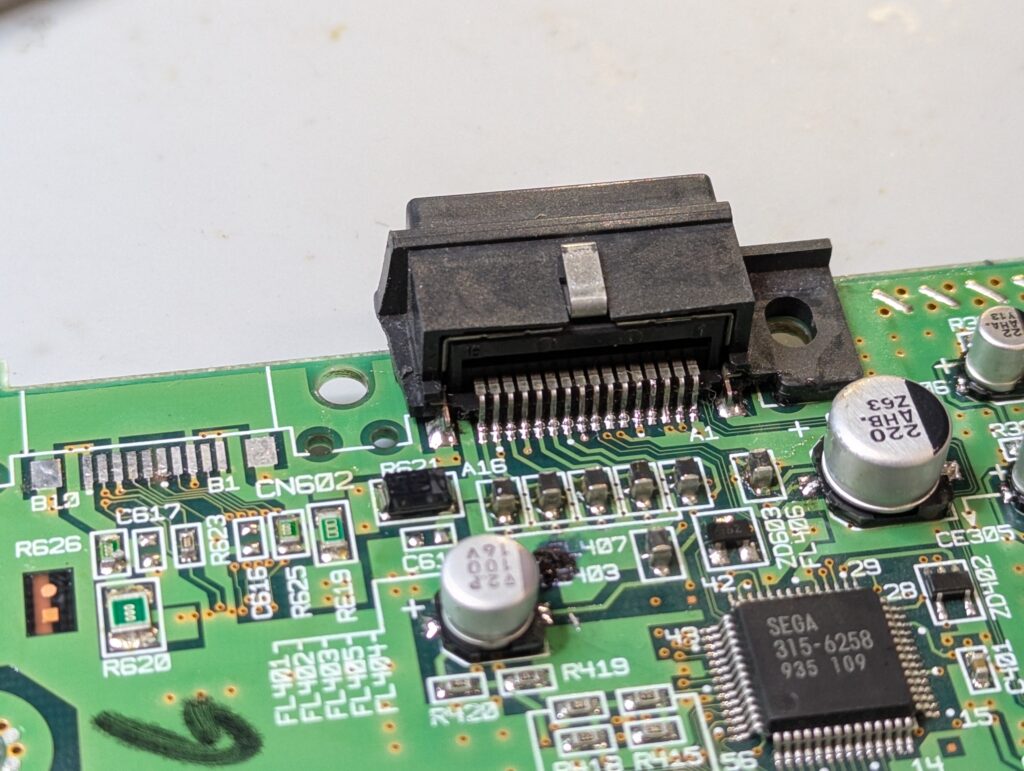
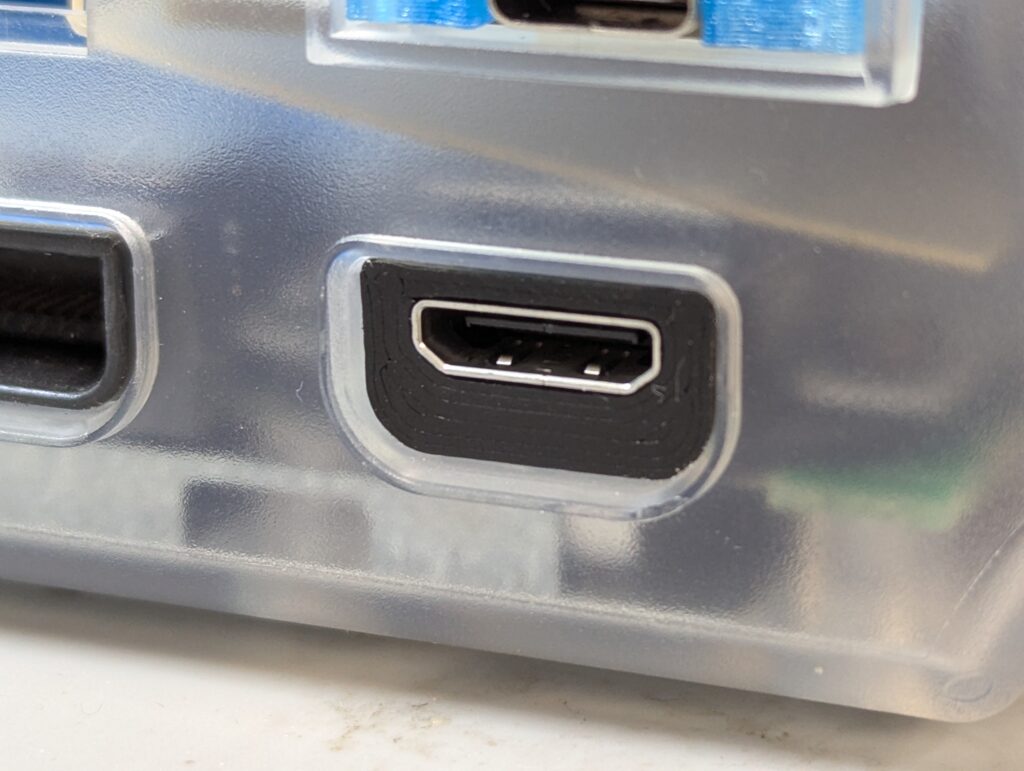
After that, the serial and multi-out ports need to be removed, and one of them has to be put back, leaving a space for the HDMI port. The customer preference to put the new port instead of the serial port. The stock ports were removed with hot air, protecting all the plastic parts.
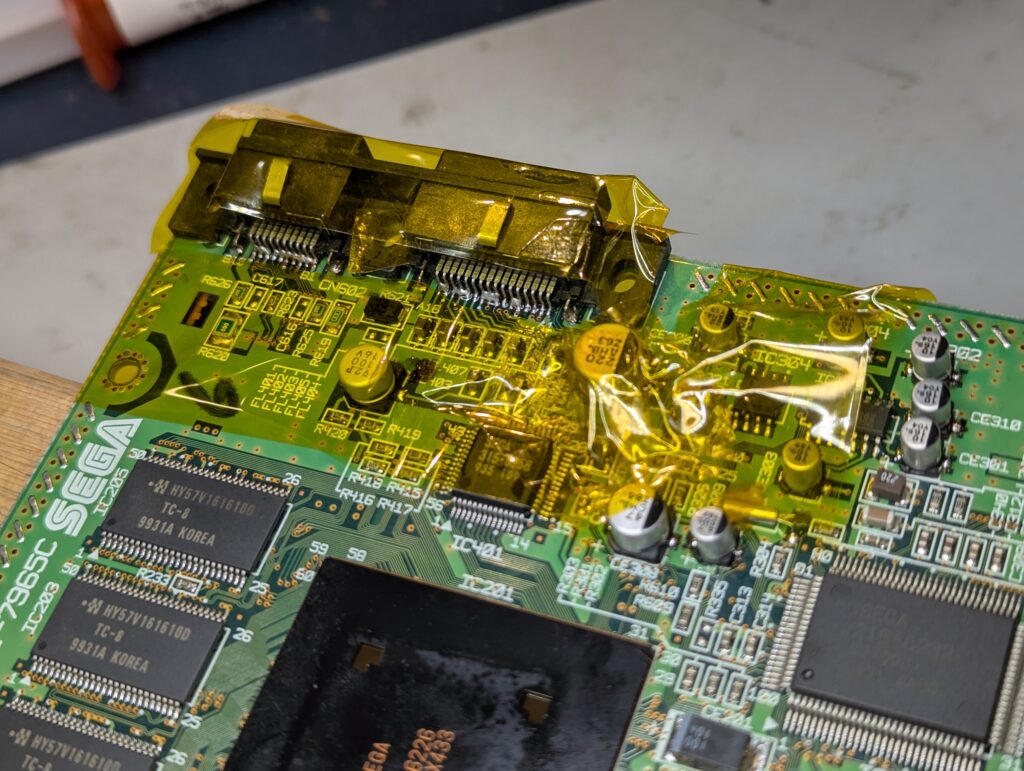
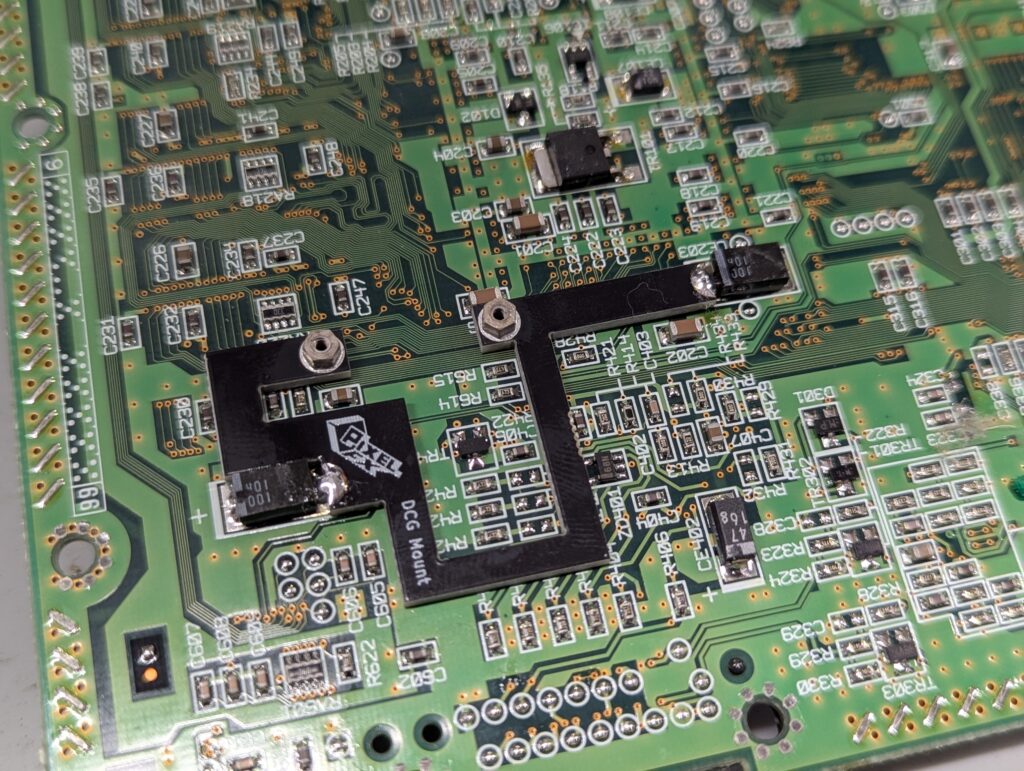
Next step is to install the support PCB where the main FPGA board will be screwed, and to solder in the ribbon cables that will take the video and controller signals to the RetroGem
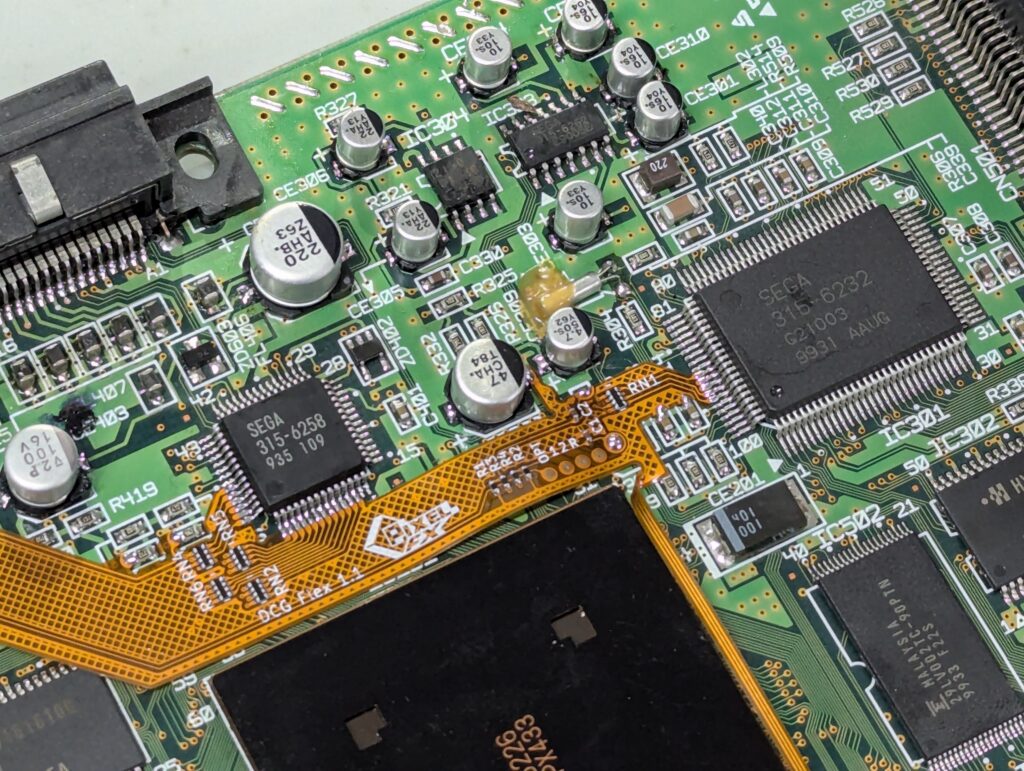
Next is to install the main RetroGem PCB and attach the main ribbon cables to it, and the new HDMI port cable from it.

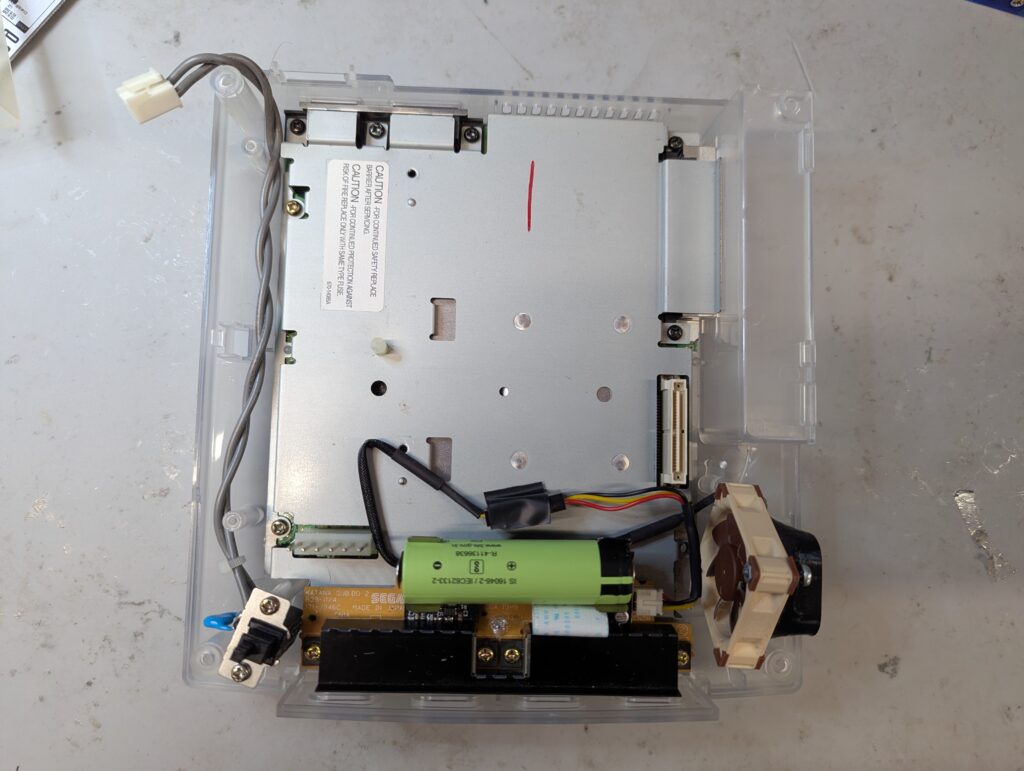
Then is just a matter of installing the PCB within the shell, not forgetting the WiFi antenna. A quick test confirms that the installation has been successful
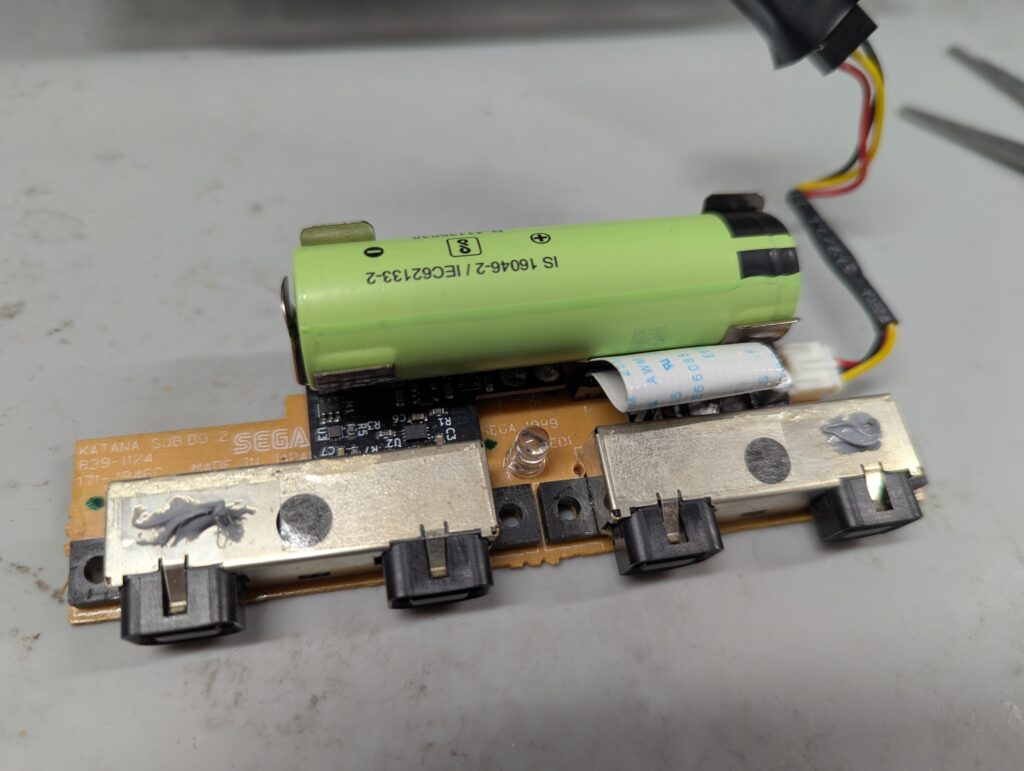
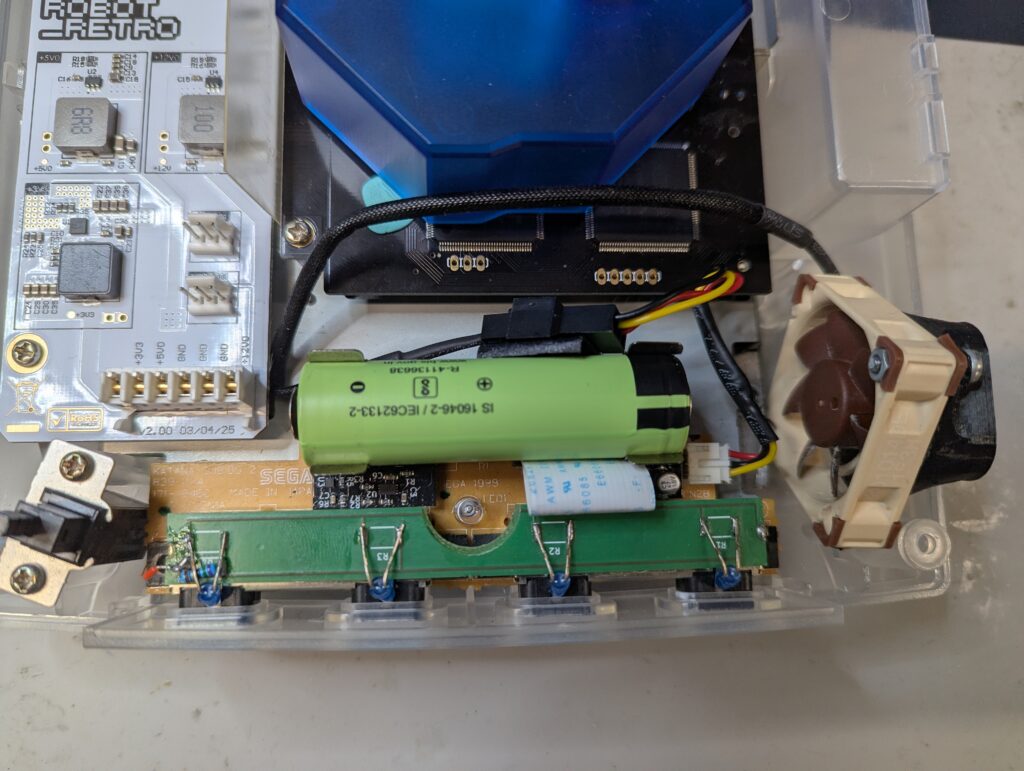
Next is the LED board, which is meant to be installed on top of the controller board. This PCB has been extracted from another console, and one of the anchor points has been broken. I use a combination of double sided tape and silicone glue to ensure that the board doesn’t move anywhere. Note however that despite the semi-circle in the LED PCB that makes is possible to insert the two middle screws, it is difficult to position the screwdriver and is easy to push the PCB while screwing. This is probably why the solder anchors were broken the last time around. Although the glue now should prevent this, all care should be taken when unscrewing and screwing the controller port going forward.
Note also that I add a short wire to attach the ground in one of the sides of the controller port as the anchor point (which was meant to carry the electrical ground) is broken.
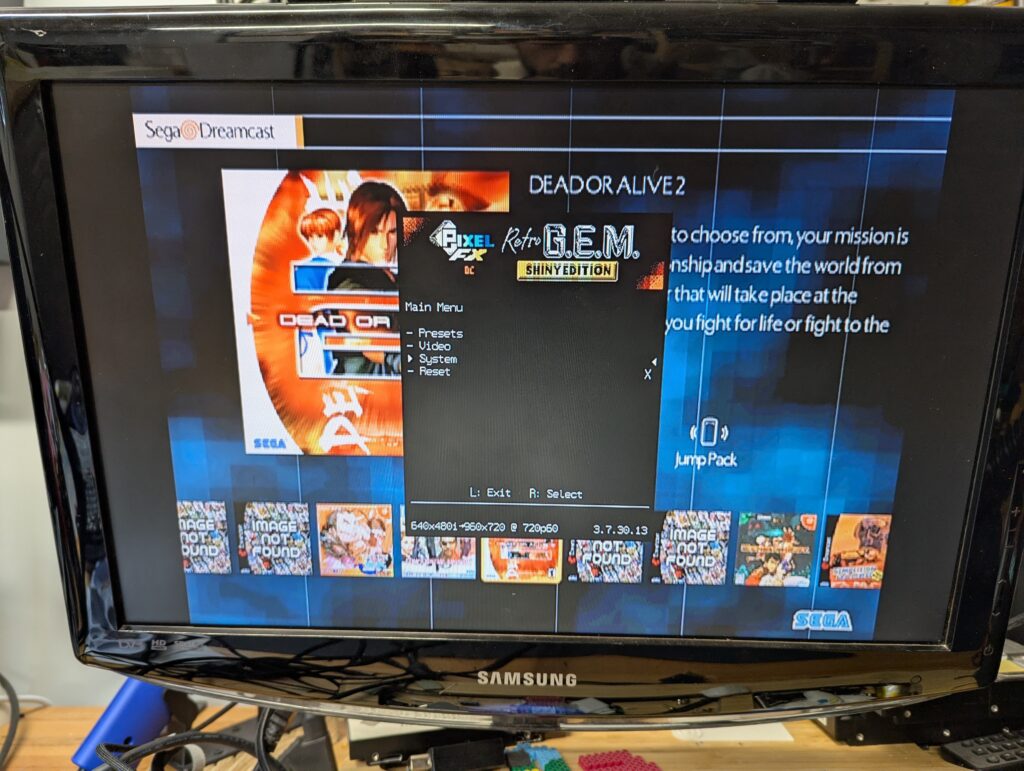
Final tests