
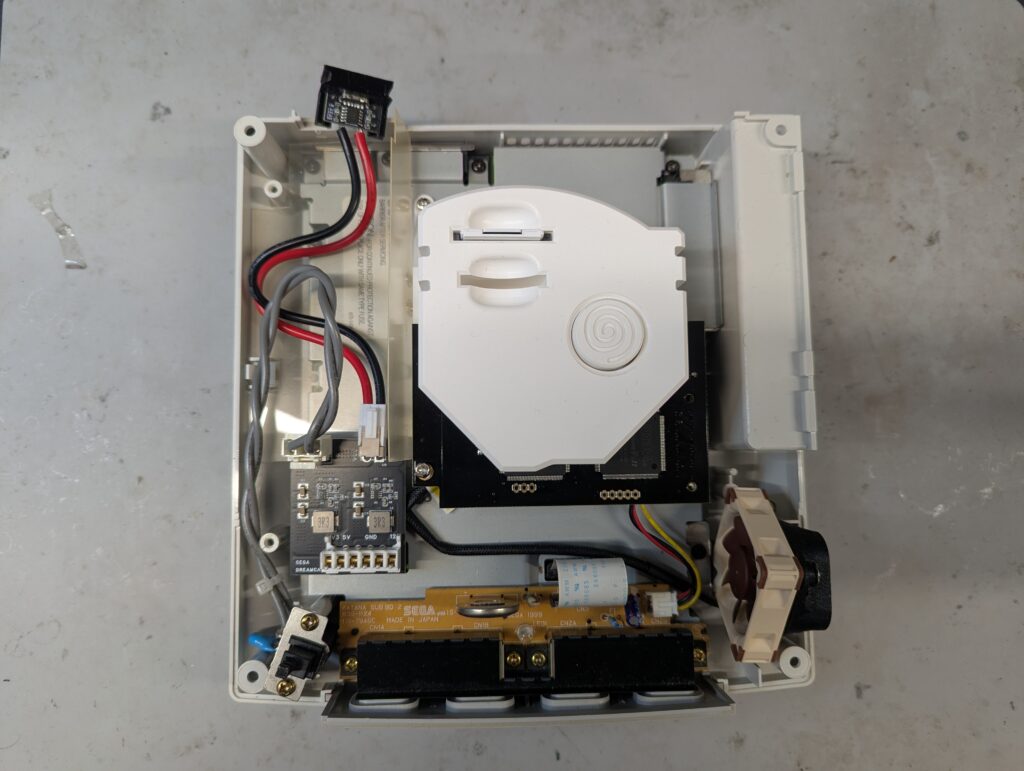
This order was for the installation of a Retro GEM in a white Dreamcast. The customer provided the kit, Basic Edition. The console came already with some modifications: a USB power supply, a GDEMU and a Noctua fan
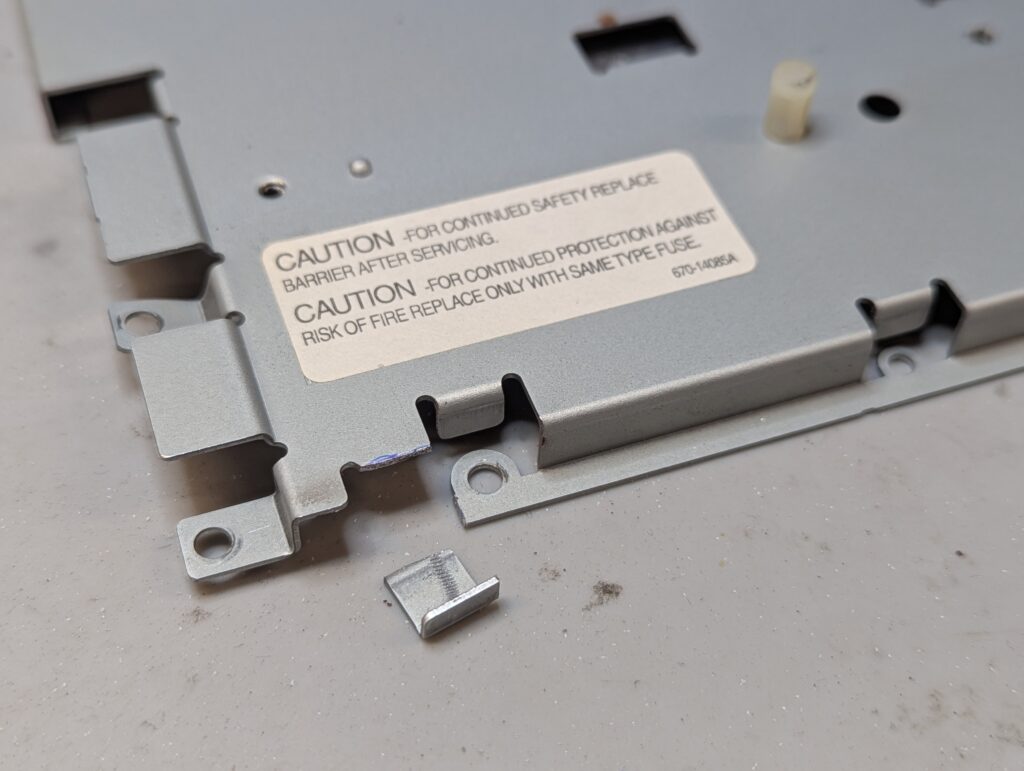
First task was to disassemble the console and modify the shields to accommodate the ribbon cables once the HDMI mod is installed

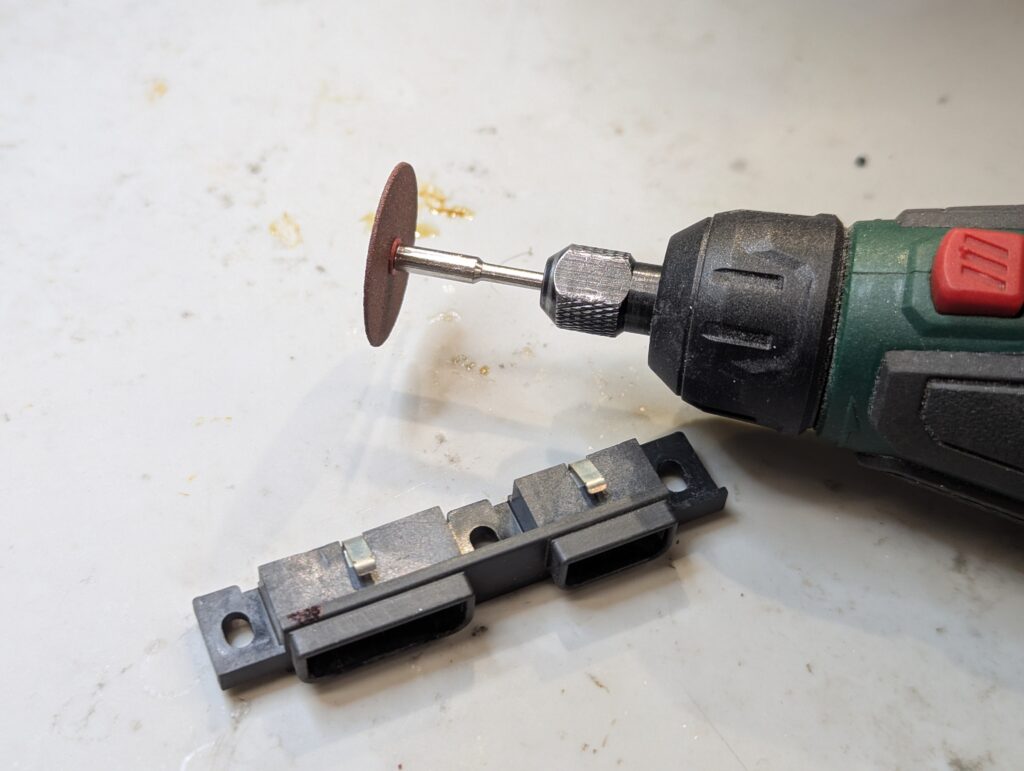
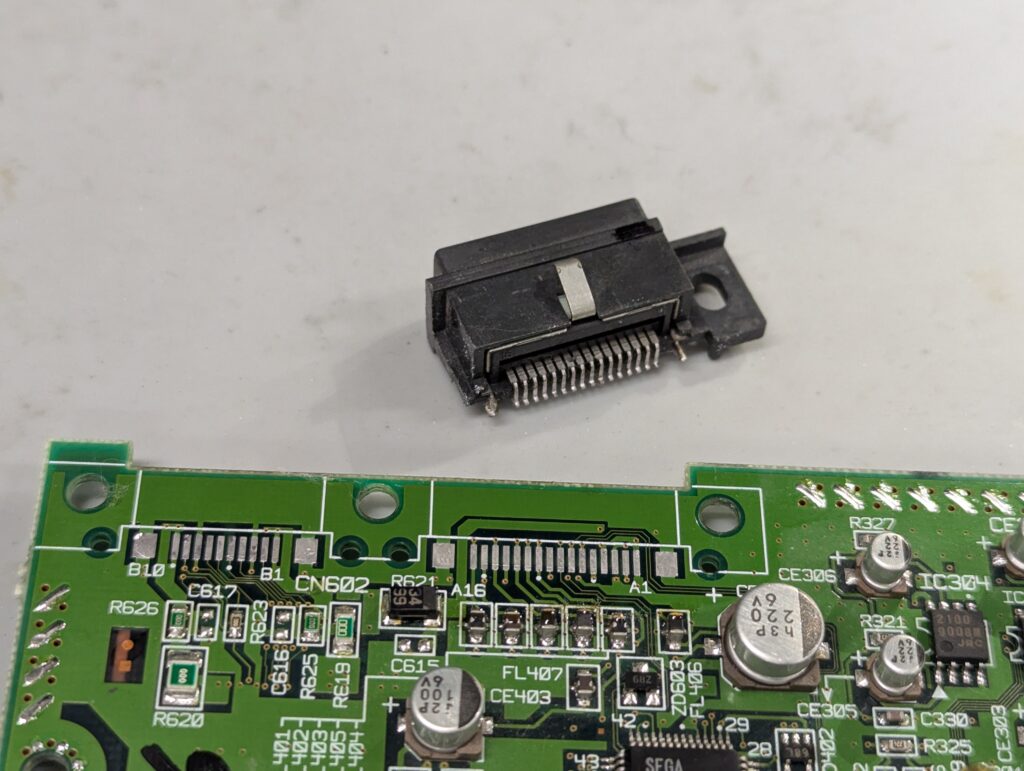
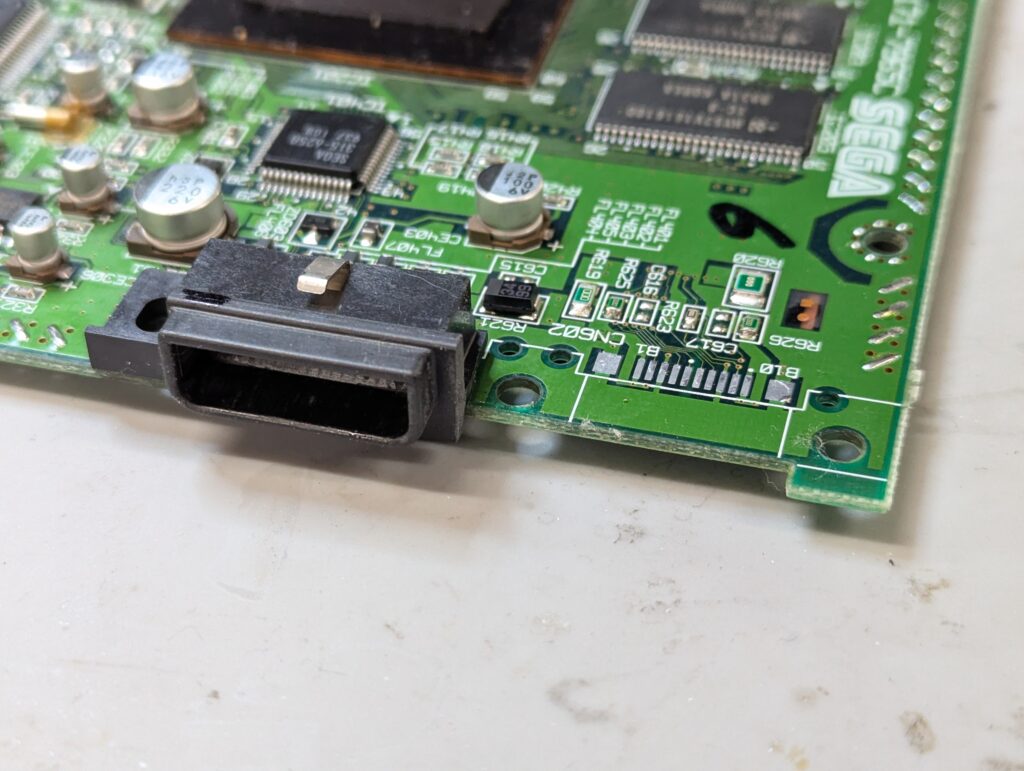
Second task was to remove the serial port of the console so that the mini HDMI can be installed in its place. To do this, both ports need to be desoldered (as they come in one plastic piece), then broken in two, and the multi-out port re-soldered

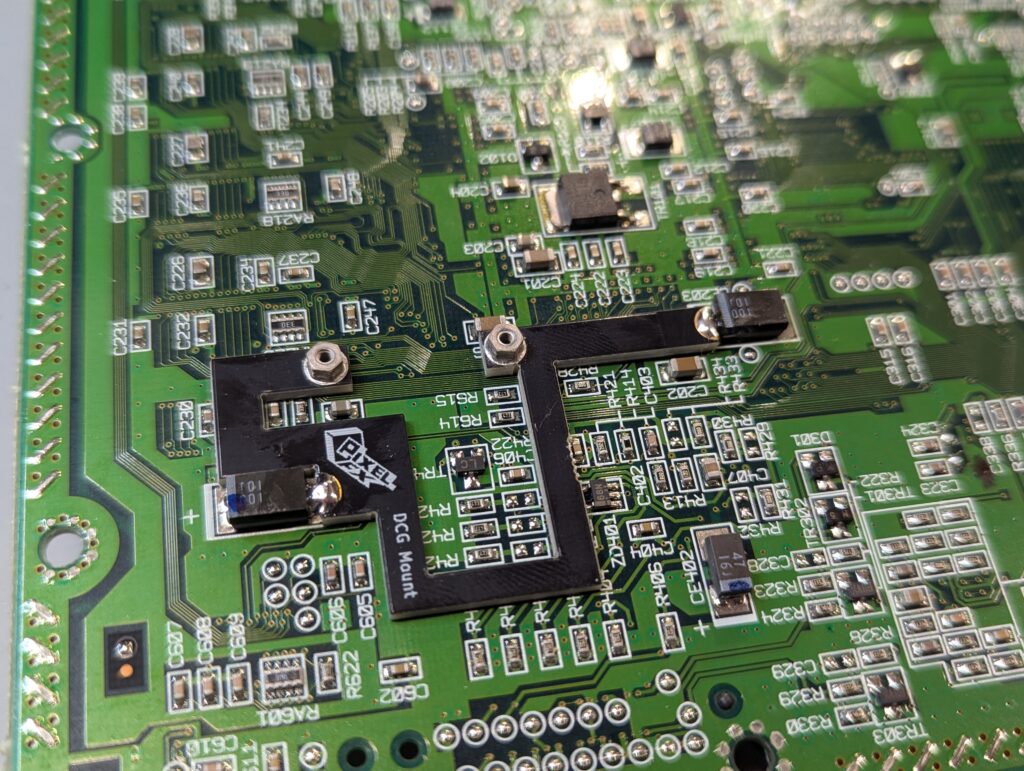
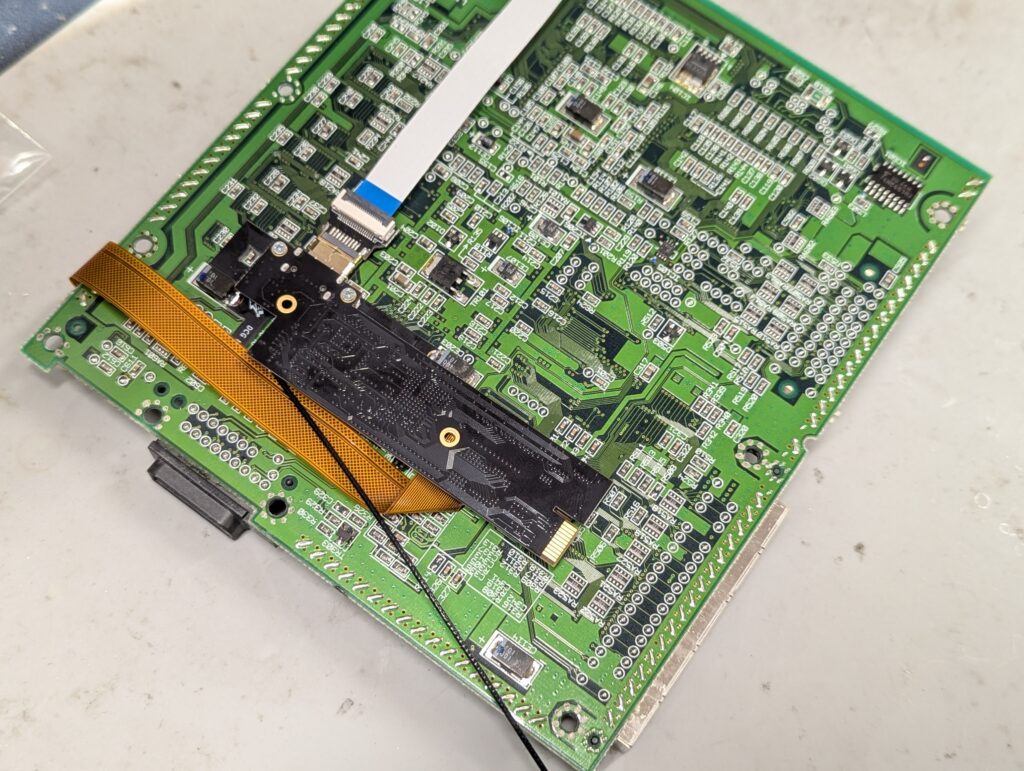
Next is to install the bracket that is going to hold the GEM main PCB. That needs to be soldered to a couple of big capacitors to hold it in place
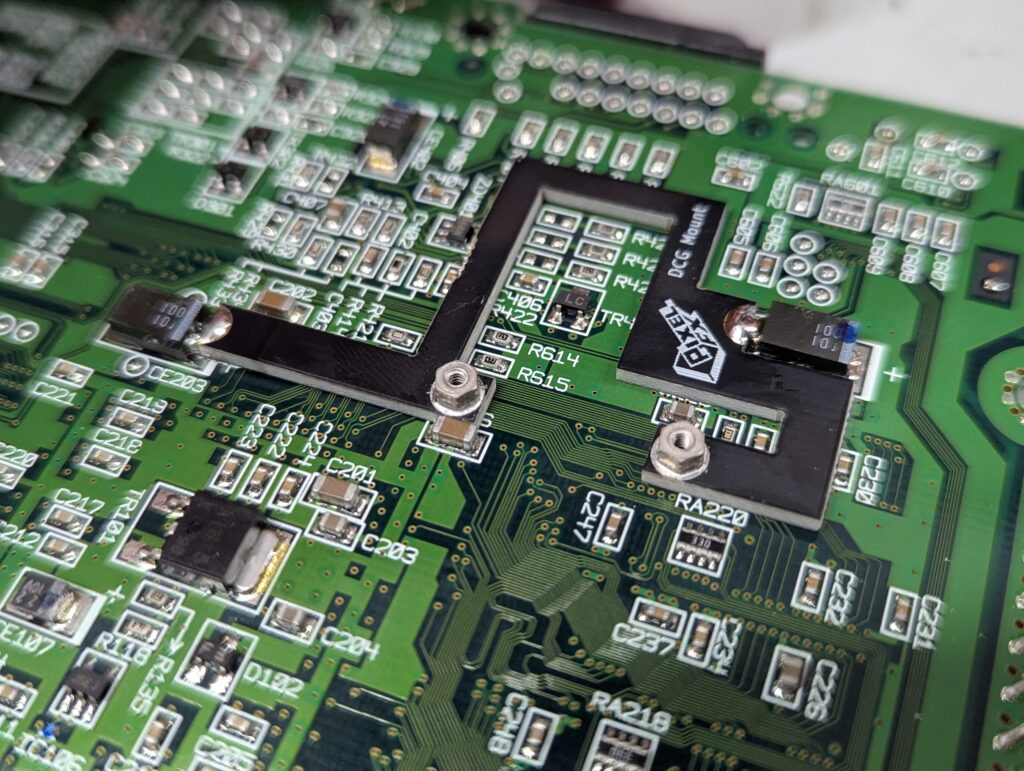
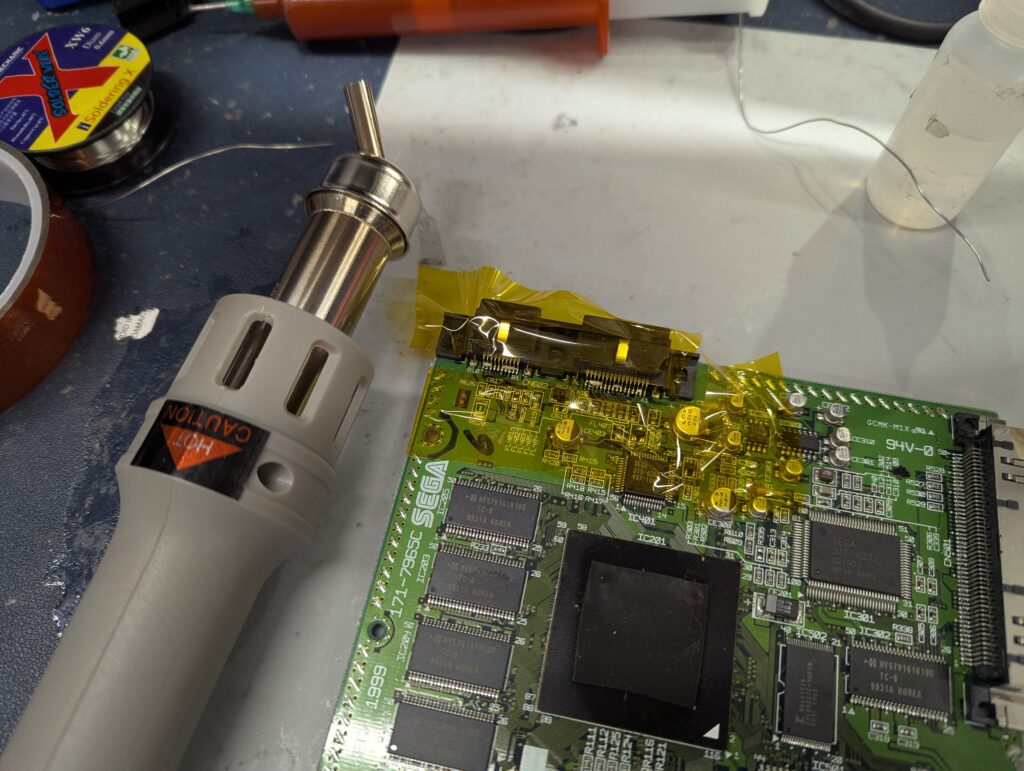
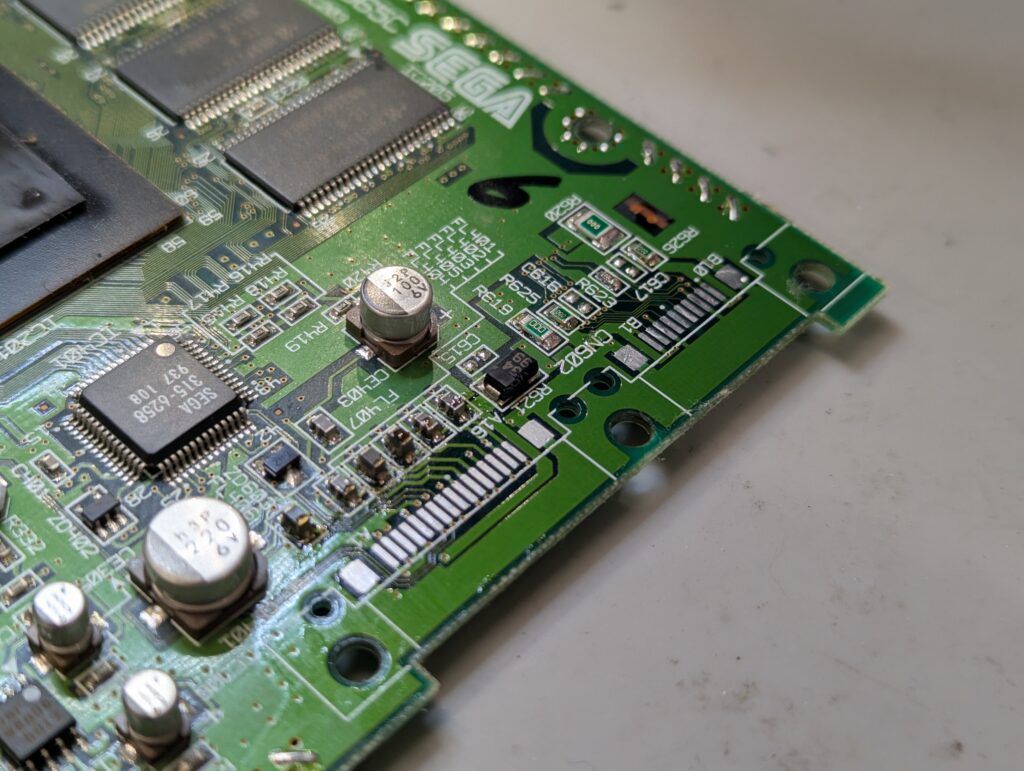
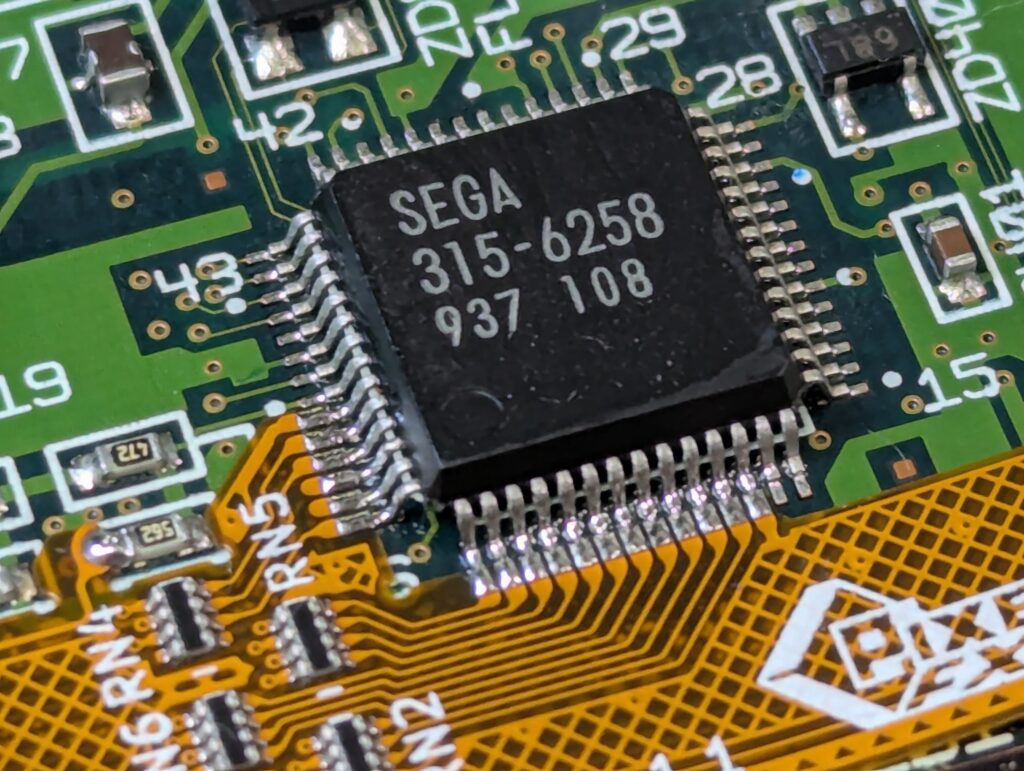
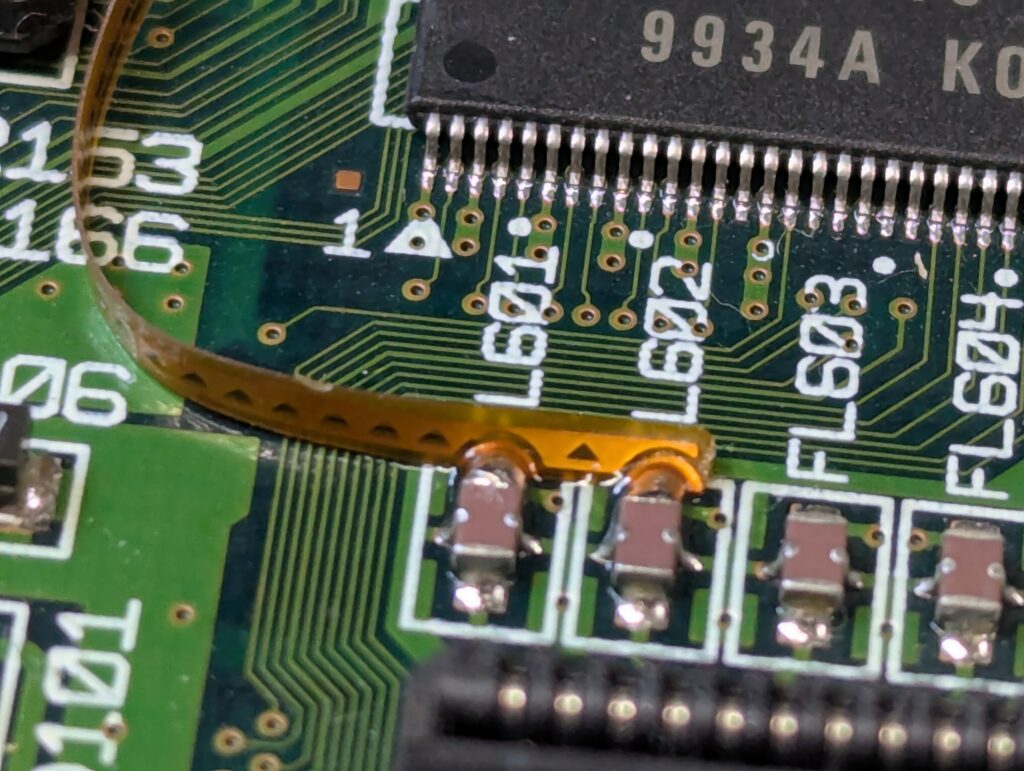
No the flex cable. That includes not just the video chip but a few other points, so all the pins need to be well aligned. It also includes points for the controller signal intercept so that the GEM menu can be called up.
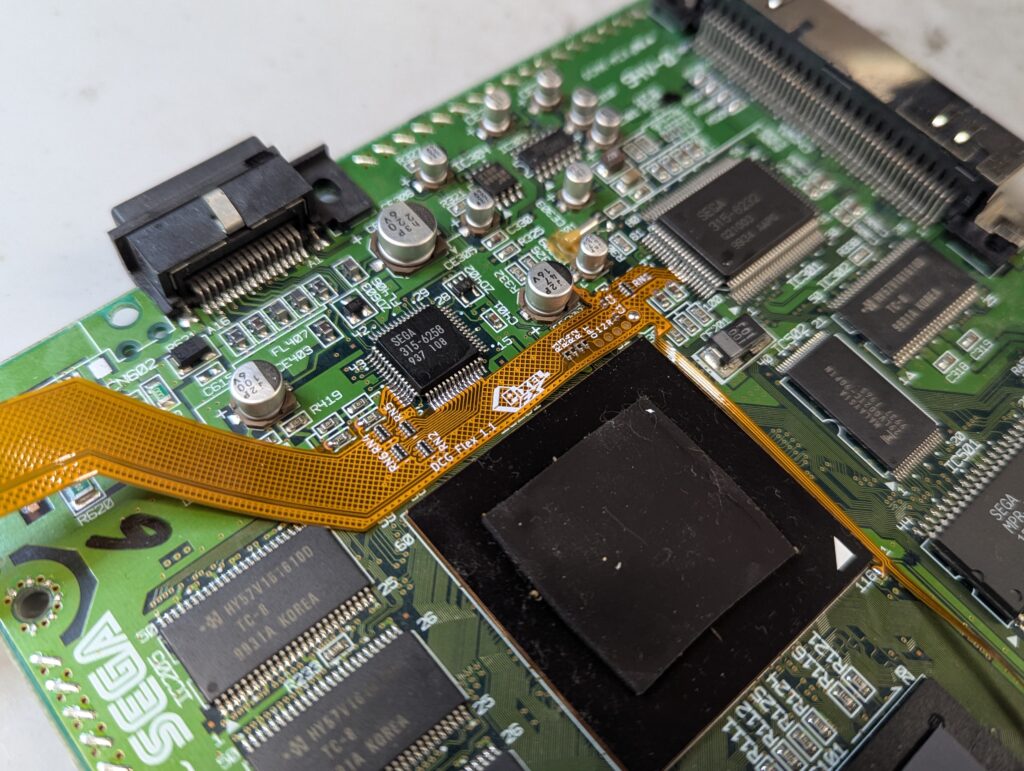
Once the ribbon is in place, the only thing left is to insert the ribbon in the retro GEM, connect the HDMI adapter and link it up with the external mini-HDMI port, which is going to be held in place by a 3D printed bracket.

Console HDMI tested well. The multi-out is still also operation. Note:
- There were a few moments where the GDEMU didn’t register. This is a common issue (even the Retro GEM installation instructions mention it). A bad connection will cause no video, or will cause no boot logo and no disc found errors. If on reception of the console there is a problem with this, open the console up and re-sit the GDEMU until the problem is resolved. This issue is not related to the Retro GEM.
- The Retro GEM has not been configured. Please remember to configure it to your setup to have optimal quality. Some customers have mentioned that is required to go into GDEMU settings and use “force VGA” for better quality, but that may depend on your setup. To open the menu, press “L + R + DPad R + B”