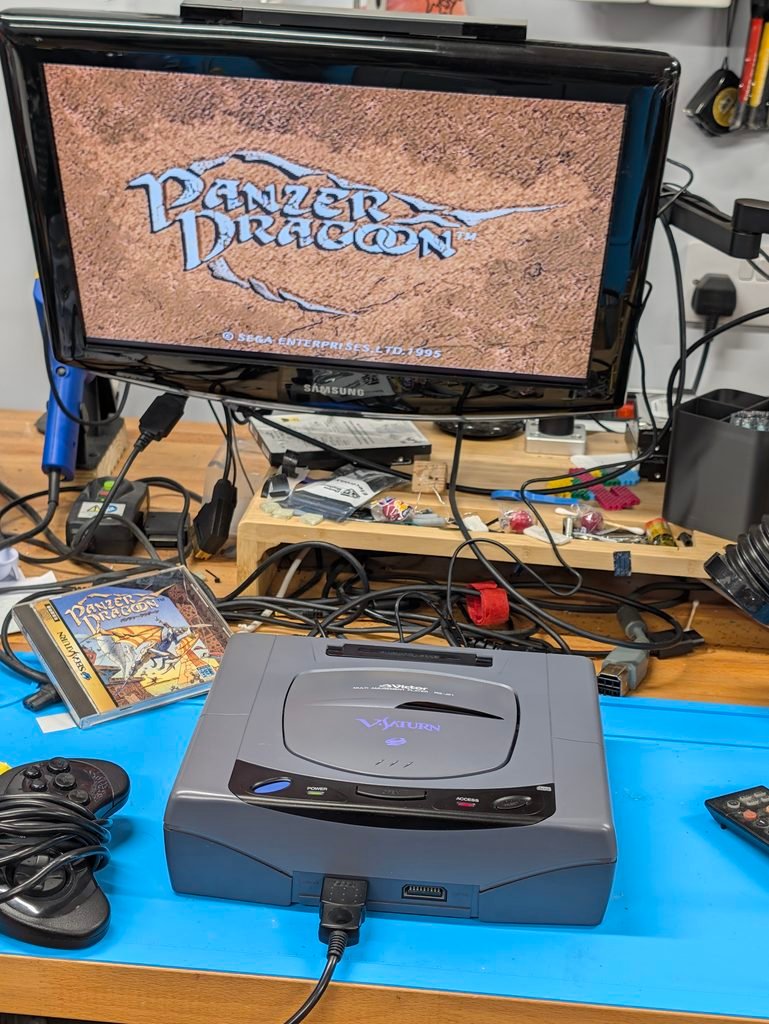
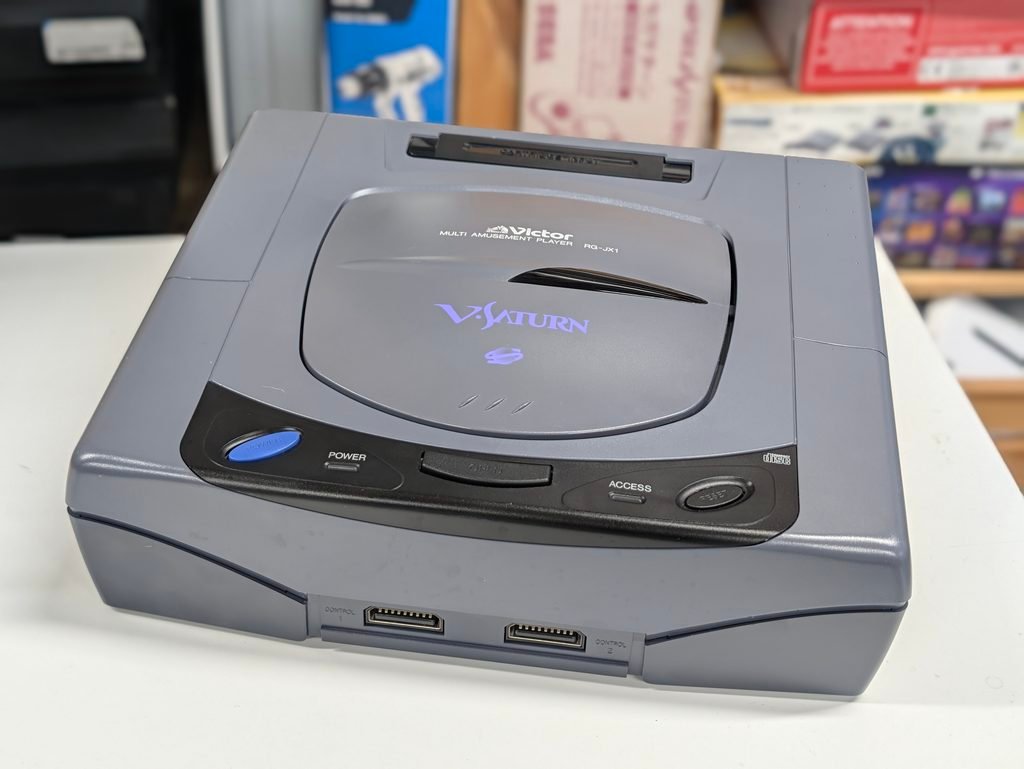
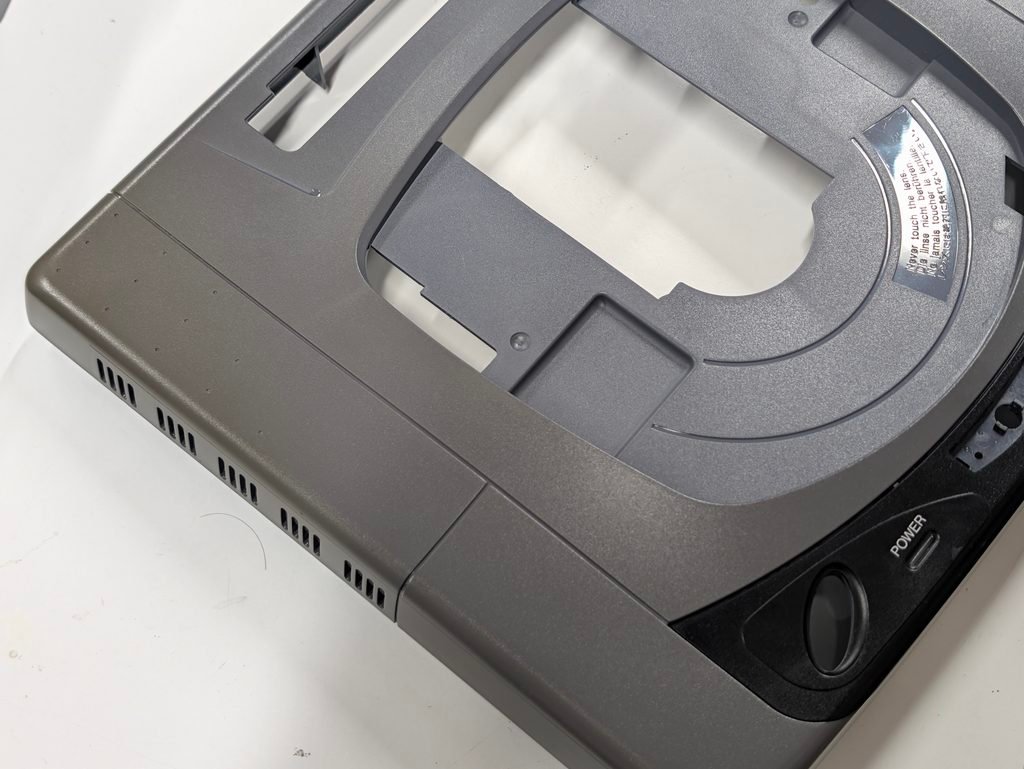
This order was for the full recapping, TLC with retrobrighting, FRAM install and BIOS replacement for a japanese Victor Saturn. The console came in good condition and fully working, although one of the sides of the shell was slightly yellowed.
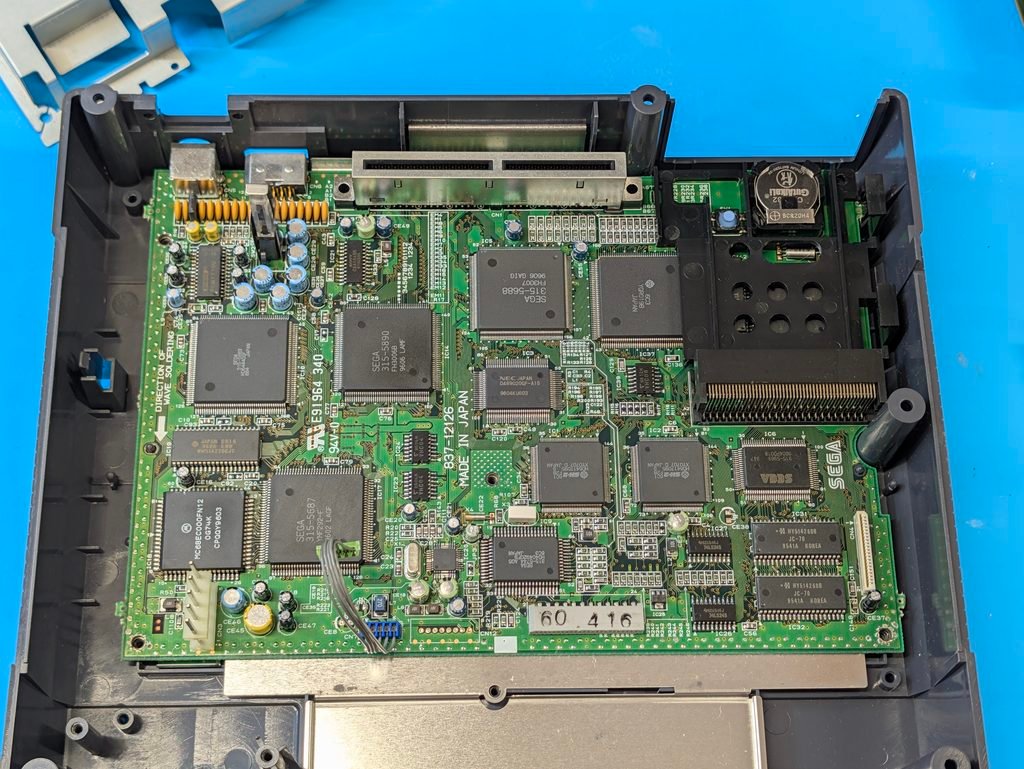
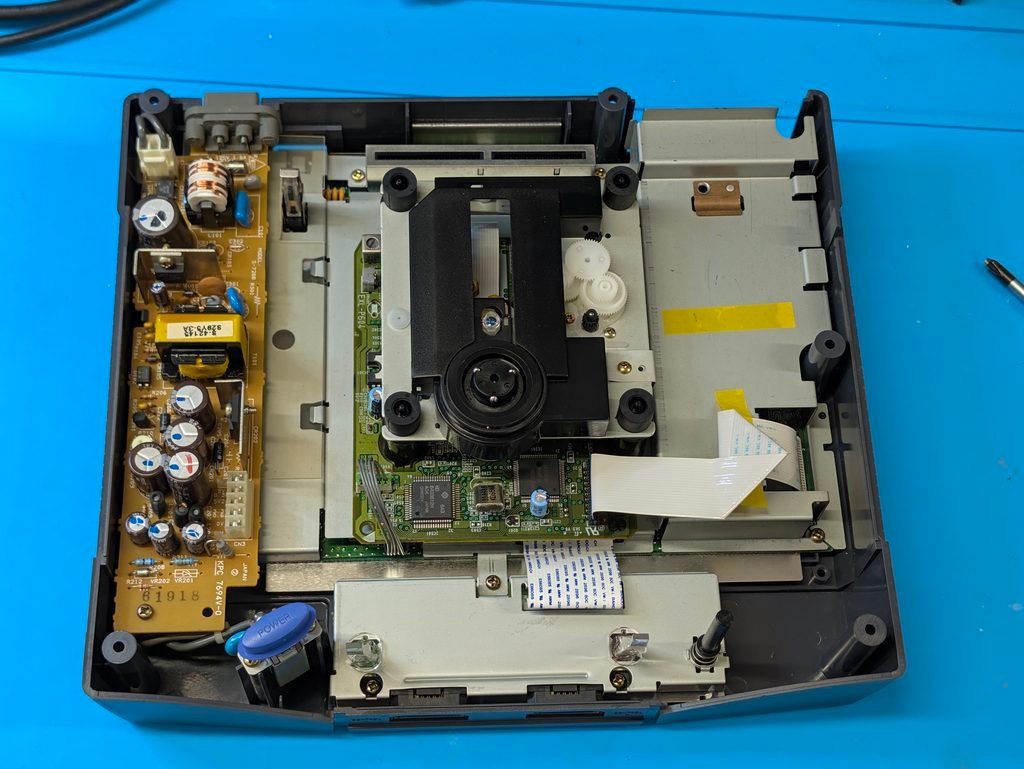
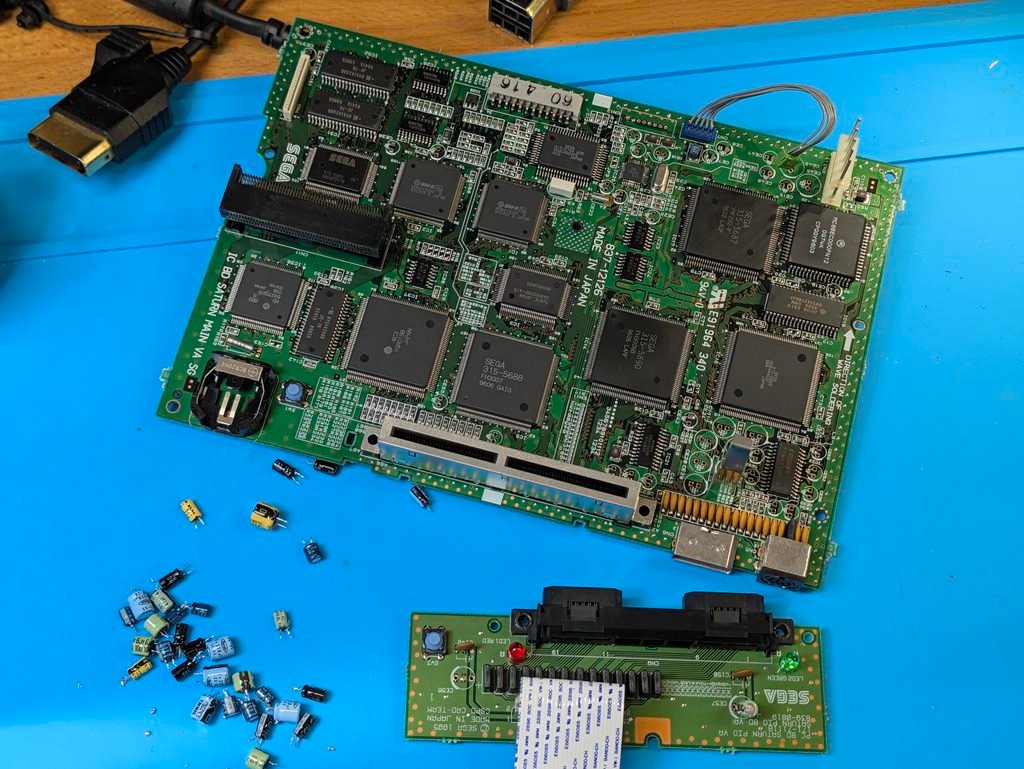
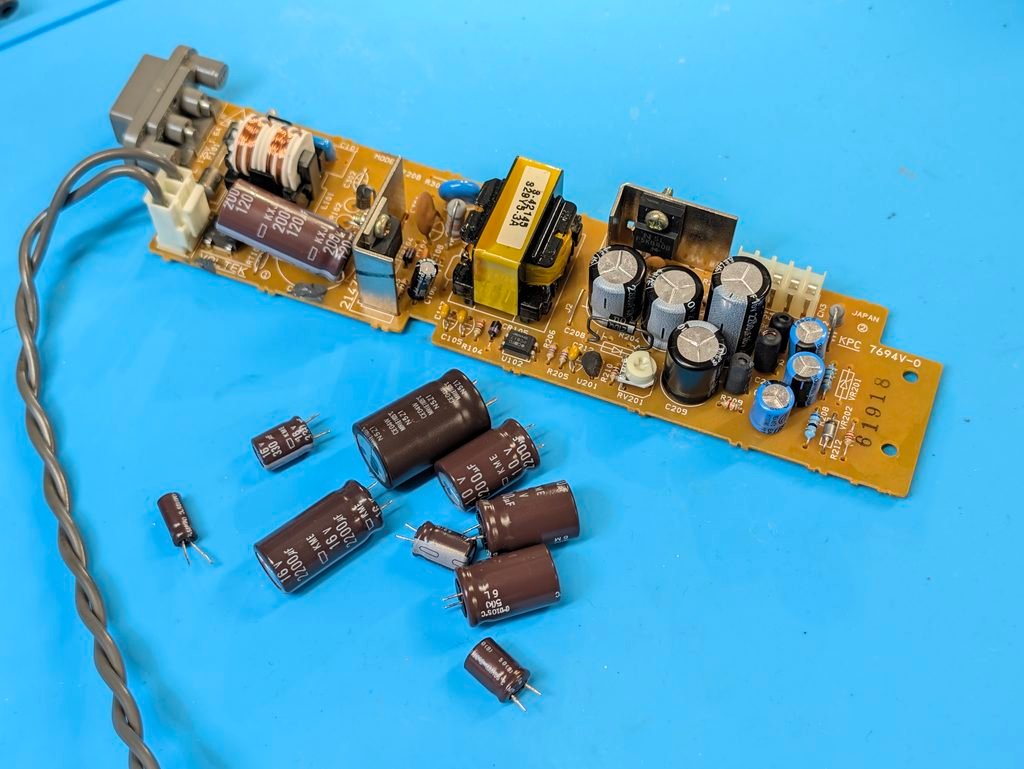
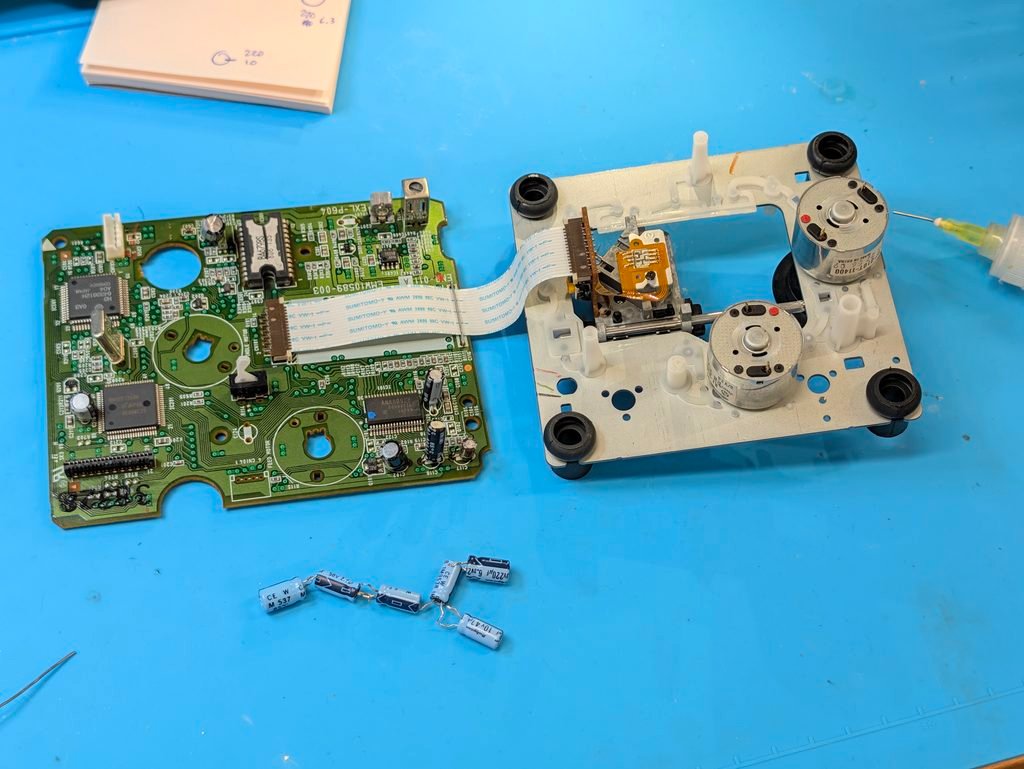
First step was to recap the console. The customer did provide a new barrel-jack PSU, but asked for the stock PSU to be recapped anyway.
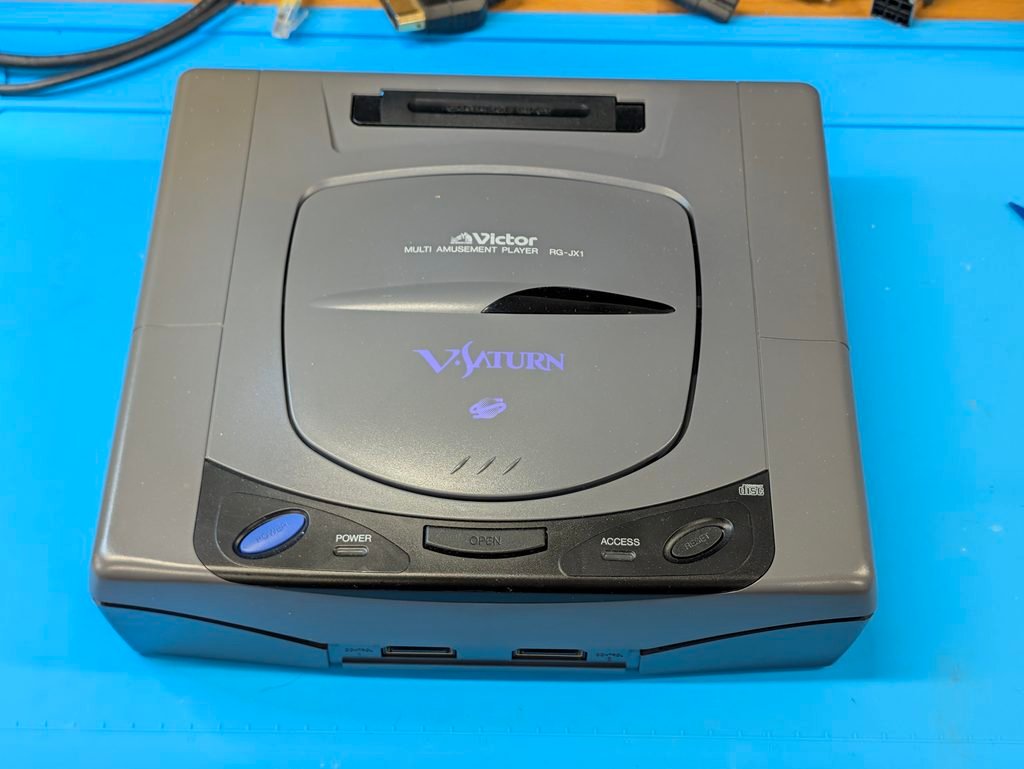
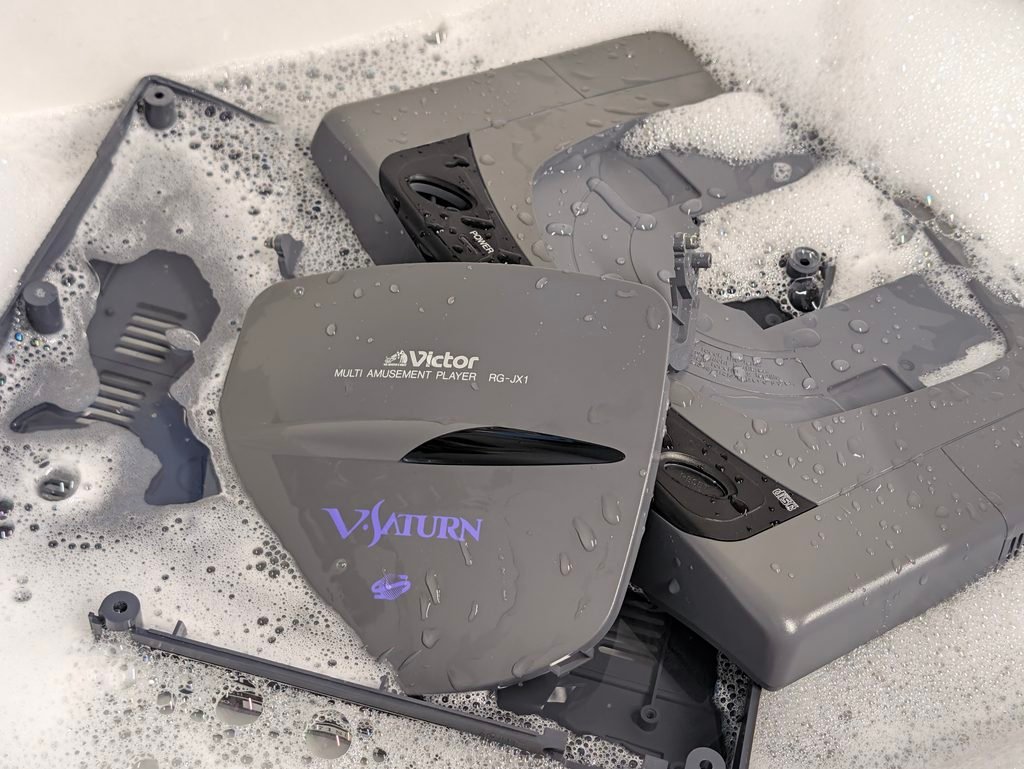
In the meantime, the shell was fully disassembled and washed with soap and water. Then the shells were put into the retrobrighting chamber. The yellowing in the top shell was more persistent and had to 12 hours sessions with the vapour method. The final result isn’t perfect, but the yellowing has mostly disappeared. Pictures below show before and after the retrobrighting.
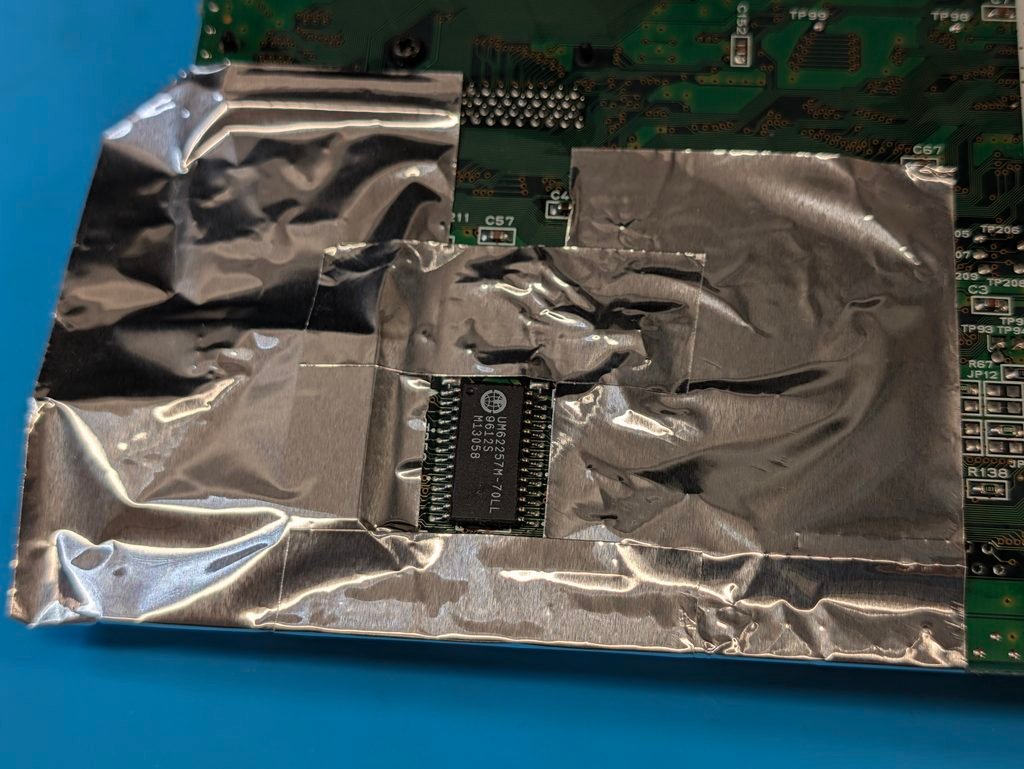
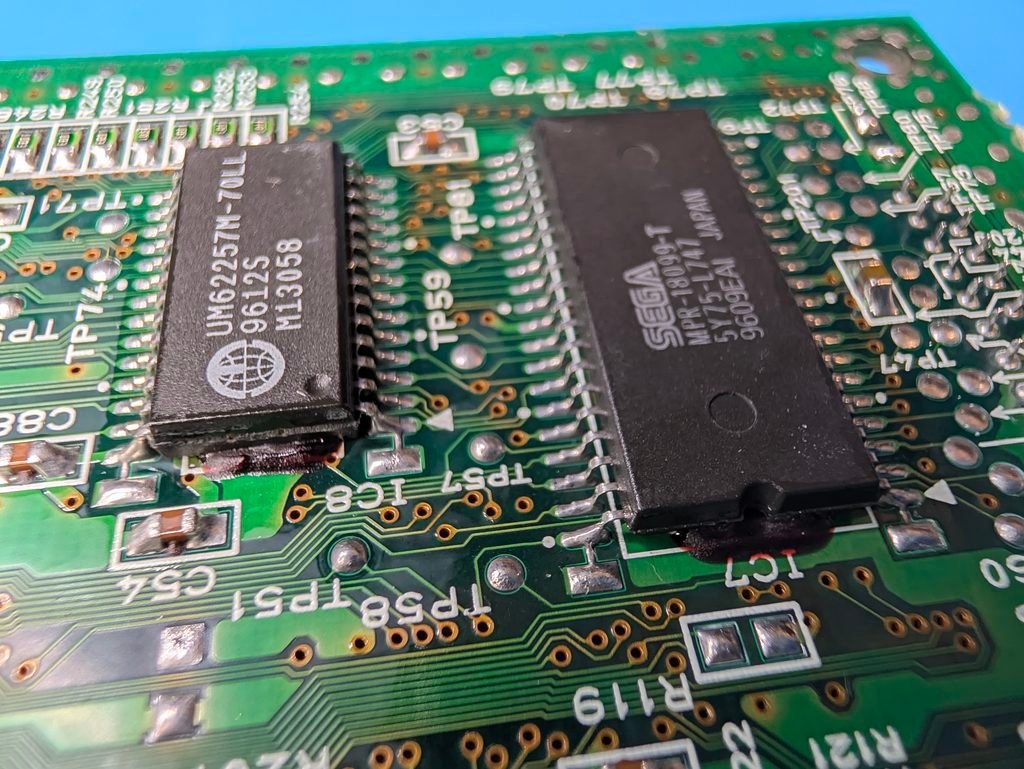
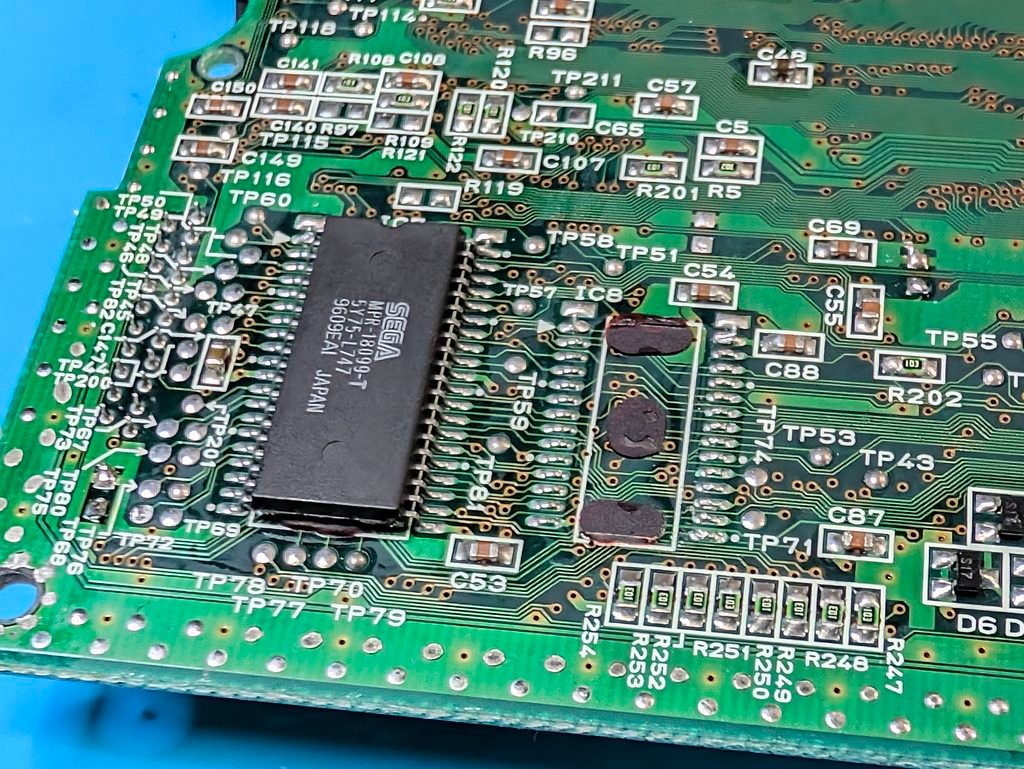
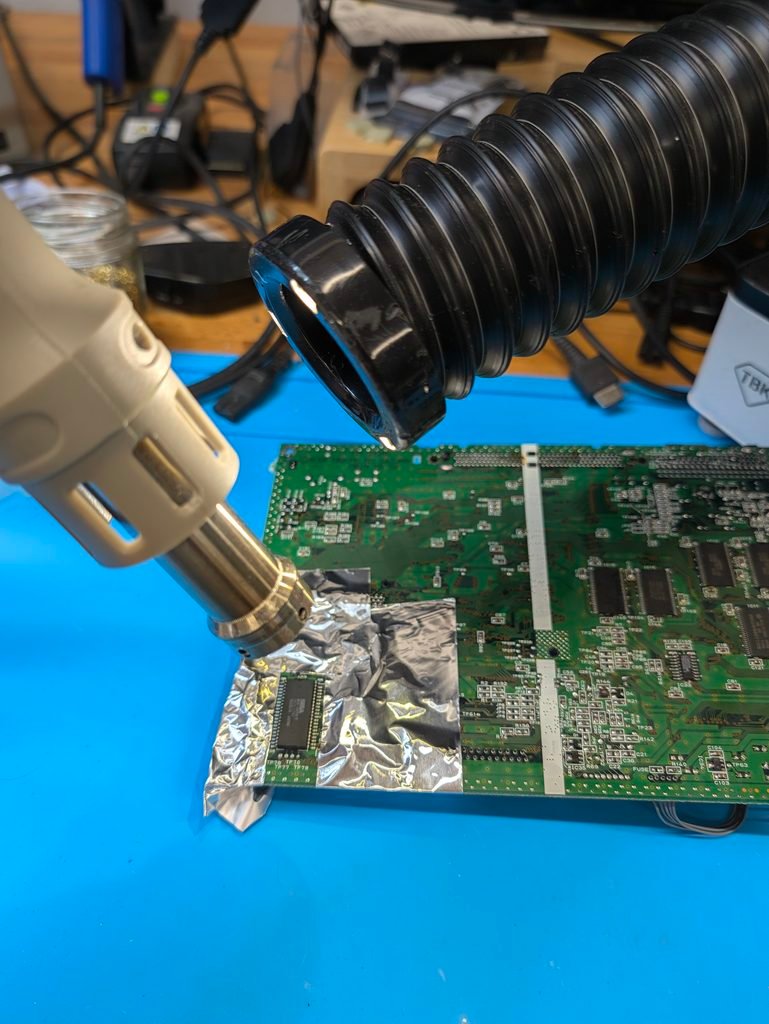
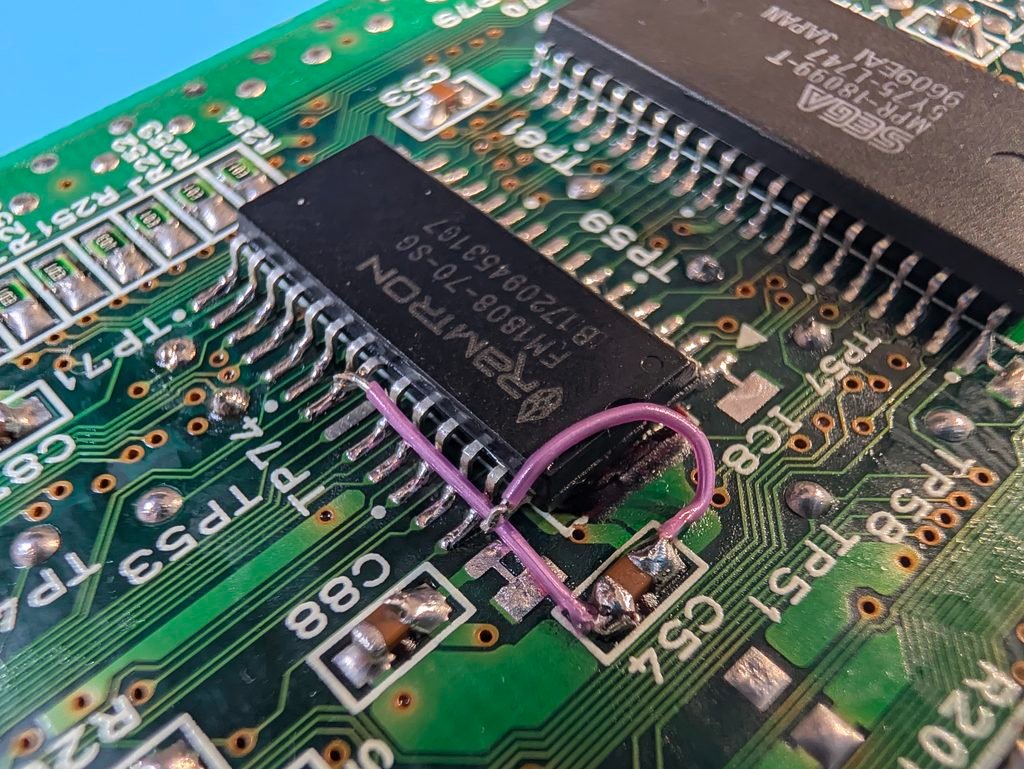
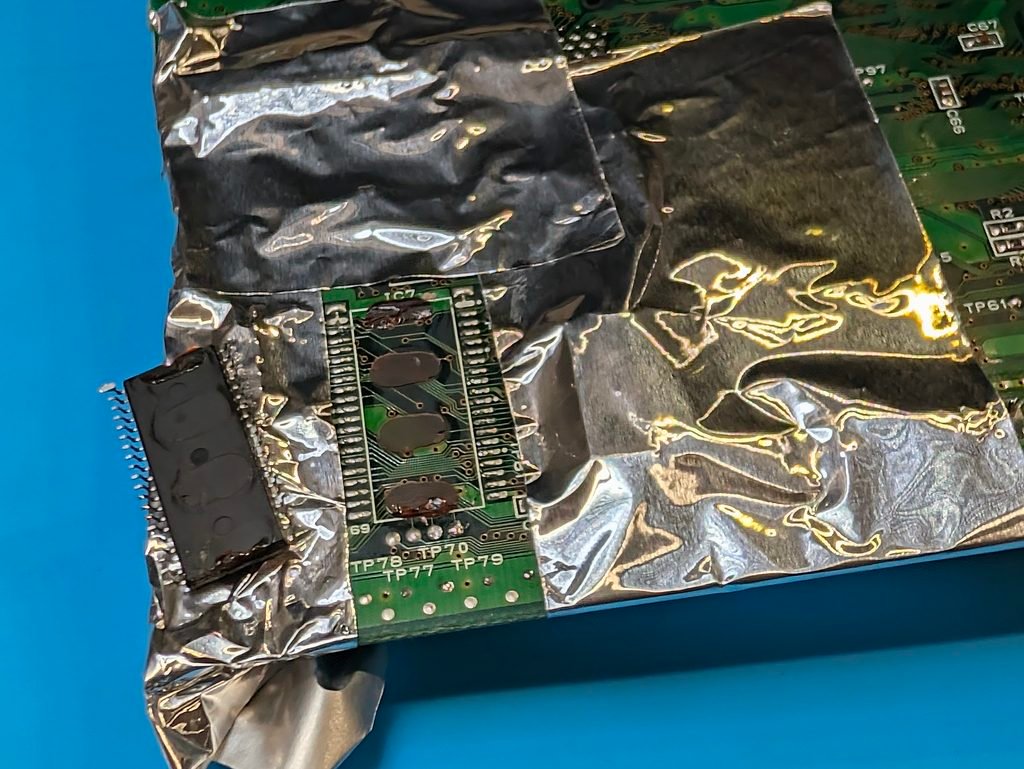
The FRAM and BIOS were also replaced. The BIOS was replaced with a region-free version of the Victor Saturn BIOS, so the Victor logo still appears at boot. Both chips had a lot of epoxy under them, so it was difficult to remove. Customer provided flexes for installing the FRAM side-by-side with the stock chip, but it was decided to just replace the chip.
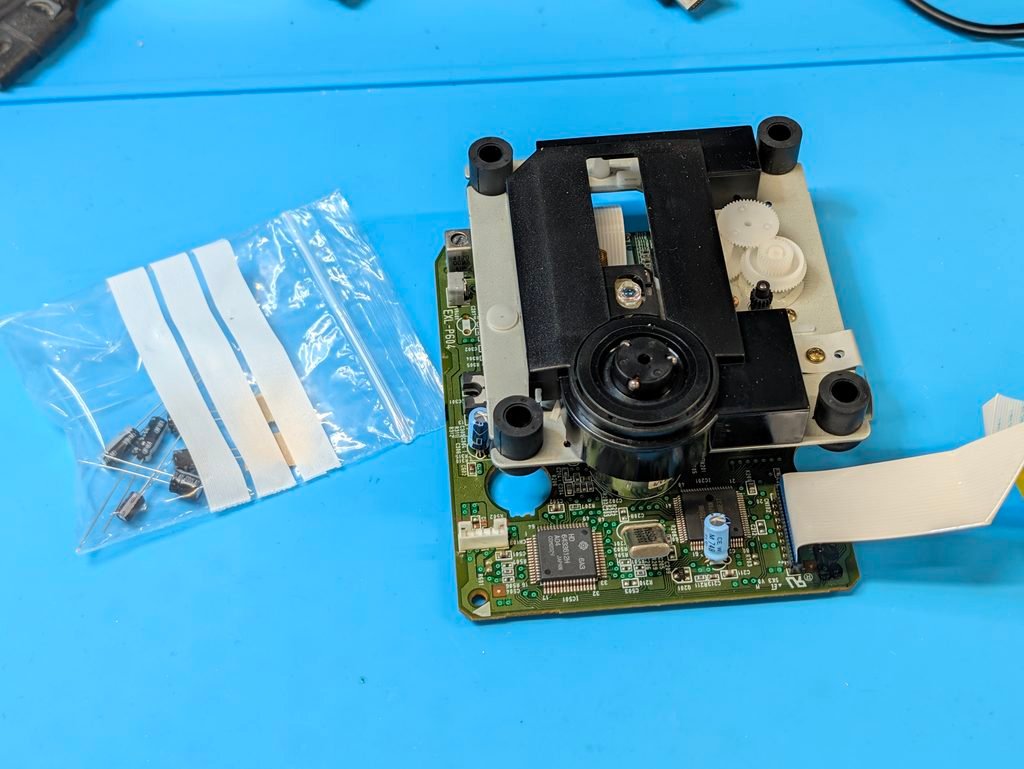
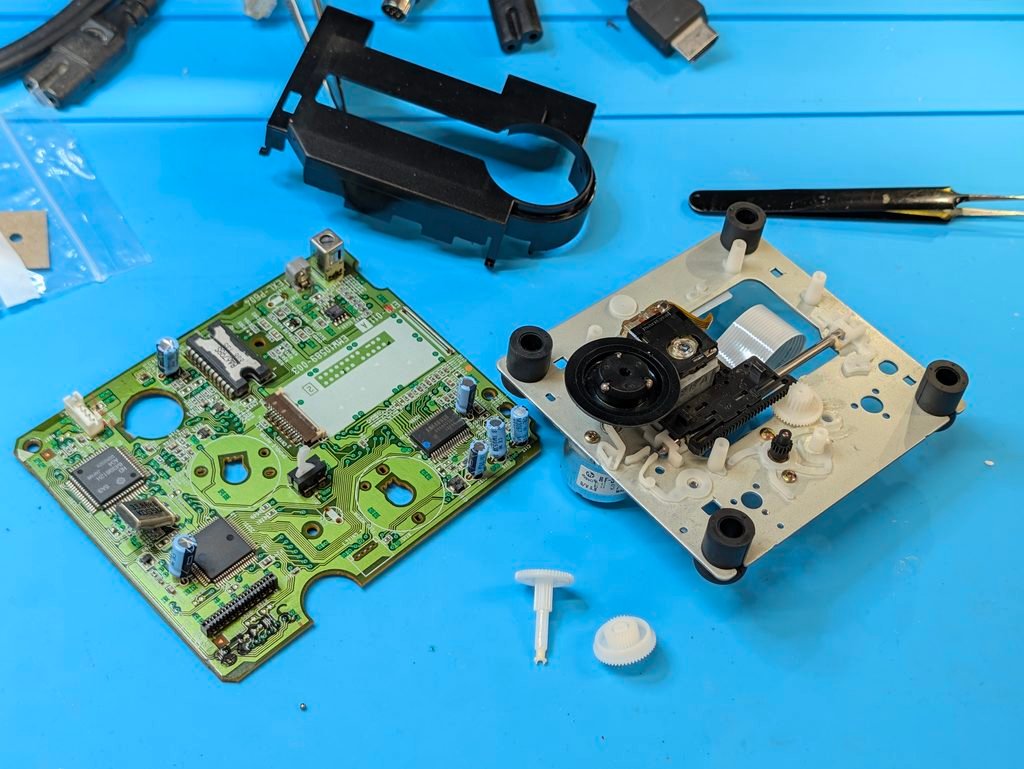
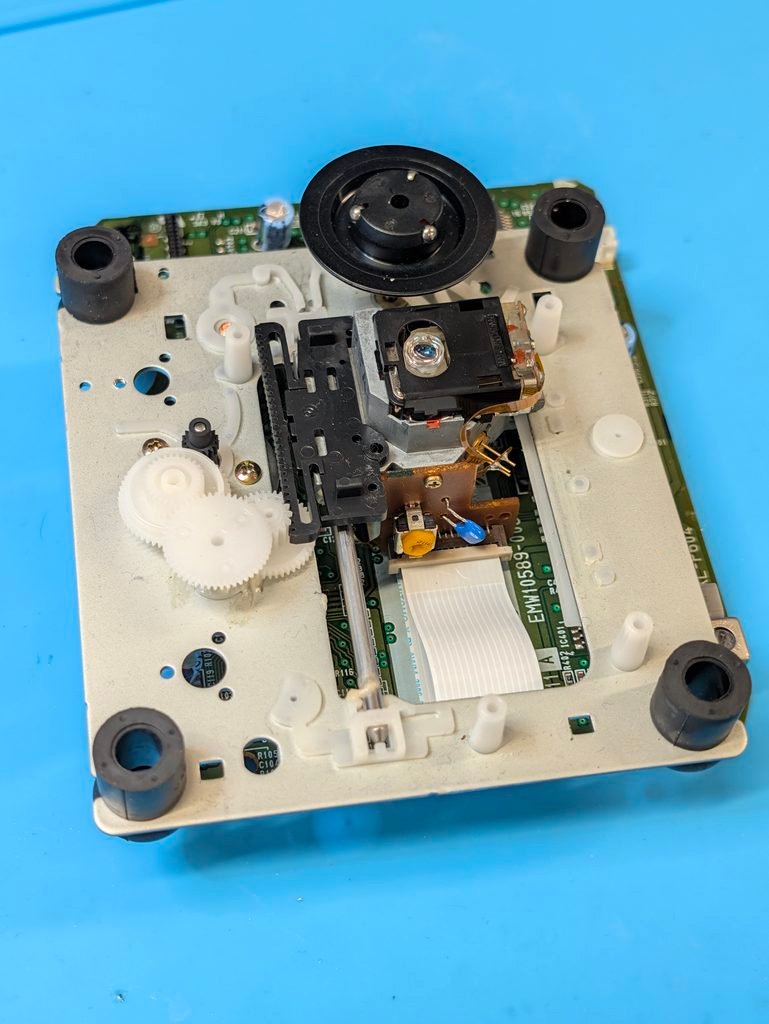
The optical drive was then disassembled, cleaned and lubricated (as the same time as the capacitor were replaced)
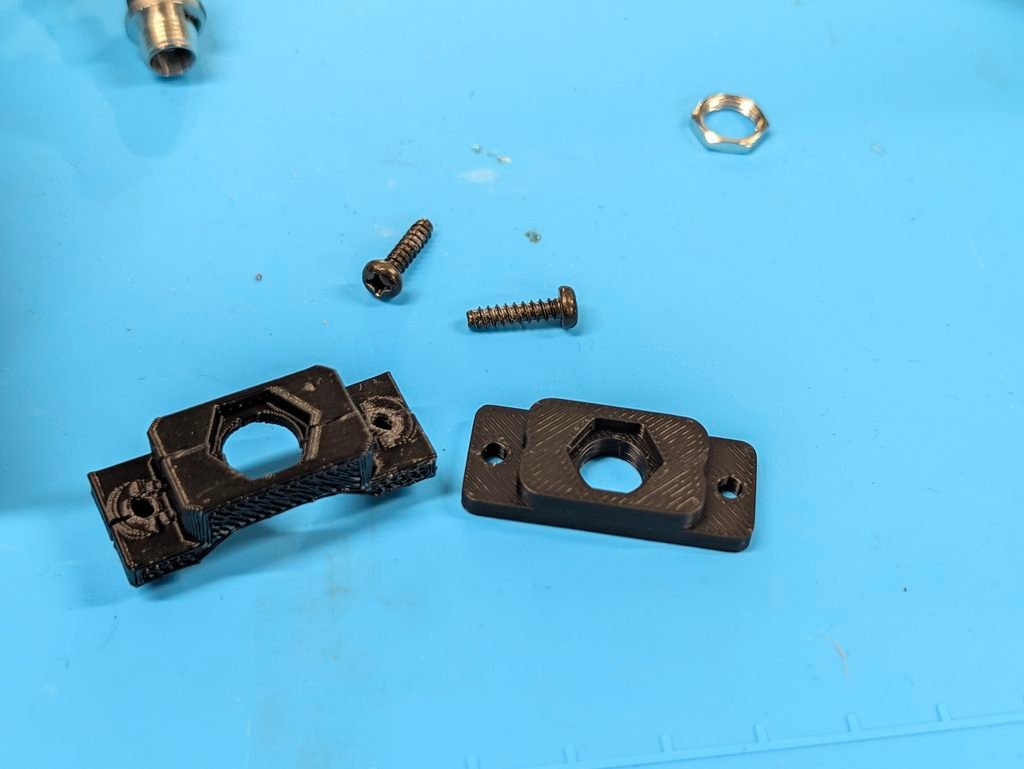
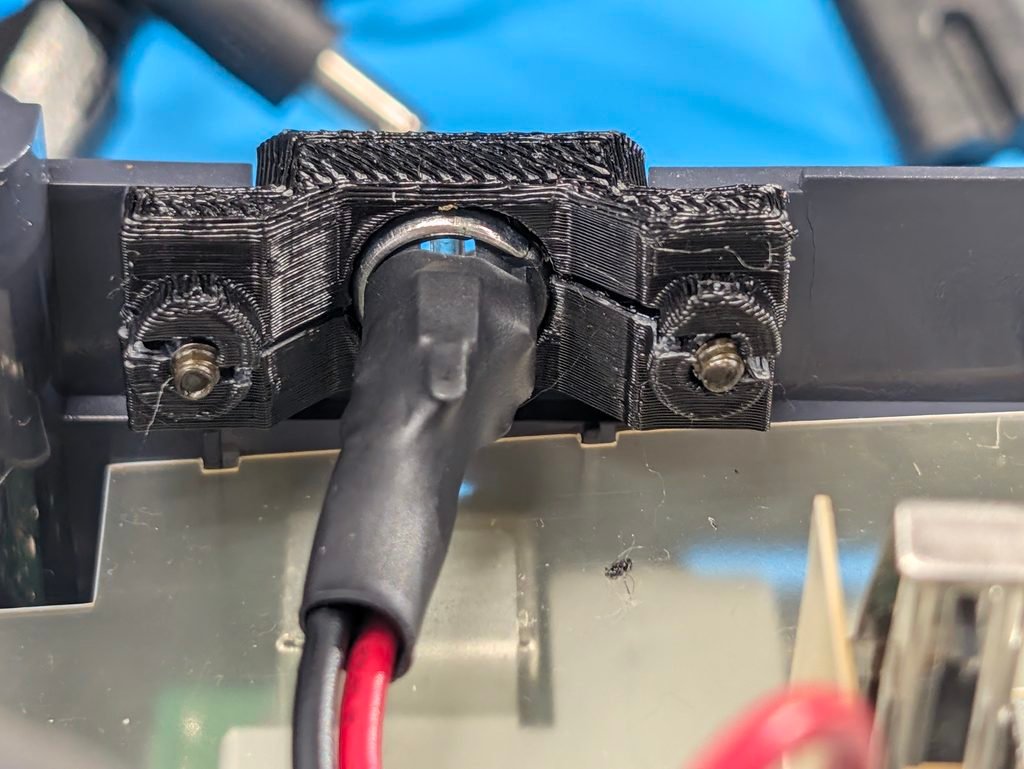
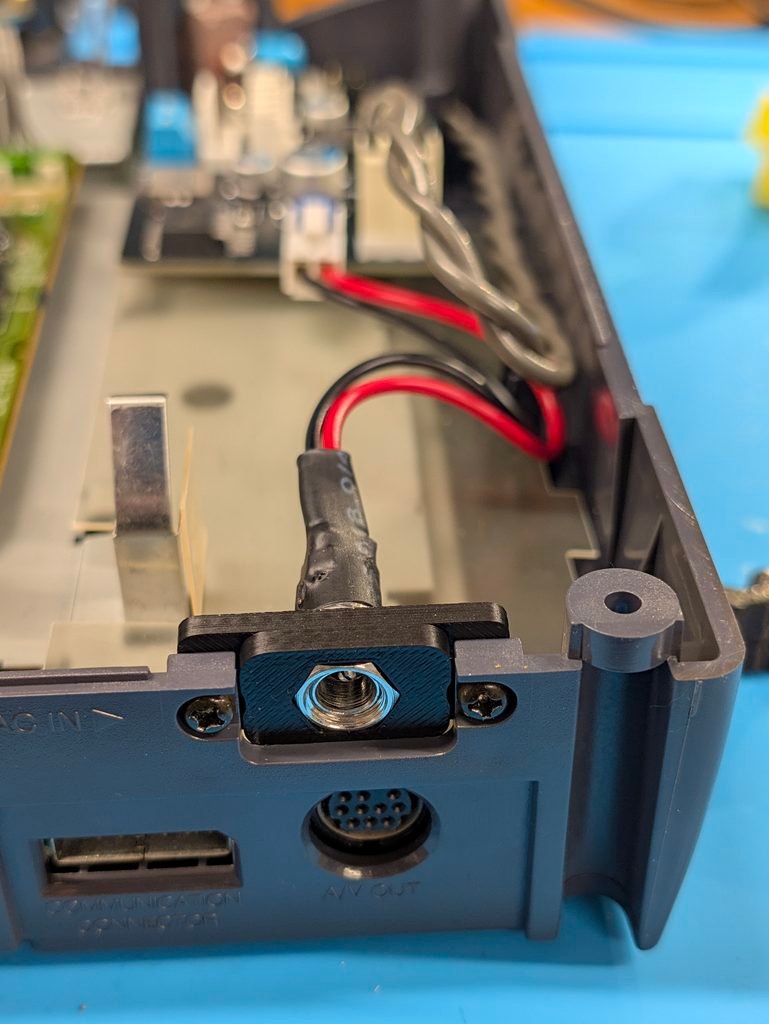
Finally the new PSU was installed. The 3D printed bracket provided with it however cracked when screwing it down (old printed part, properly). So I printed a replacement.
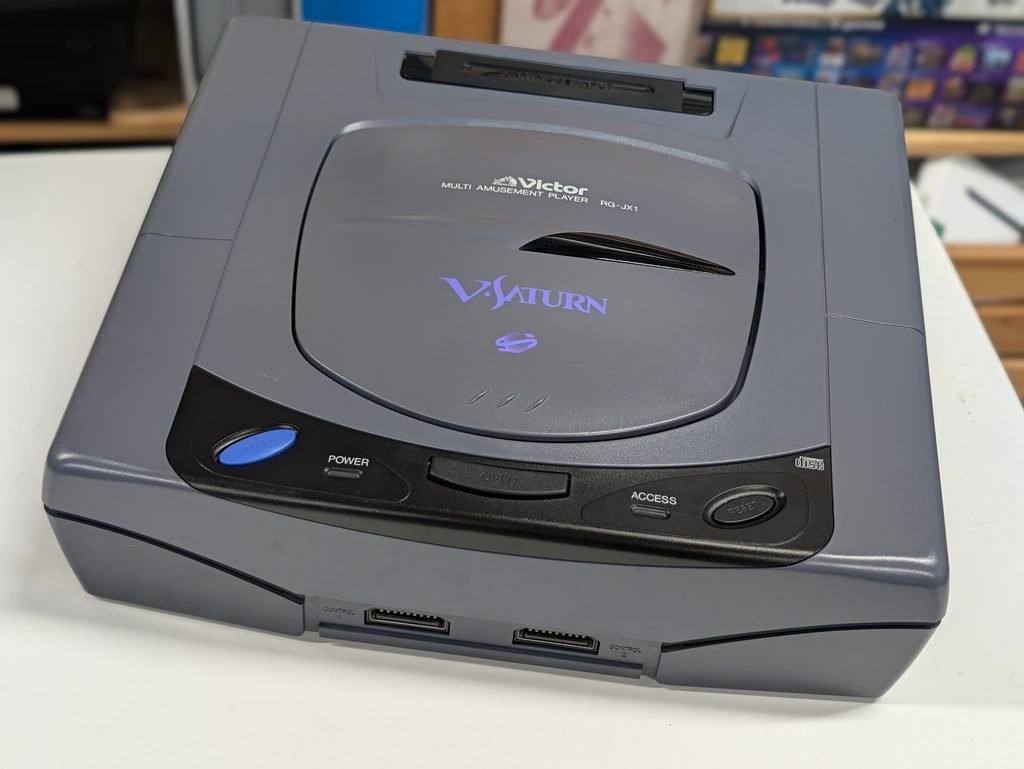
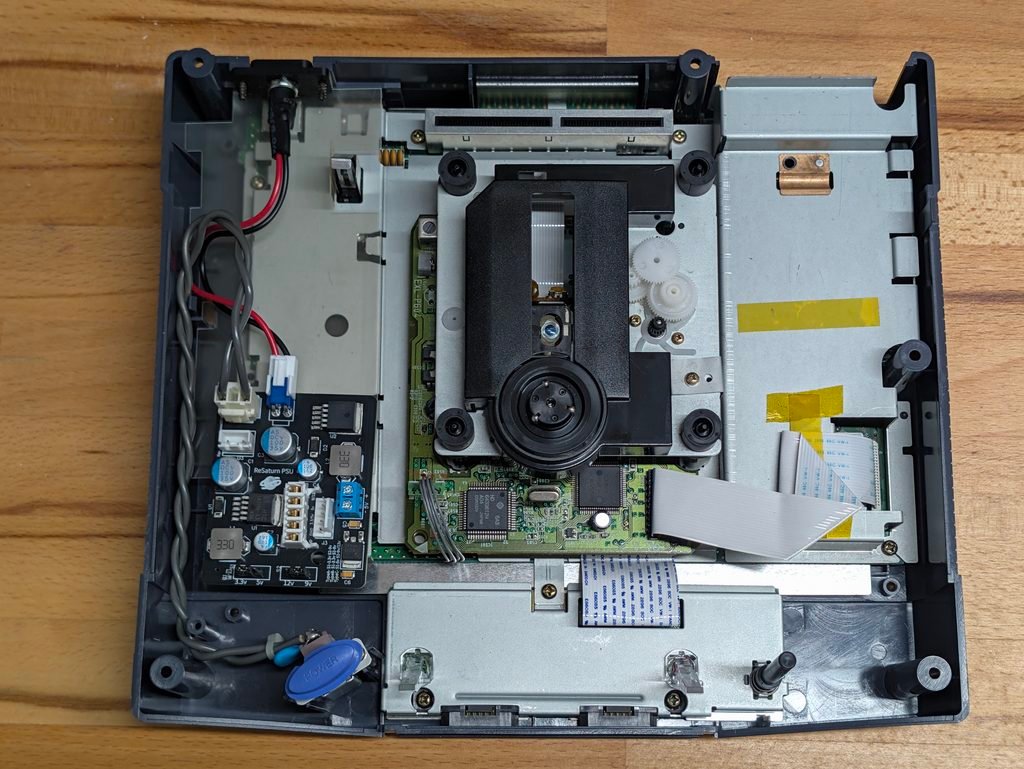
Final test. The console works both with Japanese and European games