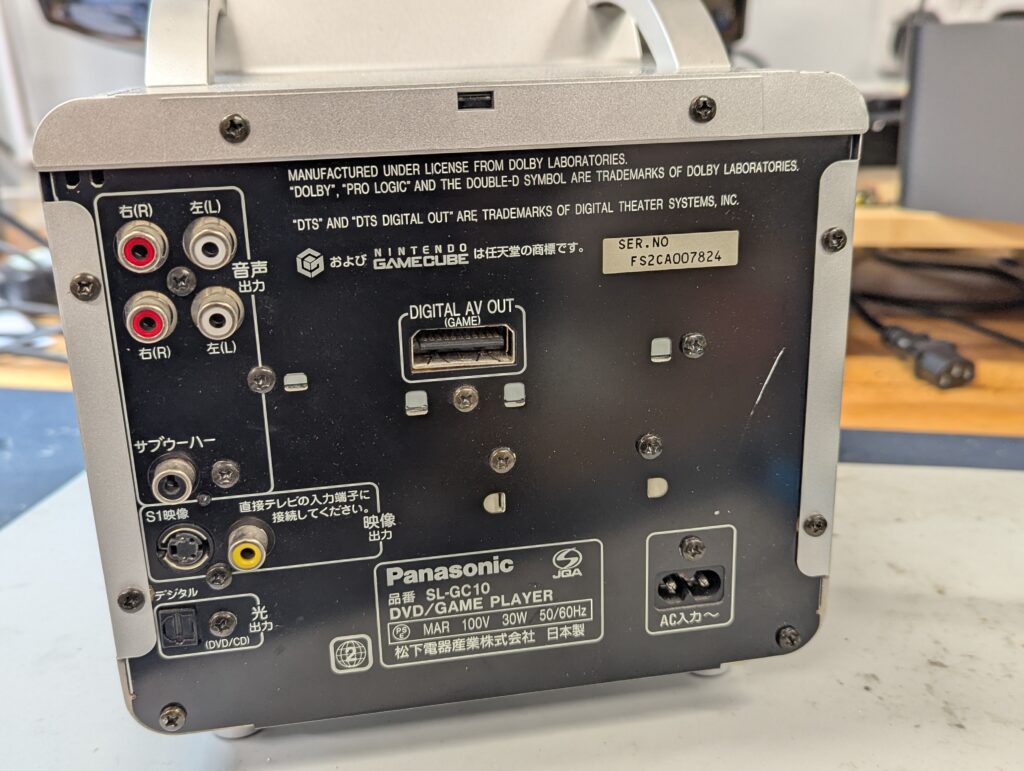
The customer sent a Panasonic Q console which wasn’t reading discs properly. These consoles are well known for having issues with the plastic material of the DVD drive rails and tray, and like many consoles of this era, also with the rubber belt degrading and not ejecting the tray properly.
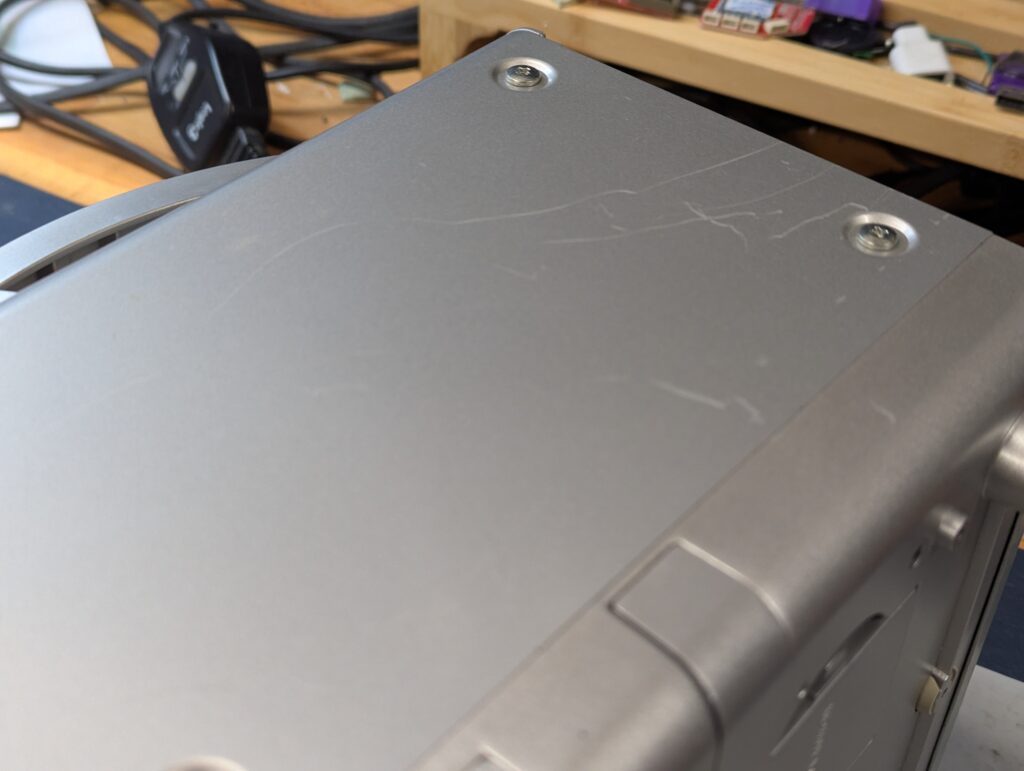
On receipt the console had come scratch marks in one side but otherwise seems in quite good condition externally. Seems like during transport the DVD drive rails had collapsed, which was expected as explained above. There was also a mark of an internal screw having been placed in the wrong place (or the wrong screw) and having deformed the metal side panel. There was only one instance of this but nevertheless clear indication that the console had been opened before.

The console turned on well before disassembly. Obviously didn’t try to eject the tray at this point.
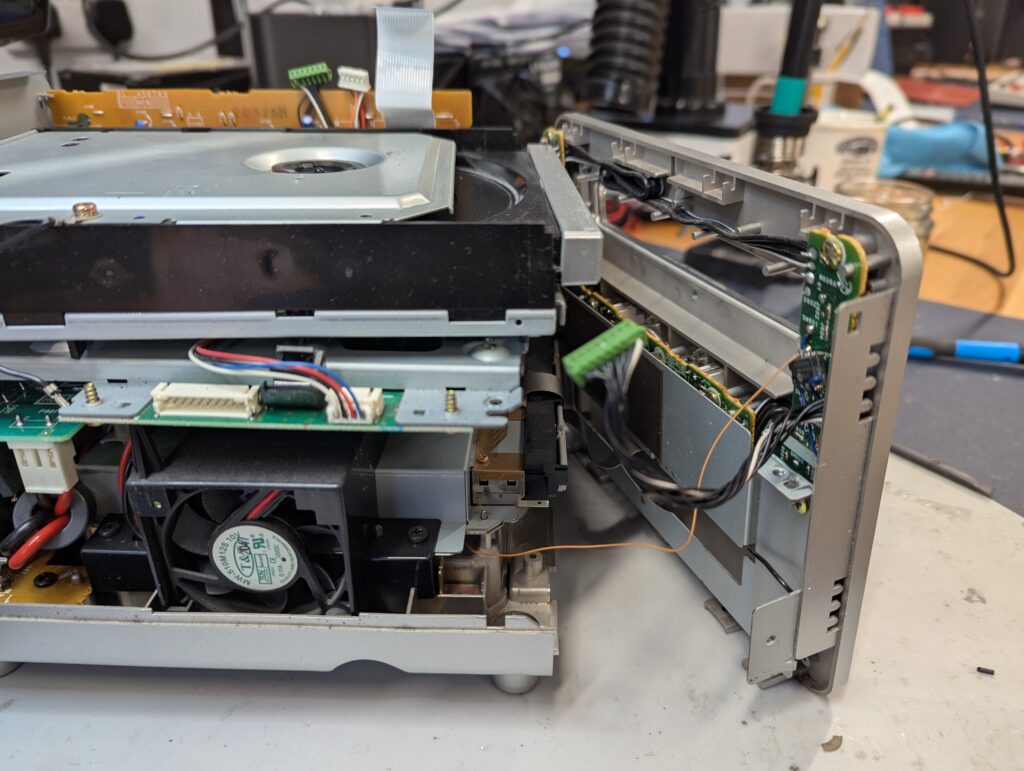
Following this test, the console was disassembled sufficiently to get to the DVD drive. That involved removing all the screws in the back panel, then the side panels, then disconnecting the 4 cables + ribbon to the top of the console (where the LCD is), then separating the front panel to free the DVD drive assembly. From there, there are 3 ribbon cables to the main video PCB and one ribbon to the CameCube PCB. It is really not easy to take this console apart.
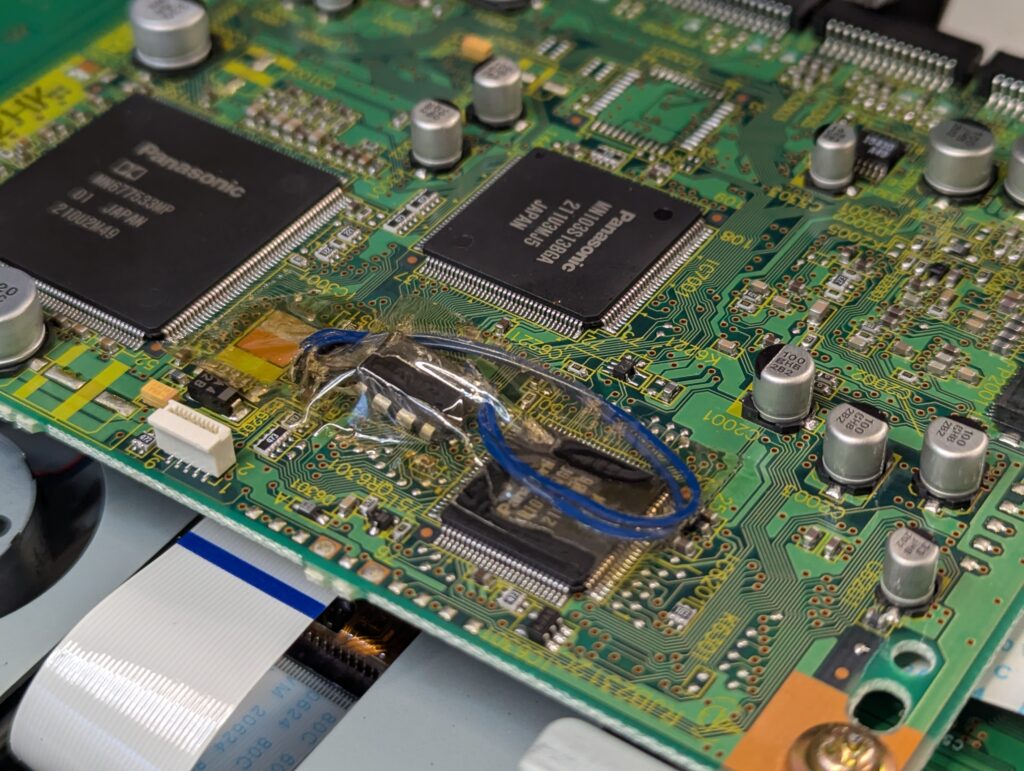
While disassembly a modchip of some kind was found soldered to the front panel, and going to the main PCB (to which there was no access during disassembly). That made it more difficult to balance the front panel while removing the DVD drive as to not to pull from the extra “mod” wire disappearing into the guts of the console.
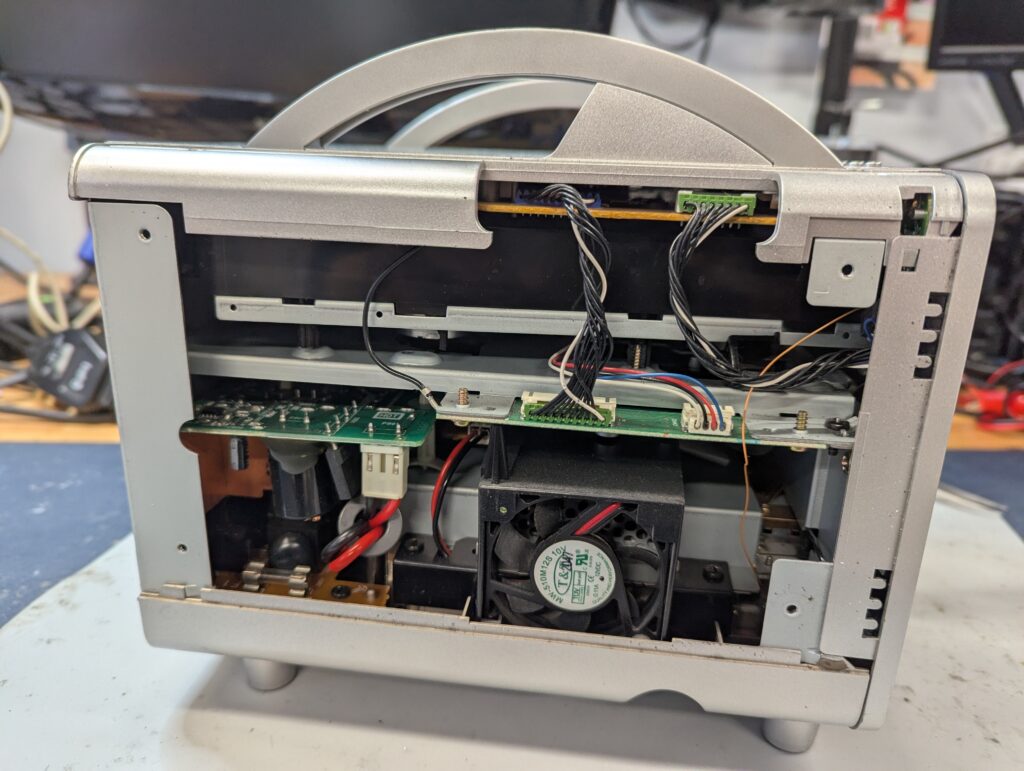

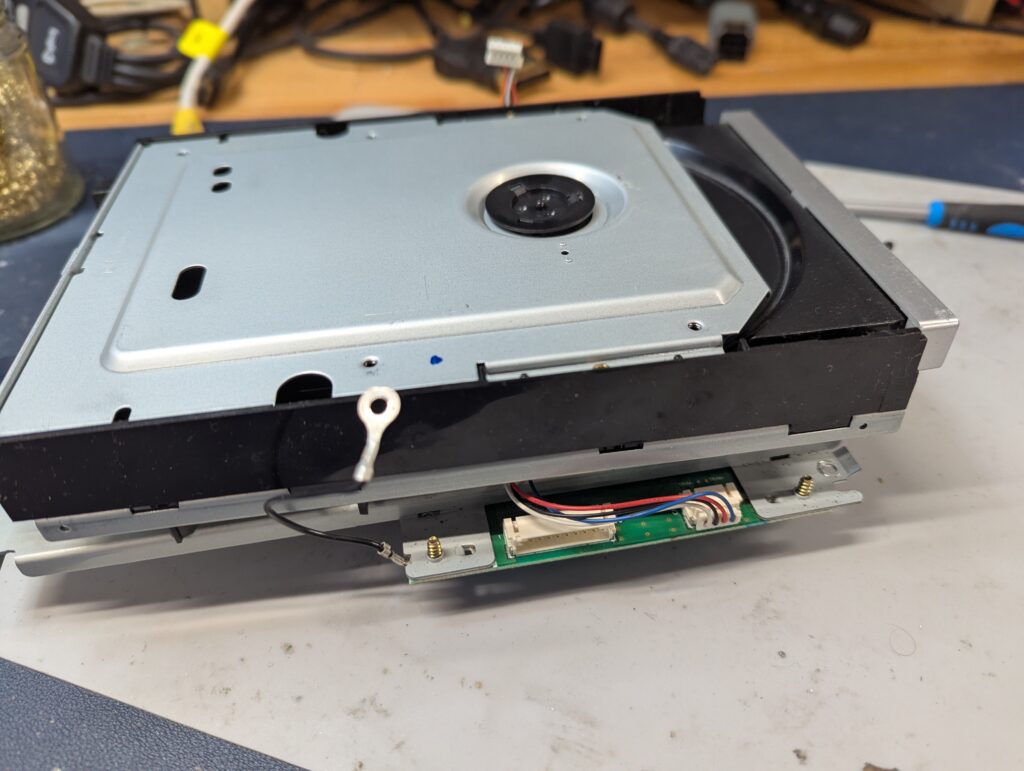
Once the DVD drive was out, the broken posts of the DVD rails were obvious. I also had to fish out a number of screws from the bottom of the console chasis which had been drop after the plastic they were holding had broken off. I also observed another (part of the same?) modchip in the DVD PCB.
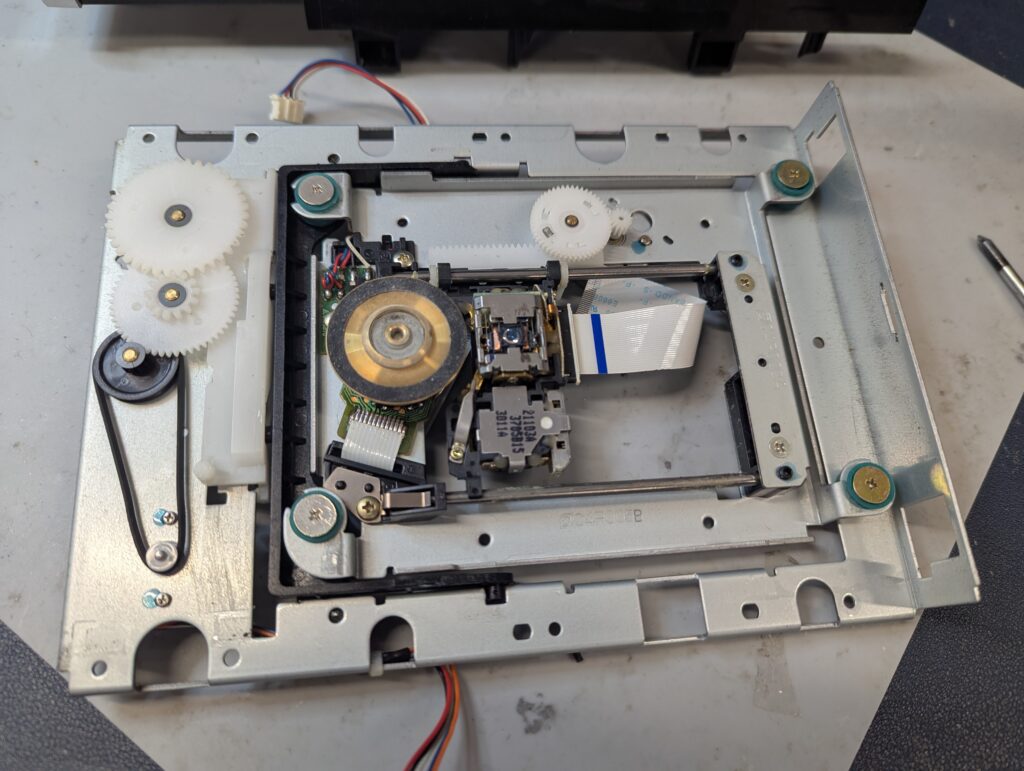
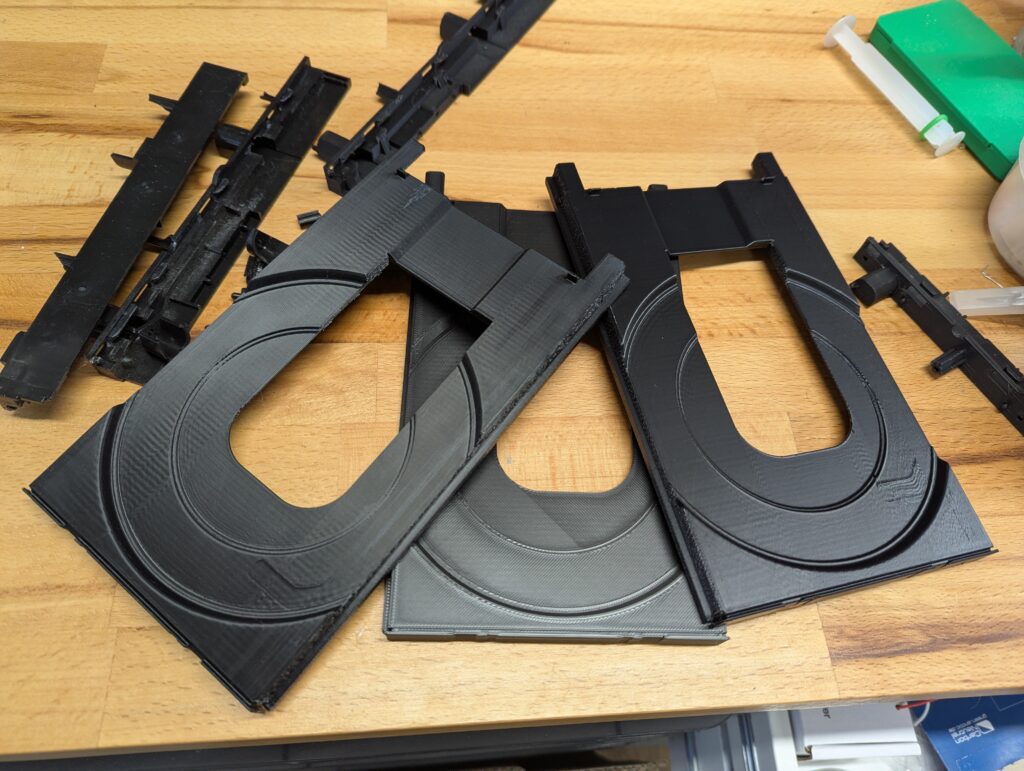
Replacement rail and tray 3D parts are available for free on internet, so I printed in PLA black and tested if they fit well, which they did. I also printed the rails in ABS (it withstands more heat, probably more adequate for the console environment). I tried to pint the tray on ABS but the supports are difficult to remove so I ordered some PETG. I also disassembled the DVD mechanism gears and replaced the belt, and also lubricated everything well, cleaning the laser lens in the process

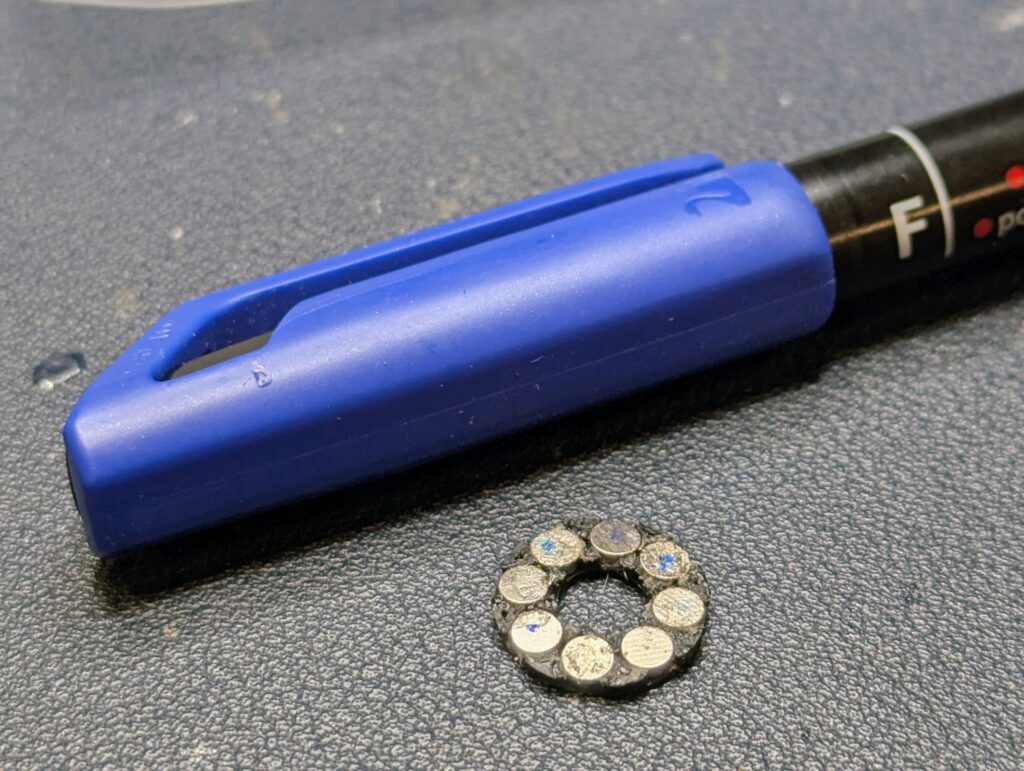
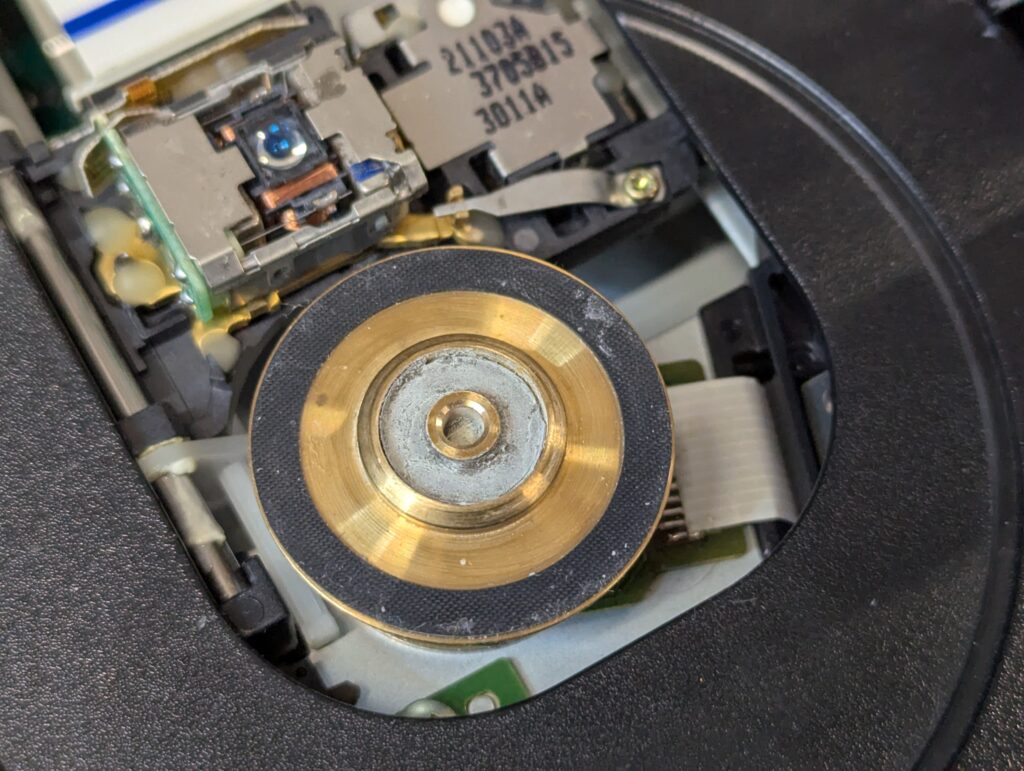
I tested the tray using the ABS 3D printed rails and the stock tray, which is damaged but not broken (while I wait for the PETG filament to arrive). The tray works well but the drive didn’t read and spuns disc in the wrong way. Observing the spindle, and reading online, I realised that the magnet in the spindle had disintegrated, which meant the disc couldn’t be raised and locked. The only solution available is to print a very small part that inserts 8 small round magnets. The part is meant to be printed with a resin printer (which I don’t have), but I managed to print one in ABS and glue the magnets
I tested the console in Game Cube mod and it would read the game fine (image below with Biohazard inserted and detected). However analog video would play distorted. However the menu didn’t show that kind of distortion. Also when changing the mode to DVD player, a loud screeching noise comes out of the reader, with and without a DVD inserted. The console wouldn’t open the tray either. See videos below
I ordered a digital component cable to test if the digital output has video playback issues (as the customer said that’s what he was using).
After receiving the PETG filament, I have been doing further testing of printing the tray. Initial prints with just PETG HF (the Bambu LAb variant of PETG filament) didn’t go well. Supports didn’t print well in the flat position, and the vertical position the quality of the print isn’t good enough. It was also extremely difficult to remove the supports, leaving residue that makes the print not sufficiently smooth. Talking to Zedlabz (shop in the UK who sell 3D printed parts, including these trays for the Panasonic Q), they recommended to use different material for the support.
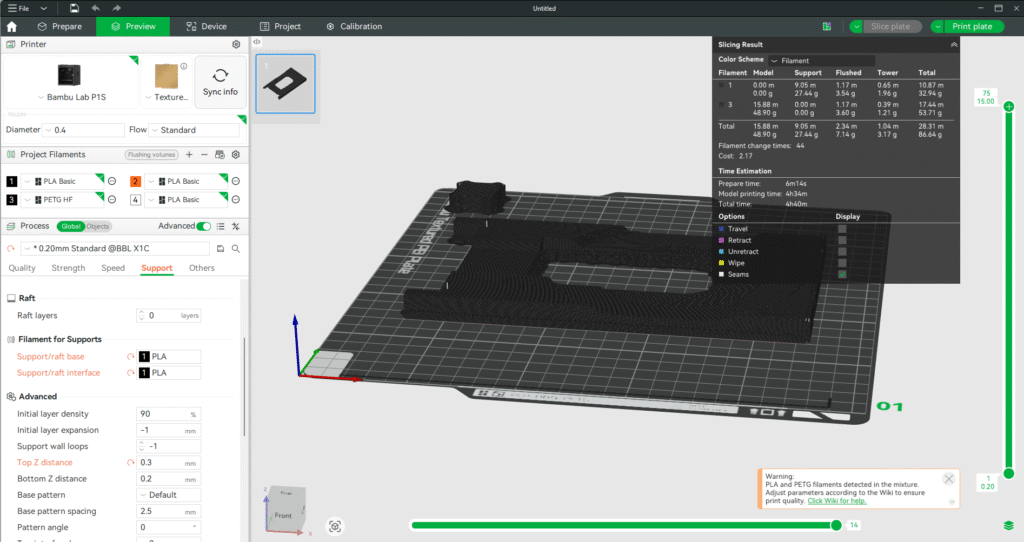
I tried PLA support with a PETG filament a couple of times (each print is around 4 hours), but did not work. The first time I left a small gap between the part and the support, but that caused the PETG layers not to adhere to the support and lifting in the corners. The second time I left no gap, but that caused too much adhesion and some of the actual part came off when trying to remove the support. At this point I would recommend to buy an already printed part from Zedlabz.
In terms of modding this console for running games from an SD card (of any region), there are two basic options that I could recommend:
- Flippy Drive with the Panasonic Q version. These are in pre-order right now, and will ship at the end of January is ordered now. The advantage of this kit is that doesn’t require soldering and has some advanced features like WifI updates / network playing. This kit is easier to install but costs around $70 + shipping
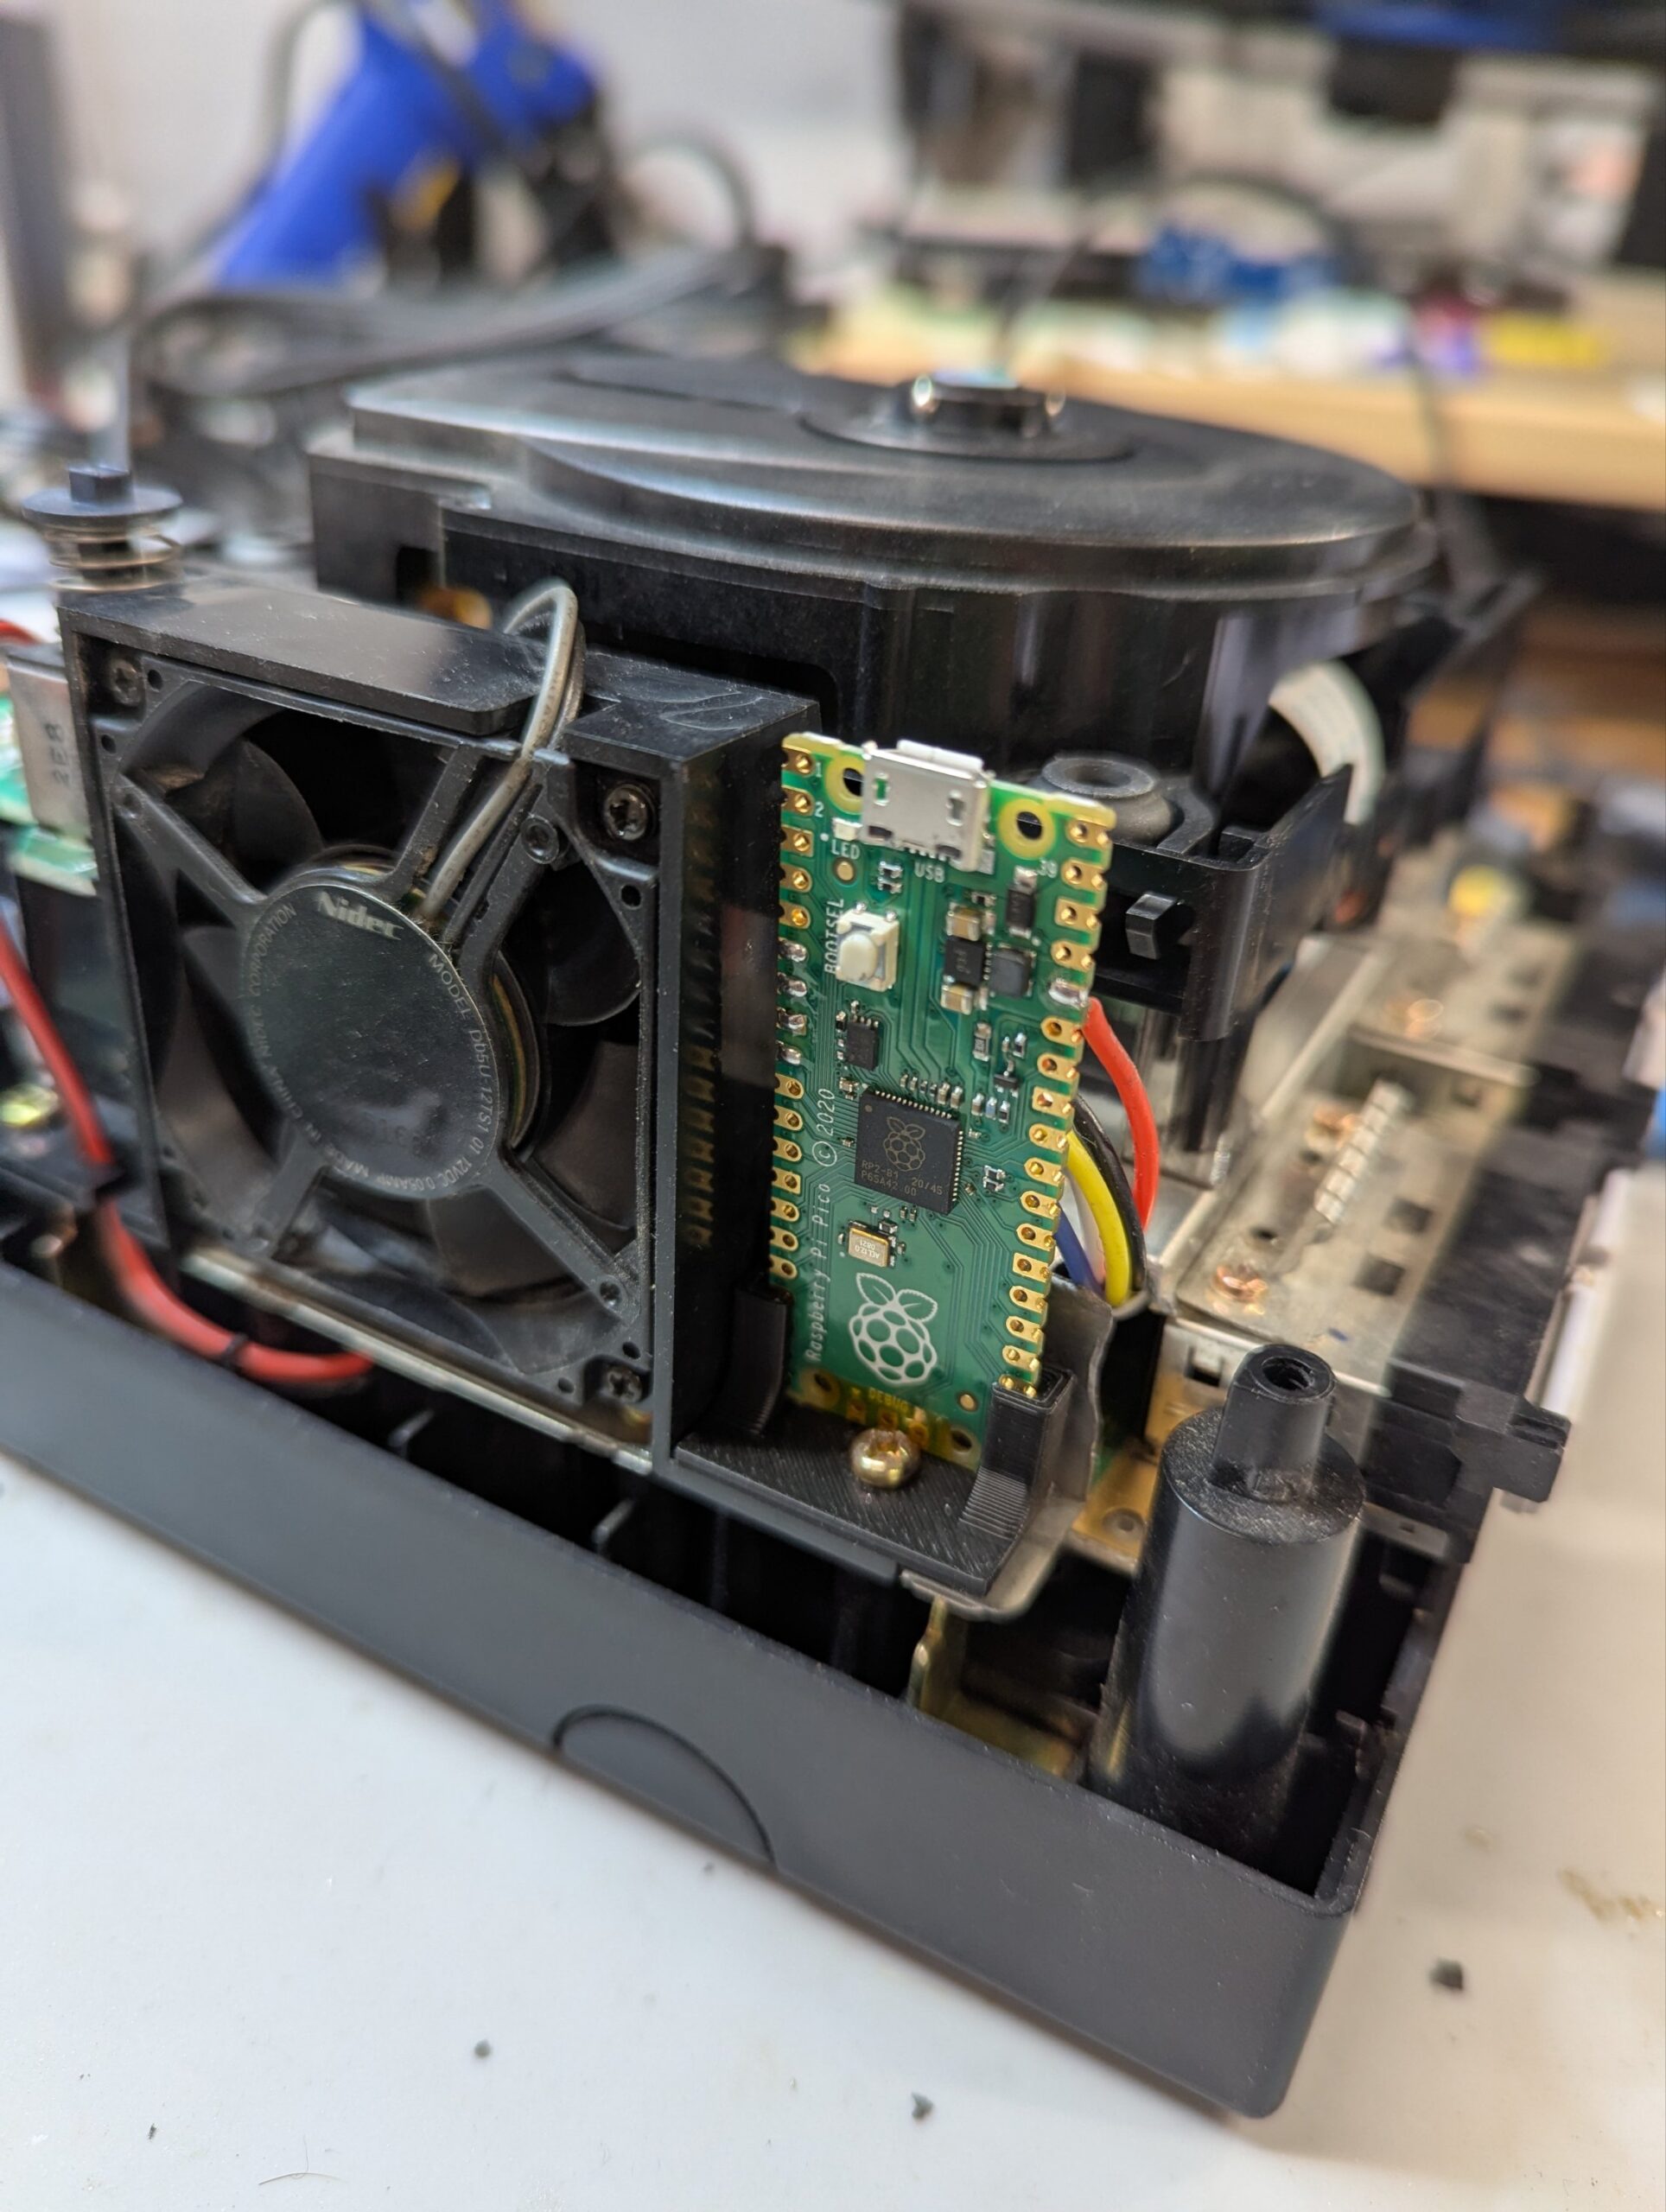
- A PicoBoot install, which requires soldering wires into the GameCube motherboard part of the Panasonic Q, and using a Raspberry Pi. It also requires a separate adapter to use one of the ports underneath the console (or a memory port) to load an SD card with games. It has no networking capability, and to update the Pi’s firmware the console needs to be disassembled to get to the Pi USB port (which is not easy in the Panasonic Q). This kit is more difficult to install but is cheaper as just needs a regular Pi and a cheap adapter.
Both methods allow you to keep the optical drive and load games from any region both in disc and from the SD card.