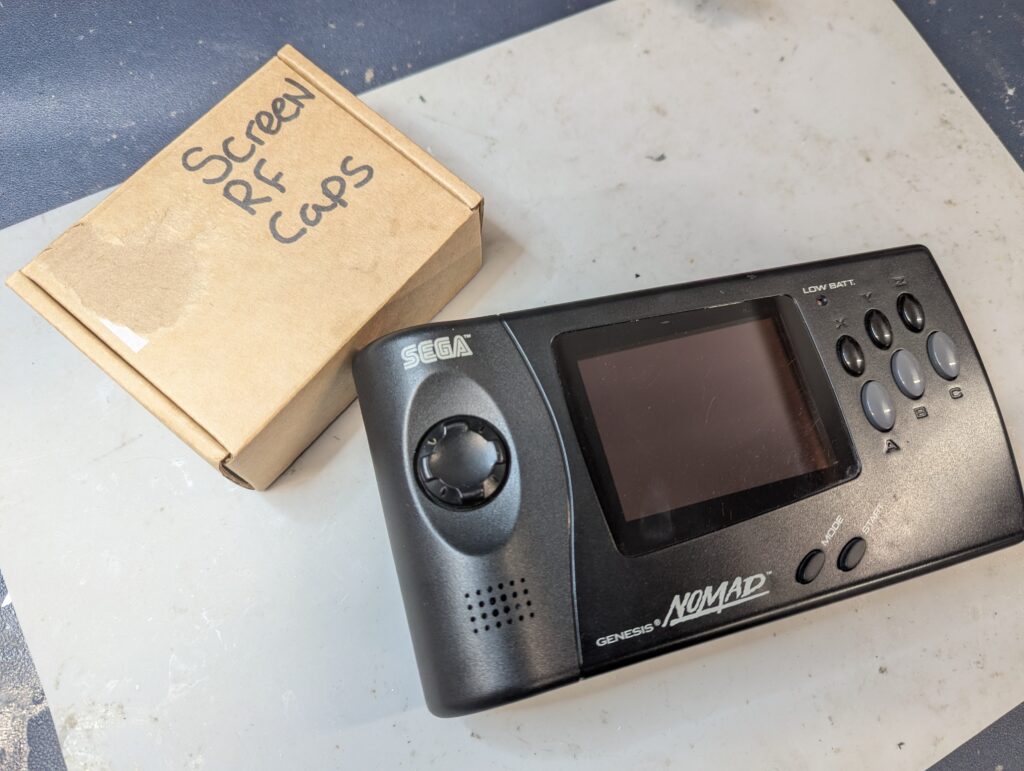
The service requested was initially a Hispeedido IPS screen replacement, but a capacitor kit and a Mega Nomad region free mod were also discussed. Eventually the region free mod was not installed because of fears of the “hot keys” interfering with the OSD menu hot keys of the IPS screen.
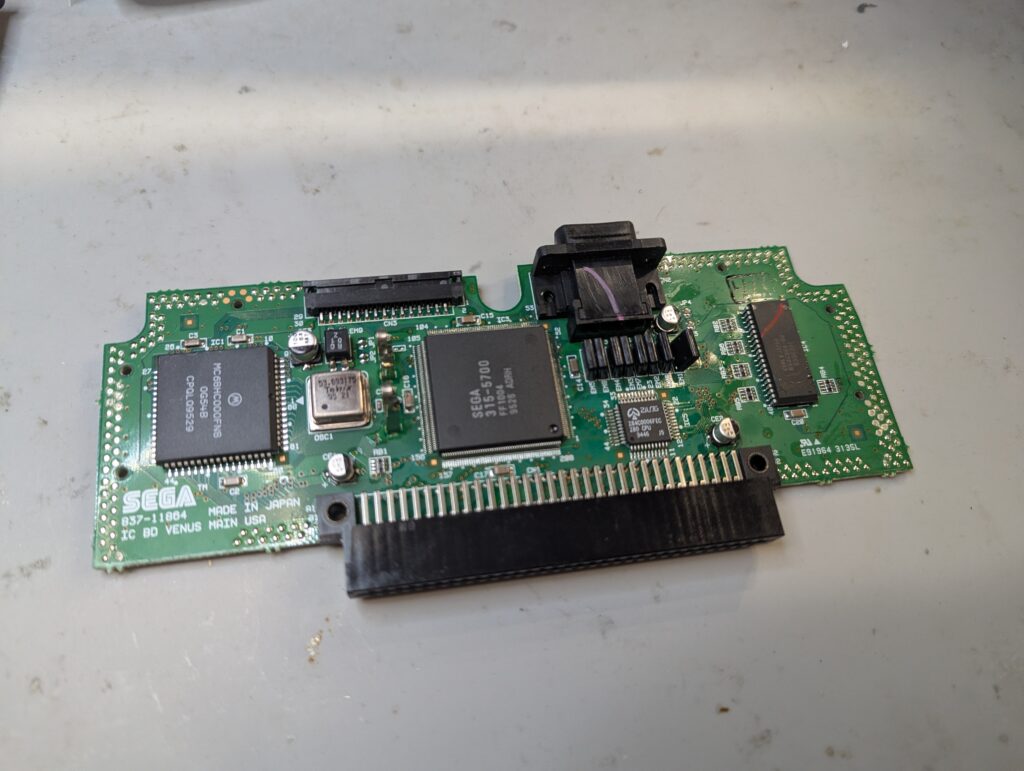
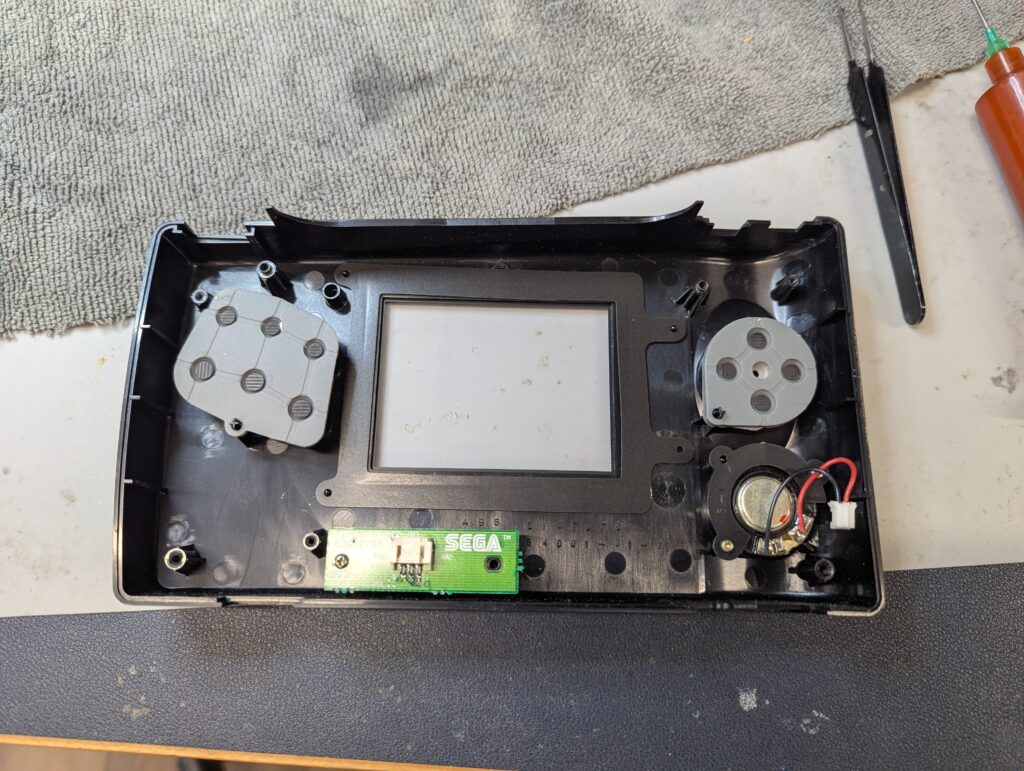
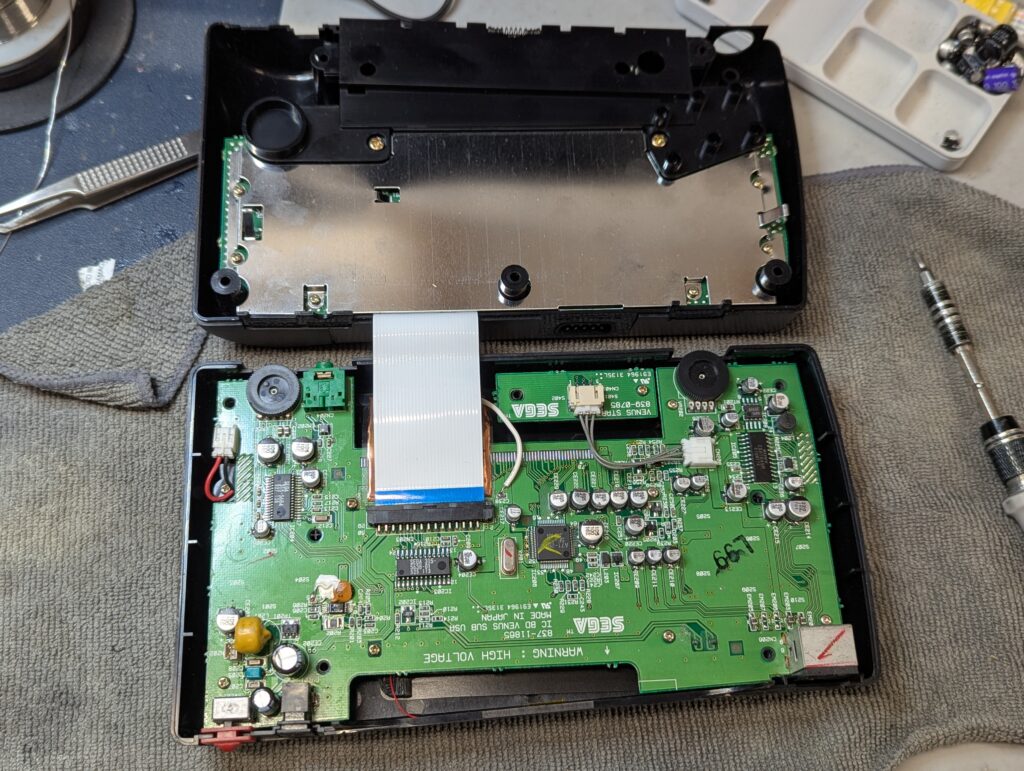
The console was first disassembled and the sub-board taken out, which is the one with the most amount of capacitors.
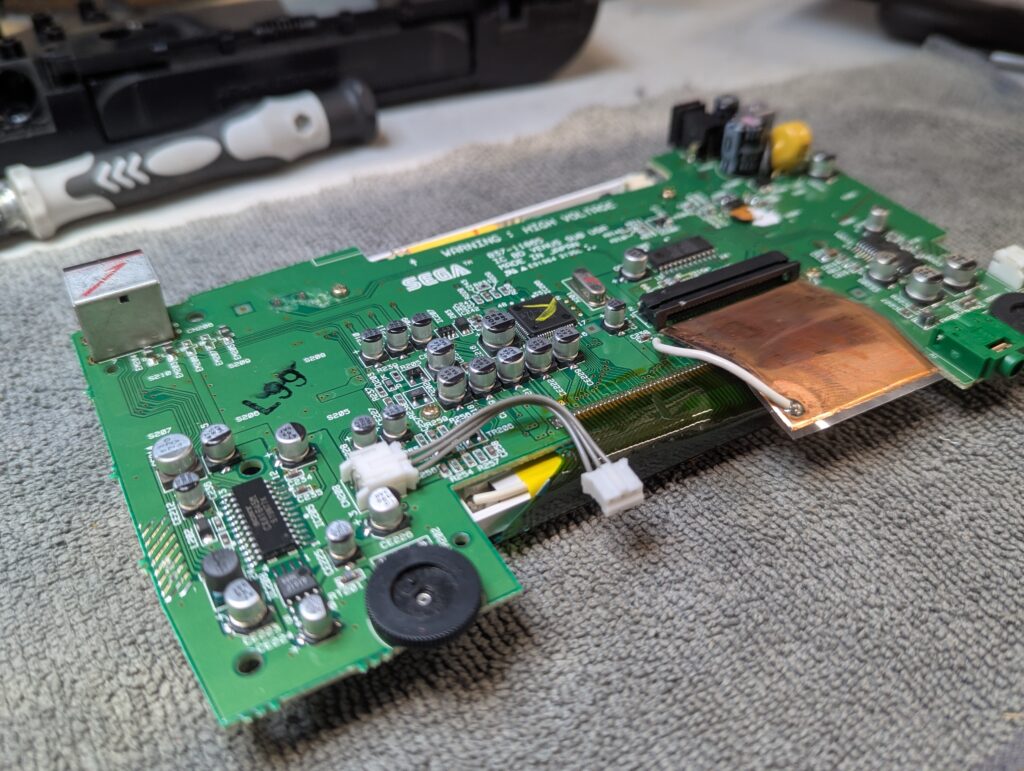
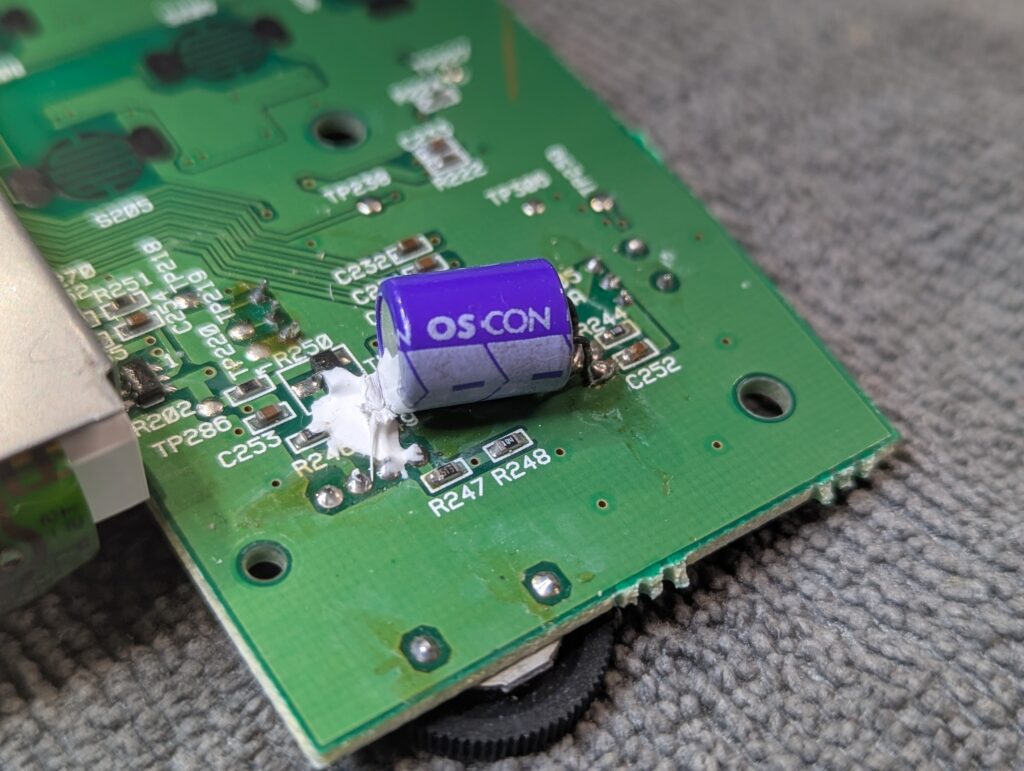
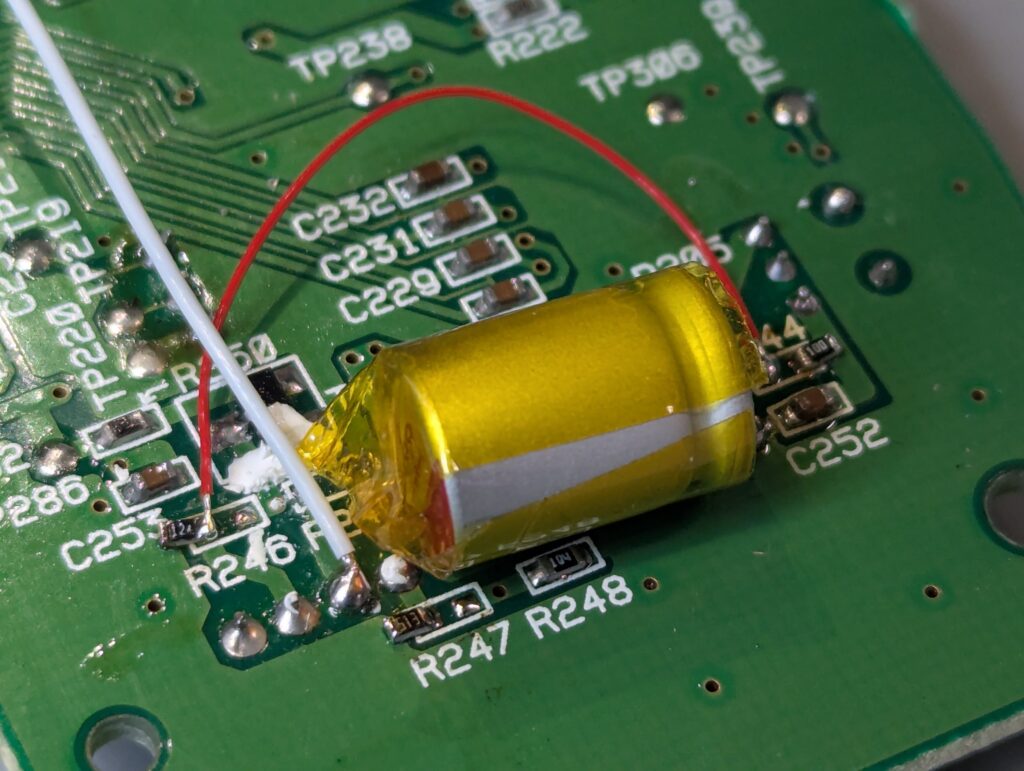
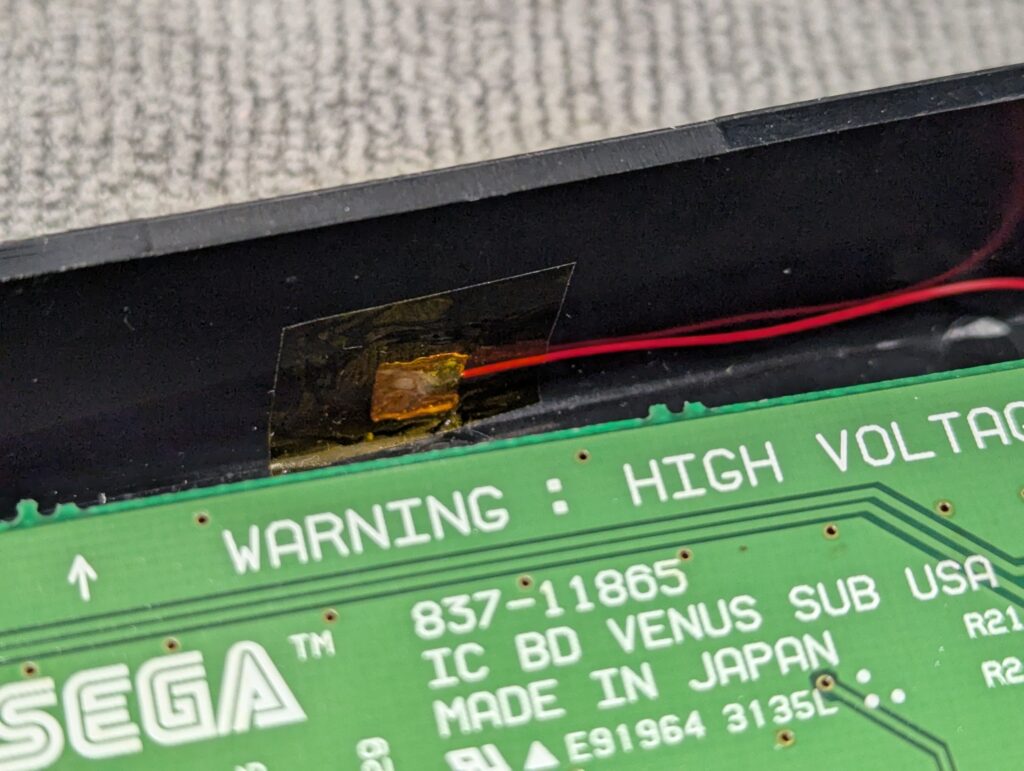
Both the sub-board and the main board were then recapped. Most of the capacitors in this console are SMD, but two power capacitors are through hole. A final capacitor in the back of the sub-board is also through hole but is mounted as SMD (stock is the same)

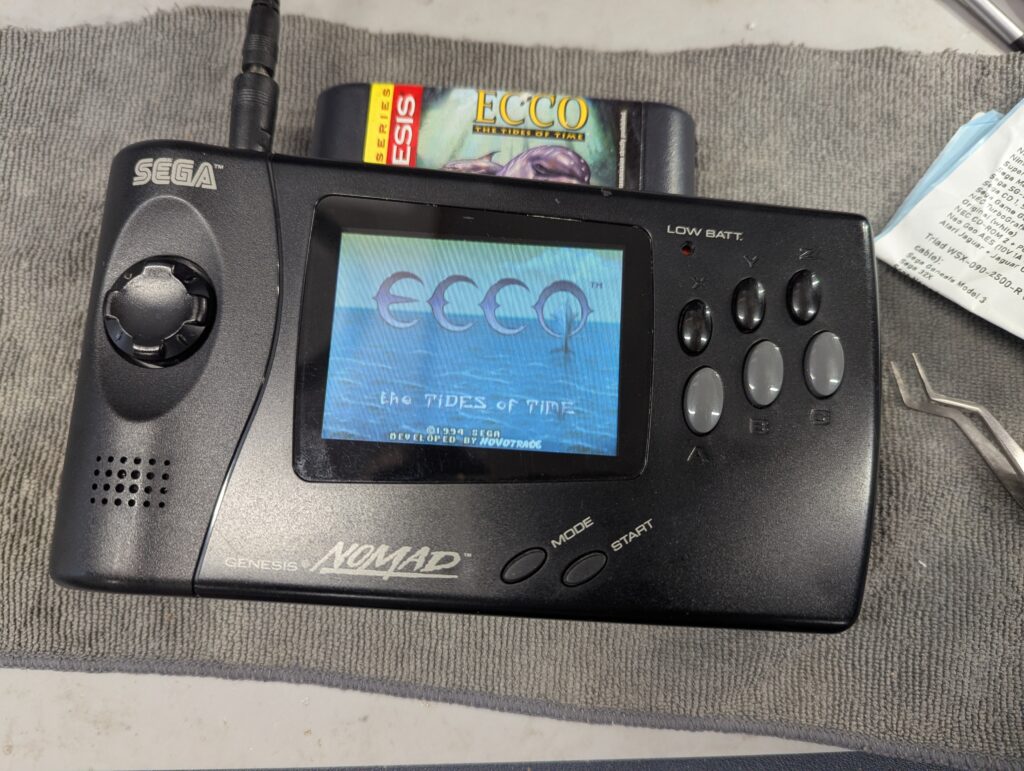
After recapping the console, it was assembled again and tested to ensure success. No noticeable change was observed in the screen or sound quality.
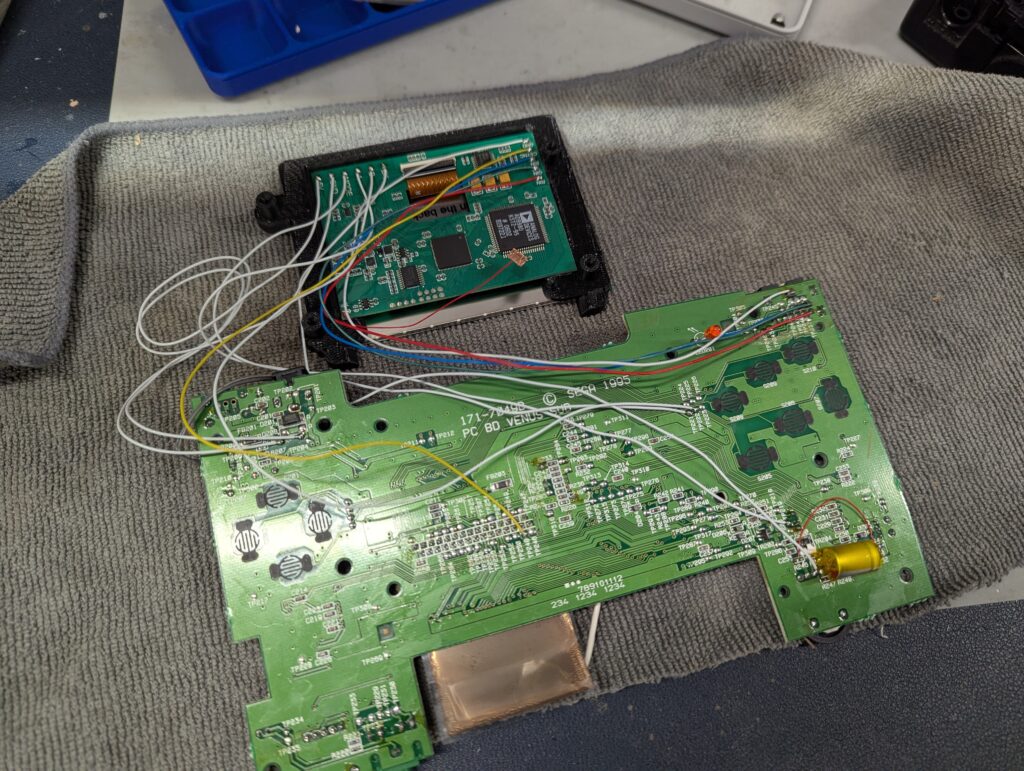
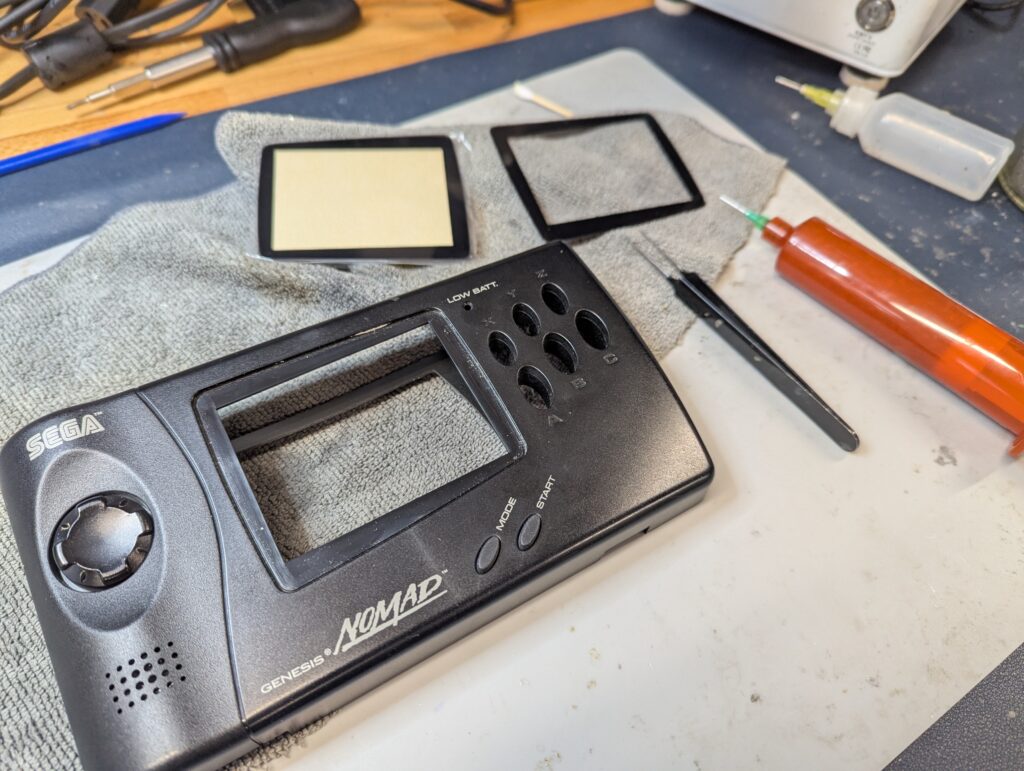
Then the console was disassembled again and prepared for the IPS screen install. First, the old screen needed to be removed, and this was done with hot air to try to preserve the old screen ribbon cable (soldered in the same way as the Sega Game Gear with no connector). The a few preparation in the board were required, particularly the removal of some resistor and the bridging of two pads. The removed resistors were left soldered to one of the pads just in case one day it needs to go back to stock. The capacitor provided with the kit was metal, so in order to avoid bridging, kapton tape was added.
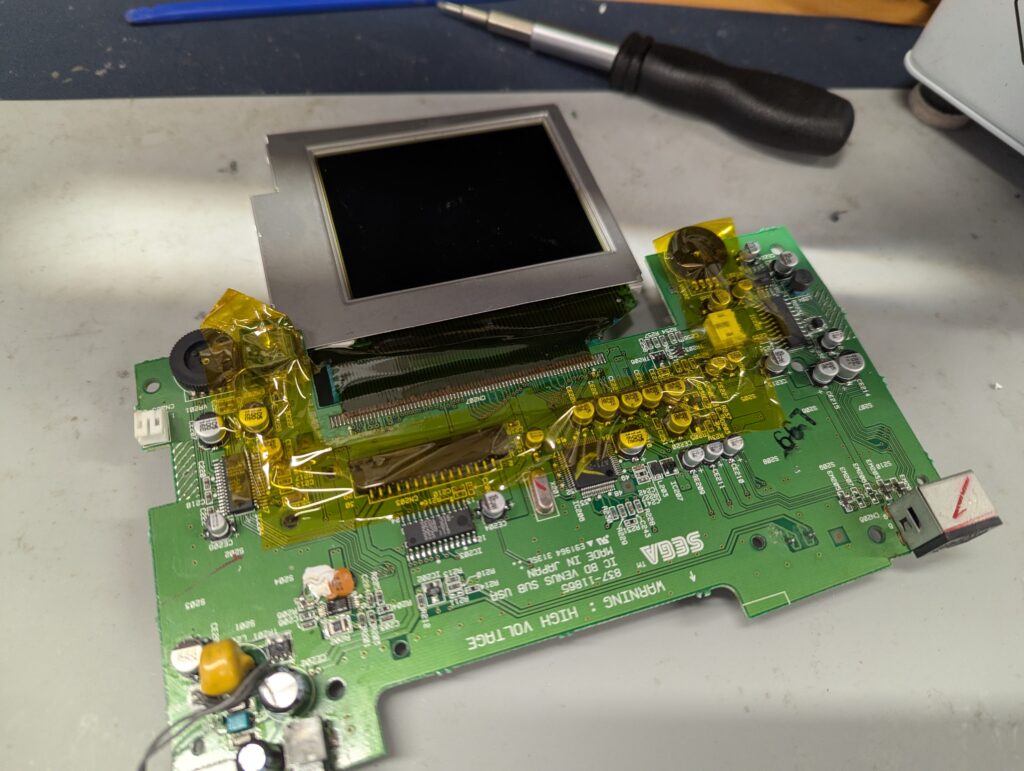
A 3D bracket was printed and used instead of sticking the screen with double sided tape, as suggested in the official instructions. The bracket however is not perfect and the screen and its controller board do slide out of it, so I added some double sided tape between the screen and the controller board, and the bracket. The rest of the mod requires to solder a number of wires which are provided with the kit. Most of them are too long, and cable management is required . The screen was tested before full reassembly
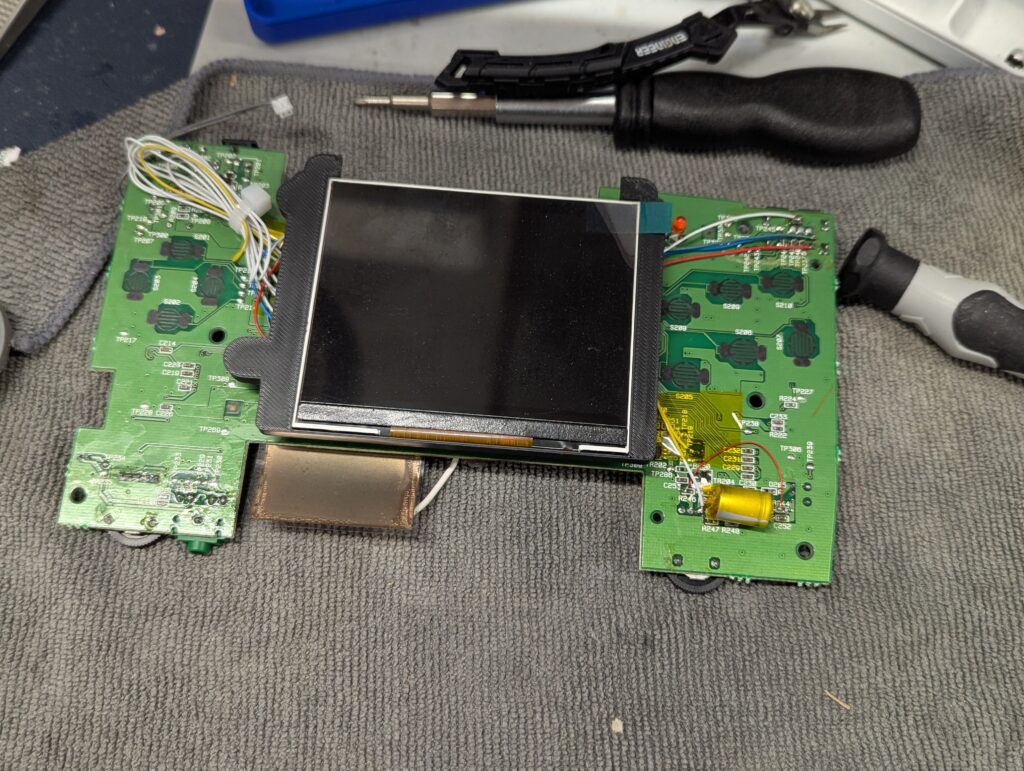
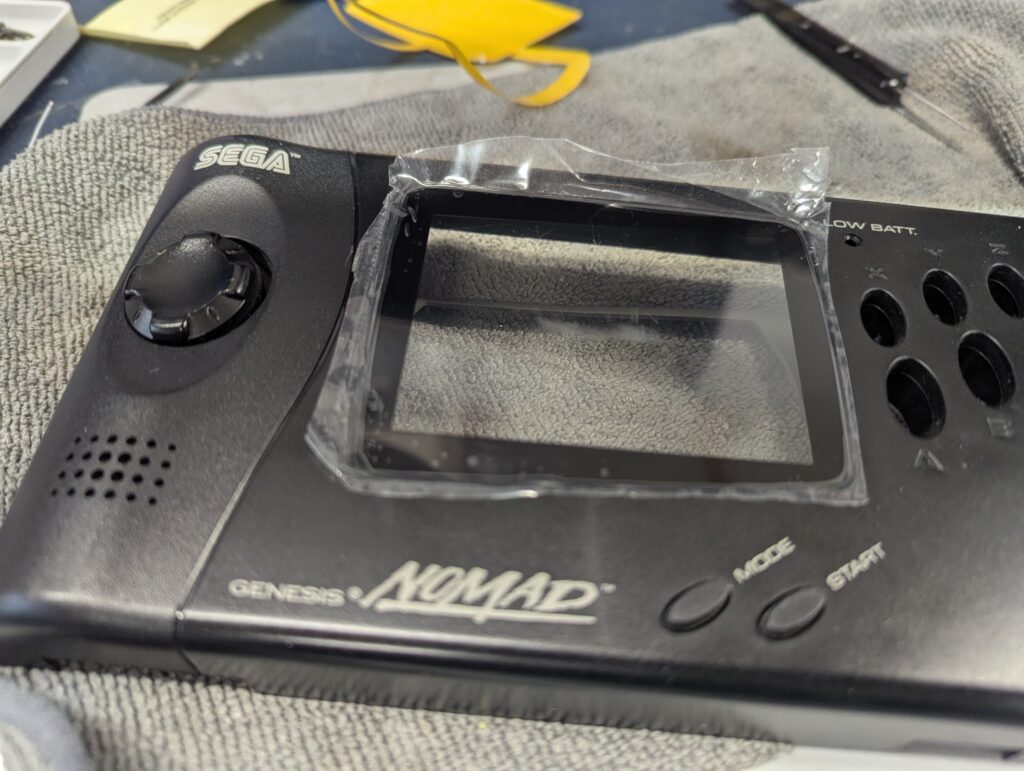
Before the reassembly, however, the plastic lense was replaced by a glass one
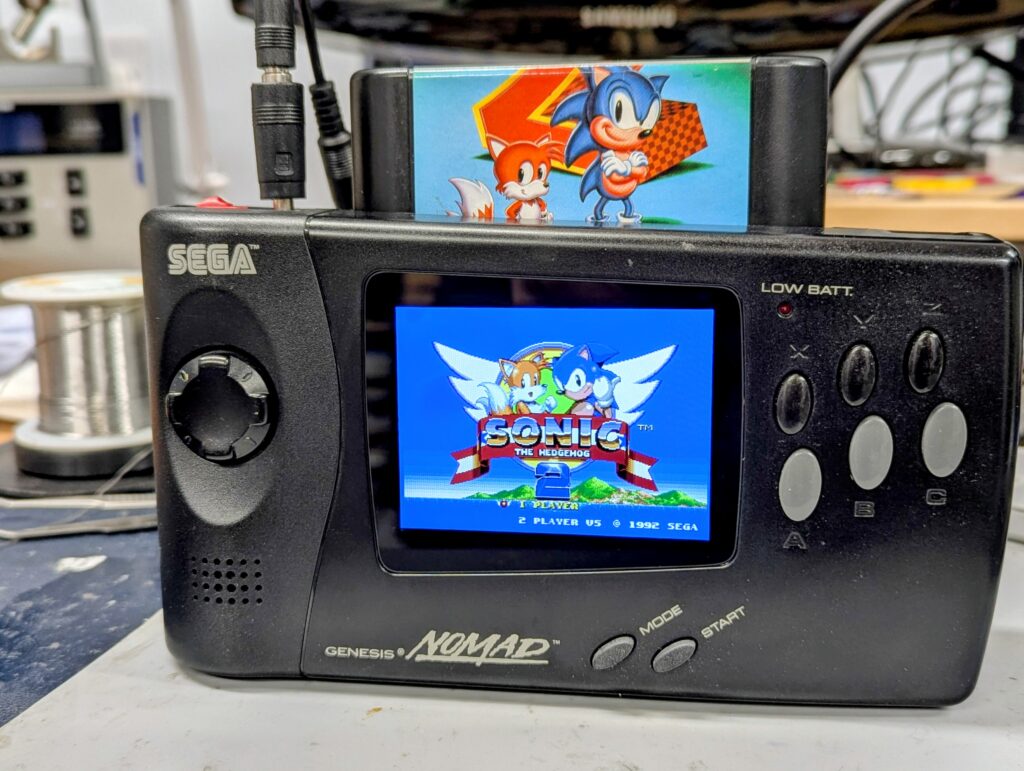
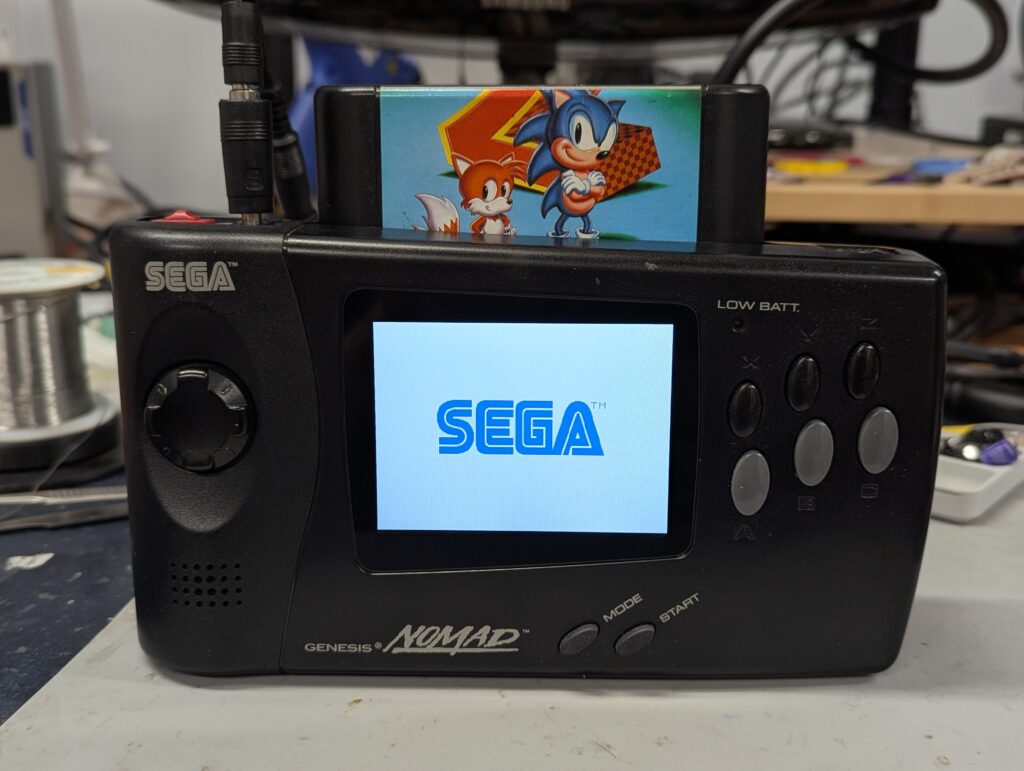
Final reassembly. A touch sensor (which can be activated or deactivated from the OSD menu) has been added to the top of the console.
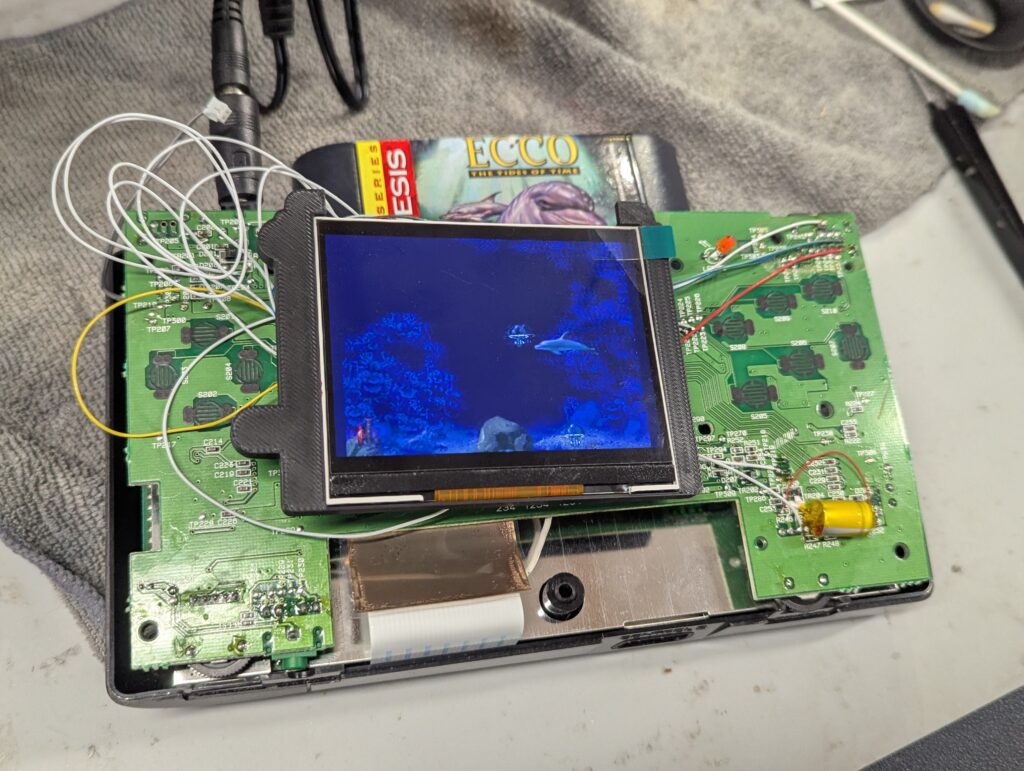
Testing the console, the screen and button combination, as well as the touch sensor, work well:
- Press the MODE+A+B buttons for 1 second to activate the OSD Menu.
- Press the MODE button to select the adjustment item when OSD Menu activated.
- Press the A or B button to adjust the item when OSD Menu activated.