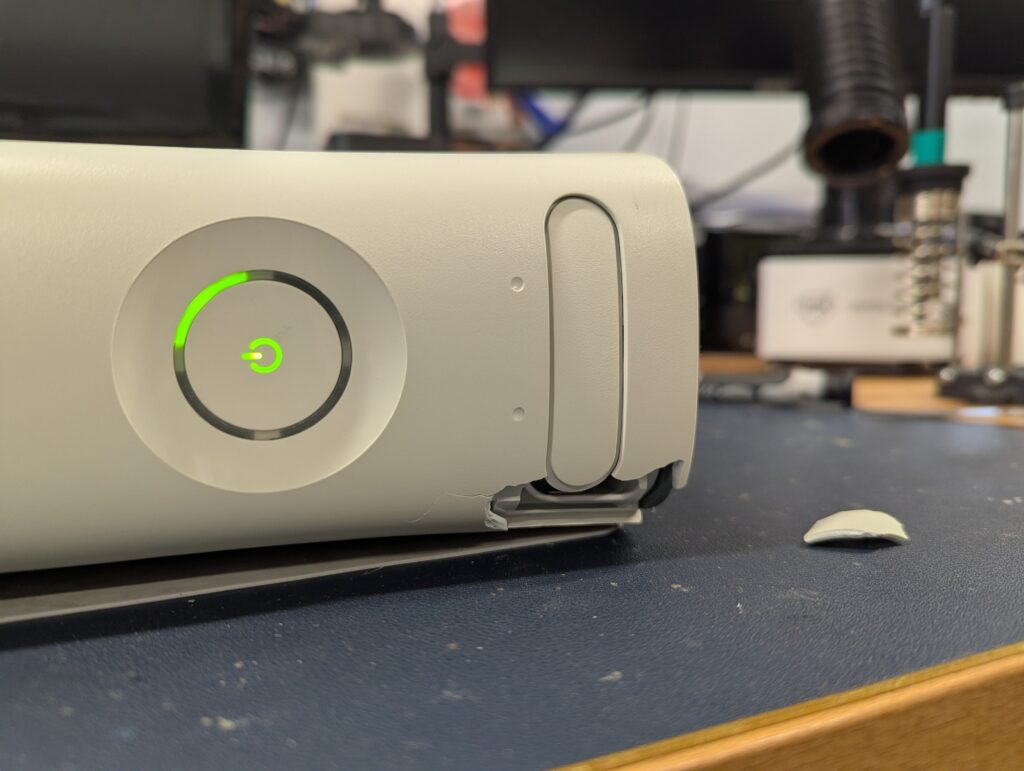
This a Jasper revision console, sent for RGH3, new HDD install and PSU recap. Upon arrival, the faceplate was broken in one of the corners during transport, but the console worked well. Other parts of the shell had small damage (perhaps from previous attempts to open the console), like cracked plastic tabs and broken plastic posts. This was communicated to the customer who agreed to leave it be for they to fix when they receive the console (perhaps to reshell) .
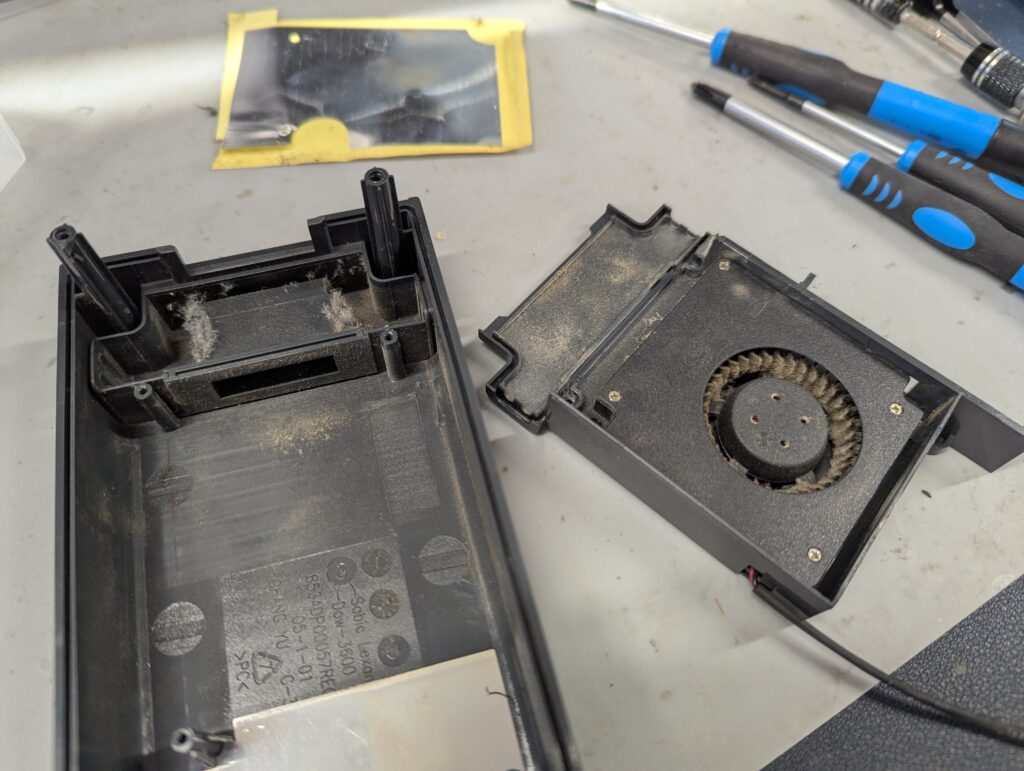
The consoles was very clean, and all it required was to remove the heatsinks and replace the thermal paste. Removing the clamps of the heatsinks also helps the installation of the modding wires
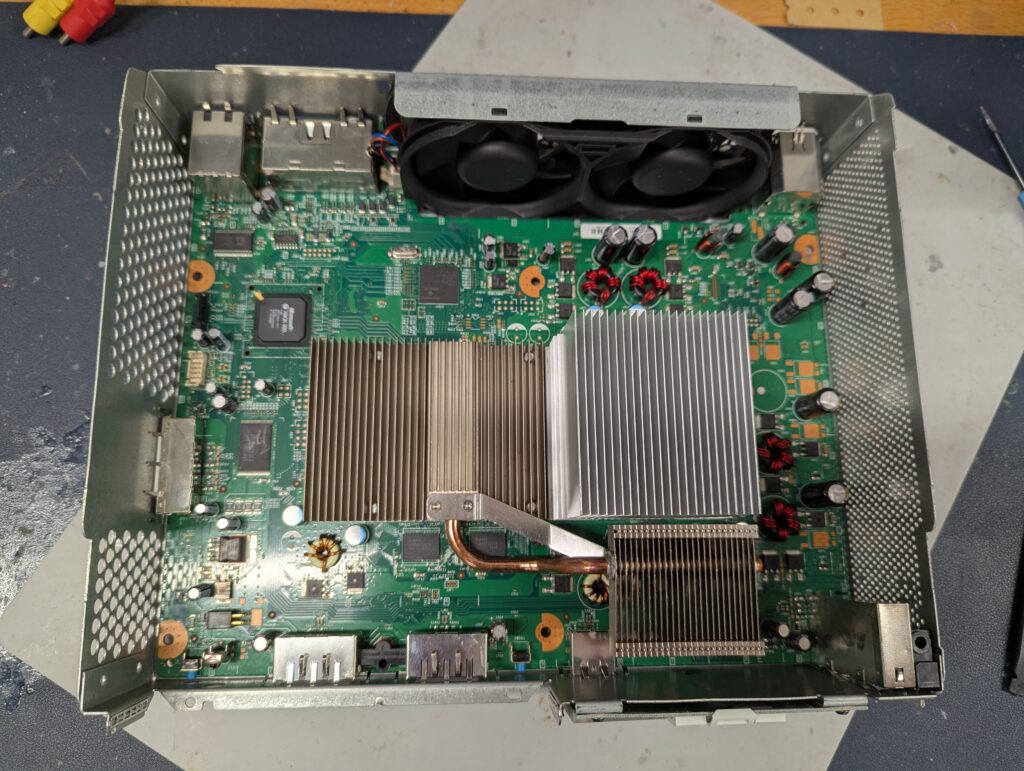
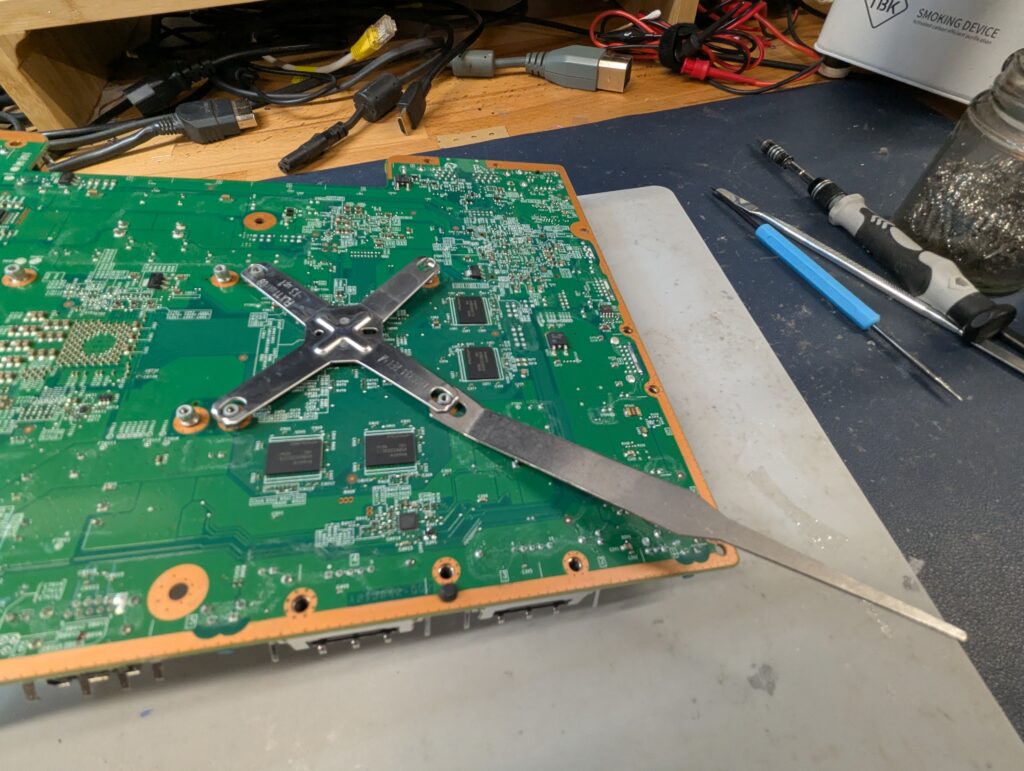
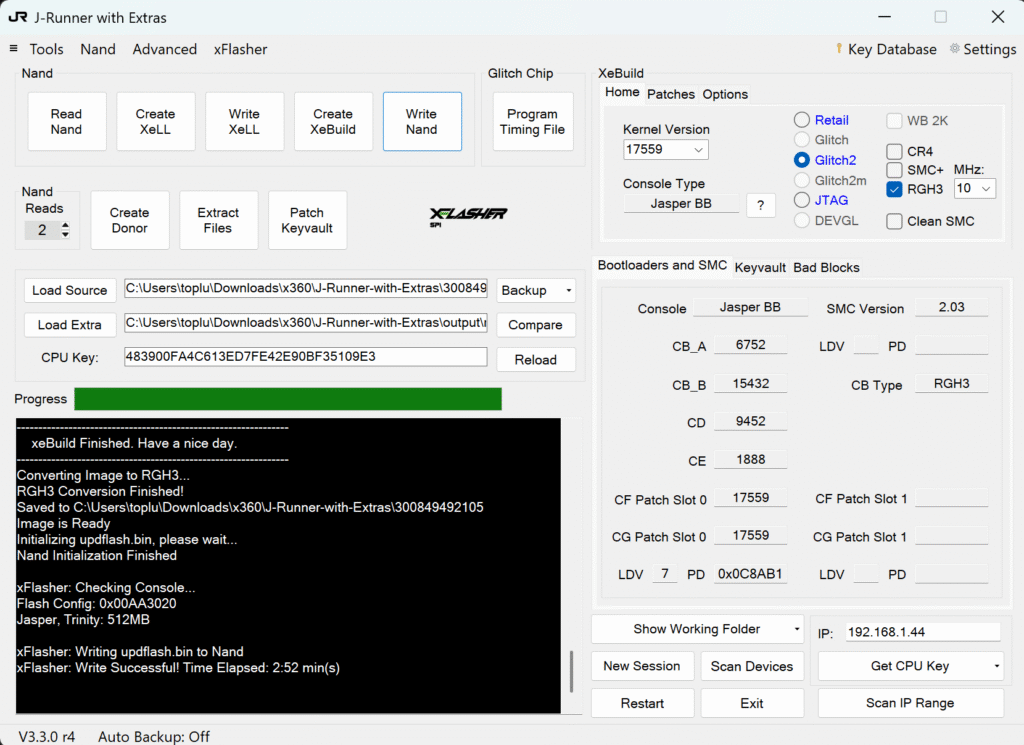
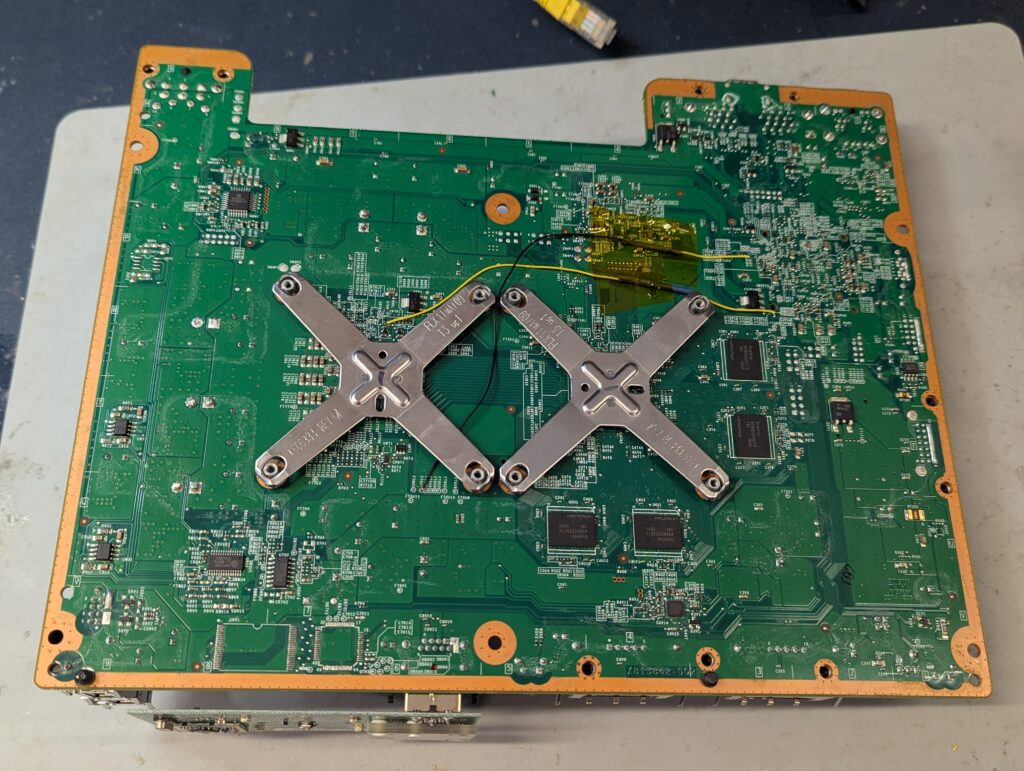
The RGH3 process requires reading existing NAND contents, installing XELL in its place and boot it to obtain the CPU key, and use that to create a modified image that needs to be written back to the NAND. It also requires to install two wires, one with a resistor and another one with a diode.
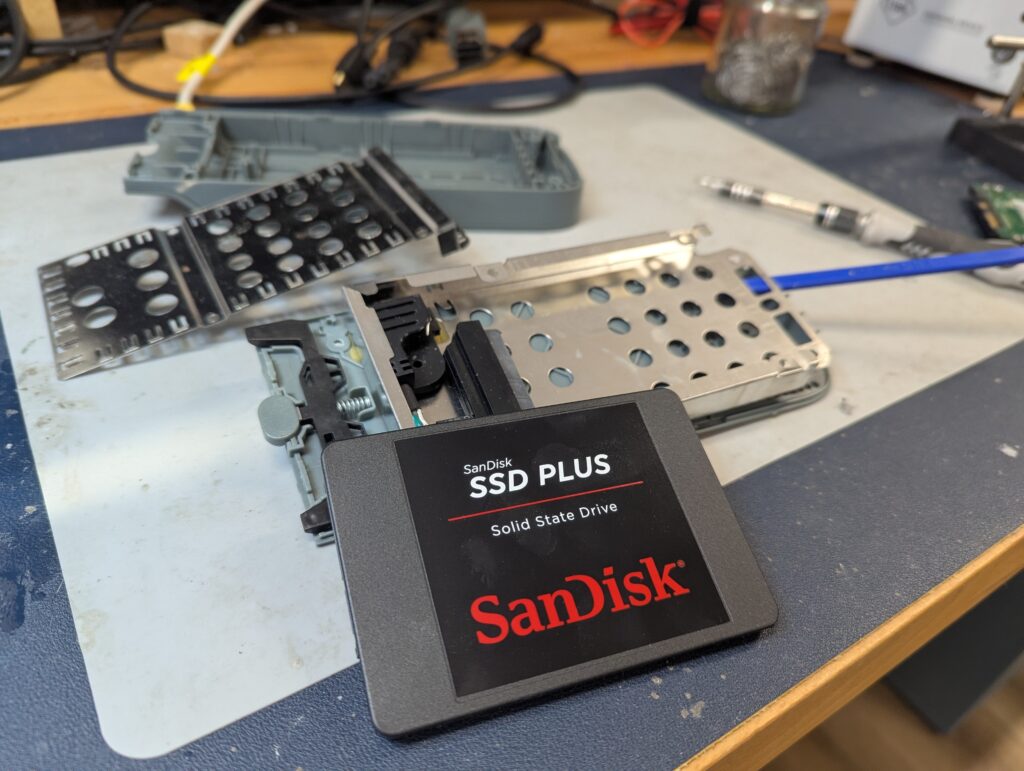
The replacement SSD was a 1TB drive provided by the customer. The caddy included with the console was an aftermarket one, but the internals were identical to a genuine one. The HDD was installed with Aurora and the Xefu emulator for original xbox games, as well as a couple of homebrew. once the installation of the SSD was finished, a “1TB HDD” sticker was added (sorry, no “1TB SSD” was available)
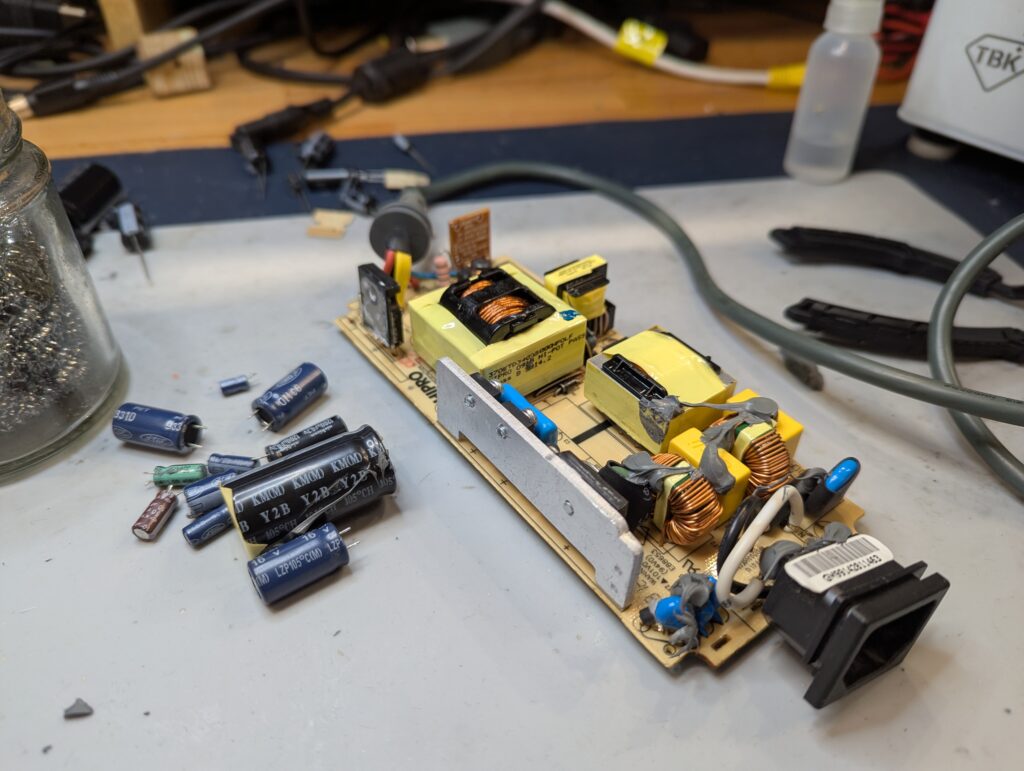
For the PSU recap, a capacitor kit from Console 5 was order, but on arrival, it was obvious that the slight difference in the model number mean that the large 420V 150uf capacitor wasn’t included, but instead, two 330uf 200v capacitors. A new capacitor was ordered from Mouser instead. The rest of the capacitors were suitable. The PSU was then disassembled .
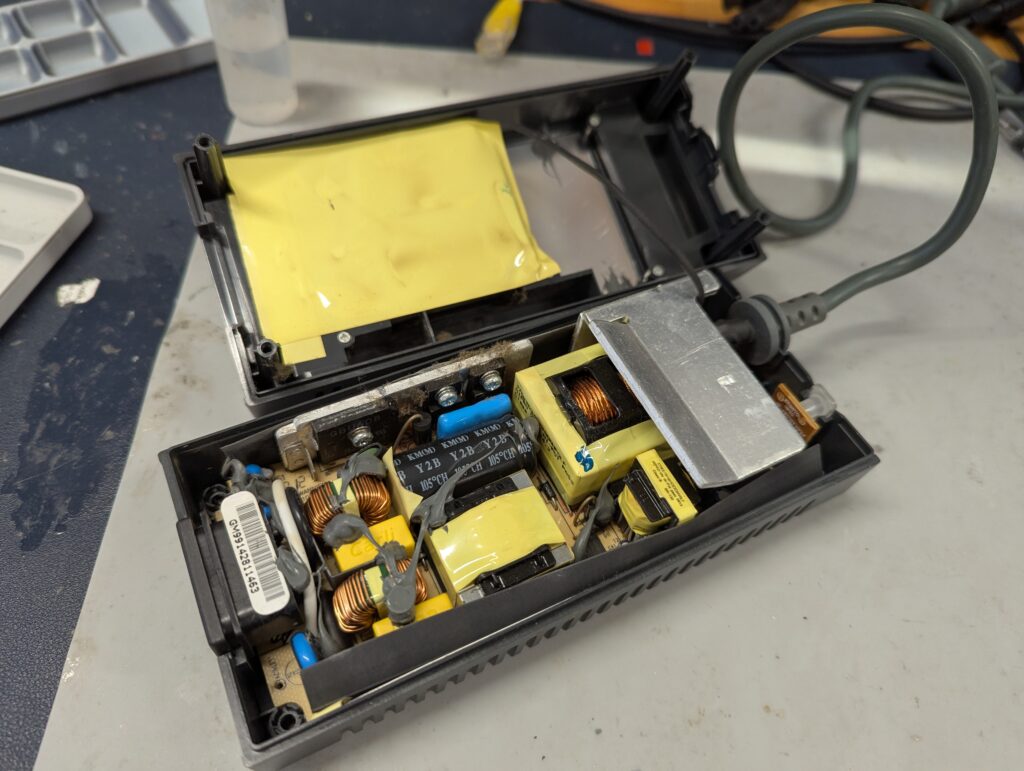
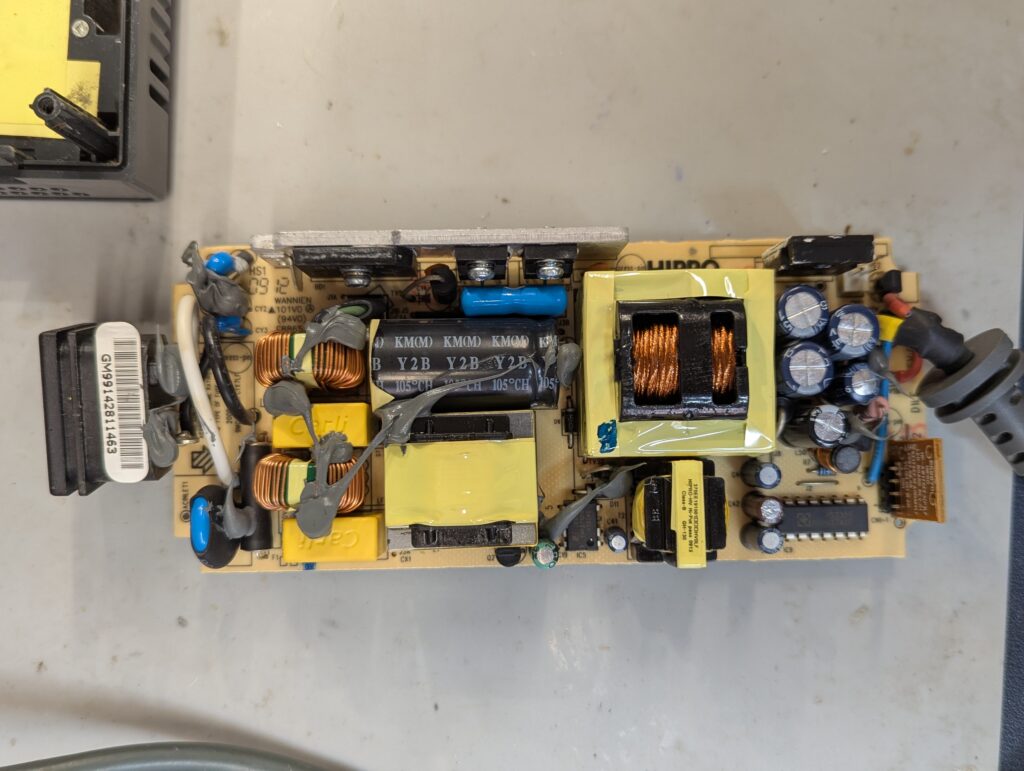
To access the capacitors, a shield and a heatsink needs to be removed. The capacitors were then removed and replaced. The top part of the PSU has a fan, which was cleaned. The PSU was also tested