
This order was for:
- Installation of a Stellar Plus and XboxHD+ in an original Xbox
- Installation of a Retro GEM and a RePS2 in a fat 39003 PS2
Xbox
This order was for the installation of a Stellar Plus modchip as well an XboxHD+. The console had already been modded and included an 256GB SSD and an Startech IDE2SATA adapter. No modchip was present so this was probably a softmod or a TSOP flash.
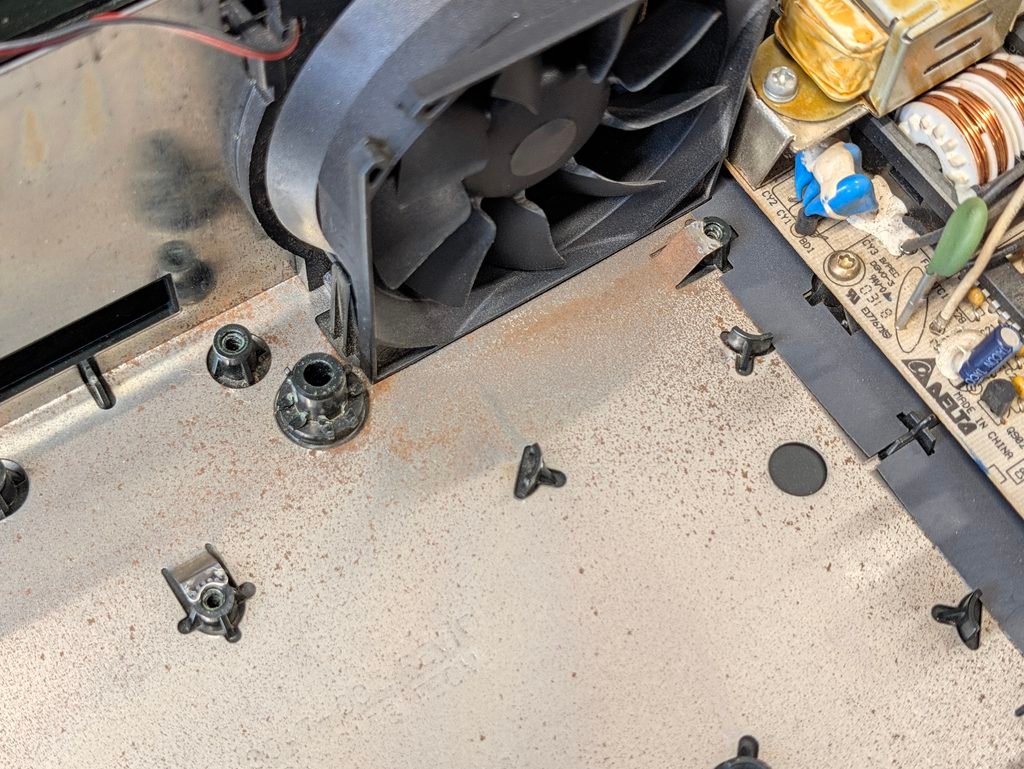
The console was in OK condition. The CPU caps had been replaced (with some unknown brand), and the clock cap removed. The shields were however quite rusty, so I would very much recommend to replace or refurbish the shields at some point.
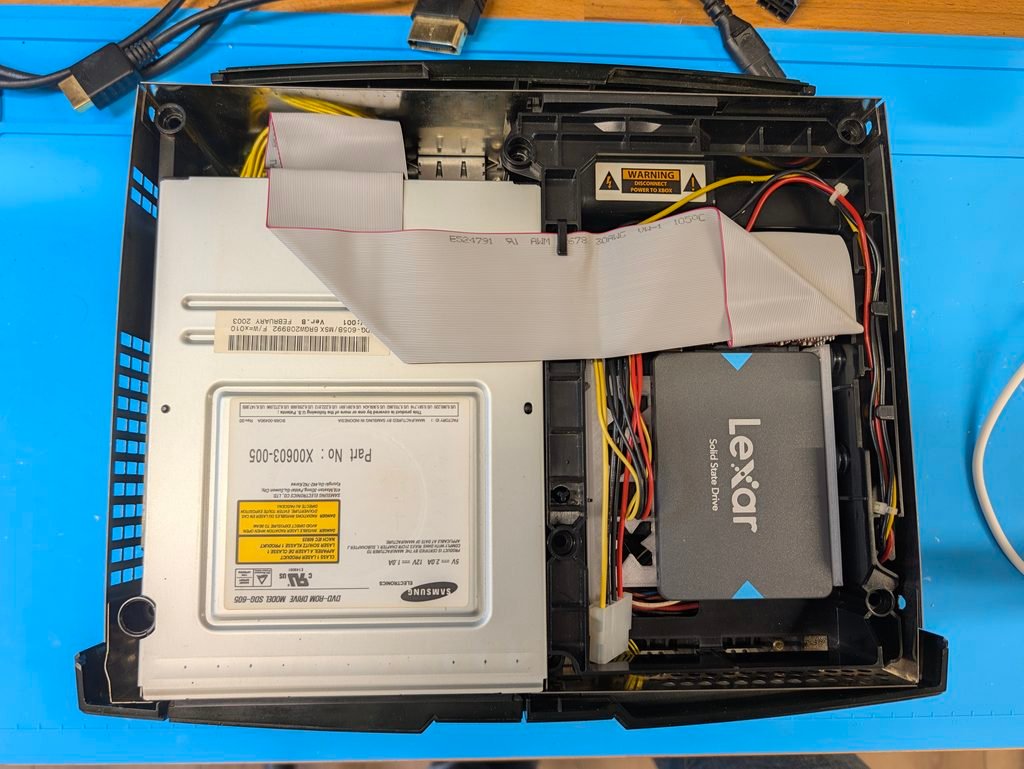

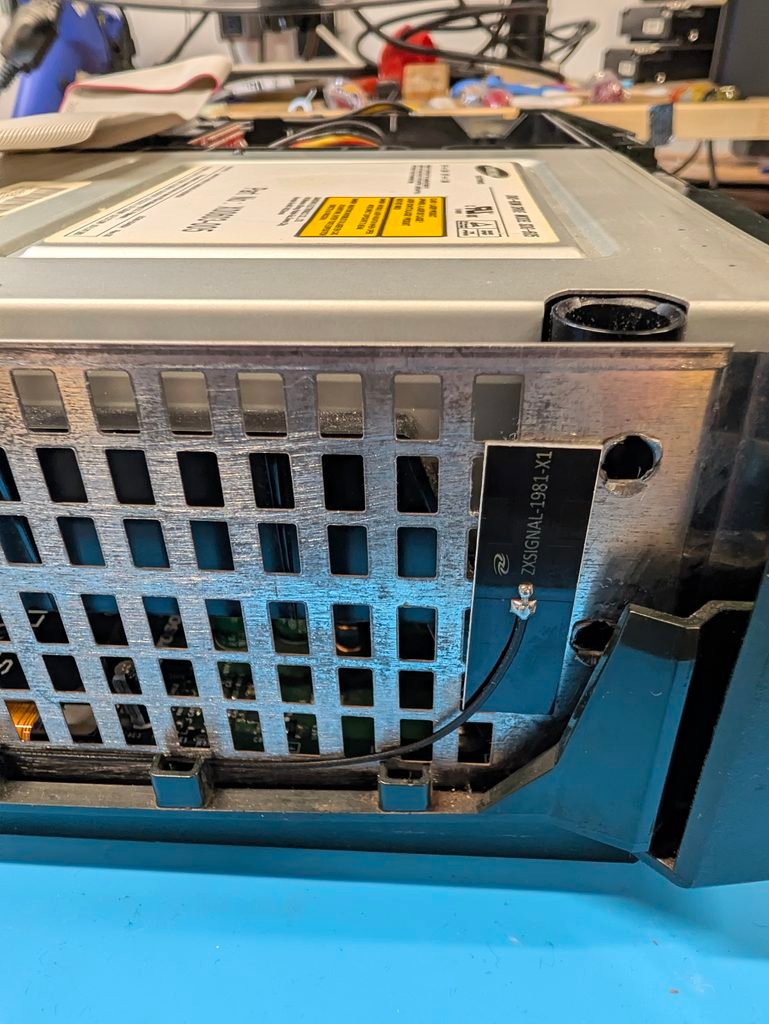
First step was to install the LPC header, as well as the easy D0 flex, as well as the Stellar Plus flex. The antenna was also attached and the console tested before proceeding with the HDMI mod.
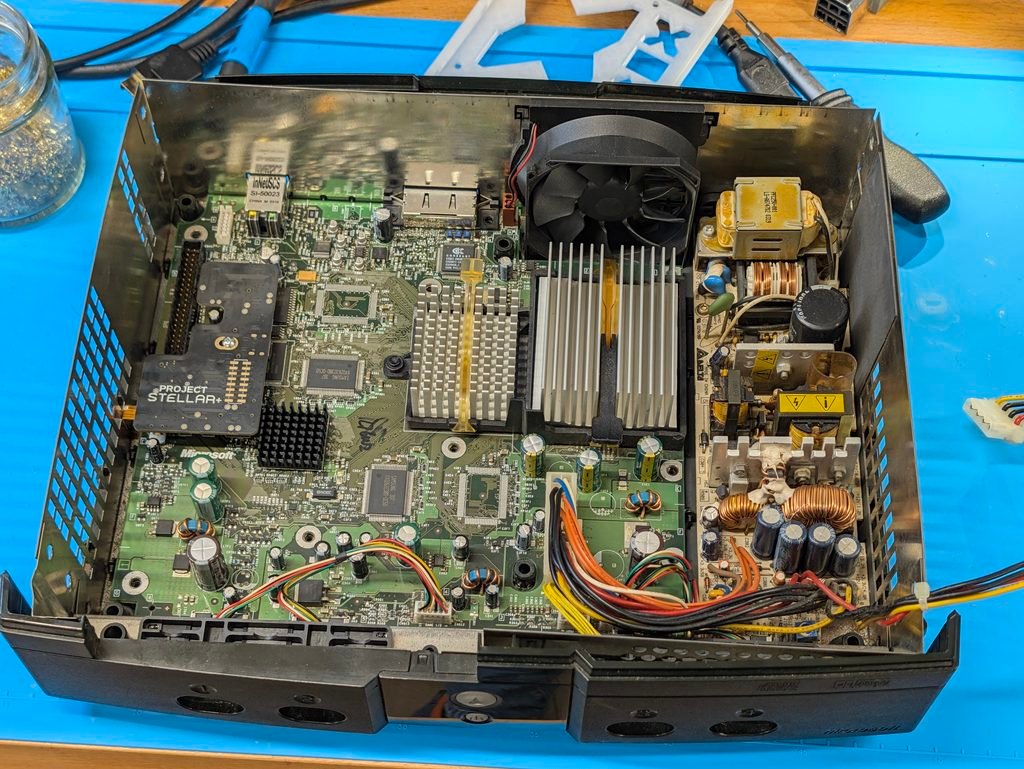
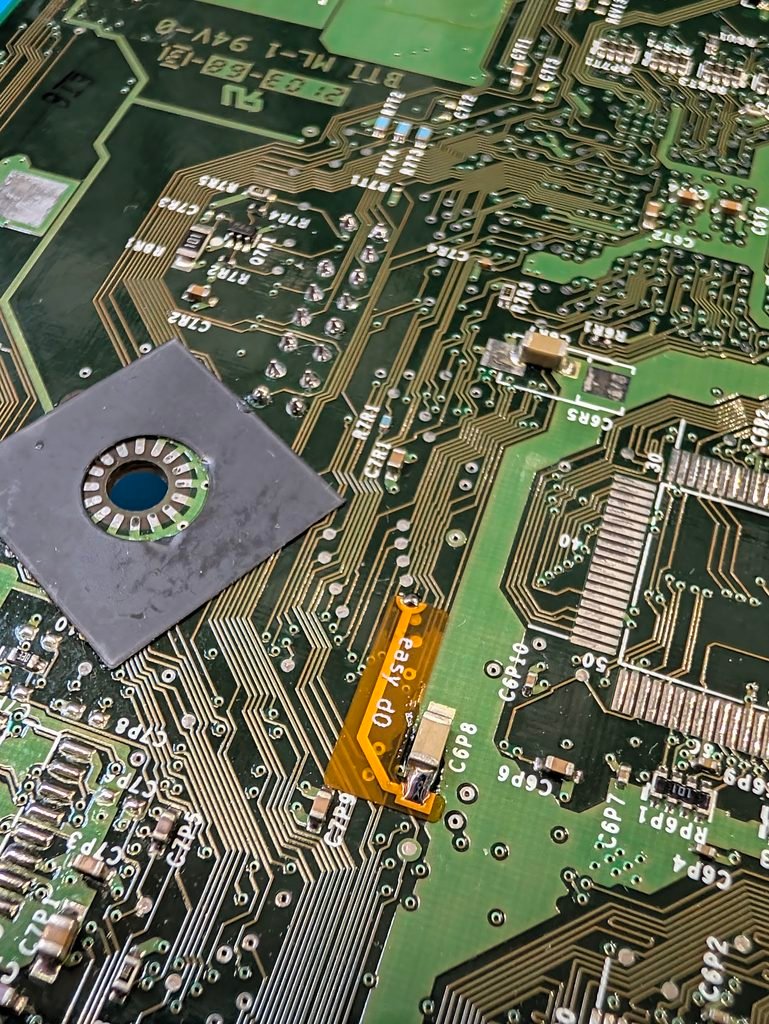
Next step was to install the XboxHD+. For that, various preparatory steps are required. First, removed a ferrite component, then install the filtering QSB and then remove the AV port. Then install the flex and three adsitional cables for audio.
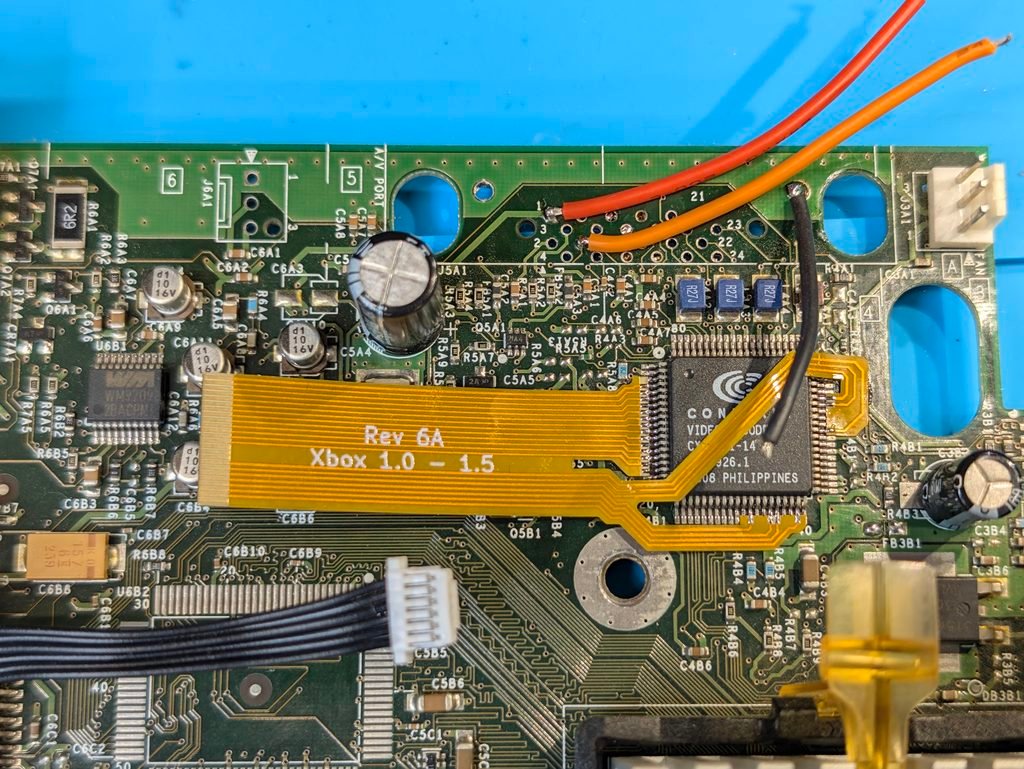
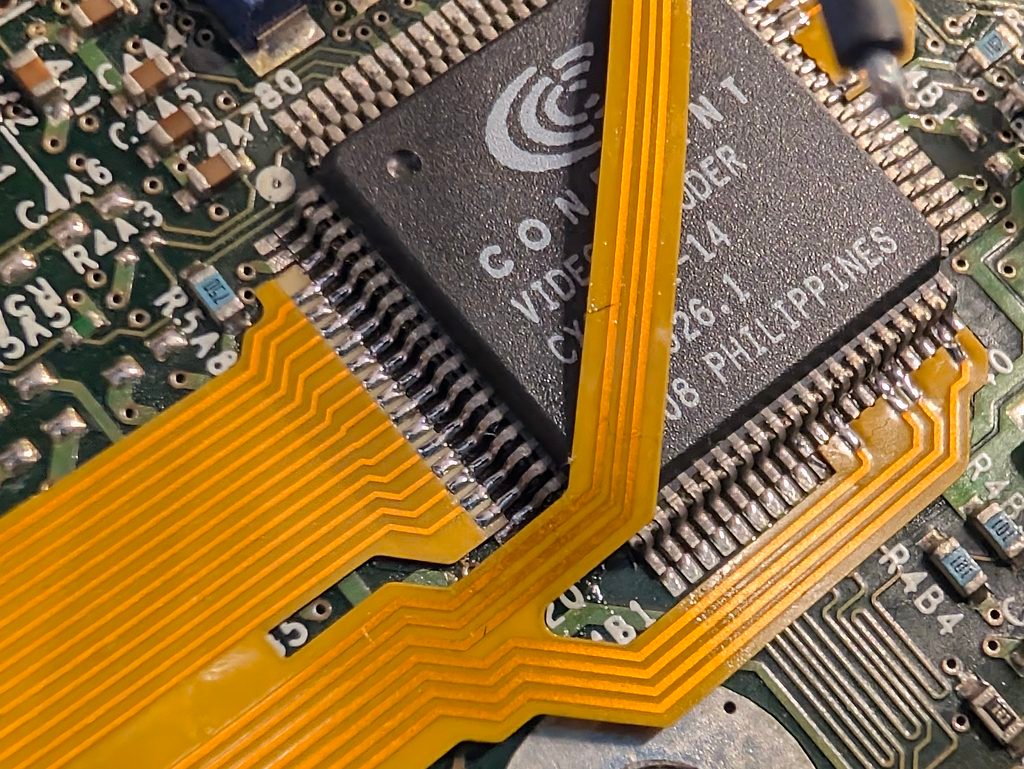
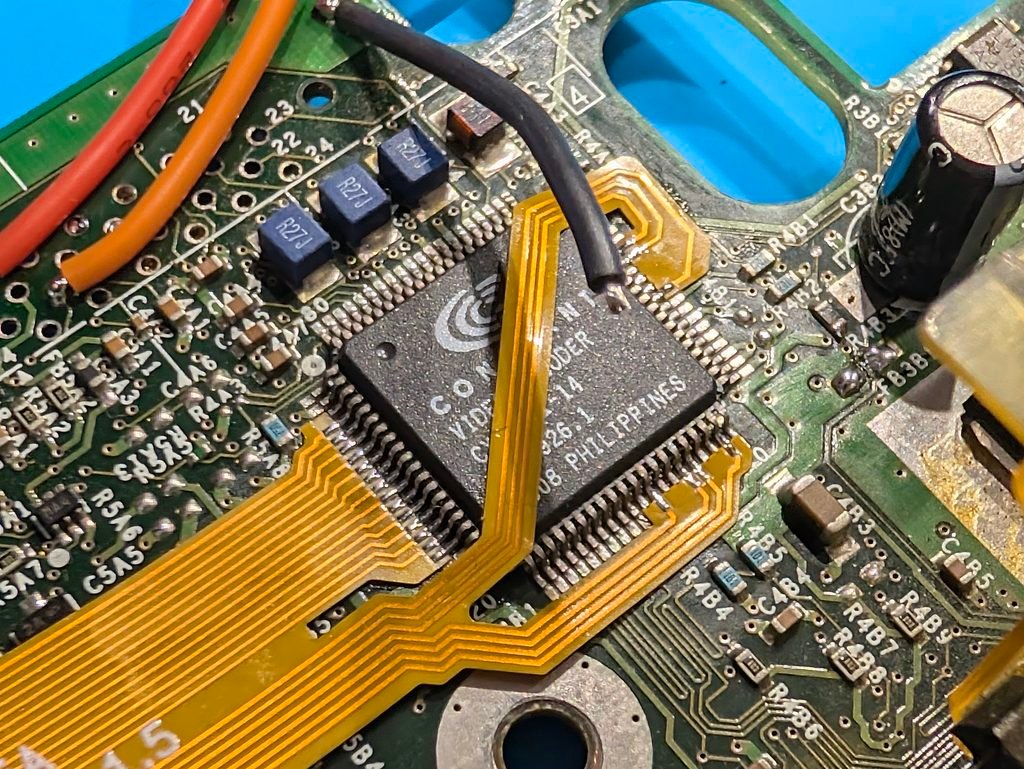

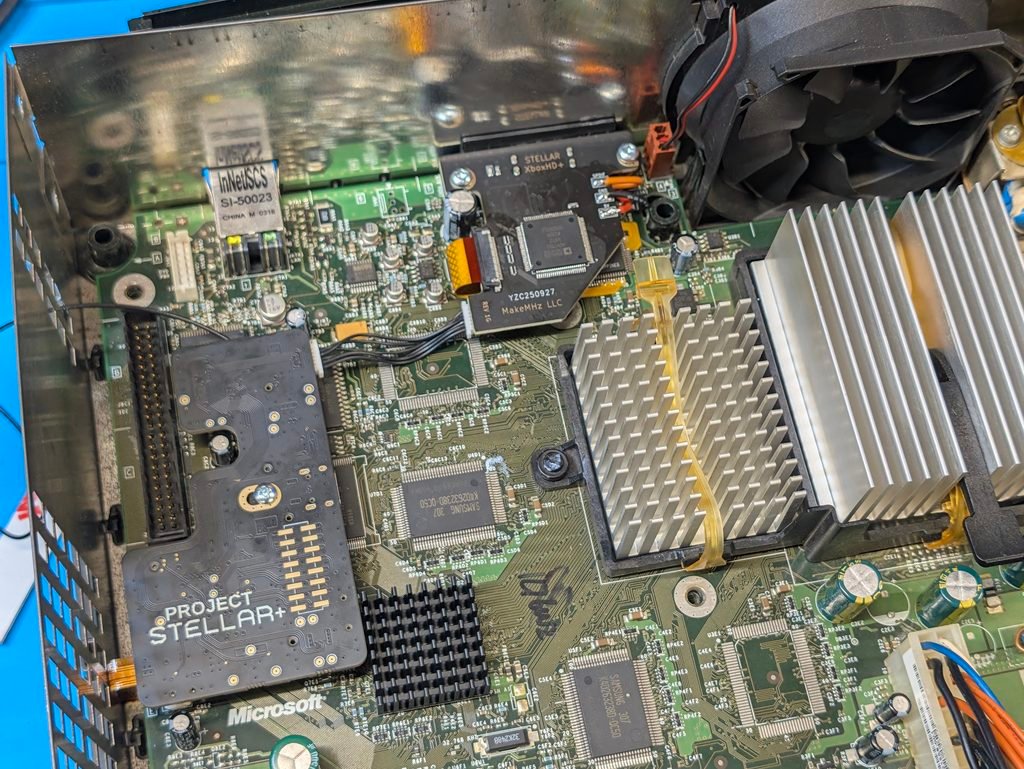
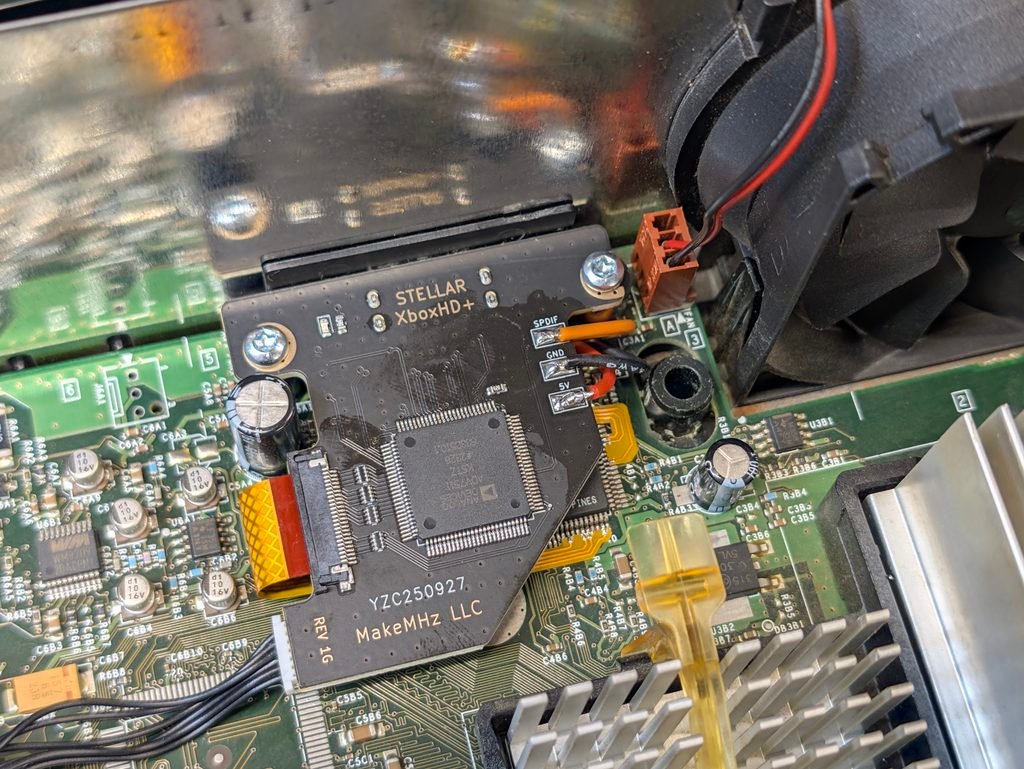
The SSD was then repartitioned and UIX Lite installed. Console was tested to ensure it worked fine. Please ensure you configure your dashboard and Stellar OS for your specific equipment. For example, the sound is now set to Stereo instead of Dolby Surround, but that can be changed in the UIX Lite settings. Similar settings for video can be selected from Stellar OS (pressing Start during boot). Please check all the options and make adequate changes for your setup.

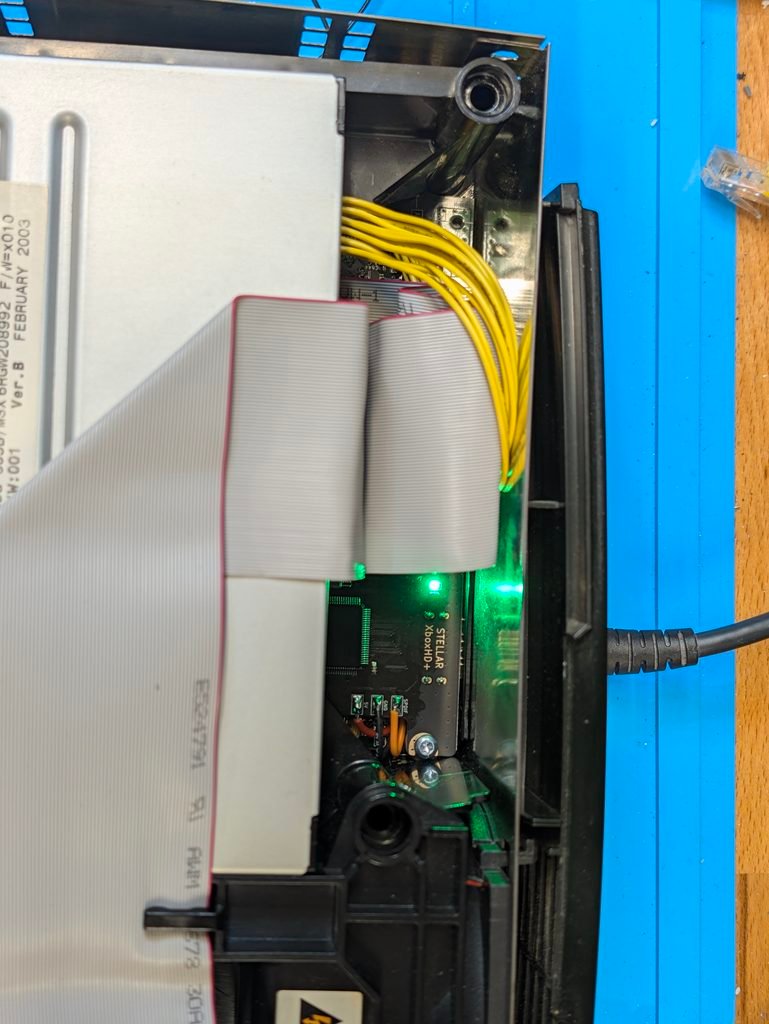
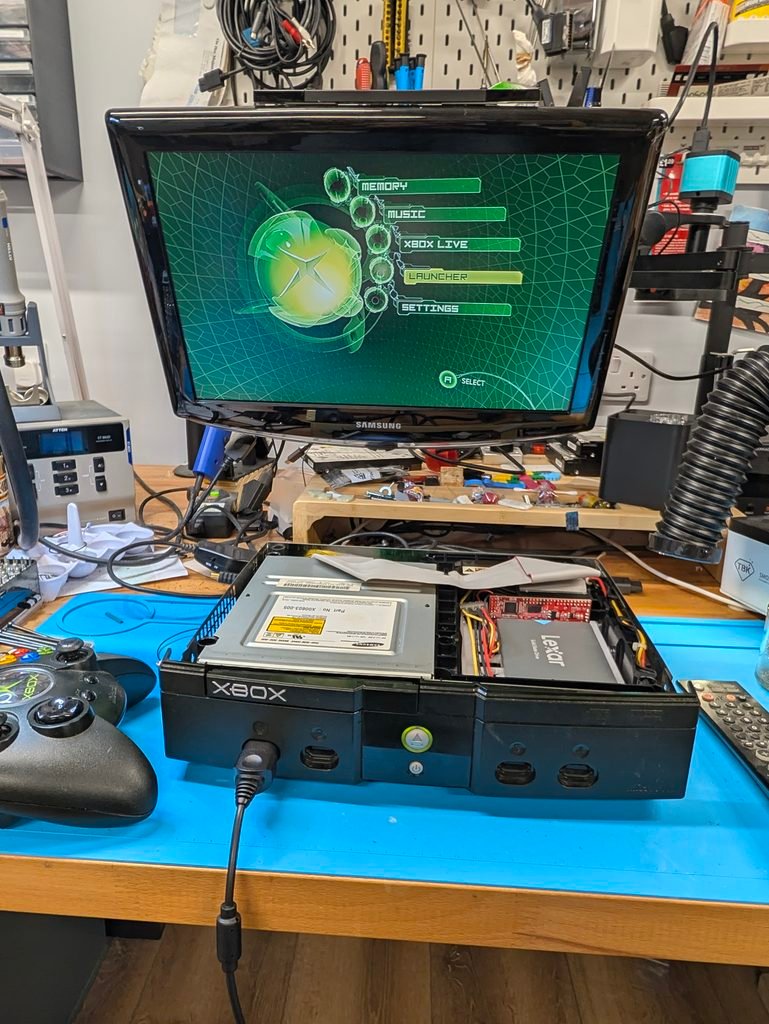
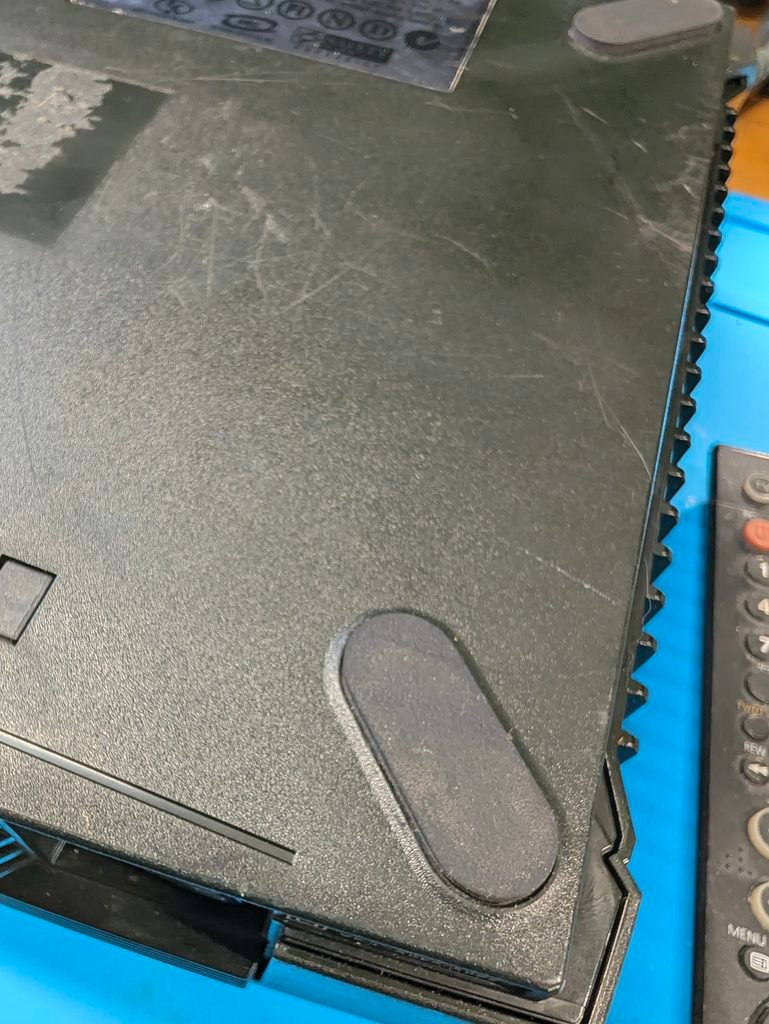
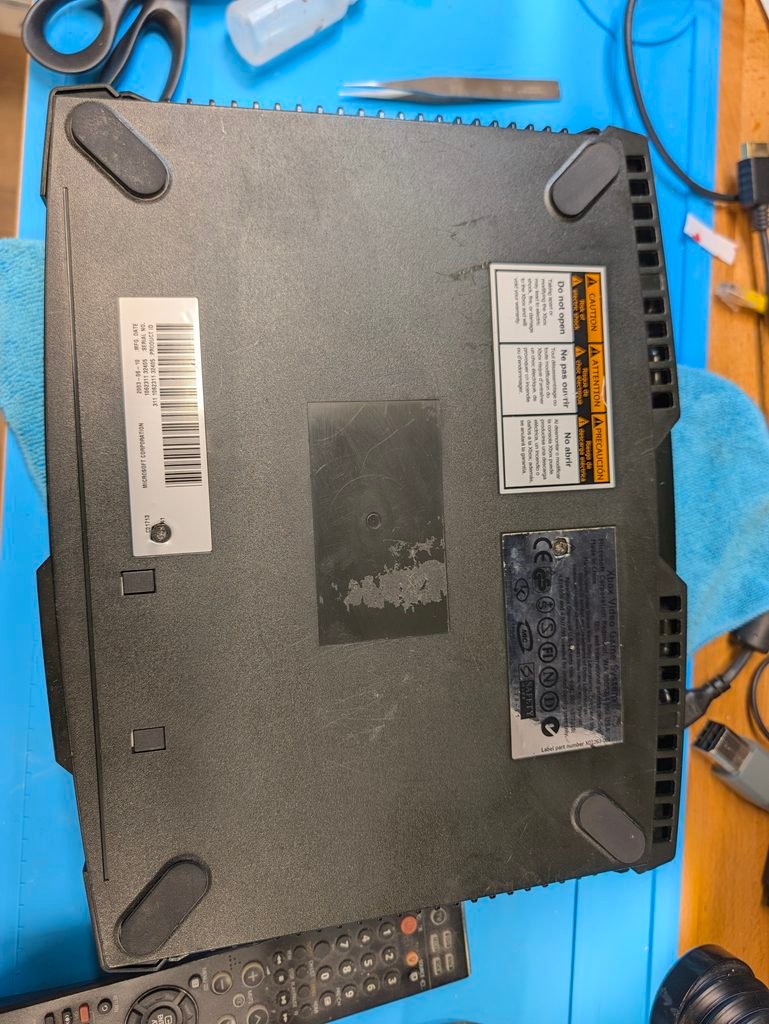
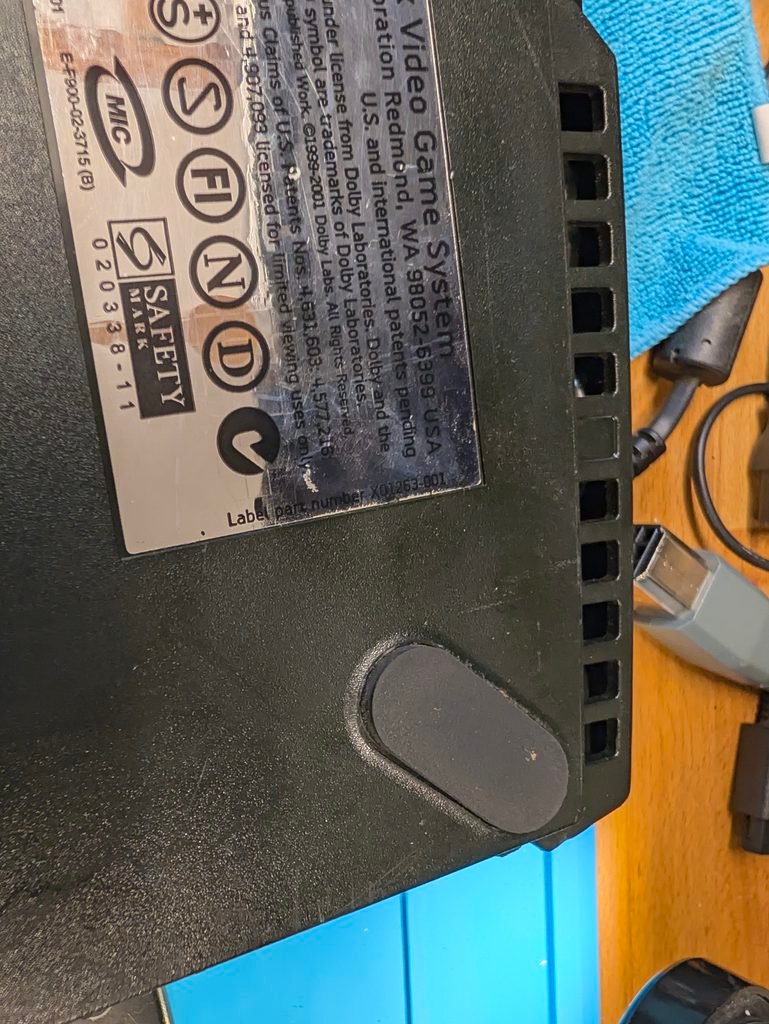
Finally, the rubber feet from the console were broken so I installed new ones 🙂
PlayStation 2
The console was a 39003 model, PAL. The customer sent a RePS2 replacement PSU, which is needed as otherwise the stock PSU doesn’t fit together with the installed Retro GEM.
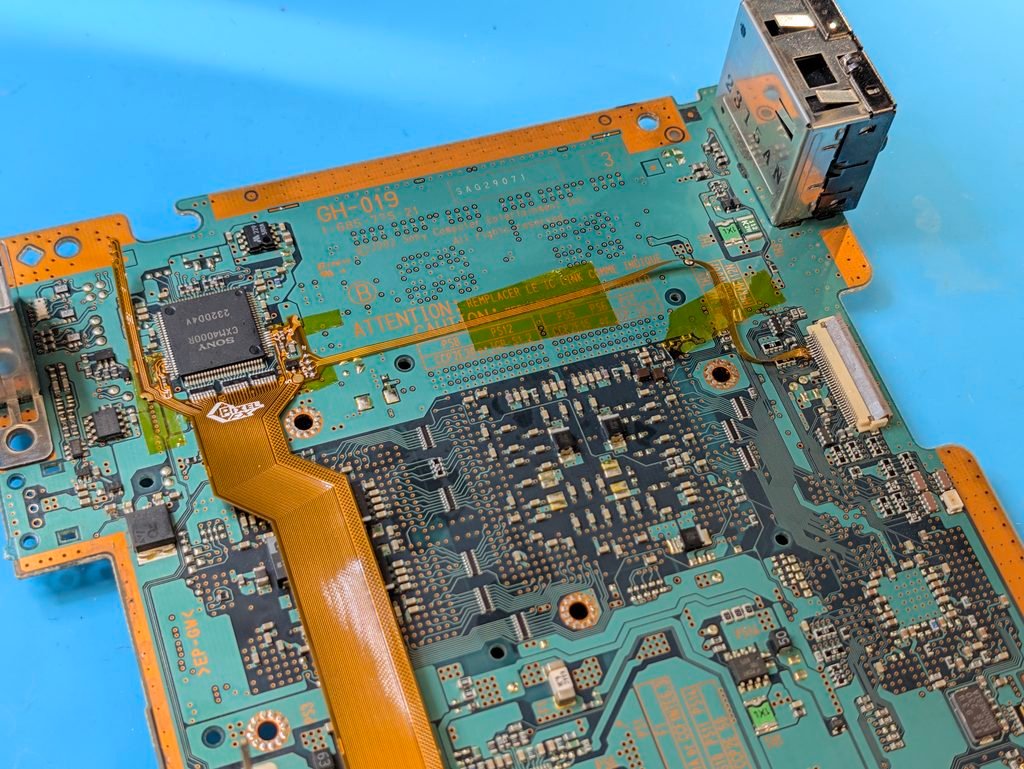
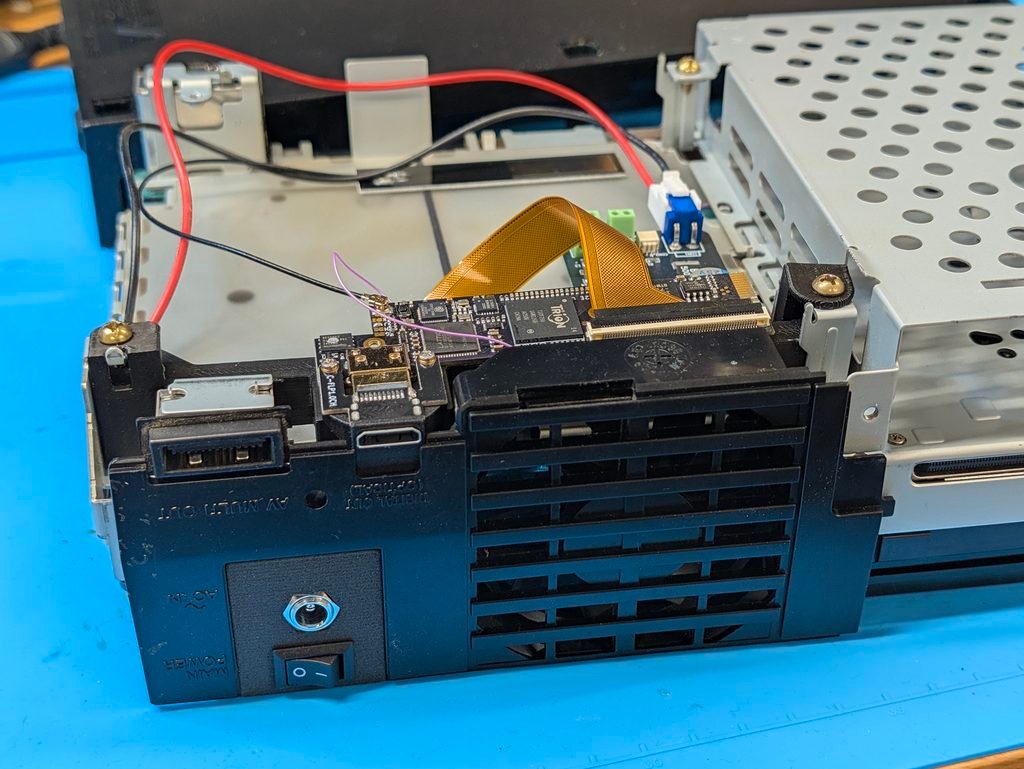
After disassembly, the console needs to be prepared for installation. First is the removal of the Toslink port so that the space can be used for the mini HDMI port. Second, the clock needs to be replaced for a lower profile one to make space for the ribbon cable. Third, a number of SMD components need to be removed around the video chip, and kapton take placed around the chip to ensure no shorts happen when soldering the ribbon.


Next is the soldering of the main ribbon to the video chip, followed by the ribbon connecting to the controller port (so that the Retro GEM can intercept button pressed for the OSD menu)

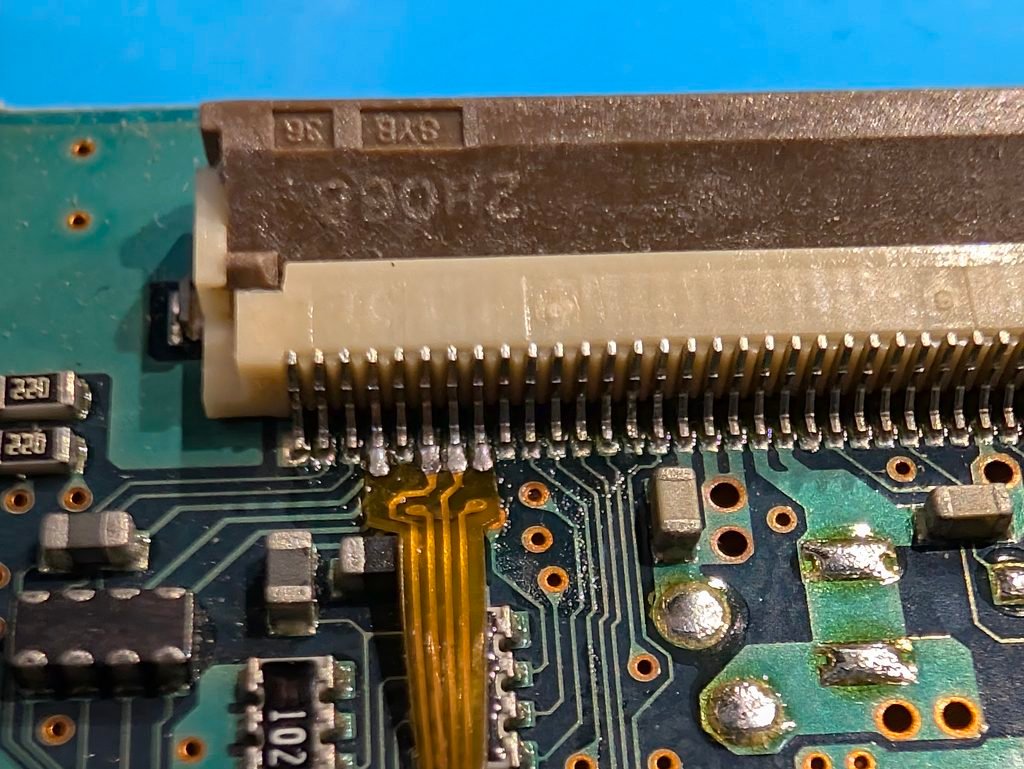


The console was then tested with the provided Retro GEM board, but it didn’t power up. After discussion with the customer, the board was returned to the retailer, ZedLabz, who provided a replacement. The replacement worked well.


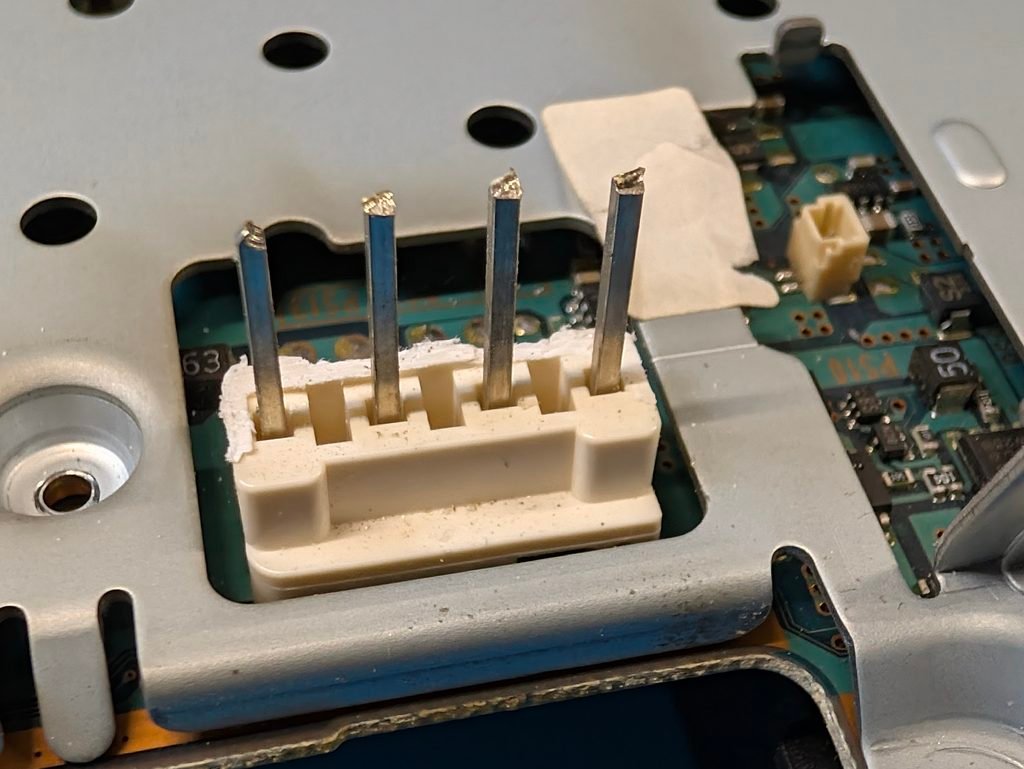
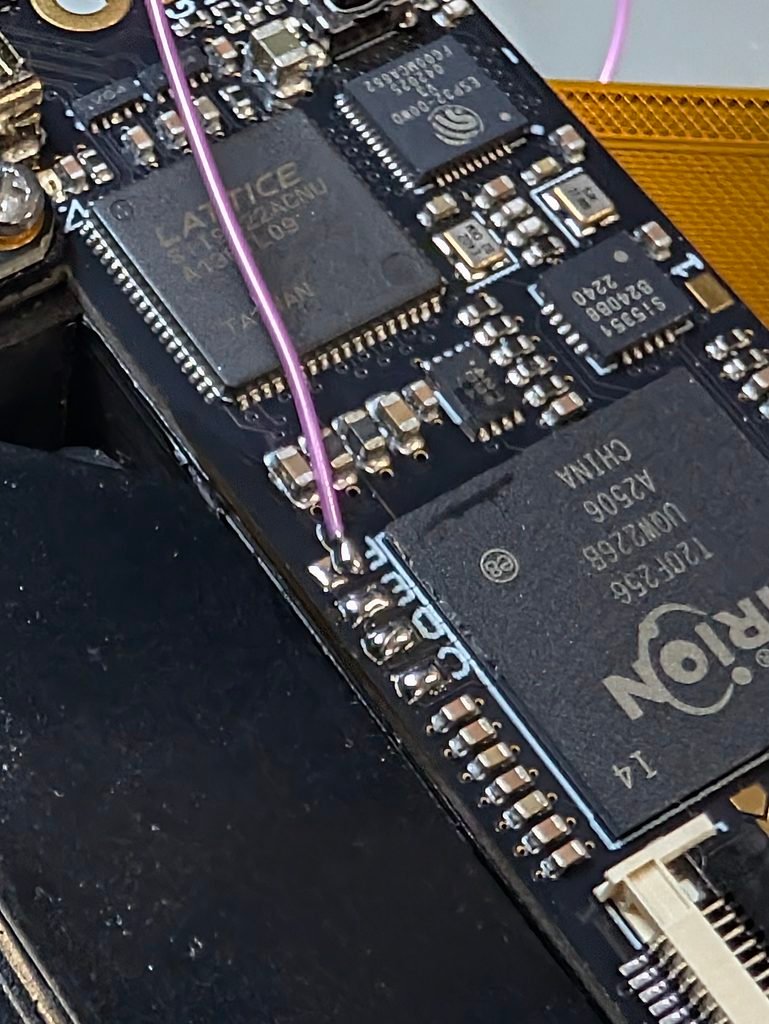
After testing, the console was reassembled. In order to fit the RePS2 module instead of the stock PSU, the power connector in the motherboard needs to be trimmed, both the plastic and the pins. The GEM is then mounted in the 3D printed brackets, and screwed in place. The SPIF cable is then soldered to the GEM board and antenna installed. Console was then reassembed and tested.

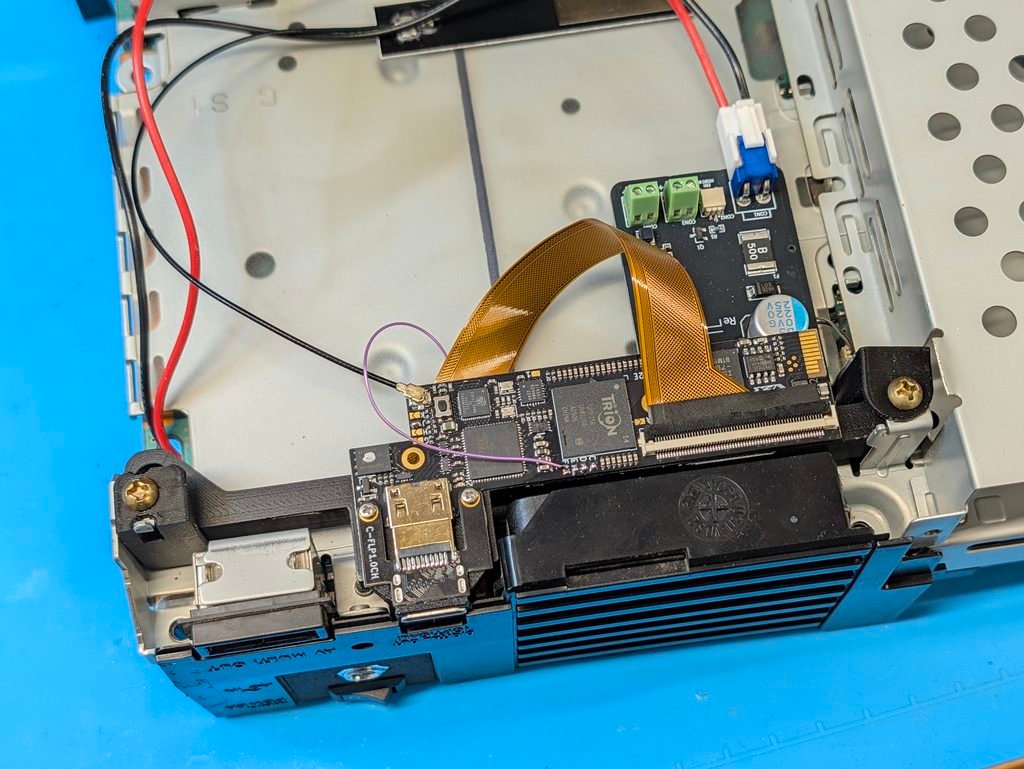
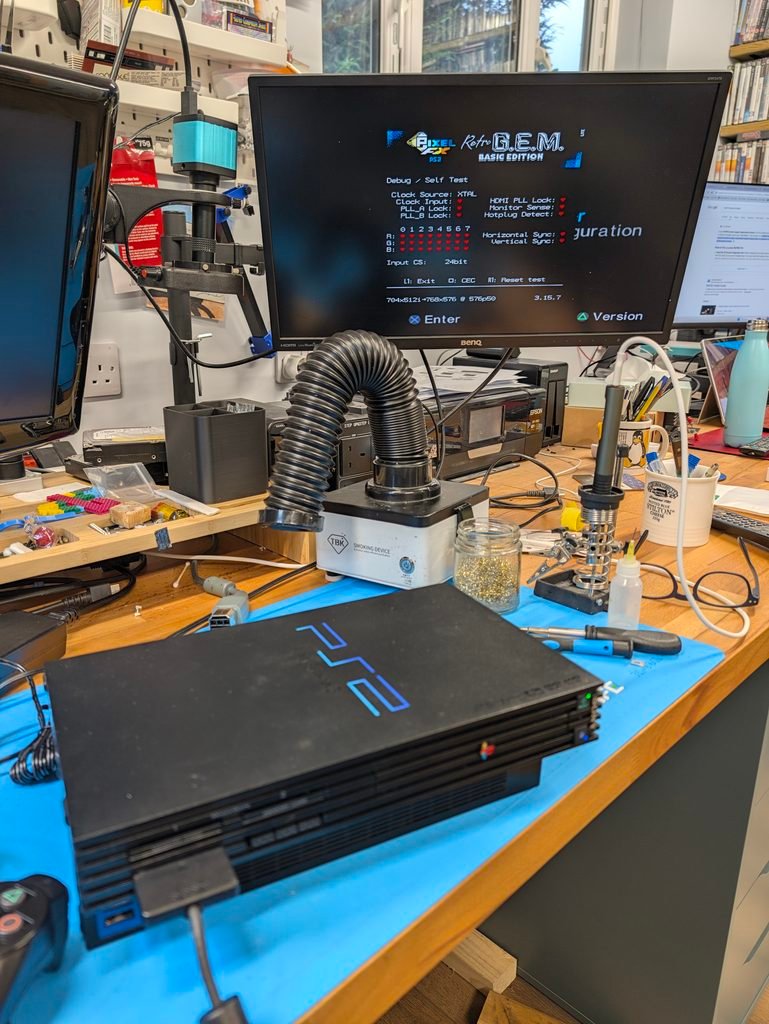
Please note that after reassembly the console was tested with both PS2 and PS1 discs. The optical drive tray tends to stick, and this is probably due to an aging tray belt. As a TLC was not ordered with the console, and the console works well, this wasn’t replaced (and neither the battery or thermal pads were replaced either).
As with all HDMI installs, please remember to configure it for your specific setup. No configuration has been carried out apart from confirming the console outputs HDMI video and that the self-testing was passed.