This order was for the recap of a SEGA Dreamcast, as well as the recap, FRAM install and TLC of a Victor SEGA Saturn
SEGA Dreamcast
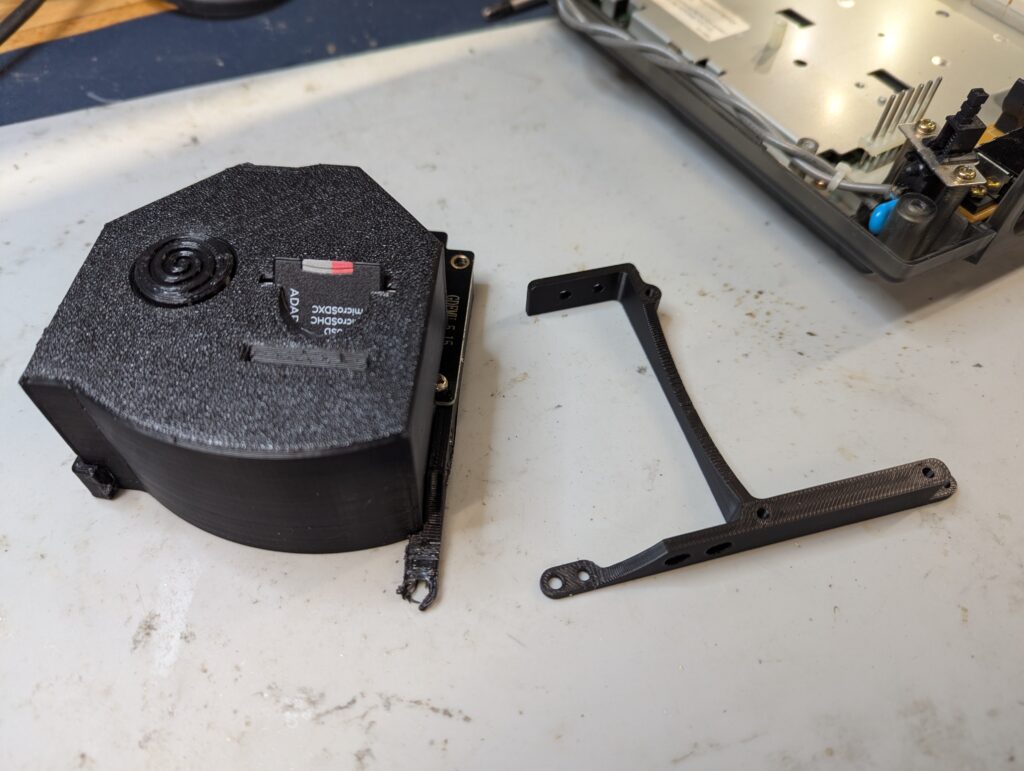
The console came in a custom shell and with a GDEMU and USB PSU installed.
I found some sign of work being done in the console with some flux, freshly soldered caps and some stray solder balls. The customer confirmed that he acquired the console on eBay and wasn’t aware of the work. Otherwise I found no problem with the operation of the console.
The recap was straight forward using a capacitor kit from RetroUpgrades. I also agreed with the customer to replace the bracket for the GDEMU which was in a bad shape, free of charge.
Final test, all good!
NOTE: the menu will scroll by itself if the console is powered up without a controller plugged in. This is known behaviour with GDEMU which might be affected by capacitor replacement, so just turn the console on with a controller plugged in or connect it shortly after powering up.
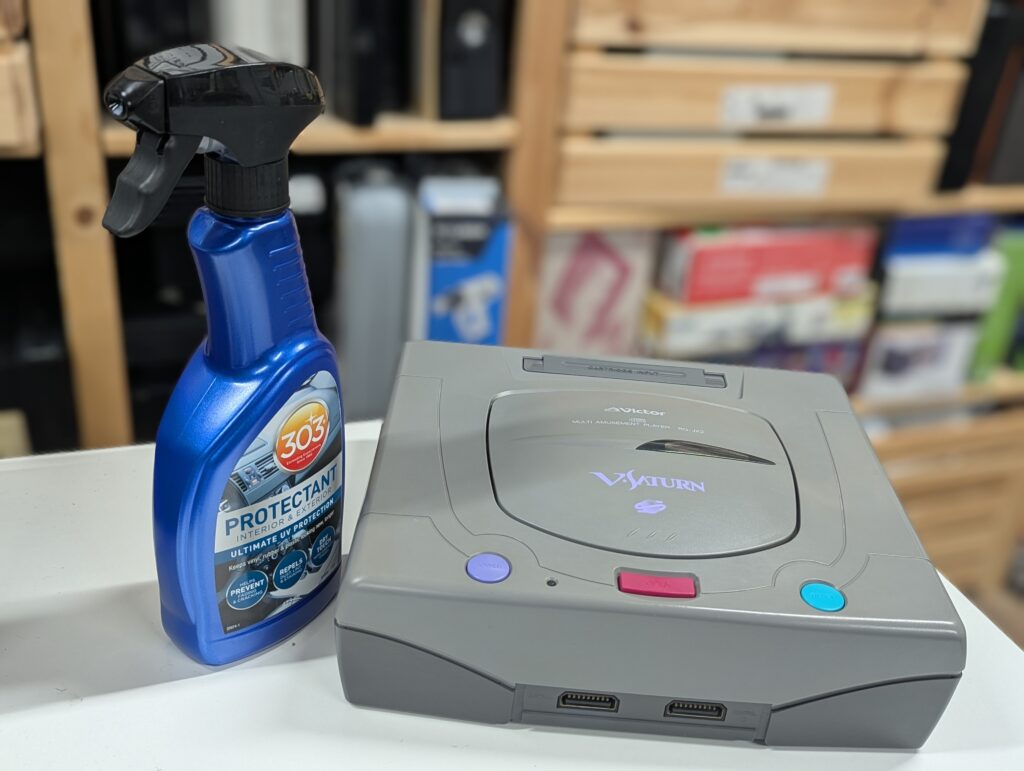
SEGA Saturn Victor
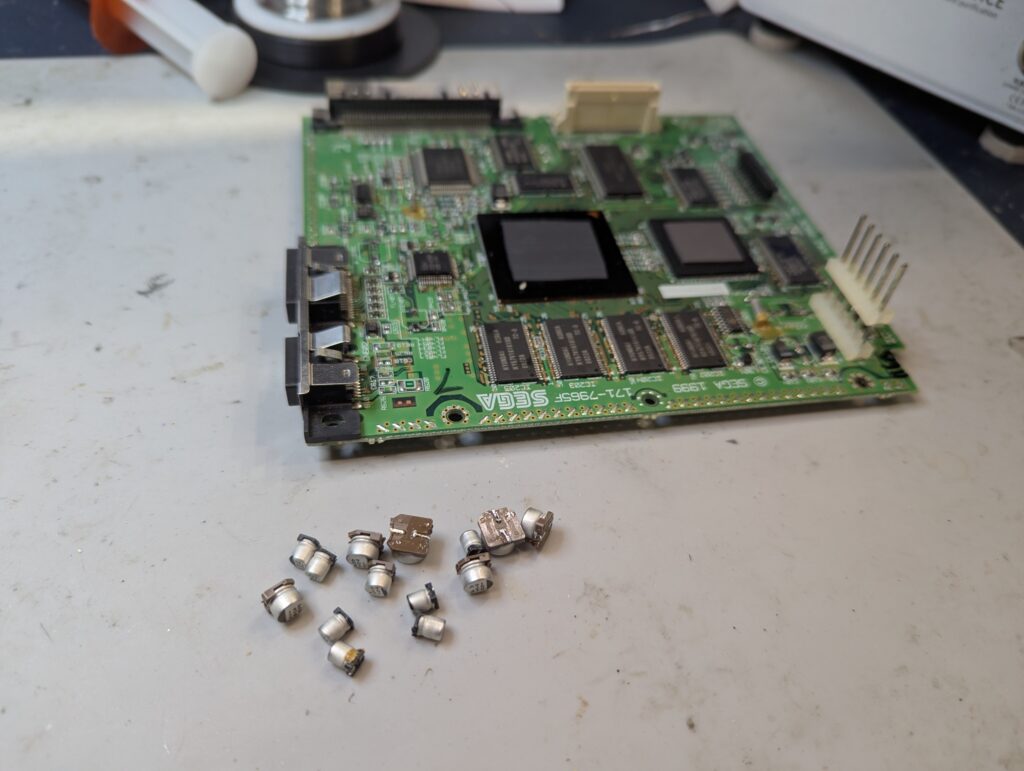
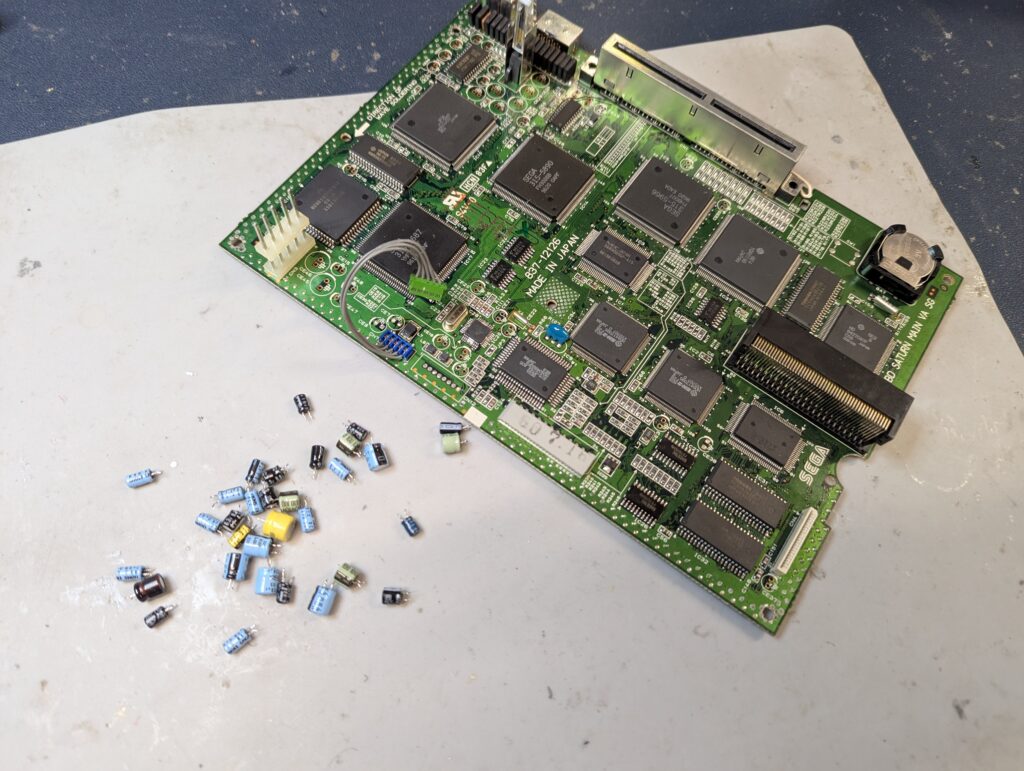
The console was in for a TLC, recap and FRAM mod. First up, console disassembly. The console comes with a USB PSU and a Fenrir ODE. This is a VA SG motherboard, and a RetroUpgrades cap kit was also used.
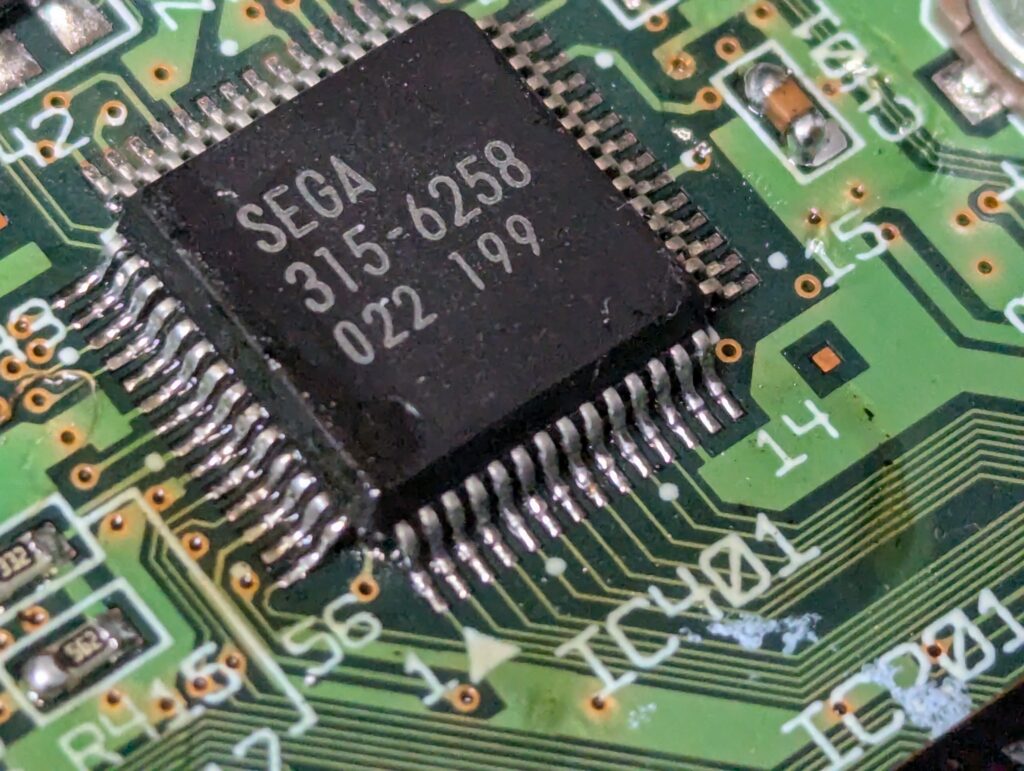
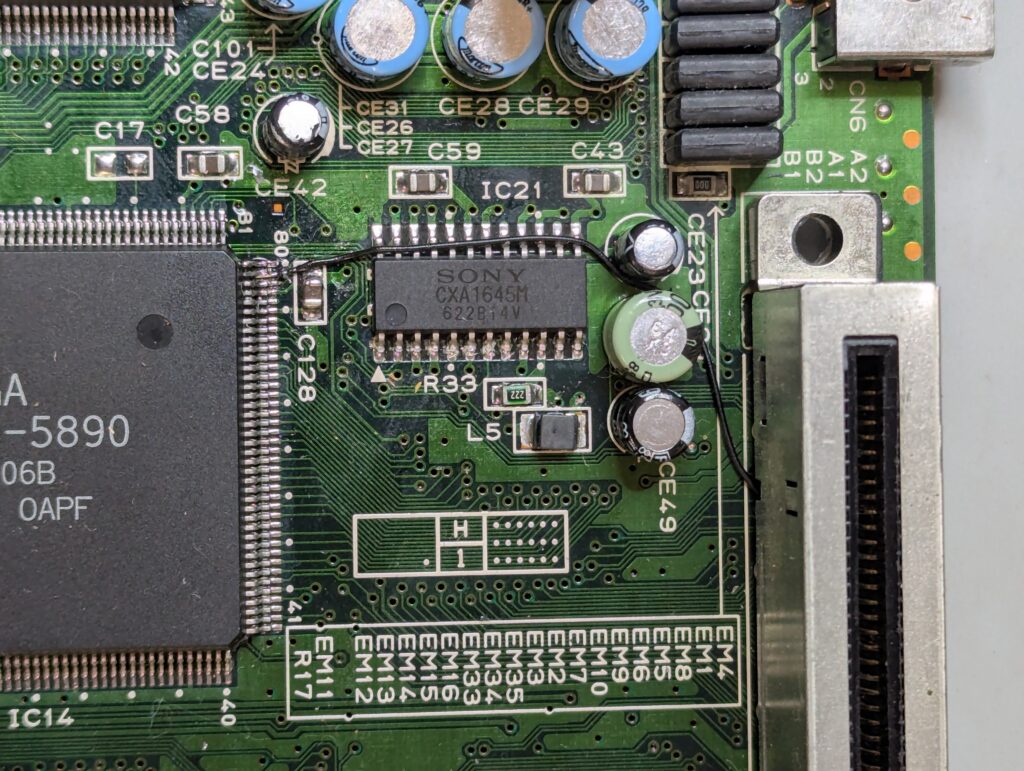
The console has a wire connected to pint 28 of the main chip, which seems like a region mod.
Recap and test
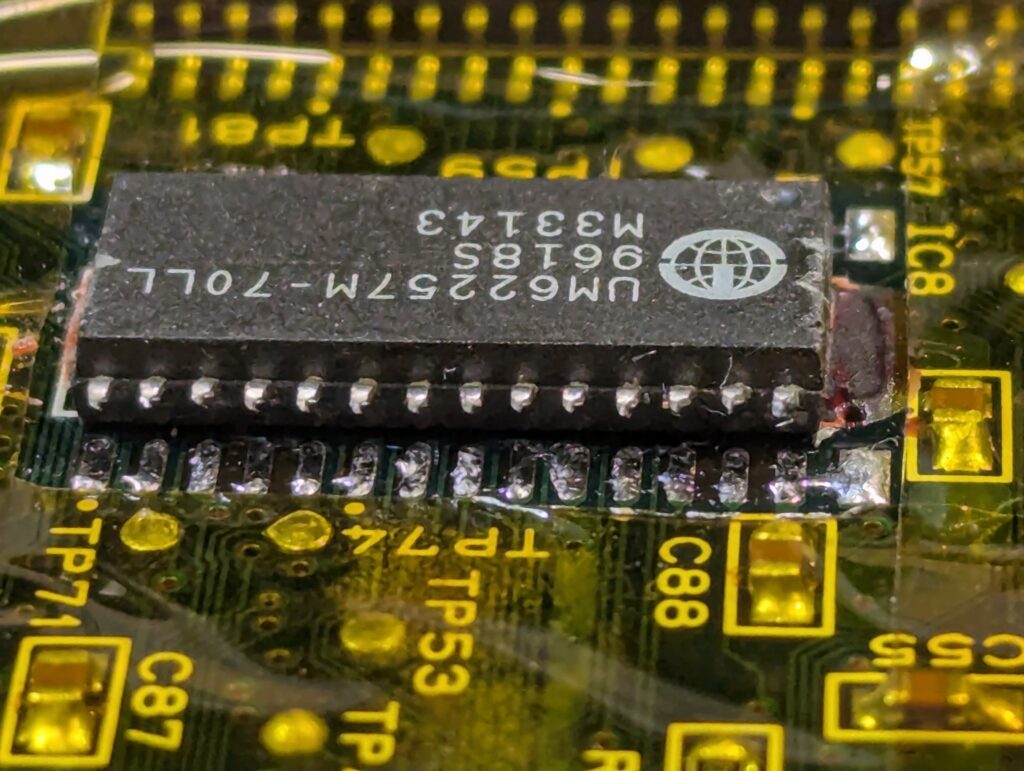
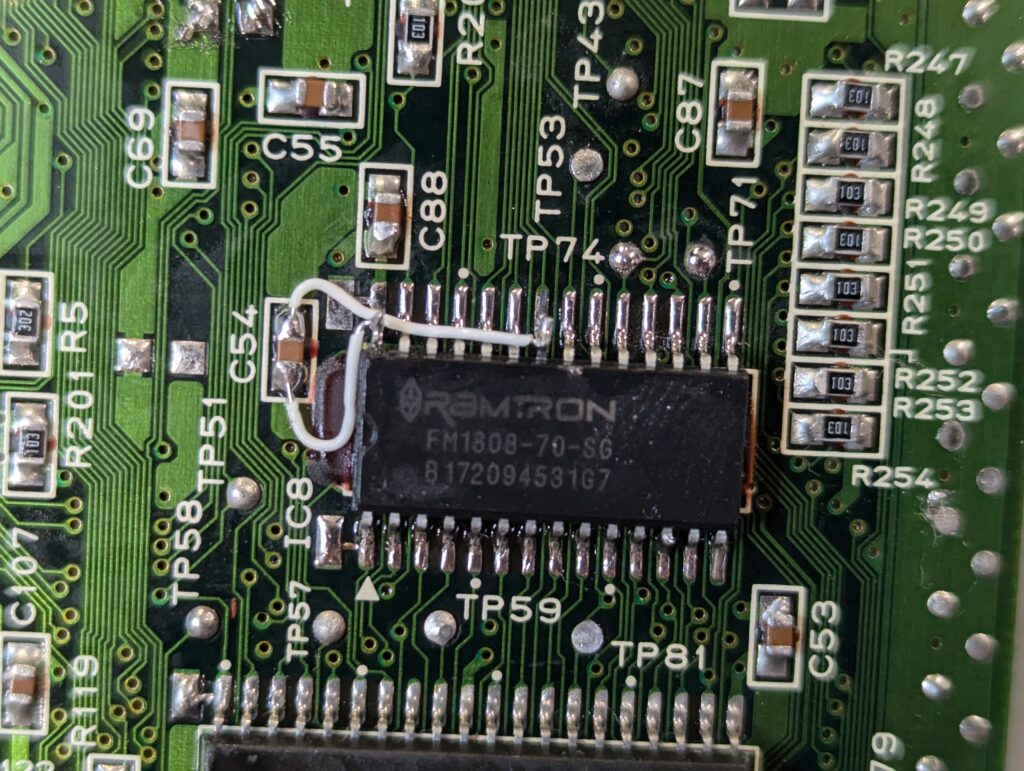
Next we need to look at the FRAM chip. This console has the chip glued to the motherboard with ePoxy. After consulting with the customer, I snipped the legs of the chip and unglued it from the motherboard using hot air and pliers. A couple of wires need to be soldered to 5V and ground afterwards, which means the battery is not required to keep the data. However the battery is still required to keep the time in the console. Having tested the battery, it still has 3V on it so it wasn’t replaced.
Having done the recap and the FRAM mod, the next step is to TLC the console.
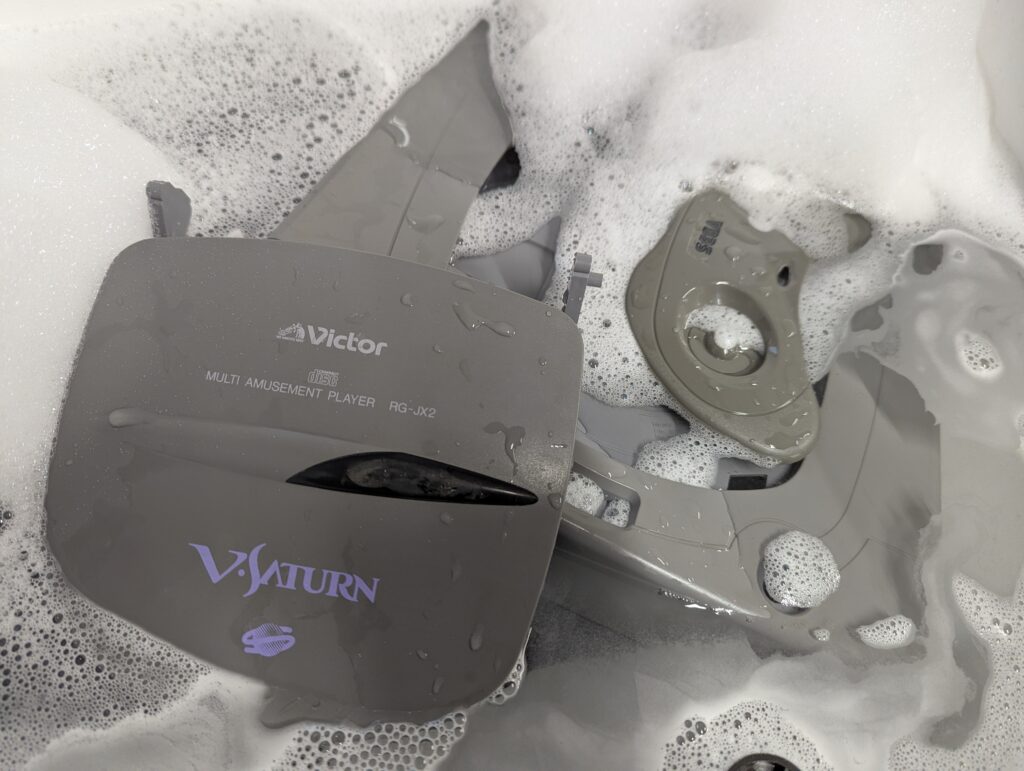
The customer asked for the controller to be retrobrighted too. Looking at the shade of gray, I am not convinced it needs it but had a go anyway. The method used was a vapour method, which involves putting the part in a sealed contained without touching some hydrogen peroxide at the bottom (without touching the parts), and heat the chamber while applying UV light to it.
Some before and after pictures. Again, not sure there is much of a difference.
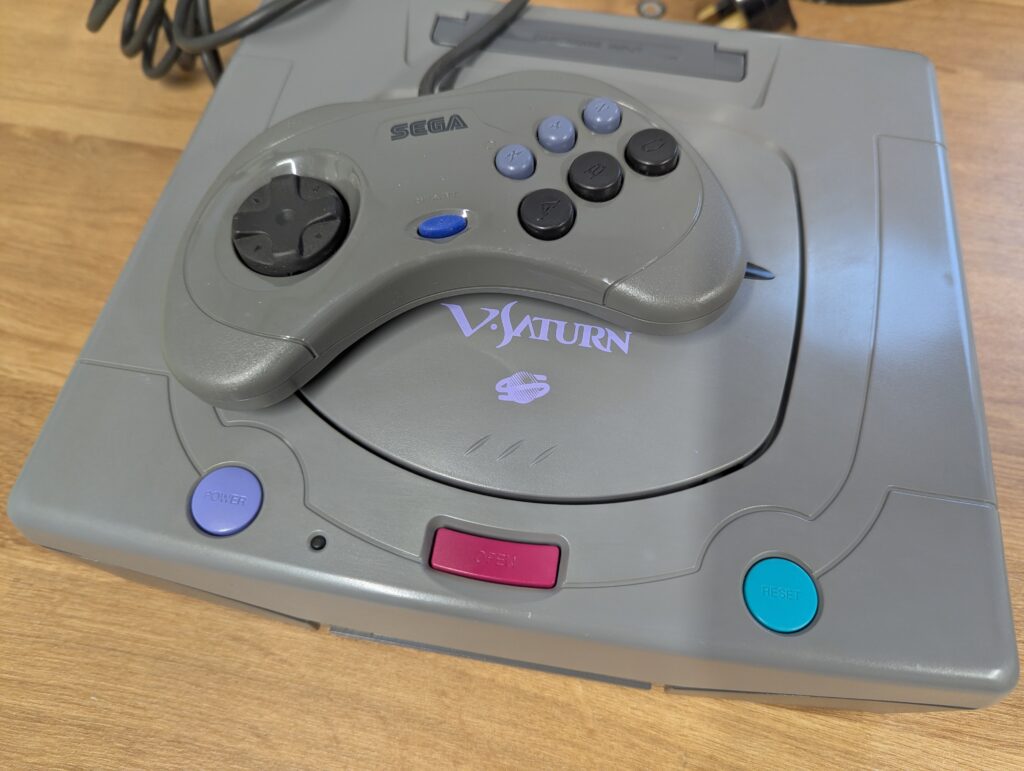
After putting the console back together and testing, some UV protection was used