This order was for the recap of the main board of a Game Cube, for the installation of Retro GEM HDMI kit, and for the replacement of the analog sticks in a PS1 controller
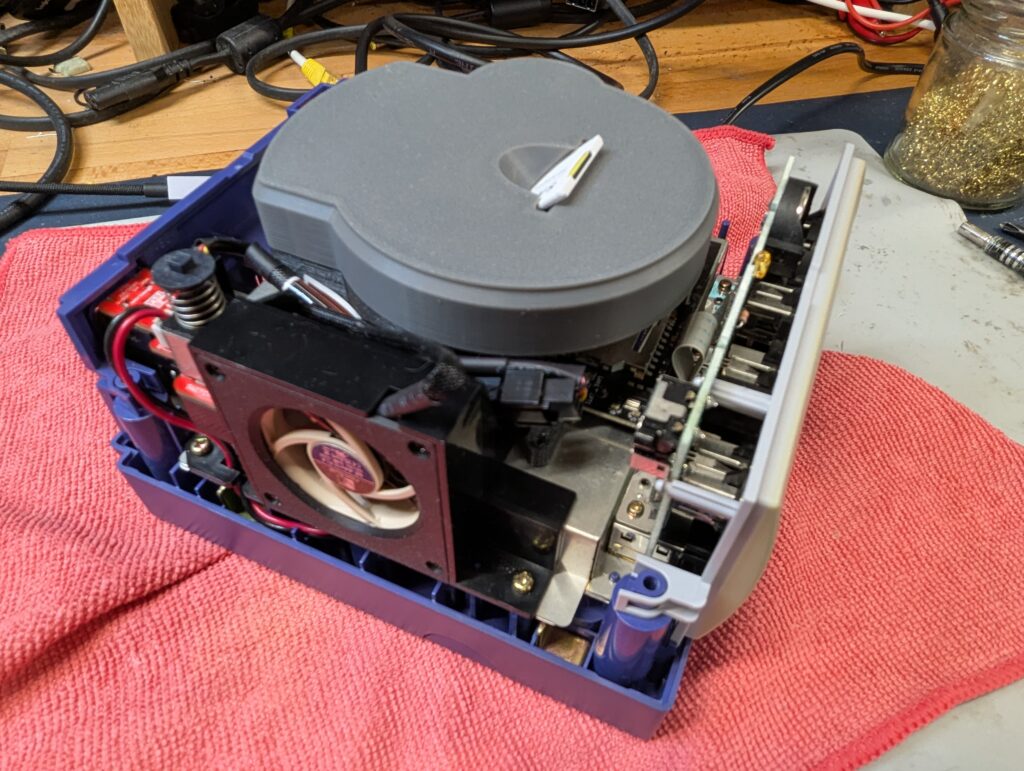
Game Cube
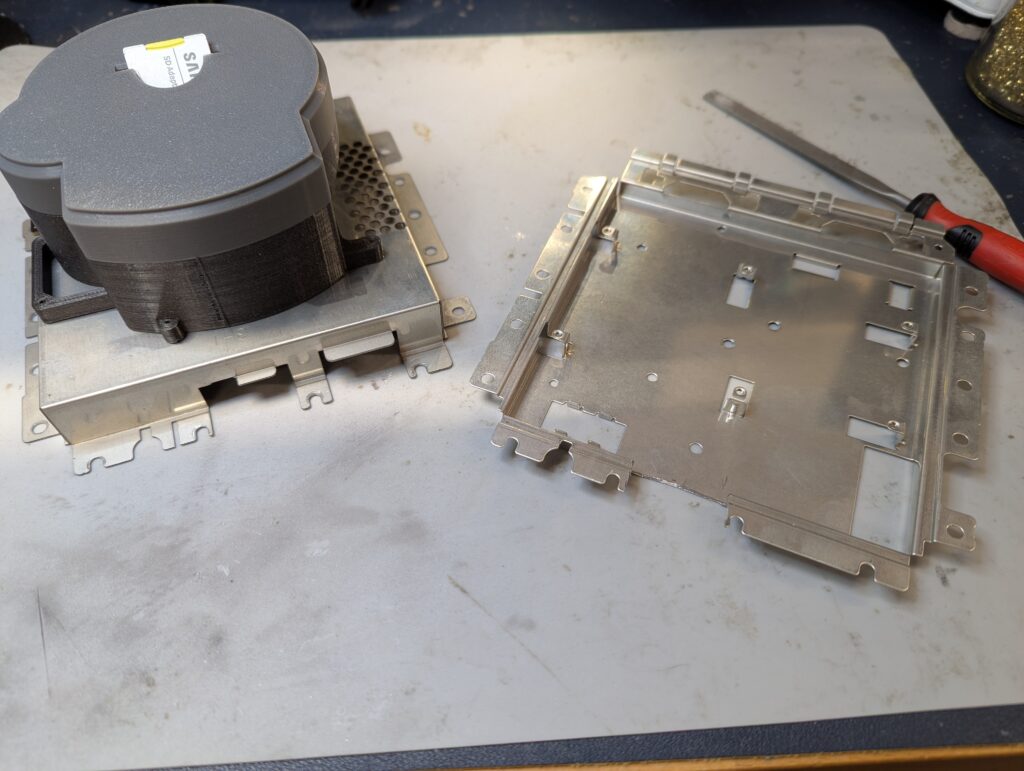
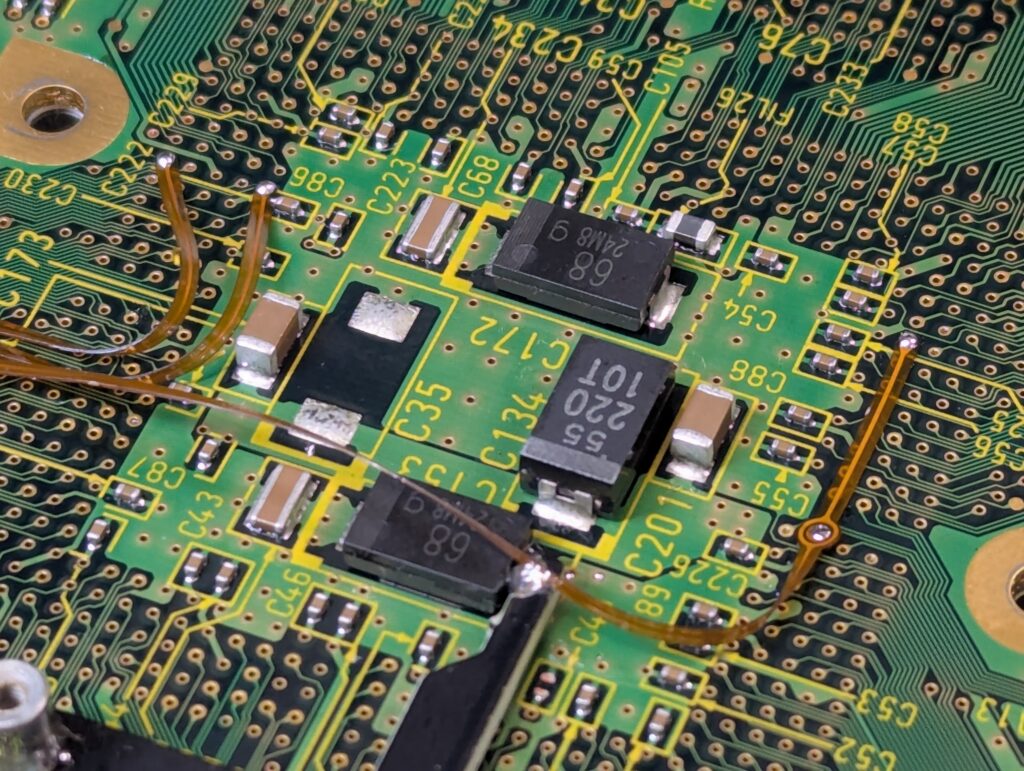
This console has a GC Loader installed so the optical drive isn’t present. It also has a replaced fan assembly with a Noctua fan and a USB charger. The first step was to recap the console

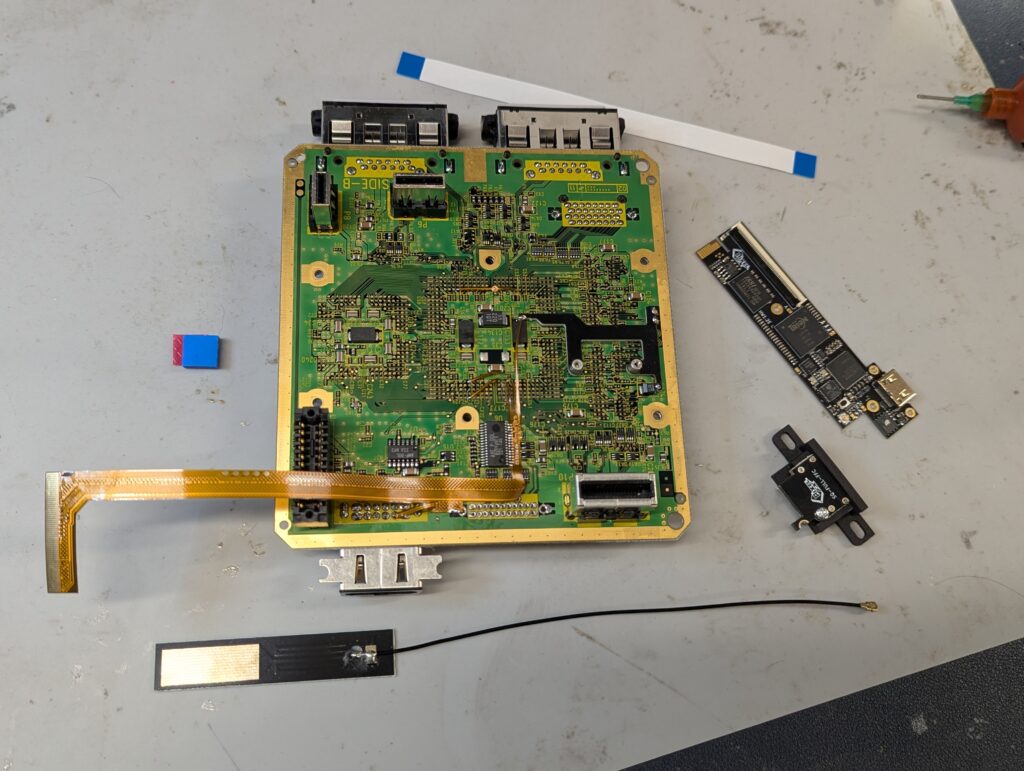
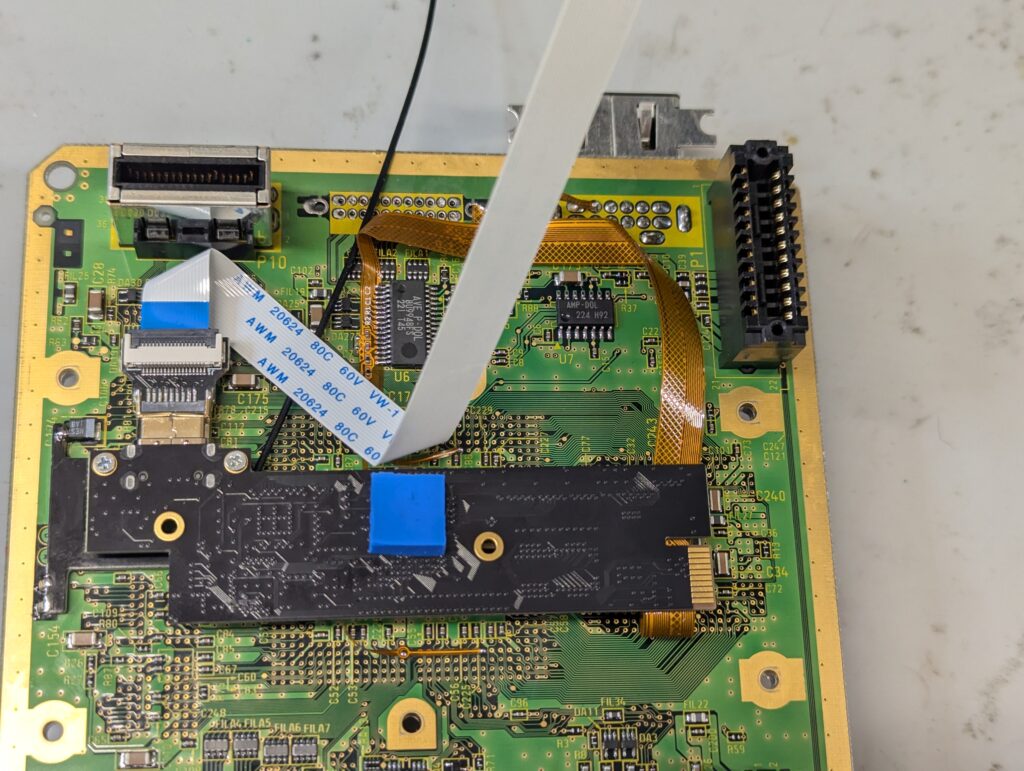
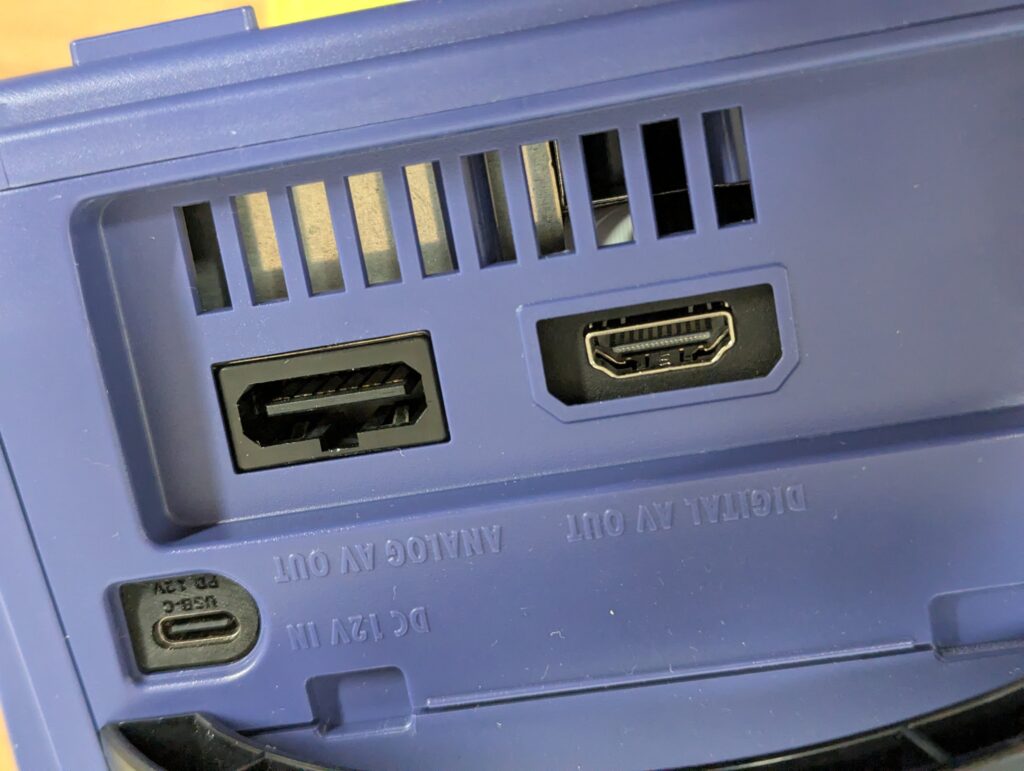
Next step is to install the Retro GEM. For this, there needs to be various preparatory works. First, the shields need to be modified to make space for the new HDMI port and the ribbon cables. The second step is to remove the digital video port as its space will be used for the HDMI port. This was achieved using hot air and then cleaning the remaining solder with solder wick.
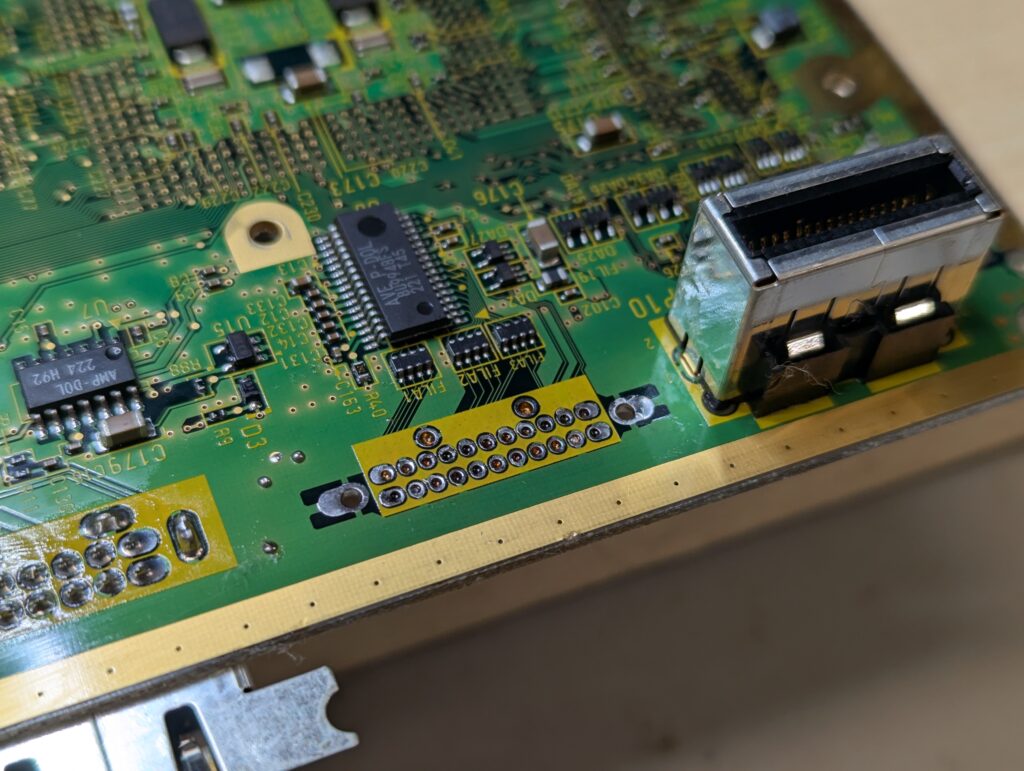
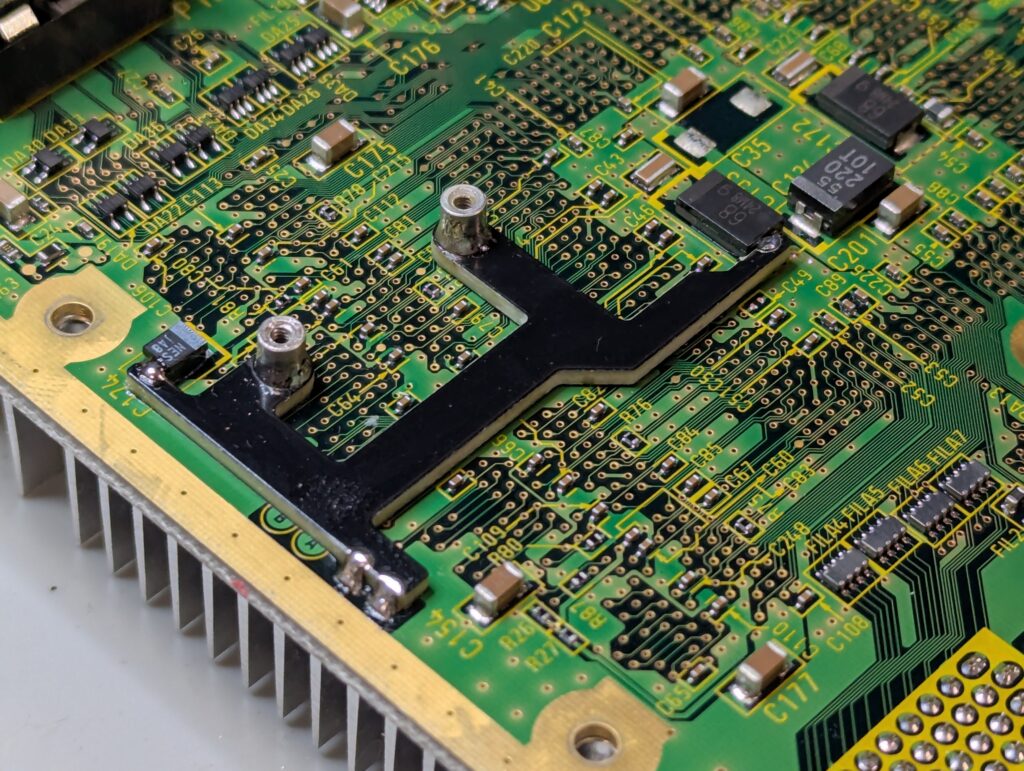
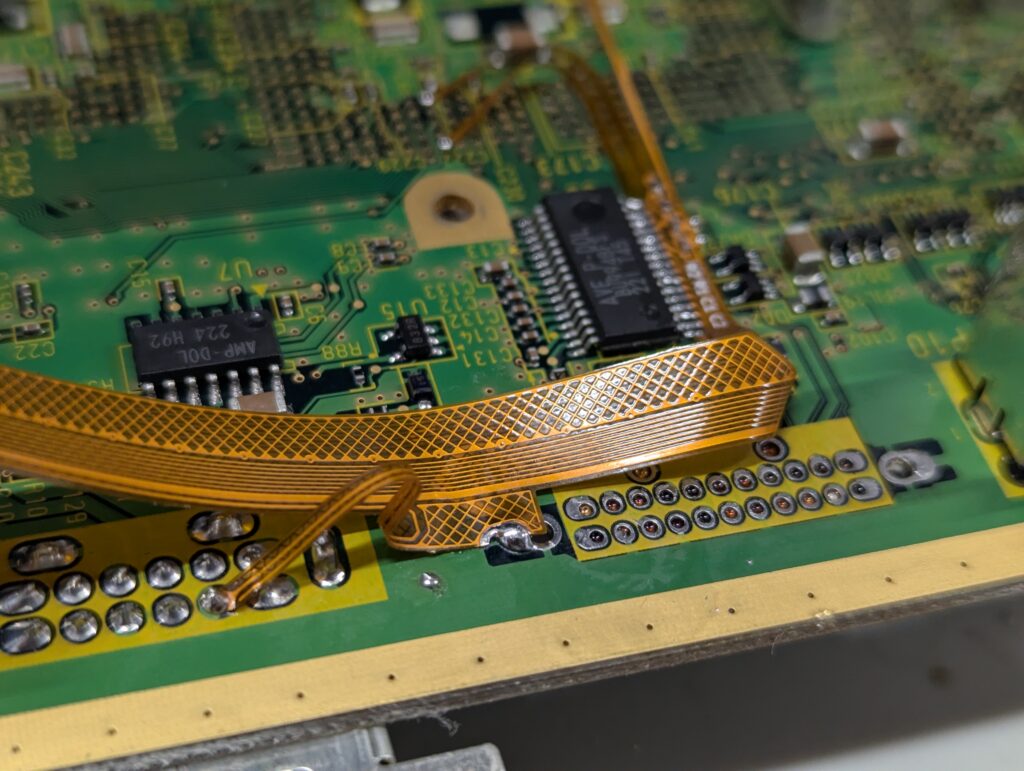
Finally, the support for attaching the Retro GEM motherboard needs to be soldered to the Cube motherboard.
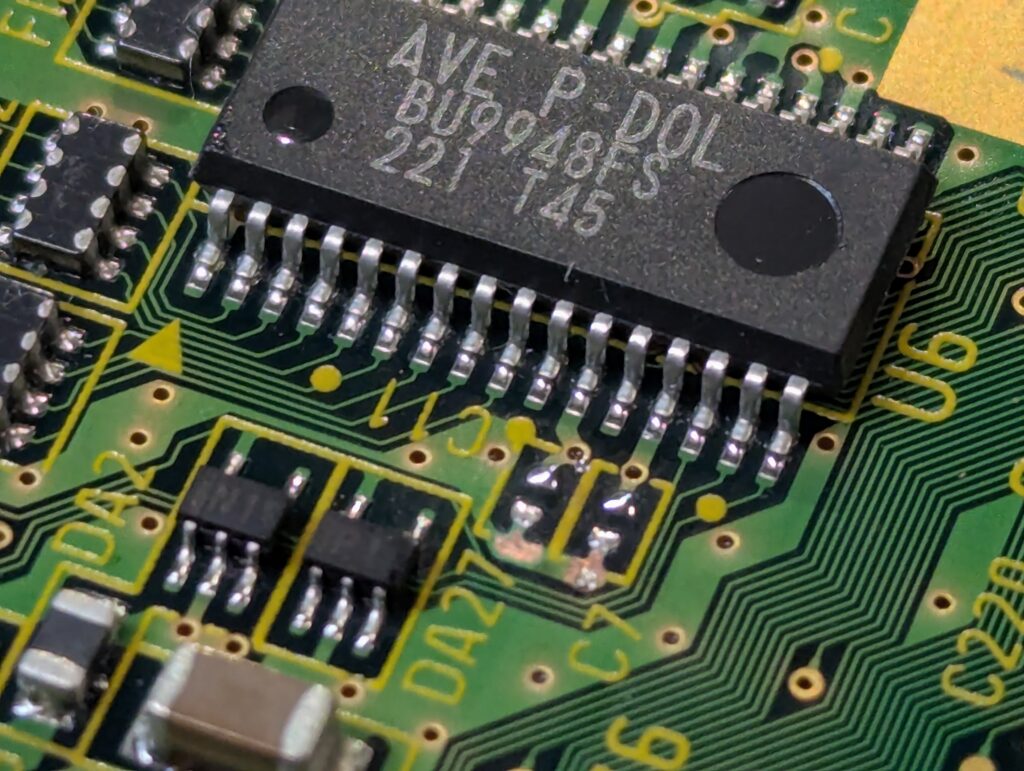
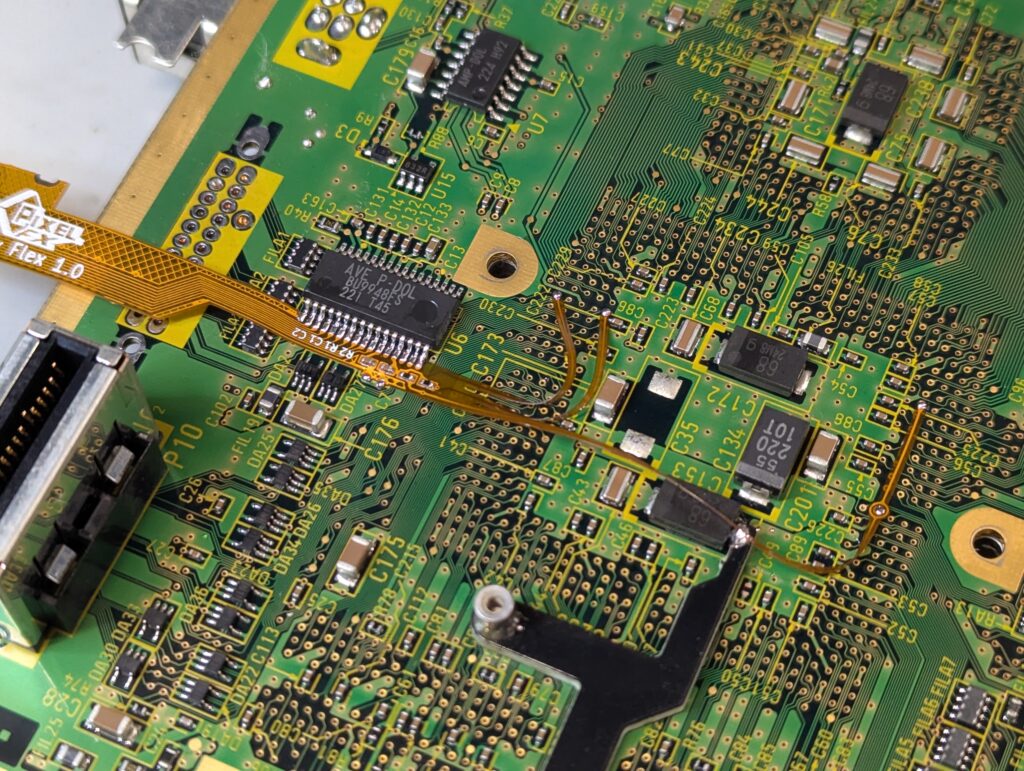
The next step is to install the flex cable which takes the video signals from the video chip and send it to the GEM PCB. A number of points in the PCB need to be grinded to remove solder mask to prepare the flex to be soldered in.
The final step is reassembly and testing
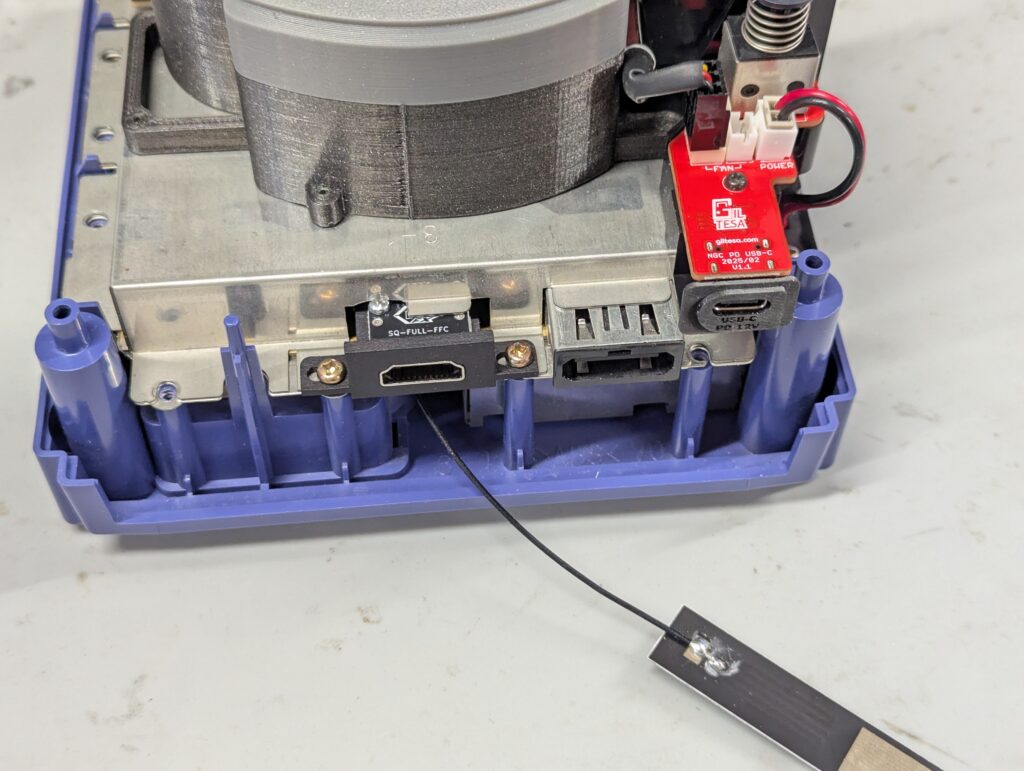

The antenna has been installed in one side of the console attached to the GC Loader bracket. Please not that this is in place with sticky tape and could move or detach with transport. Attaching the antenna to the shield might result in poor reception. Please also note that the GEM seems to have problems with some modern routers, so if you configure the WiFi and cannot get a good connection, try a different router (for example, a hotspot with a phone).
Please also note that you need to configure the video on the GEM for optimum quality in your TV setup. Prese L+R+pad right+X to open the GEM menu for configuring and upgrading your Retro GEM.
Oh, I also printed the missing port cover at the bottom of the console. Unfortunately I didn’t have the right indigo colour, so printed it in black.
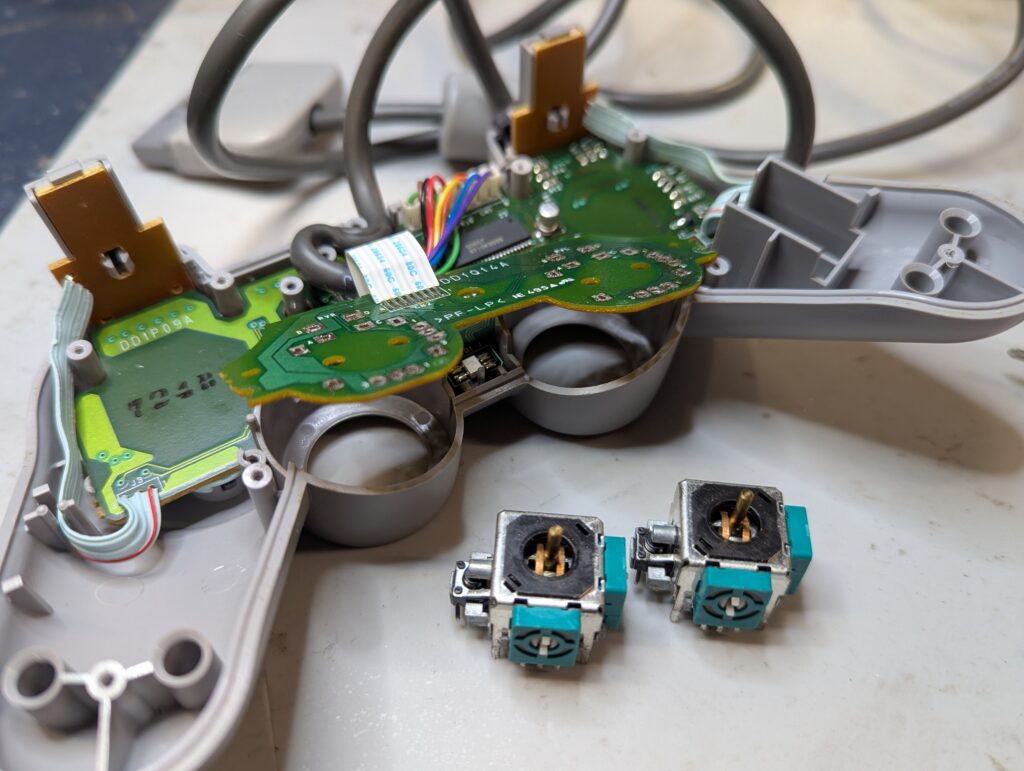
PS1 Controller
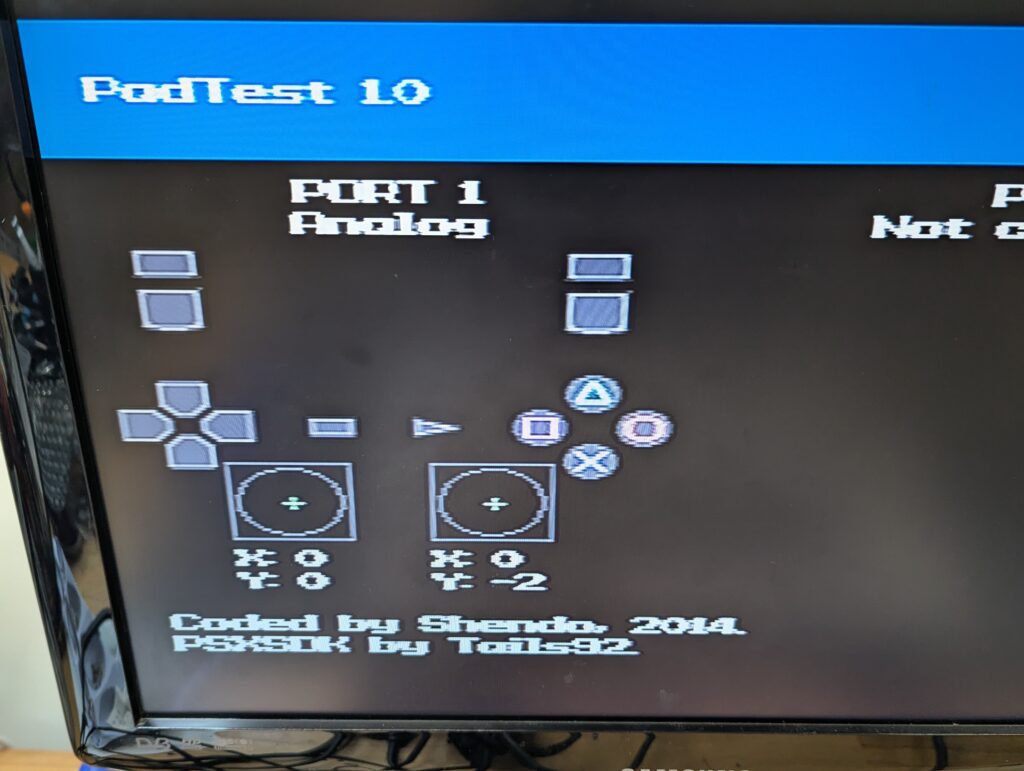
The controller was in excellent condition. Upong testing, a slight drift was recorded in both sticks
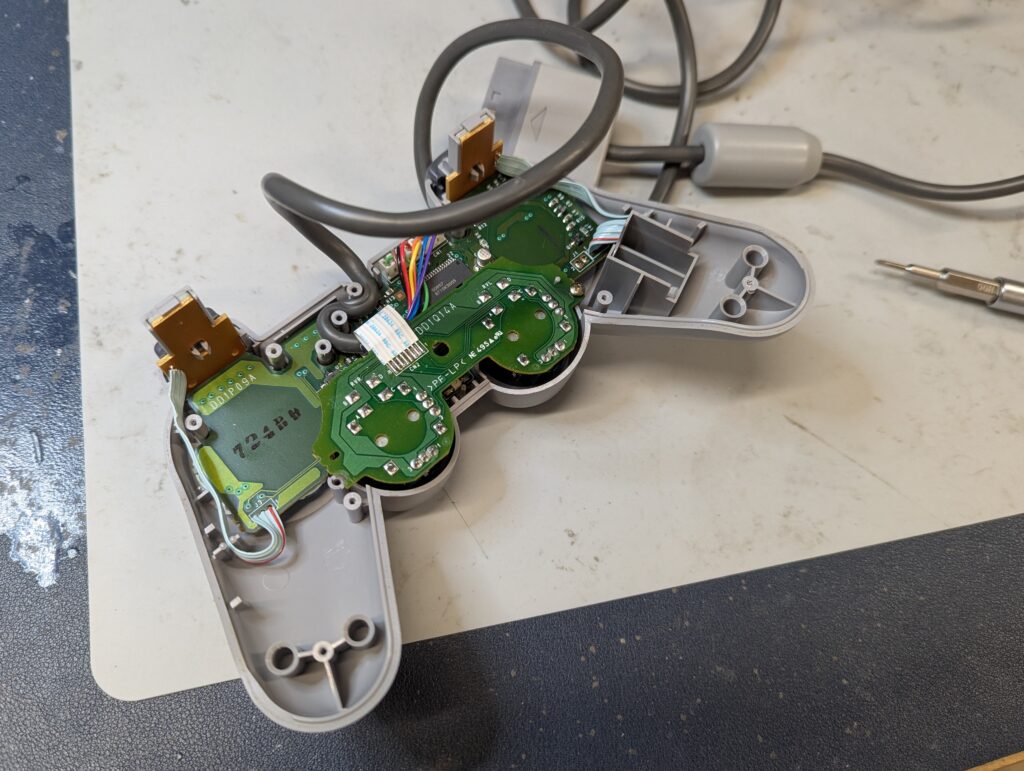
The sticks were replaced by new one sourced from ZedLabz. After the replacement, there was minimal or no drift