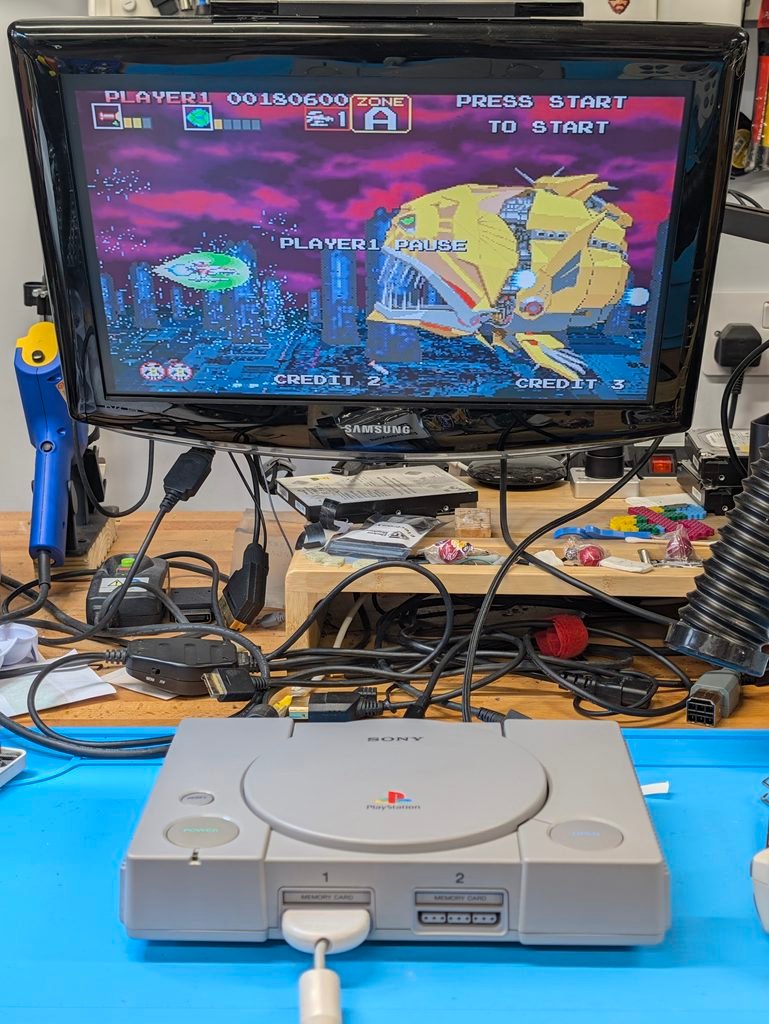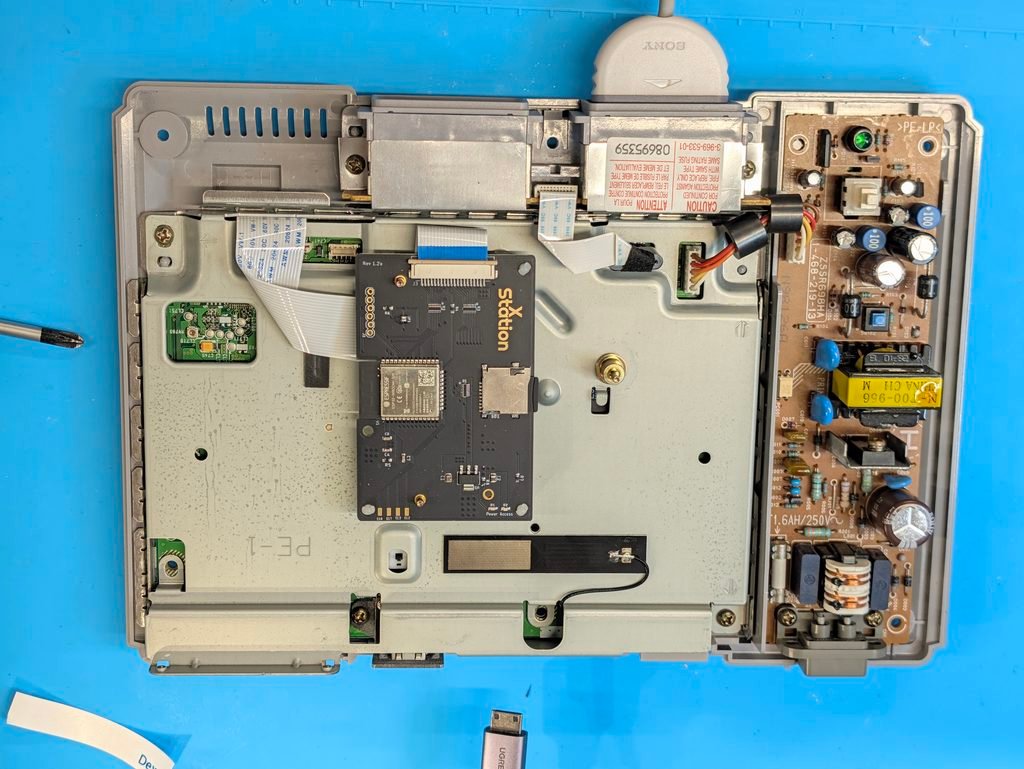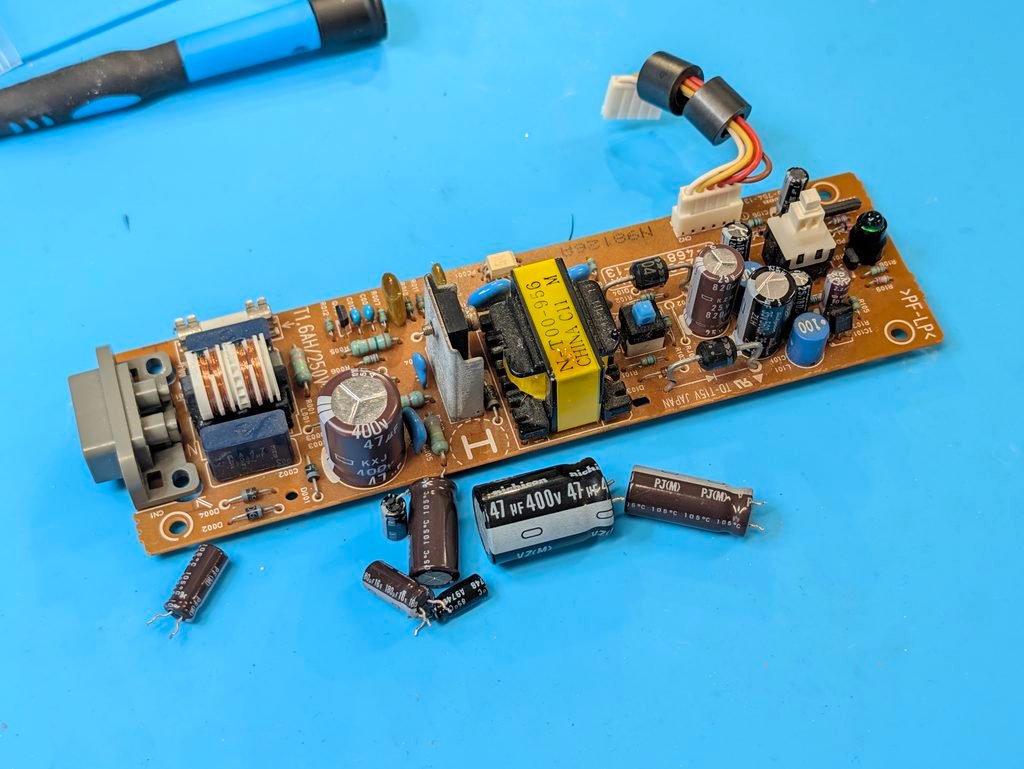
This order is for the the installation of a Retro GEM into a PS1, as well as for the recap of the motherboard and the PSU. The console was in very good condition with a XStation, and in-game reset and a DFO already installed.
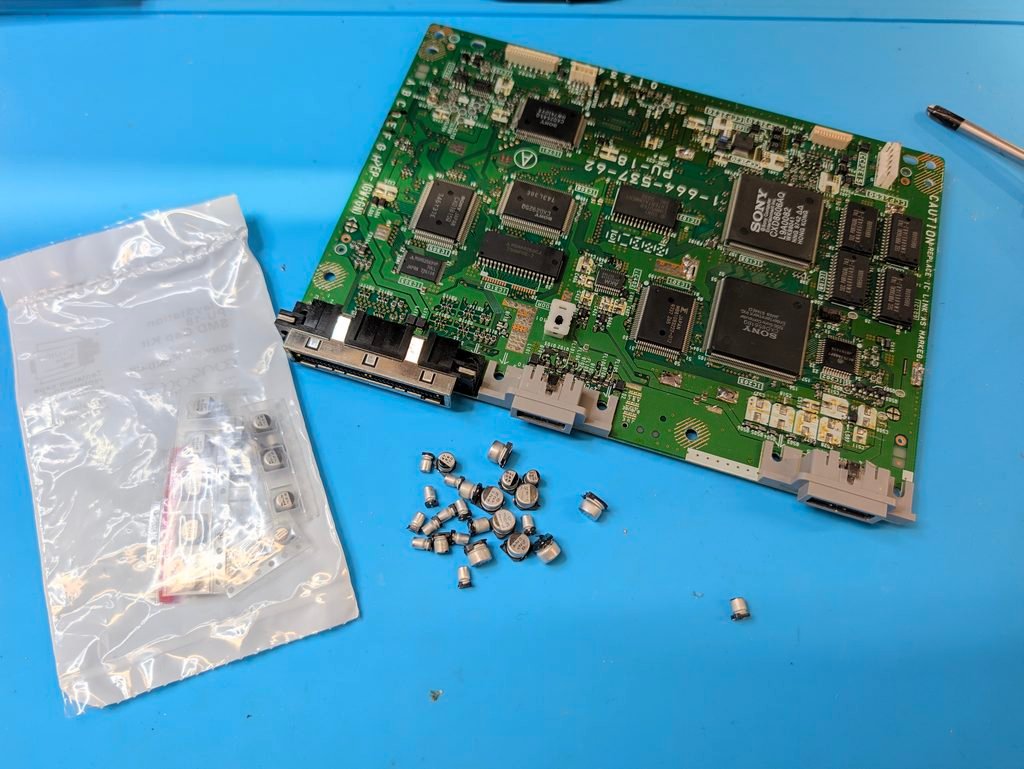
First step was to recap the motherboard, noting that some of the SMD caps were to be replaced for tantalum caps, both because those were the replacement provided in the kit, but also because the Retro GEM kit required the smaller form factor.
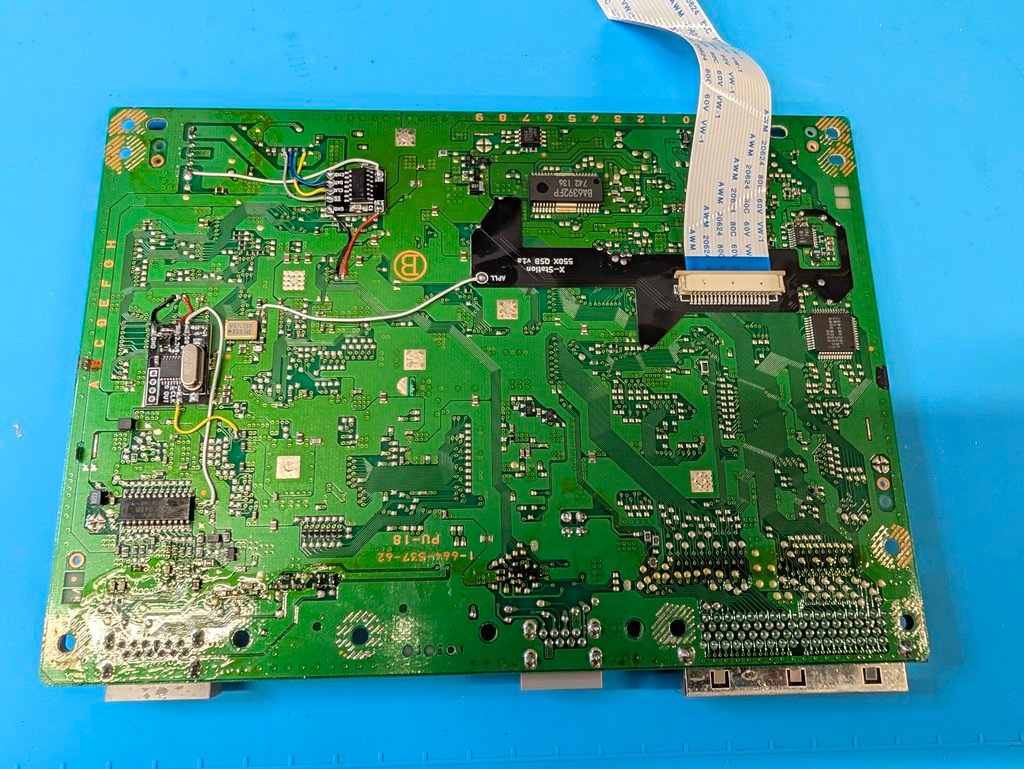
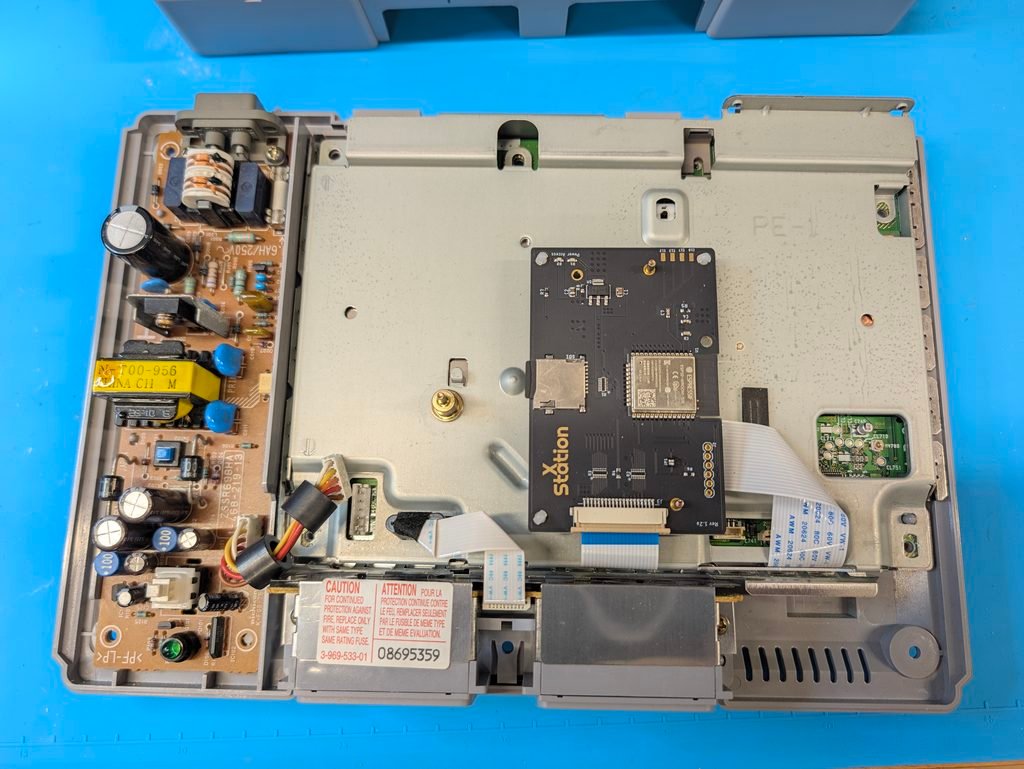
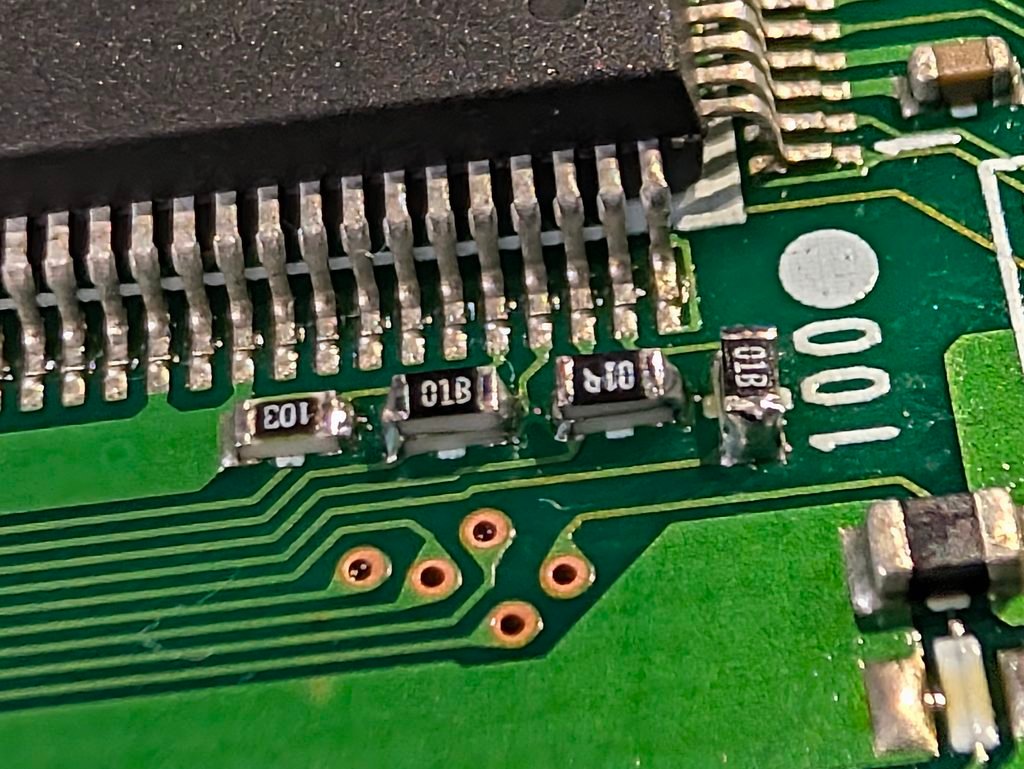
In order to avoid audio issues, the Retro GEM instructions called for modifying some of the resistors of the audio circuit. Also, before installing the main flex, preparation of the area with kapton tape was required to avoid short circuits with vias very close to the chip pins.
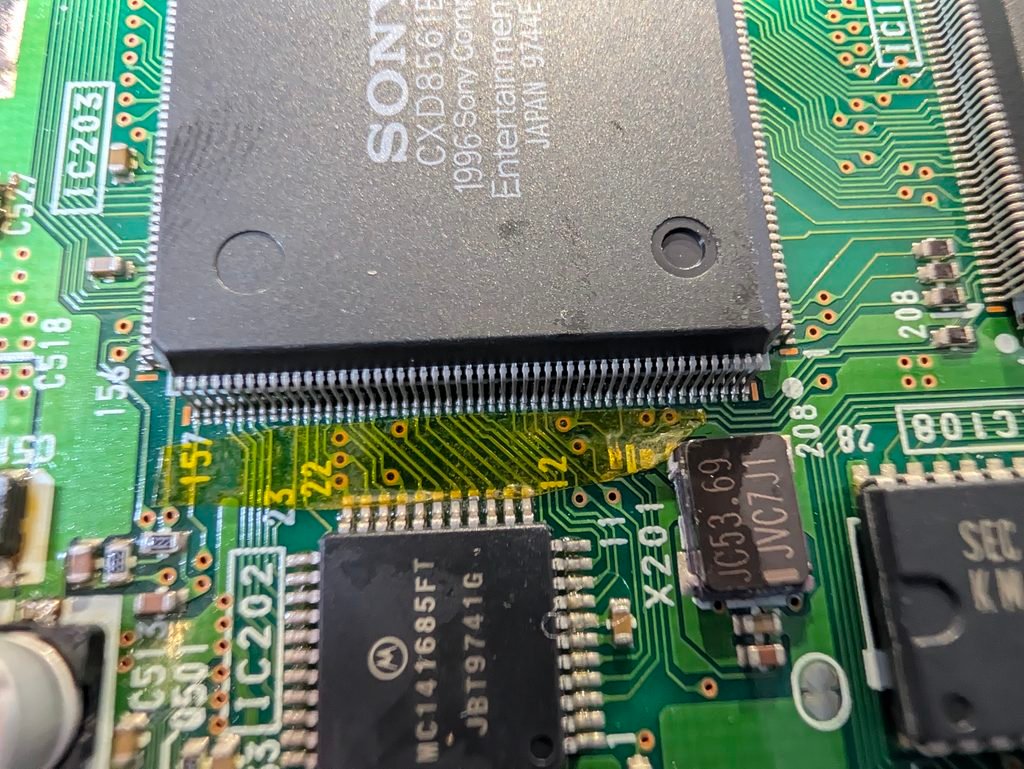
The kit comes with three flexes: one for the controller, another one for the audio and the final one for the video chip.
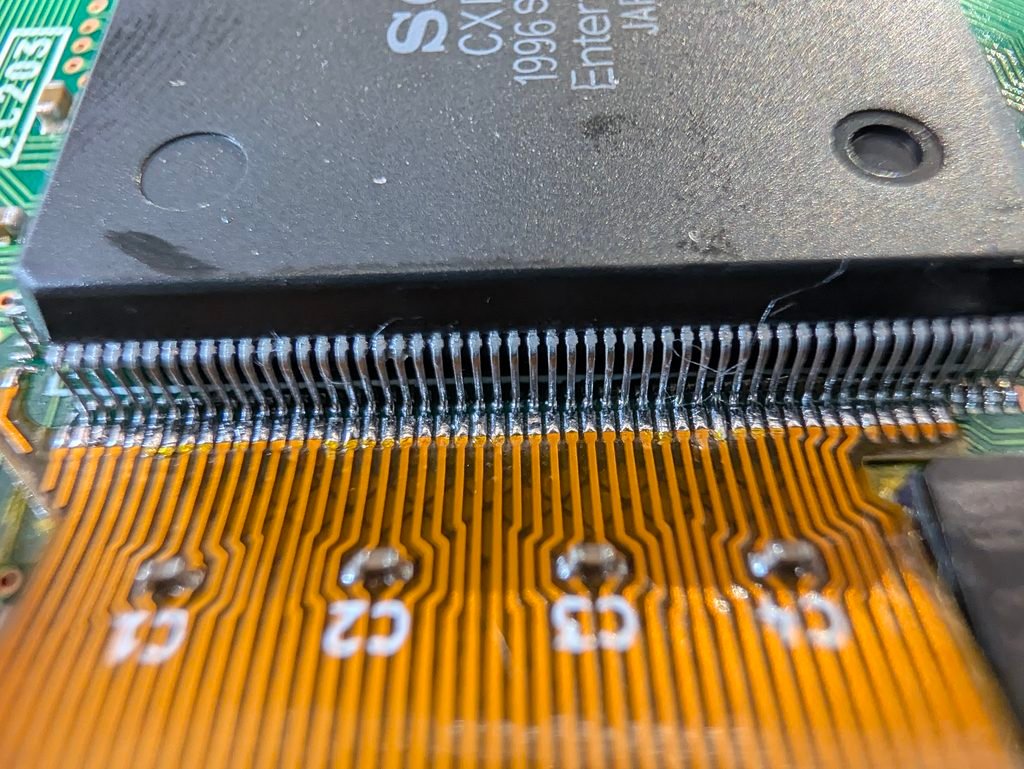
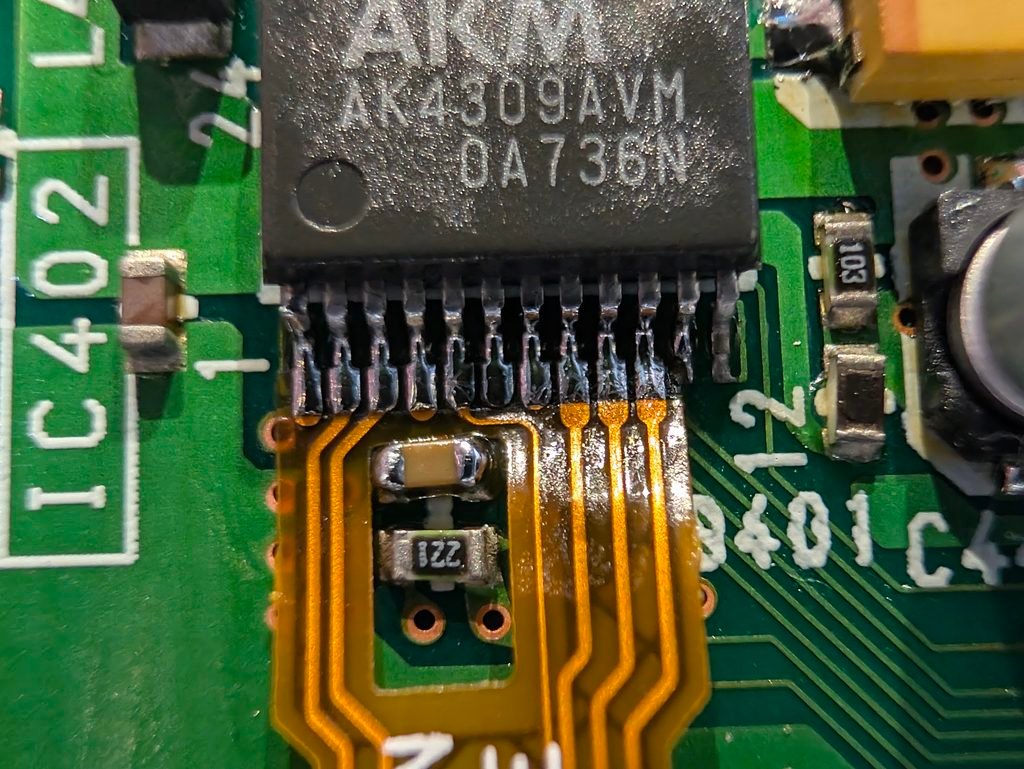
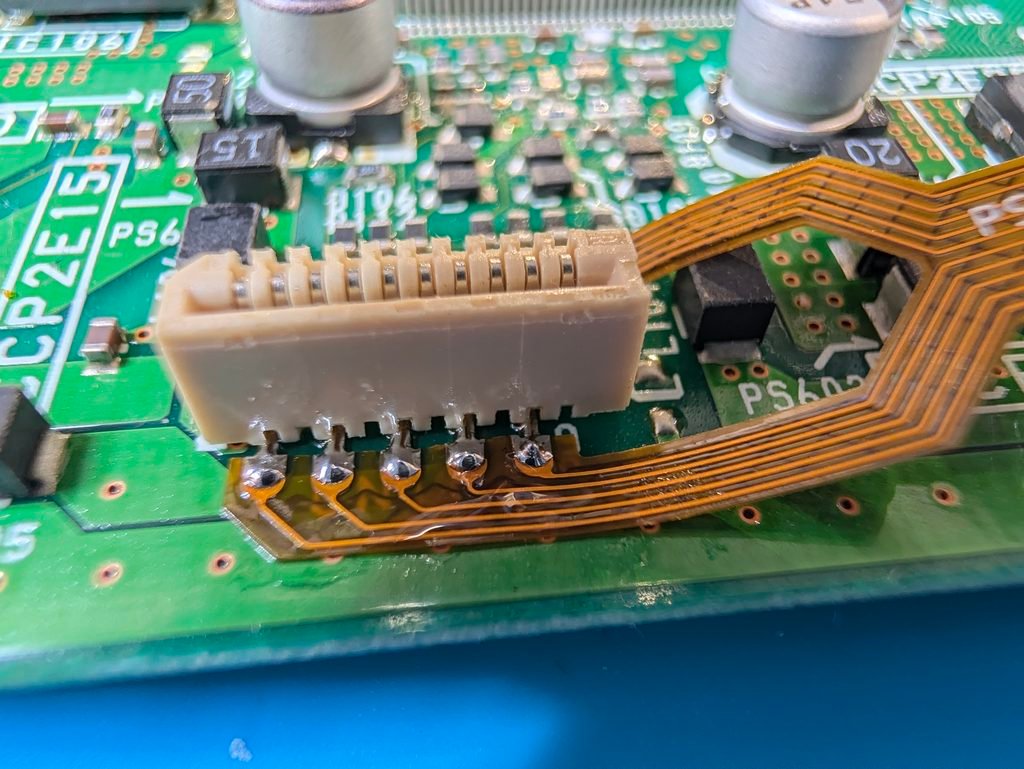
After installing the flexes, the Retro GEM board needs to be installed with the HDMI connector and the connector bracket, and on top of the board, an intermediate board is also added that connects to all the flexes.
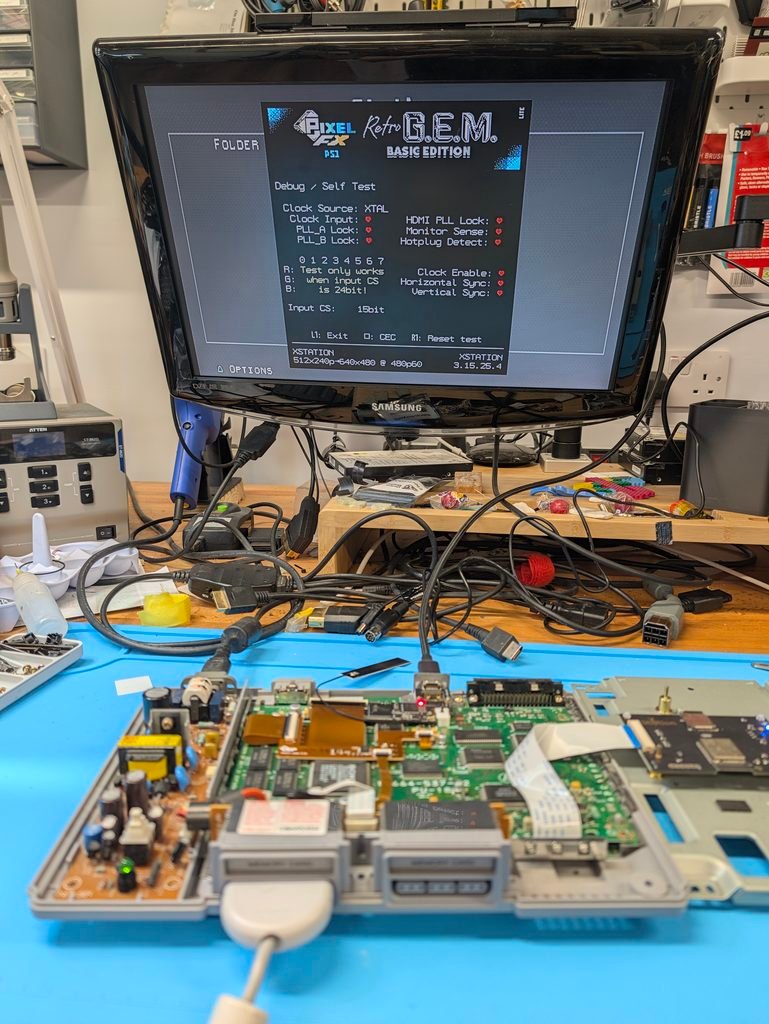
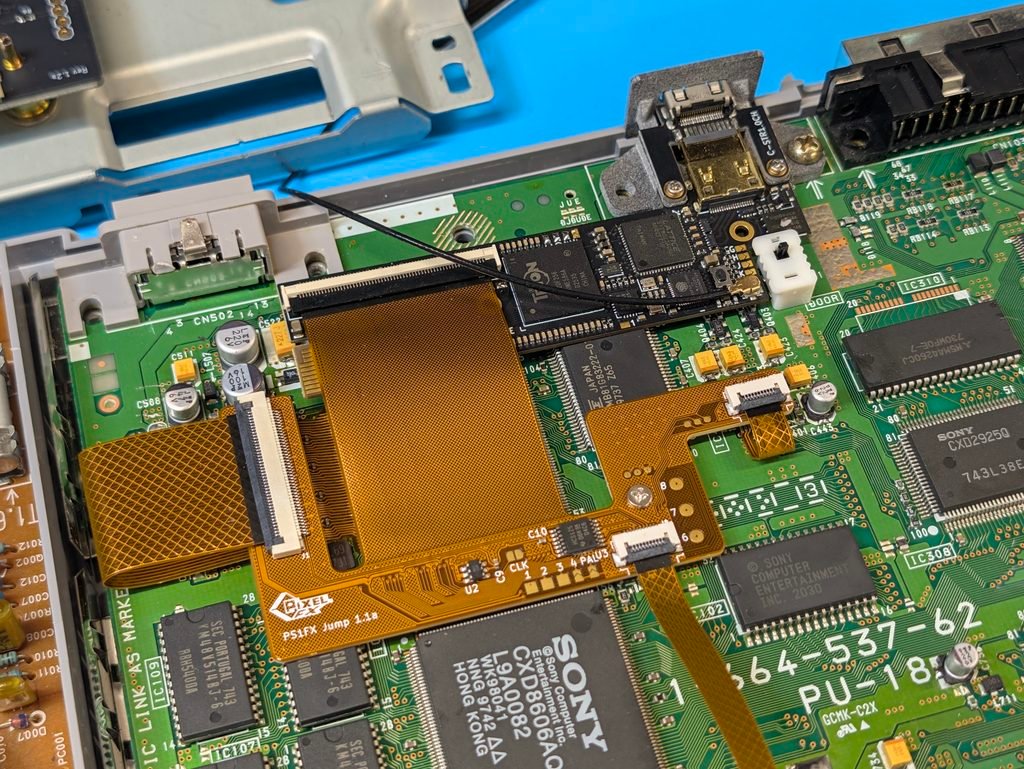
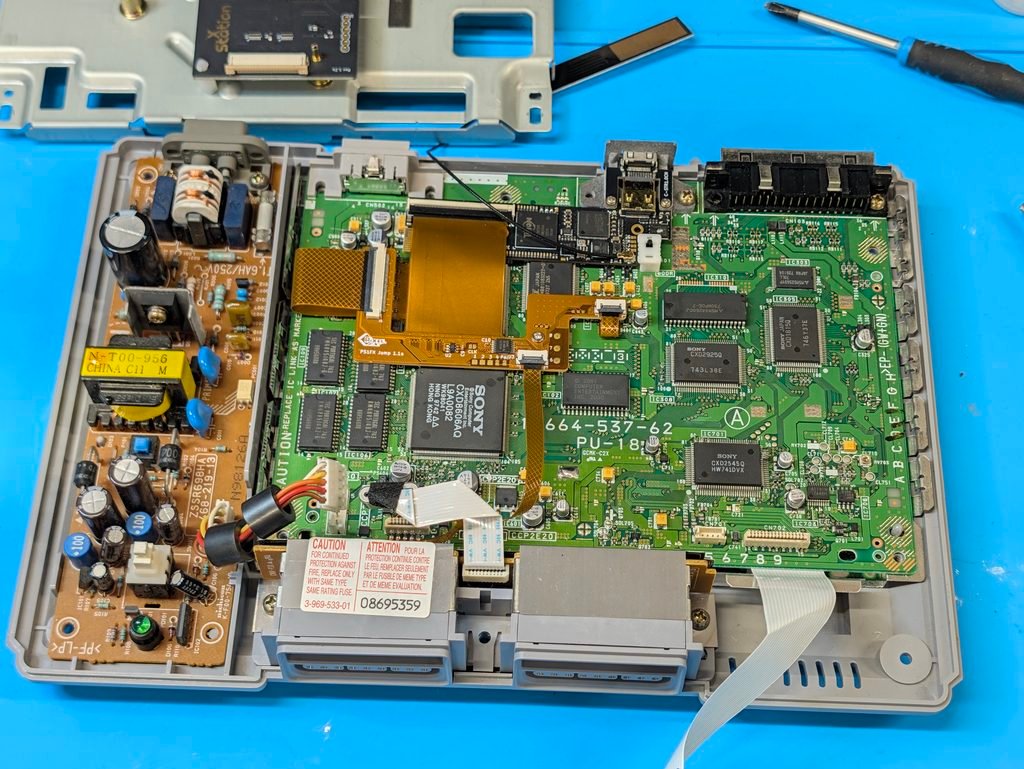
All tests good. Final steps are to recap the PSU, and then put everything back together, and final tests.