
This order was for the recap and installation of a triple bypass in a japanese Mega Drive (model 1). The console came in good condition and working well.
The first step was to recap the console and test that all still continues to work well.
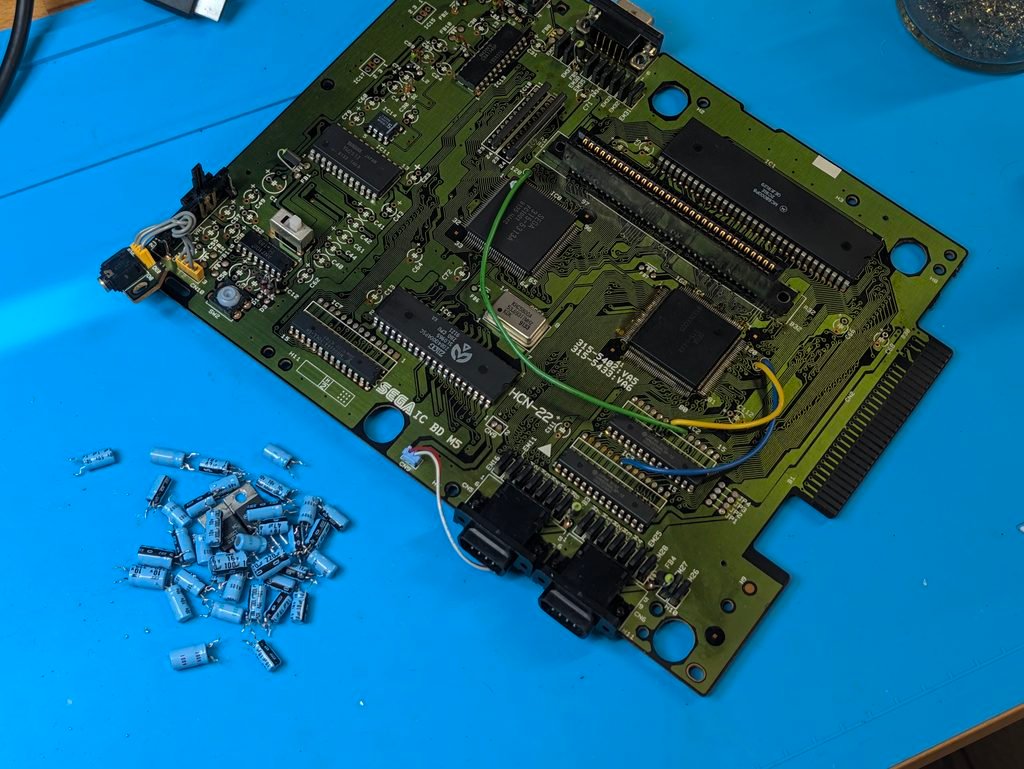
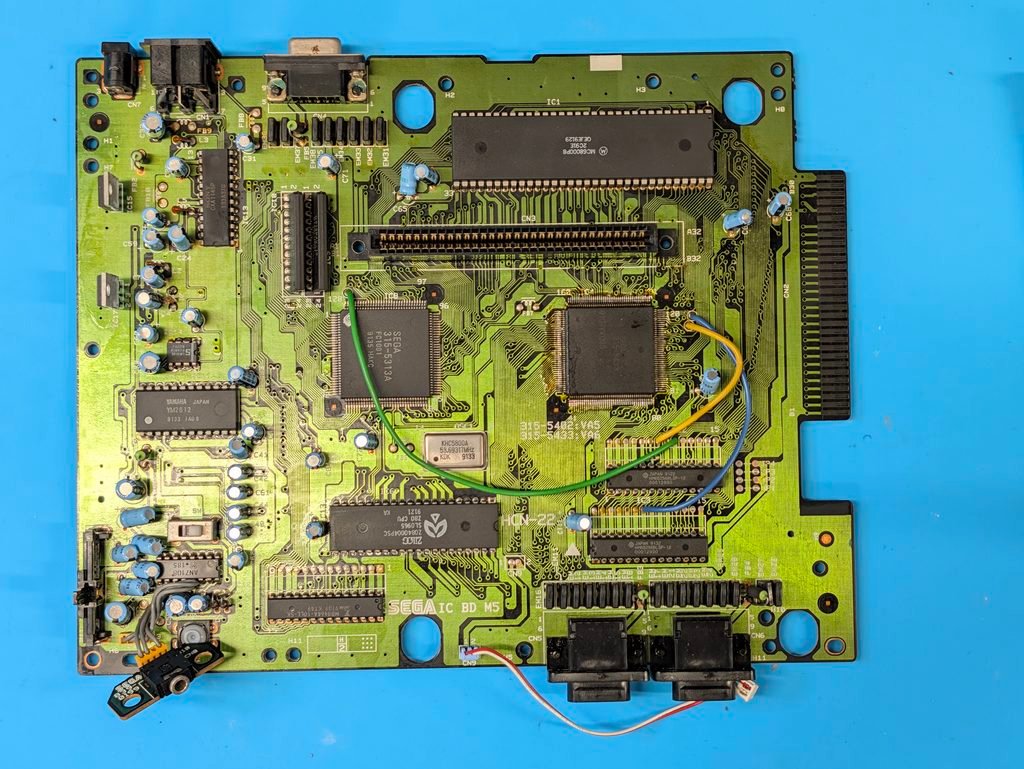
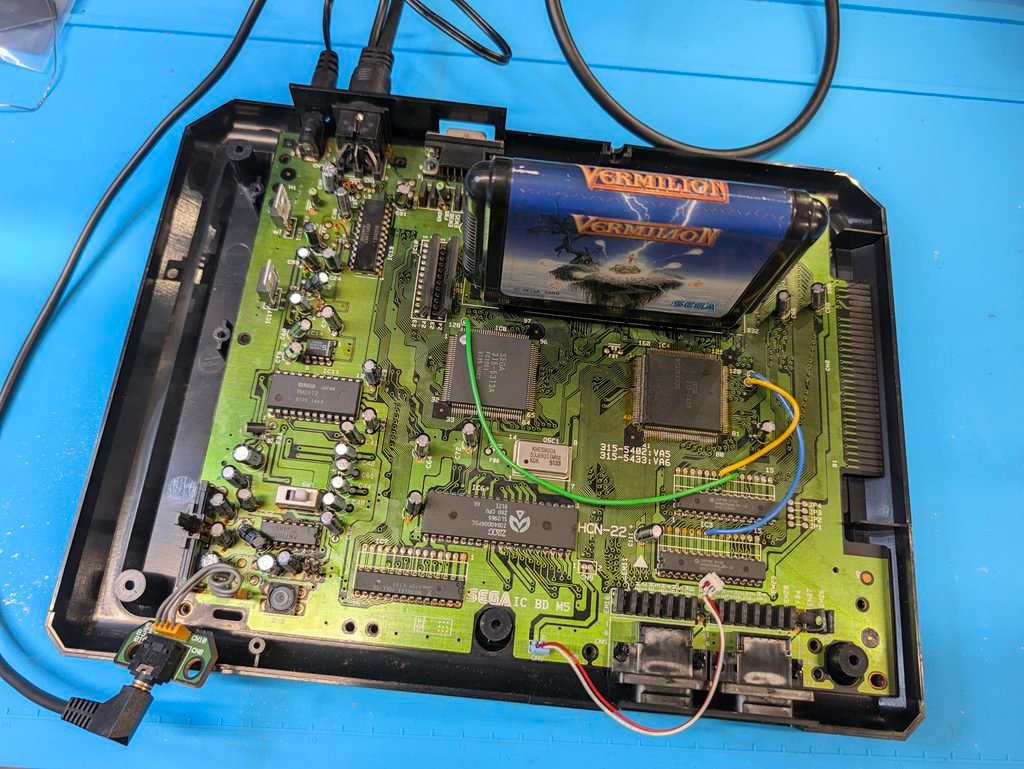
Second step was to remove the old DIN connector and replace with the new mini-DIN. A interposer board is required to ensure the new DIN connector can be soldered in place.


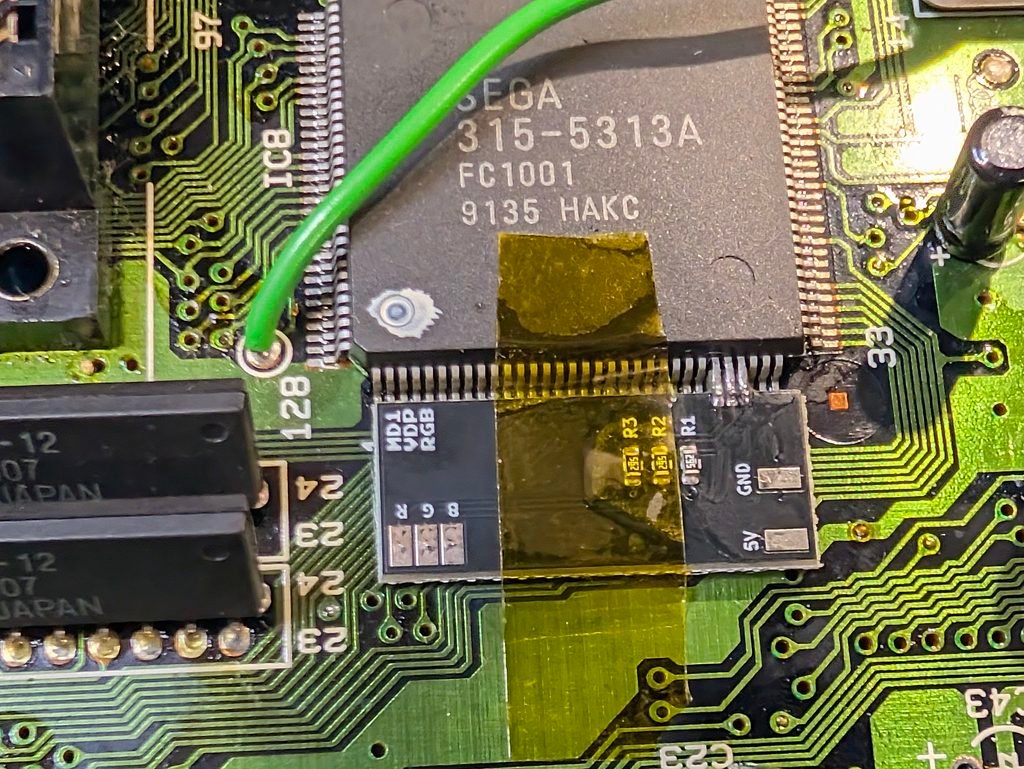
Next step was to install the QSB to route the RGB signal from the video chip. Kapton tape ensure that the soldered pins don’t get stressed. The the 3BP board is soldered on top of the DIN connector, and the QSB and the 3BP board are connected with wires.


Finally, the audio wires need to be connected to various pads in the motherboard, where some capacitors used to be. Note that the headphone jack is also restored, which also required to remove a number of SMD capacitors and resistors from the bottom of the board.

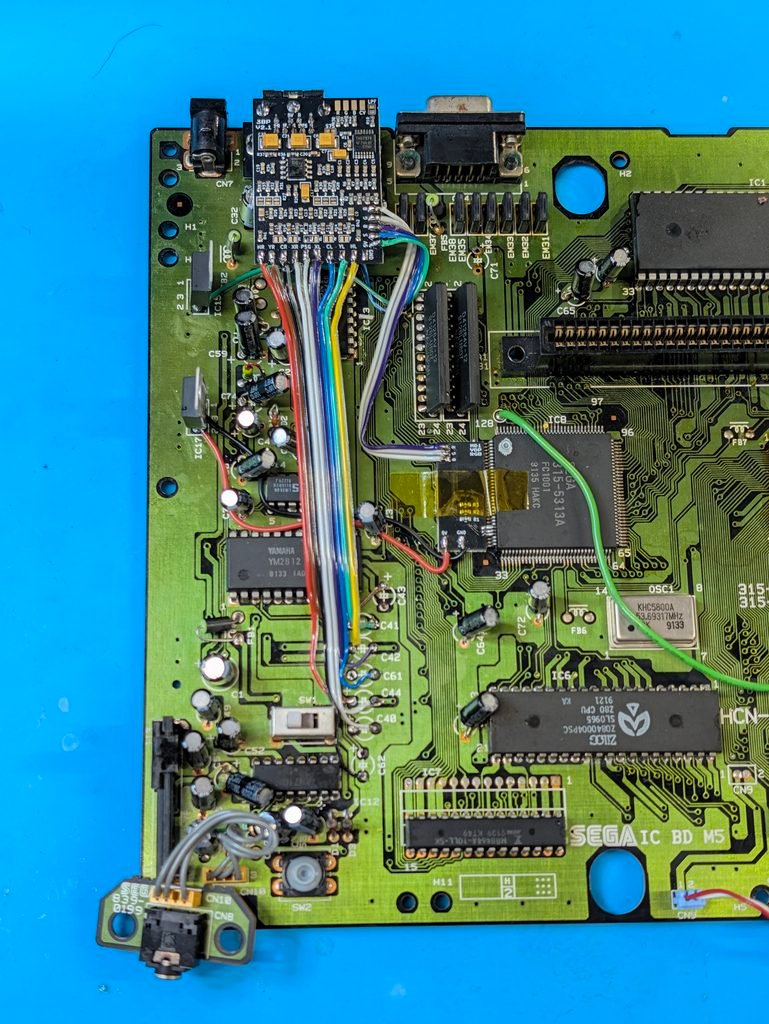
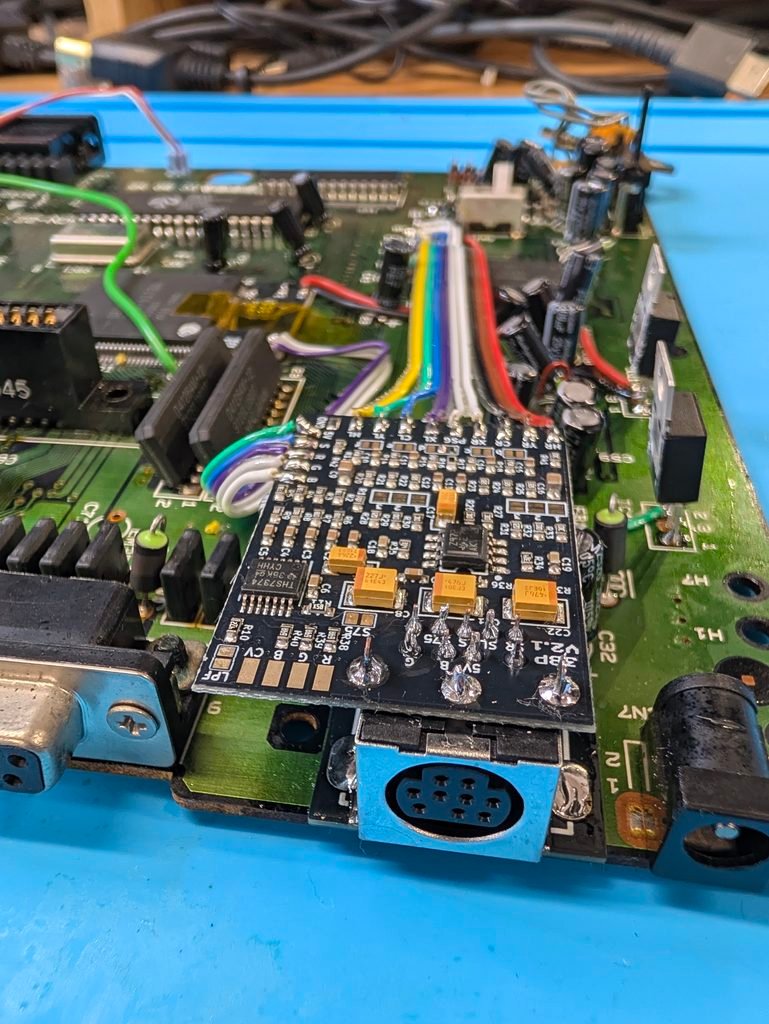
The recap also replaced the main power regulators, which were reattached to the heath sink with new thermal paste. The console was then tested with both an original japanese game, but also an Everdrive.


